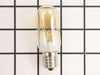
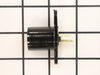
This 40-Watt 130-Volt lightbulb is a genuine OEM replacement for your microwave. The bulb is used either inside the microwave and turns on when the door is open, or the appliance is running. Or it can...
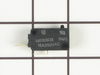
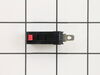
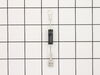
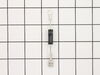
This secondary door switch is also known as a micro switch, and it is a genuine OEM replacement part for your microwave. The switch communicates with the electronic control board, to let it know if th...
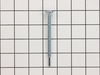
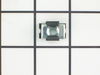
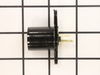
This part is the replacement flat cab mounting bolt for your microwave. The bolt is approximately 4 inches long. It is designed to hold the microwave in place in your cabinet. The main reason to repla...
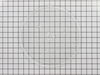
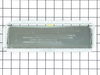
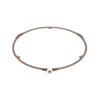
This is the glass cooking tray for your microwave. It rotates your food to ensure it cooks evenly. It is made of glass, and as a result, it can occasionally crack or break entirely. In this case you w...
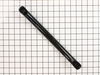
This is the replacement door handle for your microwave. It is made of black plastic and is sold individually. It is approximately 14 inches in length and 1 inch in width. The door handle allows you to...
Ask our experts a question about this part and we'll get back to you as soon as possible!
1 question answered by our experts.
< Prev
1
Next >
Sort by:
Search filter:
Clear Filter
Your search term must have 3 or more characters.
Keep searches simple. Use keywords, e.g. "leaking", "pump", "broken" or "fit".
Sorry, we couldn't find any existing answers that matched. Try using some different or simpler keywords, or submit your new question by using the "Ask a Question" button above!
Donald
December 28, 2022
I know where the input voltage comes into the wb27x11080 board, it is 120vac. How do i check the output voltages of cn01, cn02,cn03, cn04 to see what is bad on this board and what should the voltages be. Are they ac or dc and how much. Thank for any information on this matter. I was using the unit for three times to heat, on the third time the unit stopped working , the turn table stopped working no heat and the oven light was on. The board now comes on, the timer starts timing and nothing else happens. Could you shed some light on this matter as to what is wrong and what needs fixing.
For model number JVM1750DP1BB
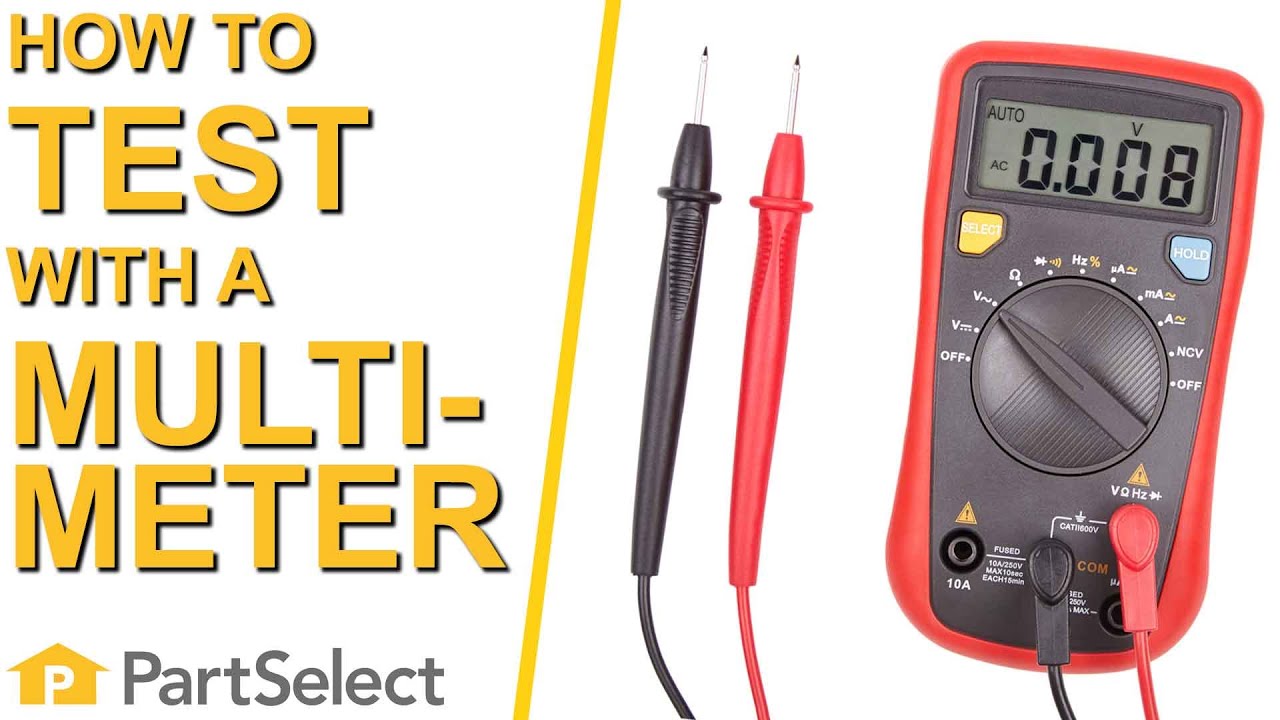
Hello Donald, thank you for your question. We have a video on how to use the multi meter and we believe this should shed some light on your issue. We hope this helps.
Noted on partselect.com that someone else with this problem, found it to be secondary door switch. There are three door switches in this model, but online info noted that one of the three might feel "soft" (in my case, one switch clicked in a rather "jiggly" way, the other two were strong decisive clicks.) To access the door switches on
... Read more this model was the only difficult part. First use a torx bit to remove the two torx screws below the latches inside the microwave. This frees the latching part inside, that holds the door switches, which you will remove after you take off the control panel. The top grill has to come off before you can remove the door panel. Remove the screws above the grill, on the microwave top cover, The grill on this model is covered with a panel that moves out when it vents. After removing the two top screws, the covered grill vent slides left to remove. Be careful, as the sliding tabs are plastic. Wiggle and jiggle it, to slip it off. Below the removed grill, is a small metal grill with one screw in lower center. Remove that screw, and wiggle that out. You'll then see the one screw that holds on the control panel. Remove this screw, and lift the control panel up to remove. Again, go slowly and gently, as the bottom tabs holding the control panel in, are also plastic and easily broken. Lay the control panel on something, (I used the coffee maker) and pull out the wire bundles tucked on the left, that are attached to the latching panel. Wiggle the latching panel gently to lift it up off of it's plastic tabs and pull it out towards you, so you can see the three door switches. Each switch (part number WB24X829) has a little black switch on it. Feel each switch with either your finger, or a screwdriver to see which one doesn't "click" strongly. The weak one is the one you will replace. The door switches are fitted into a tab, and plugged into their wires. Remove the defective switch, pull out the wires, and replace it with the new switch, plugging back the wires, and slipping it back into it's plastic tabs. Then put everything back together in reverse order. The entire job took me fifteen minutes EXCEPT for figuring out how to slide off the upper grill, which I have told you. A repairman would have cost $150, the part was $18. AND, there's a good chance, the other two switches will get "used up" in the next year or so as well, so I'll be ready next time. Thank you, Partselect, why work all day, to make money, only to give it to somebody else, for fifteen minutes of work. All I needed was the knowledge.
Above the stove mounted microwave. I dropped the lens cover from under the bulb and tried to remove the bulb. The bulb separated from the base. I tried to remove the base with a pliers and the lamp socket broke. I ordered the parts and dropped the bottom cover of the unit down (5 screws). Removed 1 screww from the lamp socket, unplugged t
... Read morehe wires and took it out. Simply replaced socket, fastened bottom cover of microwave, installed new bulb and closed lens cover.
At first I tried to use pliers to unscrew the base,very uncomfortable working position,upside down and backwards(the microwave is installed over the range top)very limited space for your body and arms to manuver and you really cant see the base,all of this took place after the breaker was turned off ofcourse,finally figured out that you c
... Read morean drop the entire bottom housing of the microwave by unscrewing 6 screws and the light sockets are easily accessable once you lower it,take out 1 retaining screw ,remove the entire socket and unscrewed the broken base and replaced the bulbs,I said bulbs,there is no sense in having to replace another bulb in who knows how long since only one had burned out but they were both the same age