



Models
>
TBG18IABURAA
TBG18IABURAA General Electric Refrigerator
Jump to:
Find Part by Name
Keep searches simple, eg. "belt" or "pump".
Diagrams for TBG18IABURAA
Viewing 6 of 6


Keep searches simple, eg. "belt" or "pump".
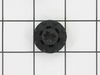
This grommet is found on both the front and back of the fan motor assembly for the condenser and the evaporator in your fridge. It is used to provide a buffer between the fan motor and the mounting br...
In Stock
Order now and your part arrives by Aug 13
$49.29
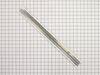
This part is a replacement door shelf retainer bar for your refrigerator. The shelf retainer bar connects to the end cap on either side, and the end caps connect it to the refrigerator door. The retai...
In Stock
Order now and your part arrives by Aug 13
$15.26
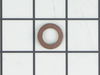
This is the replacement hinge washer for your refrigerator. The hinge washer is mounted on the top of the door hinge pin, and supports the refrigerator door, allowing it to open and close easily. The ...
In Stock
Order now and your part arrives by Aug 13
In Stock
Order now and your part arrives by Aug 13

Special Order
Special Order
In Stock
Order now and your part arrives by Aug 13
Common Problems and Symptoms for TBG18IABURAA
Viewing 5 of 5Noisy
Fixed by these parts
How to fix it
Door won’t open or close
Fixed by these parts
How to fix it
Fridge too warm
Fixed by these parts
How to fix it
Freezer section too warm
Fixed by these parts
How to fix it
Clicking sound
Fixed by these parts
How to fix it
Keep searches simple. Use keywords, e.g. "leaking", "pump", "broken" or "fit".
- Customer:
- Heather from YAKIMA, WA
- Parts Used:
- WR71X10080
- Difficulty Level:
- Easy
- Total Repair Time:
- Less than 15 mins
- Tools:
- Screw drivers
The old retainer bar was dented outward and did not keep condiments in place
I detached the end caps from the fridge and the old bar. They are plastic pieces which do not have any screws, just a little plastic lever that is easily removable with a screwdriver. I then fitted the end caps to the new retainer bar and attached to the fridge.
Was this instruction helpful to you?
Thank you for voting!
- Customer:
- Mark from DEPEW, NY
- Parts Used:
- WR60X10030
- Difficulty Level:
- Really Easy
- Total Repair Time:
- 15 - 30 mins
- Tools:
- Nutdriver, Pliers
Broke fan blade cleaning unit
Ordered part came in 3 days. Removed plug and rear cover. Pulled off old fan . Installed new fan by pushing it on to shaft. Plugged unit back in to check operation, installed rear cover. Done. Part fit perfect. Thanks to this site you folks are great !
Was this instruction helpful to you?
Thank you for voting!
- Customer:
- John from PARKVILLE, MO
- Parts Used:
- WR02X10098
- Difficulty Level:
- Easy
- Total Repair Time:
- 30 - 60 mins
- Tools:
- Socket set
Had a 'ticking' sound
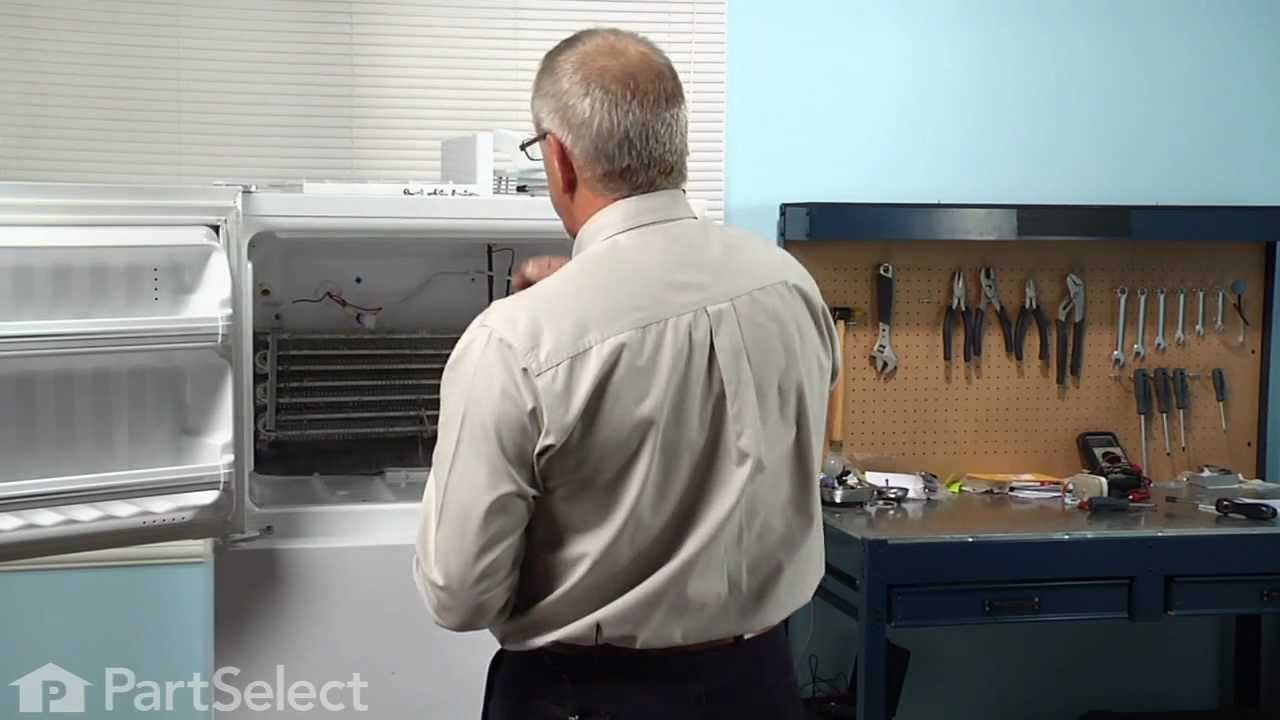
Separately (from a different site) purchased new compressor fan and motor. I purchased the grommets here because the other site listed the grommets as temporarily out of stock. I did watch one of the videos on PartSelect about the grommet replacement. Repair was pretty simple, biggest challenge was getting to the screw on the far side o
... Read more
f the motor. Removed the two screws holding the fan motor into place. Removed motor and blade. Reinstalled with new fan blade, new grommet and new motor.
Read less
Was this instruction helpful to you?
Thank you for voting!