



Models
>
TFF15SMB
TFF15SMB General Electric Refrigerator
Jump to:
Find Part by Name
Keep searches simple, eg. "belt" or "pump".
Keep searches simple, eg. "belt" or "pump".
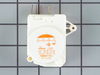
$88.95
This defrost timer will cycle for twenty-five minutes after every six hours of run time. The timer itself is made of plastic, and its terminals are bent, the leads are internal, and the label is orange.
In Stock
Order now and your part arrives by Aug 20
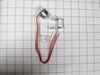
$23.95
This refrigerator defrost thermostat will cut out at 60 degrees Fahrenheit and kick back in when the temperature drops to 40 degrees Fahrenheit. Use it for your GE brand refrigerator.
In Stock
Order now and your part arrives by Aug 20

Special Order
Common Problems and Symptoms for TFF15SMB
Viewing 9 of 9Fridge too warm
Fixed by these parts
How to fix it
Freezer section too warm
Fixed by these parts
How to fix it
Freezer not defrosting
Fixed by these parts
How to fix it
Fridge and Freezer are too warm
Fixed by these parts
How to fix it
Leaking
Fixed by these parts
How to fix it
Will Not Start
Fixed by these parts
How to fix it
Fridge runs too long
Fixed by these parts
How to fix it
Noisy
Fixed by these parts
How to fix it
Freezer too cold
Fixed by these parts
How to fix it
Keep searches simple. Use keywords, e.g. "leaking", "pump", "broken" or "fit".
- Customer:
- Wanda from Cabins, WV
- Parts Used:
- WR9X502
- Difficulty Level:
- Really Easy
- Total Repair Time:
- 15 - 30 mins
- Tools:
- Nutdriver, Screw drivers
refrigerator was not cooling but the freezer worked fine.
My husband put on the defrost timer. At first I thought the part was not going to fix the problem. After about 5 hours my refrigerator was still warm. I went to work and when I got home that evening my refrigerator was cooling and down to 28 degrees. So if you replace this part wait at least 12-24 hours. Give it time to stablize.
... Read more
My husband says it has to go through its cycle. It works on a 24 hour timer. My refrigerator is working fine and this has saved me alot of money. My husband says, once you put on the timer you may have to use a flat screwdriver and turn the small dial clockwise one click to start it. He removed the kick grill and replaced the part. Dont forget to shut breaker off to replace this part. Turn power back on and start the timer. We are so happy that we now have a working refrigerator.
Read less
Was this instruction helpful to you?
Thank you for voting!
- Customer:
- Nancy from Hamburg, NY
- Parts Used:
- WR9X502
- Difficulty Level:
- Easy
- Total Repair Time:
- Less than 15 mins
- Tools:
- Nutdriver
display showed dE
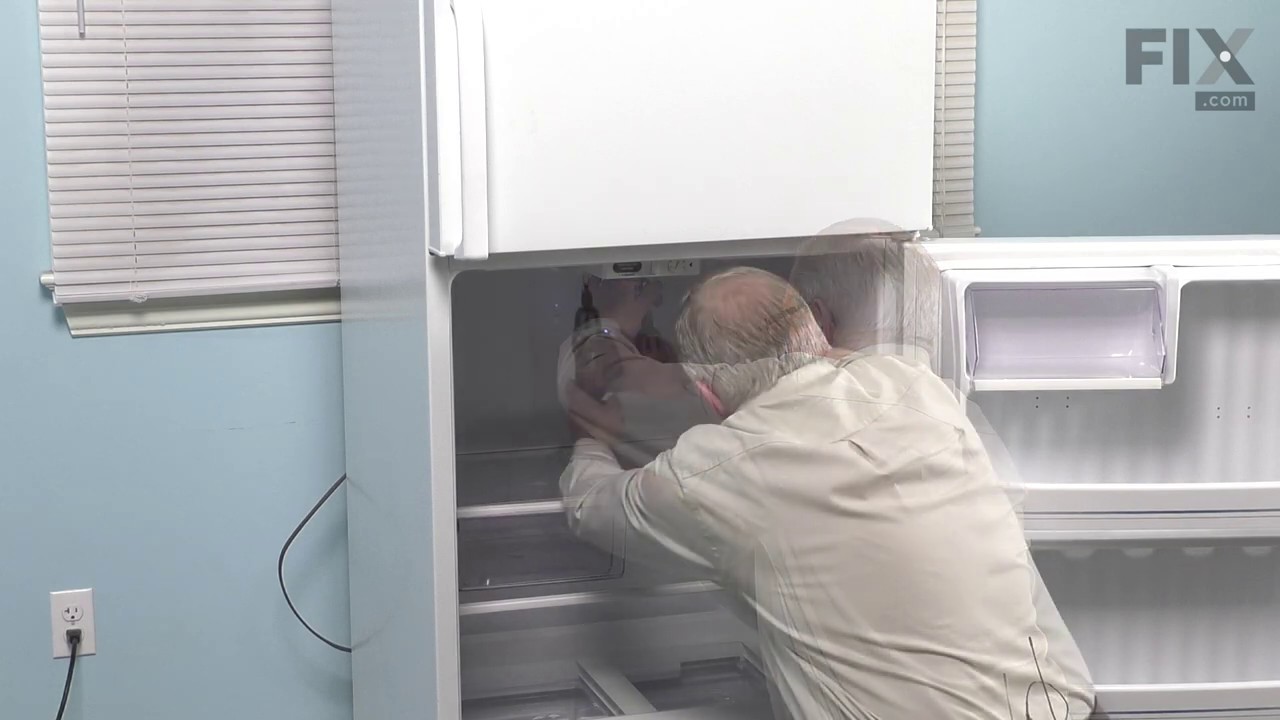
popped off front grille, removed 2 screws for bracket, then had to remove one screw for timer. unplugged old timer, reversed procedure, all works.
Was this instruction helpful to you?
Thank you for voting!
Refrigerator unable to cool below 50 degrees
The defrost timer was very easy to replace. Two screws and one electrical bracket and that was it. The defrost thermostat required the removal of the freezer shelves and rear panel. A philips for the panel screws and a slotted screw driver to wedge in-between the side and rear panel. The rear panelcame right out. The defrost thermostat is
... Read more
very accessible simply mounted to a metal bracket on the evaporator coil. My only problem was the new thermostat did not include instructions or a picture of a correct installation. The old thermostat did not seem it was installed correctly and it wasn't. It was simply hanging away from the evaporator coil, sort of out in space. Seeing the "V" shape on the new thermostat and metal mounting bracket configuration it was simple to see that it was suppose to fit snug against the evaporator coil. In addition to using the provided twist-on wire insolators I soldered the two electrical connections leading from the frig to the new thermostat. Reverse the above procedure and the job it finished. Now running better than new.
Read less
Was this instruction helpful to you?
Thank you for voting!