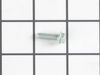
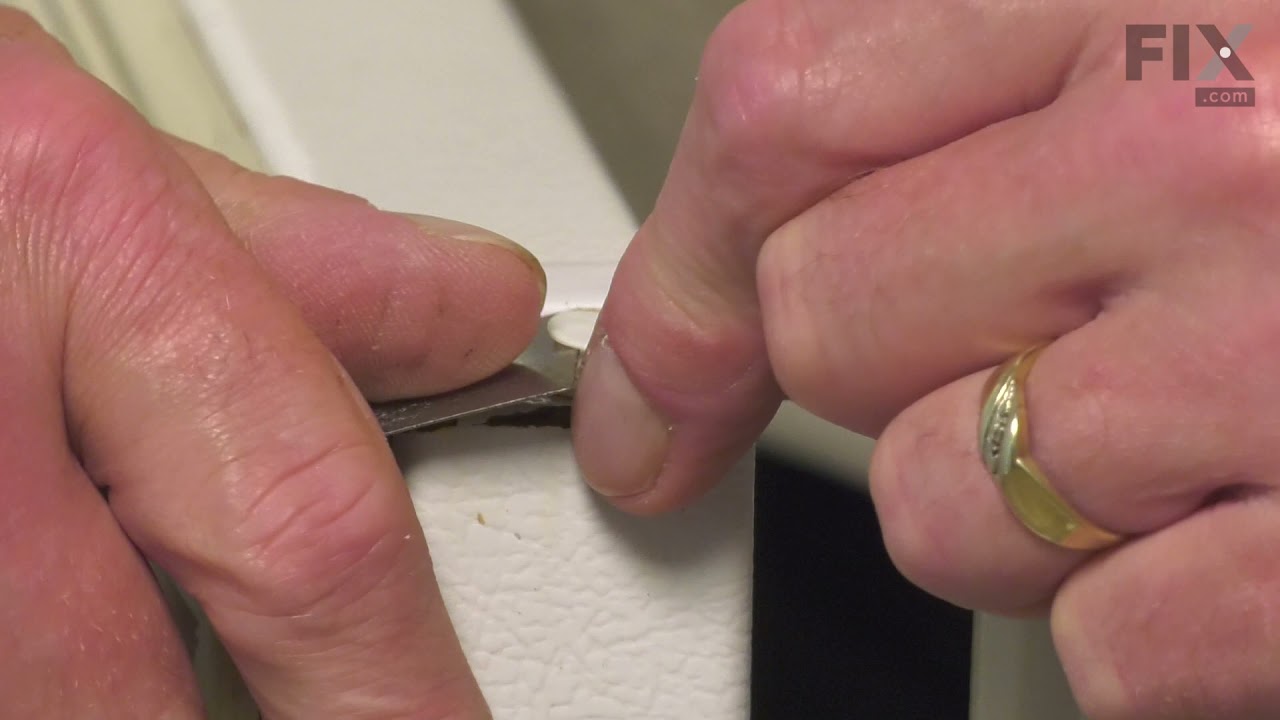
This is a screw and it is made for multiple appliances in your home. This model is called a sheet metal screw because it has sharp points, and the threads are closer together. This screw is designed t...
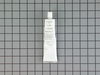
This 18 ml bottle of white appliance touch-up paint is used to cover scratches or marks on your appliance. The white touch-up paint can be used on refrigerators, microwaves, ranges, clothes dryers, an...
This appliance hex washer head screw is used to secure brackets, hinges, or other mounted components in place. Its six-sided head offers a solid handhold for a socket or nut driver, while the built-in...
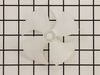
The white, four-blade OEM evaporator fan blade moves cold air over your refrigerators evaporator coils. A noisy fan or a warm refrigerator can indicate a problem with the blade. Check your refrigerato...
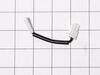
This temperature sensor is for refrigerators.
The temperature sensor senses the temperature inside the refrigerator and sends information to the electronic control.
Unplug the refrigerator and s...
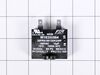
This refrigerator run capacitor supports steady compressor motor operation. It works with the motor windings to create the electrical conditions needed for efficient running. Check for a weak or faile...
Maximize your freezer space with this replacement wire shelf, measuring about 25 inches wide and 15.5 inches deep. It fits securely inside the freezer compartment and helps you organize food items for...
Provide a raised storage surface for frozen meals, containers, and bagged foods with this freezer wire shelf. Its open metal grid supports stored items while allowing cold air to circulate around them...
If your refrigerator runs too warm or too cold, or develops frost buildup, its thermistor may need replacement. This OEM part senses refrigerator air temperature for temperature control. Confirm compa...
To secure the upper door pivot and help keep the door aligned with the cabinet, this refrigerator top door hinge supports smooth opening and closing so the gasket can meet the frame evenly. Installing...
In Stock
Order now and your part arrives by Nov 23
Questions and Answers
Ask our experts a question about this part and we'll get back to you as soon as possible!
1 question answered by our experts.
< Prev
1
Next >
Sort by:
Search filter:
Clear Filter
Your search term must have 3 or more characters.
Keep searches simple. Use keywords, e.g. "leaking", "pump", "broken" or "fit".
Sorry, we couldn't find any existing answers that matched. Try using some different or simpler keywords, or submit your new question by using the "Ask a Question" button above!
Willard
February 7, 2022
My defrost heat strip is always hot, the thermistors test within range. When running diagnostic mode, it finds nothing wrong, however when there is supposed to be no loads at all, the voltage to the heat strip is 54-56 volts, when the test for the heater is selected, the voltage goes to 120, when the test is over and the heater is supposed to be off, the voltage is still around 55 volts. What part is bad?Thank you for your help.
For model number WZF34X16DW01
Hello Willard, thank you for writing. We recommend to replace the Defrost Heater Assembly FIX11752658. The defrost heater melts frost from the evaporator fins during the automatic defrost cycle. Good luck with your repair
Was this helpful?
Thank you for voting!
Ask a Question
Ask our experts a question on this part and we'll respond as soon as we can.
This product comes in a bottle with a brush like Liquid Paper. It goes on incredibly easy. A second coat might be needed. I wanted to prevent rust from setting in so I covered the scratches and dings. The paint is a little brighter since my washer is 10 years old but it still looks great.
Unplug the fridge then wheel the refrigerator out to where you can get to the back - you will probably have to disconnect the ice maker water hose. Using the nut driver remove all the screws from the lower panel on the fridge. You will not have to remove the water hose connection just move the panel around a little. Look on the left side
... Read more(facing the back of the fridge) you will see the capacitor held onto the compressor with a spring clip. Just pull the clip toward you and that will free the capacitor. Pull up on the capacitor and that will unplug it from the compressor. Be careful not to touch the two poles on the old capacitor. Capacitors store electricity and it could give you a jolt. I used electrical tape to insulate the poles and then threw it away. Plug in the new capacitor- re-hook the clip, reinstall the back panel, plug it in and verify that the fridge is working. Hook your water hose back up and move it back into place and you are done.