



Models
>
EVL201NXRQ04
EVL201NXRQ04 Whirlpool Freezer
Jump to:
Find Part by Name
Keep searches simple, eg. "belt" or "pump".
Diagrams for EVL201NXRQ04
Viewing 4 of 4


Manuals & Guides for EVL201NXRQ04
Click to downloadKeep searches simple, eg. "belt" or "pump".

$31.05
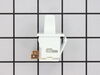
The refrigerator door switch turns the interior light off when the door closes. If the light is not working, the switch may be the cause. This is an OEM replacement. Confirm compatibility using your r...
In Stock
Order now and your part arrives by Nov 28

This 18 ml bottle of white appliance touch-up paint is used to cover scratches or marks on your appliance. The white touch-up paint can be used on refrigerators, microwaves, ranges, clothes dryers, an...
No Longer Available

In Stock
Order now and your part arrives by Nov 28

In Stock
Order now and your part arrives by Nov 28

$11.98
A Phillips screw fastens a refrigerator or freezer door handle. Check compatibility with your appliance before ordering. This is an OEM replacement part.
In Stock
Order now and your part arrives by Nov 28


In Stock
Order now and your part arrives by Nov 28
$236.38
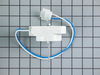
A noisy evaporator fan, one that will not start, or a refrigerator that is too warm can point to a failed motor. The motor circulates air in the refrigerator to support cooling. This OEM motor is list...
In Stock
Order now and your part arrives by Nov 28

In Stock
Order now and your part arrives by Nov 28

$112.05
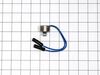
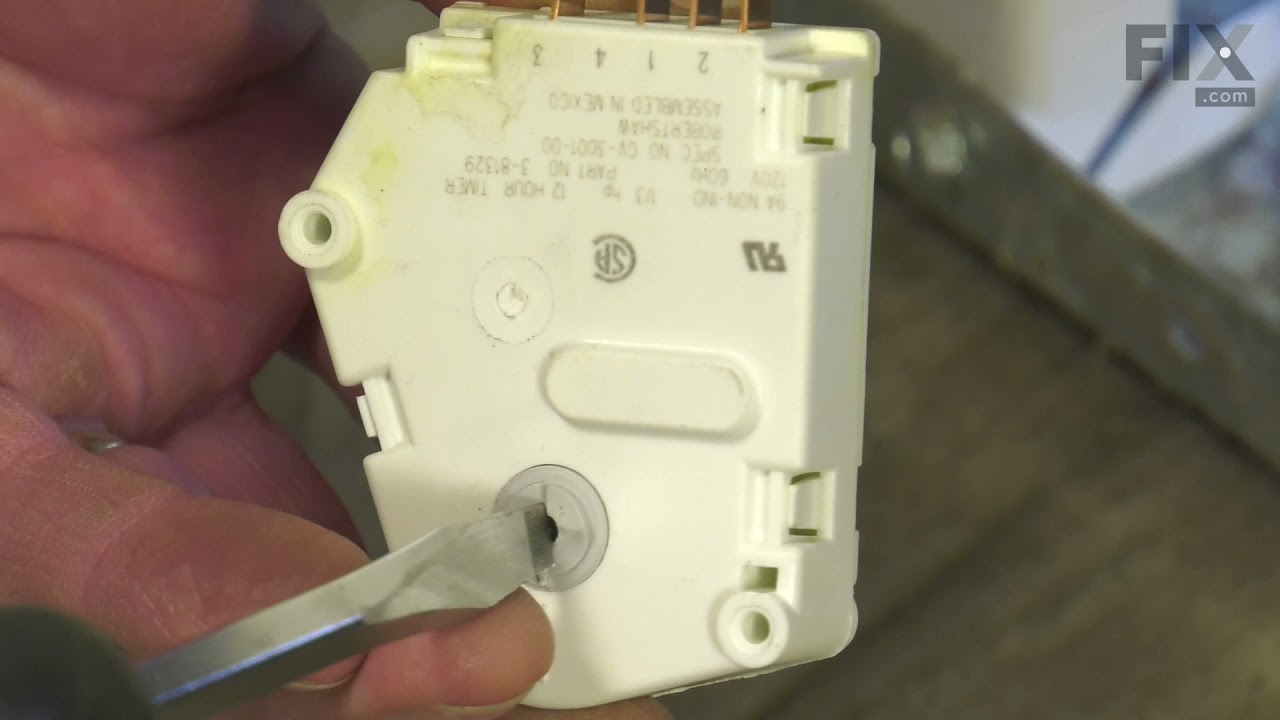
This refrigerator and freezer defrost timer is used to switch the appliance between cooling and defrost cycles. Its timing mechanism provides regular pauses in cooling so the heater can melt frost fro...
In Stock
Order now and your part arrives by Nov 28

$17.44
This is an OEM part sourced directly from the manufacturer. This leveling leg is commonly used with refrigerators, dryers, freezers, ranges, cooktops, and microwaves. This leveling leg ensure that you...
Special Order

Special Order
Common Problems and Symptoms for EVL201NXRQ04
Viewing 5 of 5Light not working
Fixed by these parts
How to fix it
Noisy
Fixed by these parts


How to fix it
Too warm
Fixed by these parts
How to fix it
Frost buildup
Fixed by these parts

How to fix it
Won’t start
Fixed by these parts
How to fix it
Keep searches simple. Use keywords, e.g. "leaking", "pump", "broken" or "fit".
- Customer:
- Clint from Rayville, MO
- Parts Used:
- W11384469
- Difficulty Level:
- Really Easy
- Total Repair Time:
- Less than 15 mins
- Tools:
- Screw drivers
Lights inside refrigerator not working
I used a flat-head screwdriver to pop out the old light rocker switch. Then, I unplugged the wires, plugged them into the new light rocker switch, and then popped the new switch into the hole. That's it! Lights began working again.
Was this instruction helpful to you?
Thank you for voting!
- Customer:
- James L. from Madison, AL
- Parts Used:
- WP3-60336-001, WPW10445742
- Difficulty Level:
- Easy
- Total Repair Time:
- 15 - 30 mins
- Tools:
- Nutdriver, Screw drivers
Froze over fan motor burnt out
Removed shelves from inside freezer then removed 4 screws holding cover panel. Pulled panel up and slightly pulled forward to remove. Removed wiring connections then removed two screws that held the motor & fan assembly. Removed the support bracket from the old motor and installed same on the support bracket. Reversed removal procedur
... Read more
es for installation. Cover panel is a little bit of a problem when trying to reinstall. Put in panel as high as you can and then slide down. You must then exert a little pressure on the bottom portion to get it to seat correctly. Install four remaing screws and you are done. I had this repaired previously by a professional repairman and noticed from the pictures you folks provided that he had installed the screws on the support bracket incorrectly. That was the reason for the fan blade to rip apart.
Read less
Was this instruction helpful to you?
Thank you for voting!
- Customer:
- James Richard from St. Cloud, MN
- Parts Used:
- W11384469
- Difficulty Level:
- Easy
- Total Repair Time:
- Less than 15 mins
- Tools:
- Socket set
Light Switch broke
An easy job for smaller hands. Removed the two bolts holding the light cover. Removed two electrical connections from the old switch by pinching the retaining clip,removed the switch, snapped in the new one and re-attached the connectors. Your online illustrations helped me to know that the plastic housing for the light switch would only
... Read more
swing down so far and was not intended to be removed. Saved me from breaking that plastic cover's tabs. This home repair saved me more than 5 times the cost of hiring a professional to do it. Very happy homeowner.
Read less
Was this instruction helpful to you?
Thank you for voting!