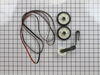
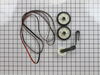
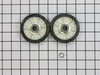
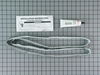
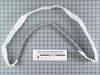
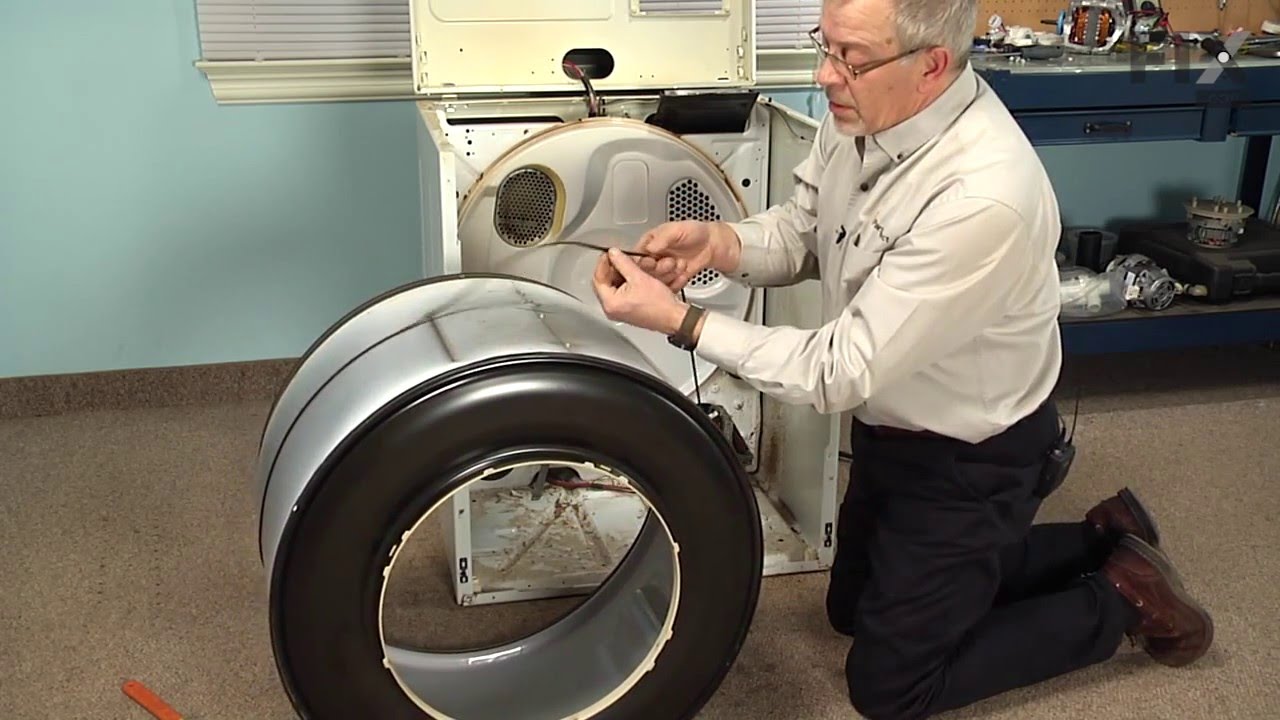
This is an authentic drum support roller kit for 29-inch-wide dryers. It includes 1 belt, 2 roller wheels and an idler pulley. The parts in this kit allow the dryer to tumble properly by supporting th...
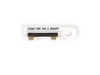
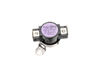
The dryer thermal fuse, also sometimes referred to as the thermal cut off or temperature fuse, is a 2 by 1/2-inch, white, plastic safety mechanism that halts the flow of electricity to the motor circu...
This OEM dryer door switch is an on/off mechanism that detects when the door is open to prevent the dryer from operating. If your dryer will turn on but will not start or continues working while the d...
This is a rear drum support roller kit for your dryer. The 2 rollers come with 4 tri-rings, and 1 palnut. We recommend that you replace both rollers at once. This kit stabilizes the drum cylinder, whi...
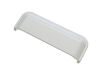
Sourced directly from the manufacturer, this OEM approved replacement handle is approximately 6 inches long, 2 inches wide, and is made of durable white plastic. This handle is used to open the dryer ...
The idler pulley is found in your dryer and provides tension to the belt in order to rotate the drum. If your clothes are taking a long time to dry, the machine is noisy while operating, or the dryer ...
This is a genuine OEM replacement igniter kit for your gas-heated clothes dryer. The silicon carbide igniter is used to light the gas that creates the heat in order to dry your clothes. If your dryer ...
The internal-bias thermostat, also know as a thermistor, is used to prevent the dryer from overheating. It does this by monitoring and controlling the temperature of the inside of the dryer drum. If ...
This small but mighty OEM piece is called a tri-ring and is used to support the drum roller shaft and the idler pulley shaft in your dryer. It helps to provide a tight seal between components by evenl...
It is important for your dryer to be properly leveled, as an unleveled one can cause excessive vibration and noise when operating, may not drain properly, and can cause excessive wear on various parts...
This genuine OEM part is a radiant flame sensor for your gas dryer. It is used to determine when the temperature of the igniter is hot enough to ignite the gas. Once the igniter is hot enough, it allo...
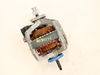
This drive motor operates the dryer by turning the drive belt which spins the drum and will fit most Whirlpool incorporated dryer brands before 1996. If the motor has shorted out, it will no longer tu...
In Stock
Order now and your part arrives by Oct 23
Questions and Answers
Ask our experts a question about this part and we'll get back to you as soon as possible!
1 question answered by our experts.
< Prev
1
Next >
Sort by:
Search filter:
Clear Filter
Your search term must have 3 or more characters.
Keep searches simple. Use keywords, e.g. "leaking", "pump", "broken" or "fit".
Sorry, we couldn't find any existing answers that matched. Try using some different or simpler keywords, or submit your new question by using the "Ask a Question" button above!
J
November 27, 2024
Mi secadora manda check lint y no arranca , ya limpie todo y nada
For model number WGD7000DW2
Hola J, gracias por contactarnos. Si la luz de verificación de pelusa sigue encendida, verifique si hay otras restricciones en las rejillas de ventilación y también verifique el sensor de humedad. Aunque no lo muestra en este modelo, a veces también hay un sensor dentro del conducto del filtro de pelusa que puede estar defectuoso o también podría ser un problema con el tablero de control. Esperamos que esto ayude con su reparación.
Hello J, Thank you for contacting us. If the check lint light keeps coming on, check for any other restrictions in the vents, and also check the moisture sensor. Although it does not show it on this model, sometimes there is also a sensor inside the lint filter chute that may be faulty or it could also be an issue with the control board. We hope this helps with your repair.
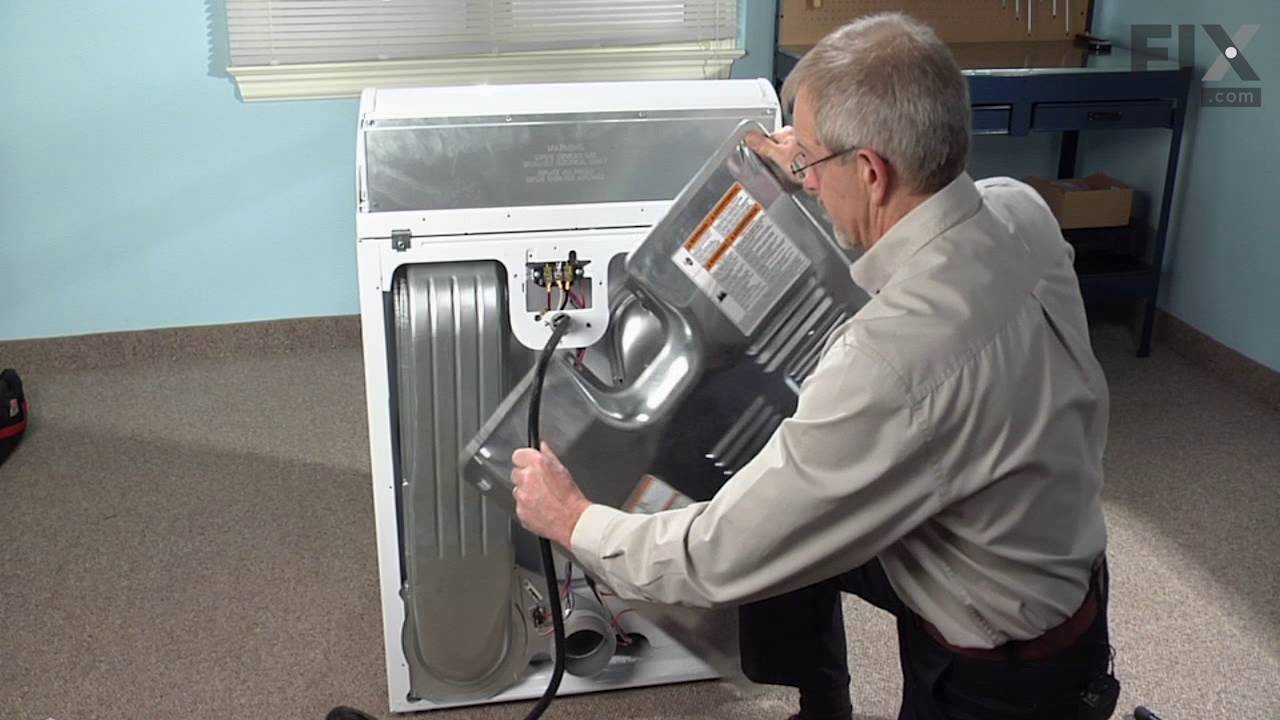
First I unplugged the dryer, then removed the back panel, this exposed most all of the wiring and I could see the heater coils. Not knowing what the problem was I started looking at the coils and could not see any broken parts. So then checked the thermal fuse for continuity I removed the two wires from it with a small pair of
... Read moreneedle nose pliers, it was held in place by two screws, once they were removed the fuse came out easily, I checked continuity with a volt meter placing the meter on X1 Ohms and could not get a reading. I replaced with a new one and put it all back together the way I took it apart. Then I plugged it in and it worked first time, I now have warm dry clothes.
Read less
3067 of 3491 peoplefound this instruction helpful.
Cleaning the lint out of the whole machine took quite a bit of time--it was everywhere. Underneath the lint trap was a collection that ultimately ruined the thermal fuse where it restricted the air flow considerably.
Ascertaining the problem was the most time consuming part.
The actual repair was quite simple and did
... Read moren't take but 15-20 minutes.