



Models
>
WGD500CMW0
WGD500CMW0 Whirlpool Dryer
Jump to:
Find Part by Name
Keep searches simple, eg. "belt" or "pump".
Diagrams for WGD500CMW0
Viewing 5 of 5


Keep searches simple, eg. "belt" or "pump".
$36.42
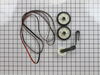
This is an authentic drum support roller kit for 29-inch-wide dryers. It includes 1 belt, 2 roller wheels and an idler pulley. The parts in this kit allow the dryer to tumble properly by supporting th...
In Stock
Order now and your part arrives by Oct 23
$17.44
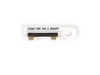
The dryer thermal fuse, also sometimes referred to as the thermal cut off or temperature fuse, is a 2 by 1/2-inch, white, plastic safety mechanism that halts the flow of electricity to the motor circu...
In Stock
Order now and your part arrives by Oct 23
$28.91
This OEM kit comes with two ignition coils (one three-terminal boost/hold coil, and one two-terminal secondary coil). Usually only one of them burns out, but you should replace them as a set as both h...
In Stock
Order now and your part arrives by Oct 23
$18.54
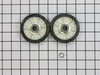
This is a rear drum support roller kit for your dryer. The 2 rollers come with 4 tri-rings, and 1 palnut. We recommend that you replace both rollers at once. This kit stabilizes the drum cylinder, whi...
In Stock
Order now and your part arrives by Oct 23
$46.07
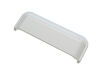
Sourced directly from the manufacturer, this OEM approved replacement handle is approximately 6 inches long, 2 inches wide, and is made of durable white plastic. This handle is used to open the dryer ...
In Stock
Order now and your part arrives by Oct 23
$25.10
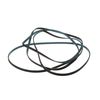
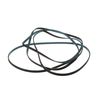
This is a single dryer drum belt that measures 93.5 inches. The belt rotates the dryer drum and is a common wear part that can become brittle over time. It can also stretch and change shape, so keep t...
In Stock
Order now and your part arrives by Oct 23
$16.35
The idler pulley is found in your dryer and provides tension to the belt in order to rotate the drum. If your clothes are taking a long time to dry, the machine is noisy while operating, or the dryer ...
In Stock
Order now and your part arrives by Oct 23
$33.20
This is a genuine OEM replacement igniter kit for your gas-heated clothes dryer. The silicon carbide igniter is used to light the gas that creates the heat in order to dry your clothes. If your dryer ...
In Stock
Order now and your part arrives by Oct 23
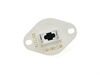
The internal-bias thermostat, also know as a thermistor, is used to prevent the dryer from overheating. It does this by monitoring and controlling the temperature of the inside of the dryer drum. If ...
In Stock
Order now and your part arrives by Oct 23
$11.98
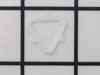
This small but mighty OEM piece is called a tri-ring and is used to support the drum roller shaft and the idler pulley shaft in your dryer. It helps to provide a tight seal between components by evenl...
In Stock
Order now and your part arrives by Oct 23
$36.42
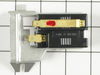
This genuine OEM part is a radiant flame sensor for your gas dryer. It is used to determine when the temperature of the igniter is hot enough to ignite the gas. Once the igniter is hot enough, it allo...
In Stock
Order now and your part arrives by Oct 23
$42.85
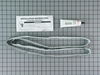
This is a genuine OEM replacement rear drum seal for your dryer. This seal is made of felt and comes with the adhesive required for installation. The purpose of the seal is to prevent hot air from esc...
In Stock
Order now and your part arrives by Oct 23
Common Problems and Symptoms for WGD500CMW0
Viewing 13 of 13Noisy
Fixed by these parts
How to fix it
Not Heating
Fixed by these parts
How to fix it
Drum Not Spinning
Fixed by these parts
How to fix it
Won’t Start
Fixed by these parts
How to fix it
Door won’t close
Fixed by these parts

How to fix it
Too hot
Fixed by these parts
How to fix it
Marks left on clothes
Fixed by these parts

How to fix it
Door Pops Open
Fixed by these parts
How to fix it
Touchpad does not respond
Fixed by these parts
How to fix it
Heat stays on after drum has stopped
Fixed by these parts
How to fix it
Leaking
Fixed by these parts

How to fix it
Will Not Start
Fixed by these parts
How to fix it
Timer Not Working
Fixed by these parts
How to fix it
Keep searches simple. Use keywords, e.g. "leaking", "pump", "broken" or "fit".
- Customer:
- ANTHONY from CHESHIRE, CT
- Parts Used:
- WP3392519
- Difficulty Level:
- Easy
- Total Repair Time:
- 15 - 30 mins
- Tools:
- Nutdriver, Pliers, Screw drivers
Dryer was working, but no heat.
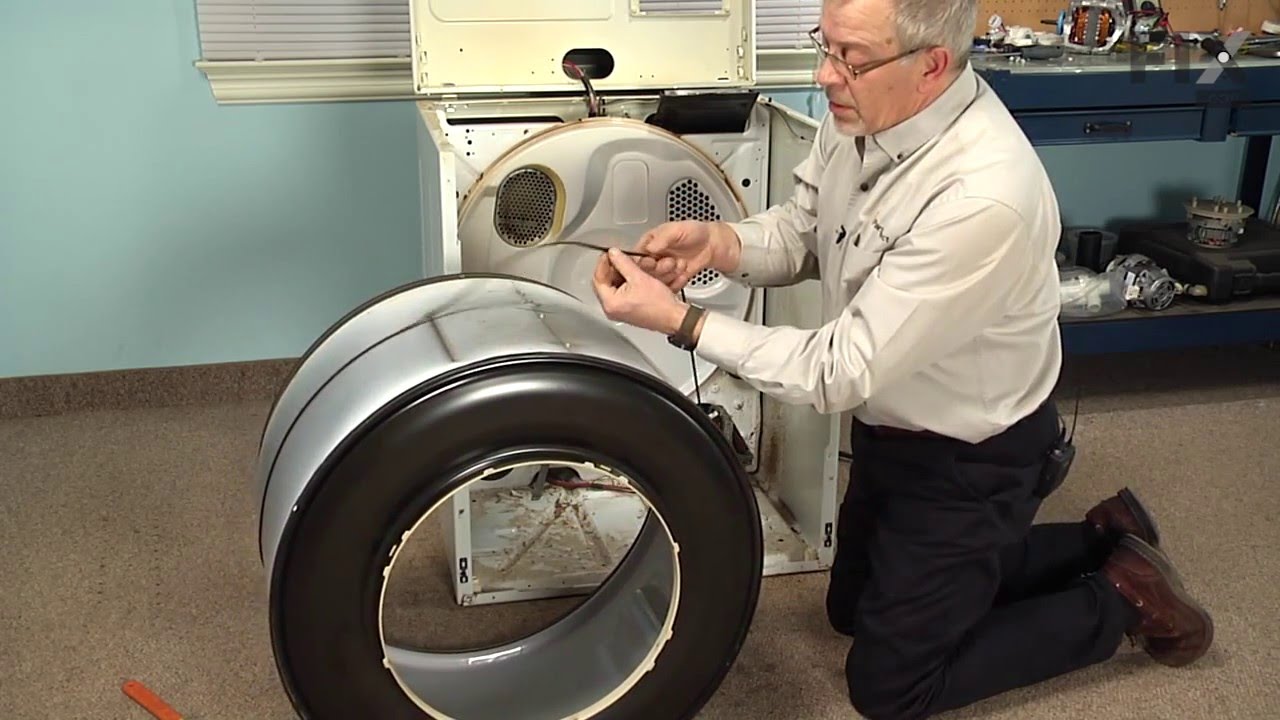
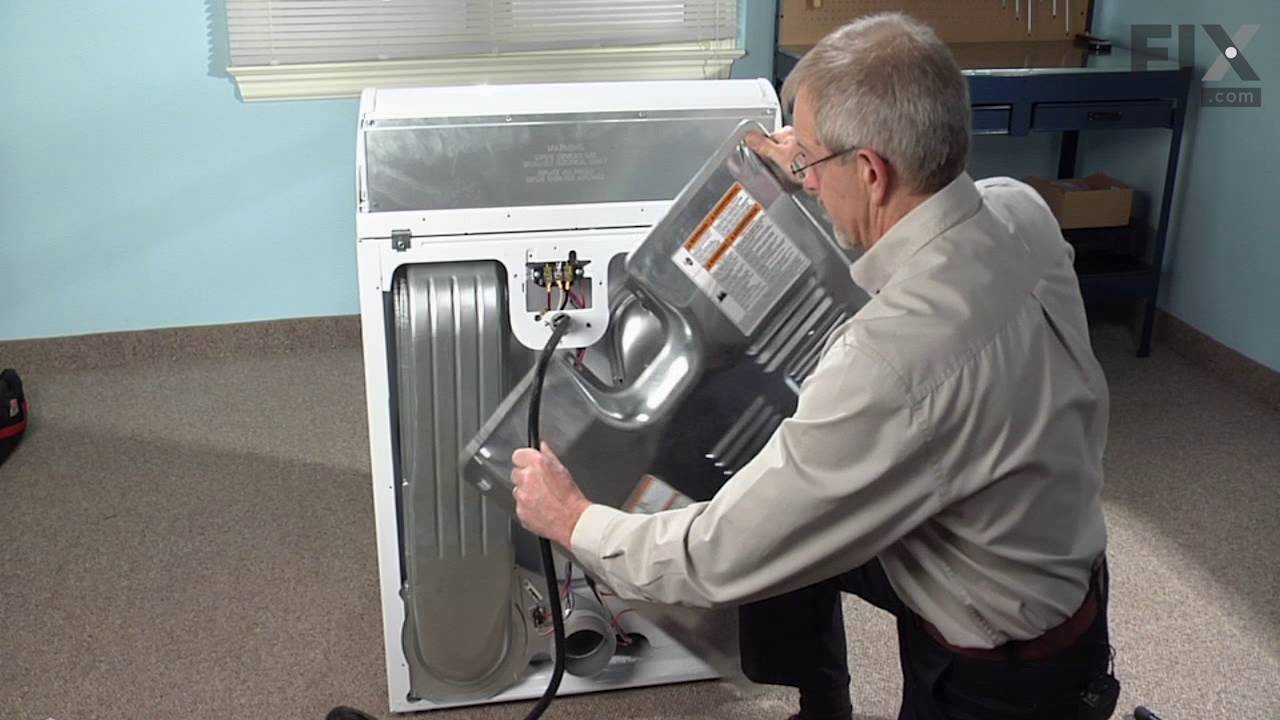
First I unplugged the dryer, then removed the back panel, this exposed most all of the wiring and I could see the heater coils.
Not knowing what the problem was I started looking at the coils and could not see any broken parts.
So then checked the thermal fuse for continuity I removed the two wires from it with a small pair of ... Read more needle nose pliers, it was held in place by two screws, once they were removed the fuse came out easily, I checked continuity with a volt meter placing the meter on X1 Ohms and could not get a reading.
I replaced with a new one and put it all back together the way I took it apart.
Then I plugged it in and it worked first time, I now have warm dry clothes.
Not knowing what the problem was I started looking at the coils and could not see any broken parts.
So then checked the thermal fuse for continuity I removed the two wires from it with a small pair of ... Read more needle nose pliers, it was held in place by two screws, once they were removed the fuse came out easily, I checked continuity with a volt meter placing the meter on X1 Ohms and could not get a reading.
I replaced with a new one and put it all back together the way I took it apart.
Then I plugged it in and it worked first time, I now have warm dry clothes.
Read less
Was this instruction helpful to you?
Thank you for voting!
- Customer:
- Dana from Grassvally, CA
- Parts Used:
- WP3392519
- Difficulty Level:
- A Bit Difficult
- Total Repair Time:
- More than 2 hours
- Tools:
- Screw drivers
No heat but would run otherwise
Cleaning the lint out of the whole machine took quite a bit of time--it was everywhere. Underneath the lint trap was a collection that ultimately ruined the thermal fuse where it restricted the air flow considerably.
Ascertaining the problem was the most time consuming part.
The actual repair was quite simple and did ... Read more n't take but 15-20 minutes.
Ascertaining the problem was the most time consuming part.
The actual repair was quite simple and did ... Read more n't take but 15-20 minutes.
Read less
Was this instruction helpful to you?
Thank you for voting!
No Heat. Dryer keeps running but no heat to dry clothes.
Repair was very easy. We are in the internet age so I use it all the time to get info on how to repair any thing in the house including cars. This time it was my dryer. I typed up 'Kitchen Aid dryer has not heat'and pressed searched and PartSelect came up. Typed in the model number and looked up the comments on No Heat. They had pretty co
... Read more
ol site that shows videos on how to repair this things too. Came to conlclusion that the THERMAL FUSE was the main problem. Ordered it and as well as the Igniter assy just to make sure and as well as save on the shipping just in case. Ordered on Sunday night and the shipped the next day. It arrived on Tuesday. Unfortunately had a little problem on the shipment. Called PartSelect and they are so awesome they shipped me new parts asap at no extra charge. Awesome Awesome! Parts came in Thursday and first installed the Thermal Fuse and BAAAM! problem solved. Did not need the igniter assembly. Now I have an extra part in storage.
To replace the Thermal fuse.
1. Disconnect Dryer from power outlet. Remove the bolts on the back panel with a 1/4" socket. I used power drill because it is much faster.
2. Locate the Thermal Fuse. Disconnect wires and remove the bolt. Slide it up and pull. Install the new one and reconnect the wires. Replace the panel and plug the dryer.
That solved my problem. It should solve yours too. The whole process was less than five minutes.
To replace the Thermal fuse.
1. Disconnect Dryer from power outlet. Remove the bolts on the back panel with a 1/4" socket. I used power drill because it is much faster.
2. Locate the Thermal Fuse. Disconnect wires and remove the bolt. Slide it up and pull. Install the new one and reconnect the wires. Replace the panel and plug the dryer.
That solved my problem. It should solve yours too. The whole process was less than five minutes.
Read less
Was this instruction helpful to you?
Thank you for voting!