



Models
>
DCXR463GA0WW
DCXR463GA0WW Whirlpool Dryer
Jump to:
Find Part by Name
Keep searches simple, eg. "belt" or "pump".
Keep searches simple, eg. "belt" or "pump".
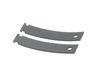
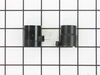
This single drum bearing slide is an OEM approved replacement part for dryers. It can also be known as a bearing drum slide, pad, or glide. The slides attach to the inner most slots on the front beari...
In Stock
Order now and your part arrives by Aug 6
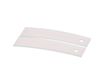
This single drum bearing slide attaches to the outer-most side of the bearing. This part is also sometimes referred to as a drum slide, drum glide, or drum pad. It provides support to the front of the...
In Stock
Order now and your part arrives by Aug 6
$28.91
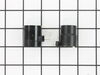
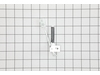
This OEM kit comes with two ignition coils (one three-terminal boost/hold coil, and one two-terminal secondary coil). Usually only one of them burns out, but you should replace them as a set as both h...
In Stock
Order now and your part arrives by Aug 6
$54.95
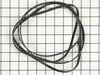
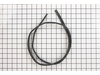
This 89.5-inch drive belt is for dryers. It has a 4-rib design on the inside for a better grip. If comparing the size of your current belt to the new one, keep in mind that a small amount of stretchin...
In Stock
Order now and your part arrives by Aug 6
$41.75
This is a duct felt seal for a dryer. The duct felt seal allows the front-load dryer drum to glide smoothly on the front panel. Your dryer will not function properly if the drum felt seal is compromis...
In Stock
Order now and your part arrives by Aug 6
$25.10
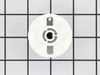
This is a genuine OEM replacement timer knob for your dryer. It is made of white plastic, and includes the metal clip that fits onto a D-shaped shaft. Replacing this part is an easy repair, simply pul...
In Stock
Order now and your part arrives by Aug 6
$74.95
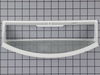
The lint filter is an important component of your dryer, as it traps lint and other debris from entering the dryer vents, where they can become a fire hazard. If your lint filter has become damaged or...
In Stock
Order now and your part arrives by Aug 6
$20.85
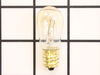
If the lightbulb inside your dryer drum has burned out, this is an authentic OEM replacement. It is a 10W, 120V bulb that is sold individually. The bulb turns on when the dryer door is open and should...
In Stock
Order now and your part arrives by Aug 6
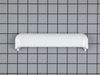
In Stock
Order now and your part arrives by Aug 6
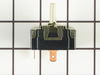
$74.75
This part is used to start the dryer once you have selected a setting on the timer.
In Stock
Order now and your part arrives by Aug 6
In Stock
Order now and your part arrives by Aug 6
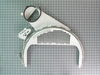
$86.64
This lint chute assembly helps guide airflow from the dryer drum to the blower wheel and holds the lint filter. It fits GE and Hotpoint dryers and helps improve drying performance while reducing the r...
In Stock
Order now and your part arrives by Aug 6
Common Problems and Symptoms for DCXR463GA0WW
Viewing 10 of 10Noisy
Fixed by these parts
How to fix it
Marks left on clothes
Fixed by these parts
How to fix it
Drum Not Spinning
Fixed by these parts
How to fix it
Not Heating
Fixed by these parts
How to fix it
Door won’t close
Fixed by these parts
How to fix it
Won’t Start
Fixed by these parts
How to fix it
Too hot
Fixed by these parts
How to fix it
Will Not Start
Fixed by these parts
How to fix it
Door Pops Open
Fixed by these parts
How to fix it
Heat stays on after drum has stopped
Fixed by these parts
How to fix it


Keep searches simple. Use keywords, e.g. "leaking", "pump", "broken" or "fit".
- Customer:
- Matthew from Plainfield, IL
- Parts Used:
- WE09X27634, WE03X37317, WE03X37318
- Difficulty Level:
- Really Easy
- Total Repair Time:
- 15 - 30 mins
- Tools:
- Screw drivers
Due to over loading of the dryer the drum ruined the slides and was making a bad noise due to plastic rubbing plastic
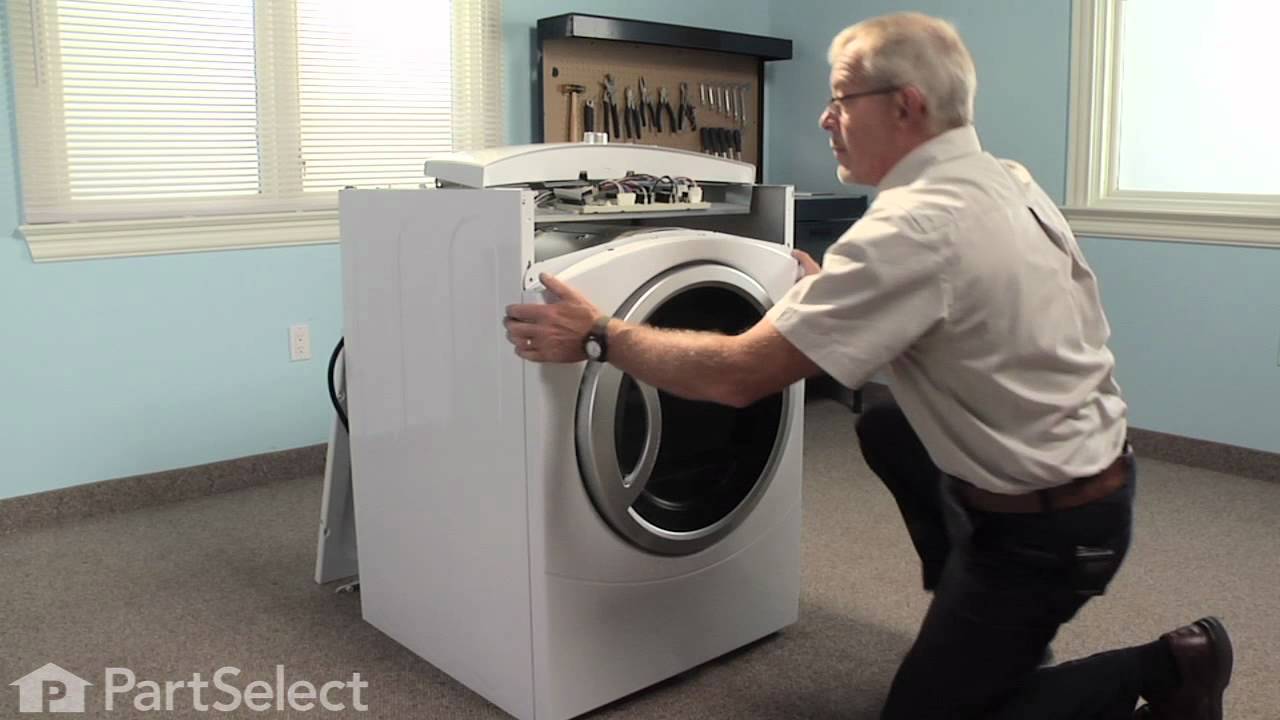
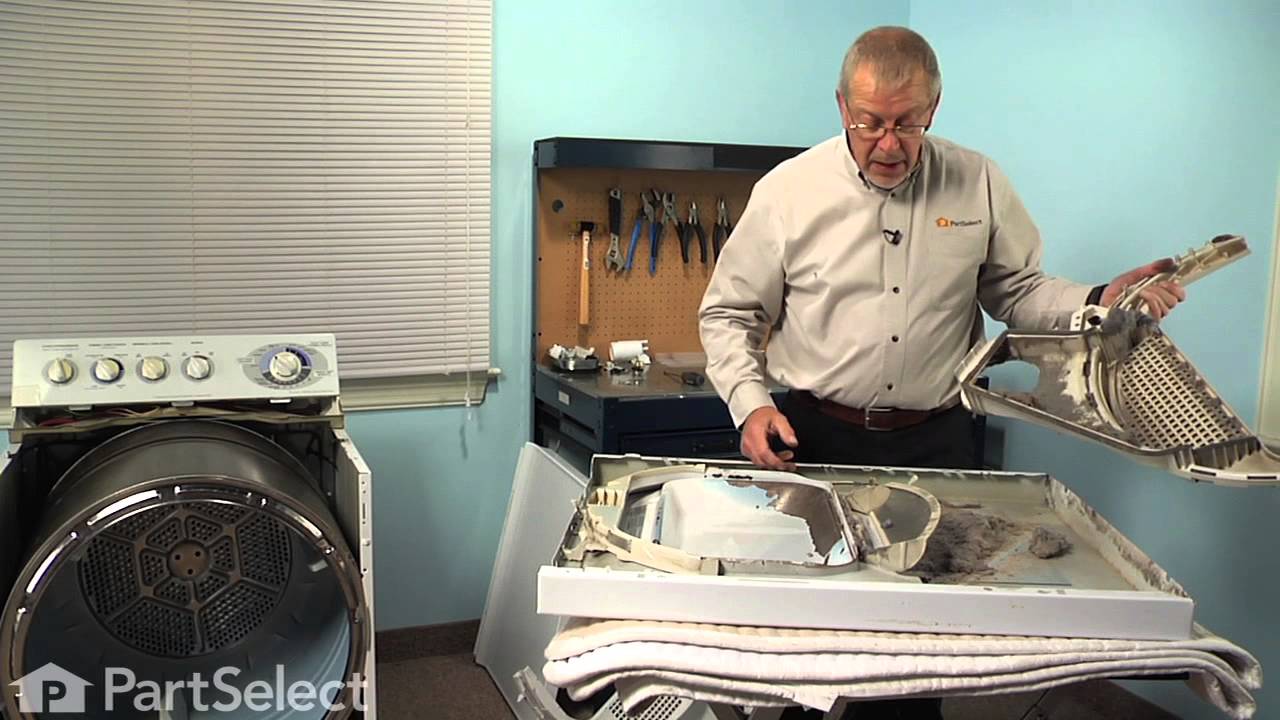
It was pretty easy. After already taking apart the dryer to install a new belt I knew exactly my plan of action. I removed the two screws that hold the top panel of the dryer to the front panel. I then removed the top panel and removed the screws that hold the front to each side panel. I than pulled the front away from the cabinet and
... Read more
drum. I put the new slides in place and installed a new felt strip. I put it back together and that was that. Very easy.
Read less
Was this instruction helpful to you?
Thank you for voting!
- Customer:
- SAM from ROCK HILL, NY
- Parts Used:
- WH1X2721
- Difficulty Level:
- Really Easy
- Total Repair Time:
- Less than 15 mins
Replaced broken START knob on dryer.
Slid off the old START knob, then pushed on the new START knob.
I created and printed a label on my computer for use with the time selector dial, which must be set at or beyond 10 minutes, before turning the START knob.
I made a label that says "Minimum" with a red arrow that points past the 10 minute setting on the ... Read more time selector dial.
My teenage daughter was not setting the time selector dial, to a point past 10 minutes. When she turned the START knob, the dryer would not come on, because the time selector dial was not set past the 10 minute setting.
My daughter had continually twisted the START knob until it broke. I am hoping she will be able to see the large printed label I put on the dryer near the time selector, saying "Minimum" with a large red arrow pointing past 10 minutes.
I am very pleased that I was quickly able to find the exact matching START knob for my dryer and the exact same color, from PartSelect.Com
I created and printed a label on my computer for use with the time selector dial, which must be set at or beyond 10 minutes, before turning the START knob.
I made a label that says "Minimum" with a red arrow that points past the 10 minute setting on the ... Read more time selector dial.
My teenage daughter was not setting the time selector dial, to a point past 10 minutes. When she turned the START knob, the dryer would not come on, because the time selector dial was not set past the 10 minute setting.
My daughter had continually twisted the START knob until it broke. I am hoping she will be able to see the large printed label I put on the dryer near the time selector, saying "Minimum" with a large red arrow pointing past 10 minutes.
I am very pleased that I was quickly able to find the exact matching START knob for my dryer and the exact same color, from PartSelect.Com
Read less
Was this instruction helpful to you?
Thank you for voting!
- Customer:
- Gary from Haverhill, NH
- Parts Used:
- 279834
- Difficulty Level:
- Easy
- Total Repair Time:
- 30 - 60 mins
- Tools:
- Nutdriver, Screw drivers, Socket set
Dryer ran but would not heat
PartSelect showed seven different possibilities why the dryer wouldn't heat. I removed the two screws to remove the bottom panel and turned the dryer on and noticed that the heating element that ignites the gas was working fine. This meant that it was not getting gas so it could be the gas valve or one of the two gas valve coils which are
... Read more
located on top of the gas valve. I borrowed my neighbor"s ohm meter and touched the two probes on the coils terminals to check for continuity and found that one of the coils read zero. I then took both of the coils out by removing two screws and tested each coil again. One coil read 500-850 and the other read zero. This meant that it was no good so I called for the part and received it in three days. I reassembled the parts and turned the dryer on and it fired up after a few seconds. It works as good as new. The part plus shipping was less than $30. My repairman would have charged me $150-$200. While the dryer was apart I gave it a good cleaning with a vacuum and a toothbrush in delicate areas. I also removed and cleaned the lint trap housing by removing two nuts. I didn't know much about gas dryers, but thanks to PartSelect I easily fixed it myself.
Read less
Was this instruction helpful to you?
Thank you for voting!