



Models
>
DV220AEWXAC
DV220AEWXAC Samsung Dryer
Jump to:
Find Part by Name
Keep searches simple, eg. "belt" or "pump".
Keep searches simple, eg. "belt" or "pump".

$56.05
This black rubber drum belt connects the motor pulley to the dryer drum, enabling the drum to rotate as the motor runs. Positioned between the drive motor and the drum, it plays a key role in the dryi...
In Stock
Order now and your part arrives by Nov 12

This genuine OEM heater duct assembly in your dryer directs hot air into the drum during operation. Generally, it can be found behind the drum or at the rear of the dryer. If this assembly becomes dam...
In Stock
Order now and your part arrives by Nov 12

In Stock
Order now and your part arrives by Nov 12

$19.95
Leveling leg supports the dryer. Adjust the height of the leveling leg to make the dryer level.
In Stock
Order now and your part arrives by Nov 12

In Stock
Order now and your part arrives by Nov 12

In Stock
Order now and your part arrives by Nov 12

In Stock
Order now and your part arrives by Nov 12


In Stock
Order now and your part arrives by Nov 12

In Stock
Order now and your part arrives by Nov 12

In Stock
Order now and your part arrives by Nov 12

Special Order
Common Problems and Symptoms for DV220AEWXAC
Viewing 4 of 4Not Heating
Fixed by these parts
How to fix it
Noisy
Fixed by these parts

How to fix it
Drum Not Spinning
Fixed by these parts
How to fix it
Won’t Start
Fixed by these parts
How to fix it
Keep searches simple. Use keywords, e.g. "leaking", "pump", "broken" or "fit".
- Customer:
- Christopher from SUGARLOAF, CA
- Parts Used:
- 6602-001655
- Difficulty Level:
- Really Easy
- Total Repair Time:
- 15 - 30 mins
- Tools:
- Screw drivers
The dryer turned on but the drum did not move when you pressed start even though It started it cycles.
I YouTube it and there’s a step by step process on how to do it, took maybe 30 mins. If I can so can you
Was this instruction helpful to you?
Thank you for voting!
- Customer:
- Mark from WEST SUNBURY, PA
- Parts Used:
- DC97-14486A
- Difficulty Level:
- Really Easy
- Total Repair Time:
- 30 - 60 mins
- Tools:
- Nutdriver, Screw drivers
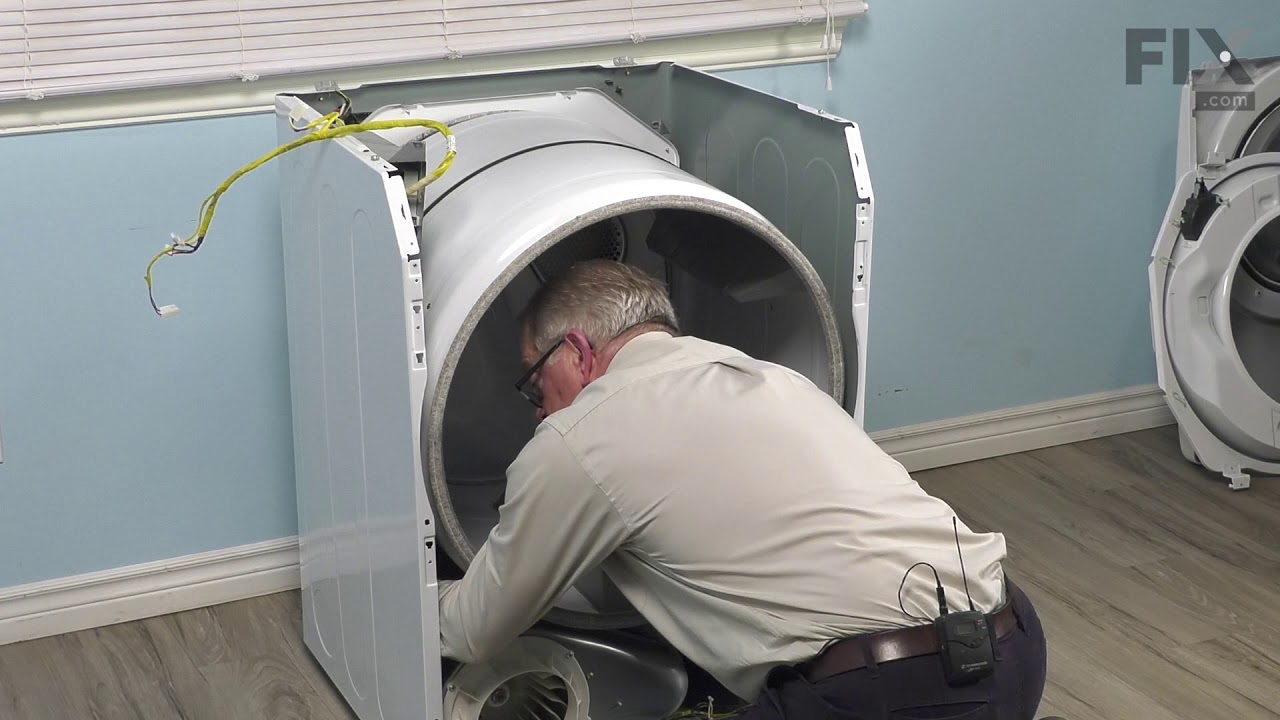
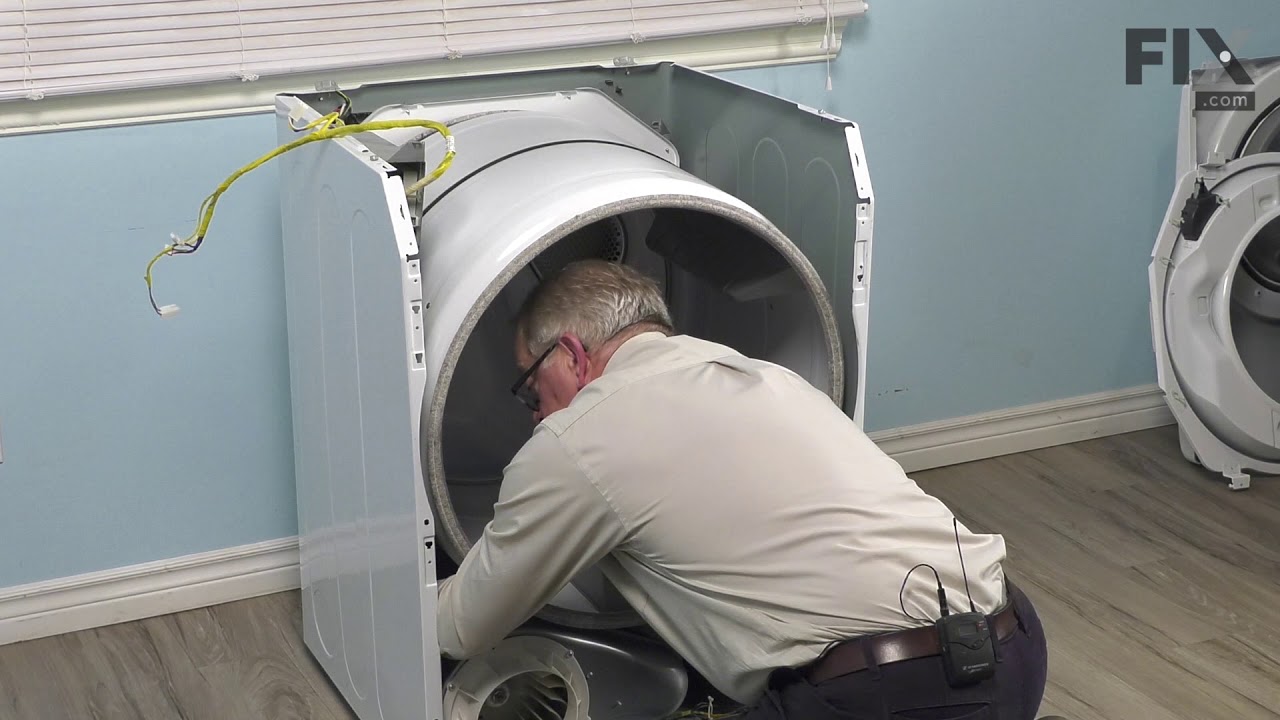
Dryer stopped heating
I purchased wholesale heater element with sensors. Couple wires and bolts to attach. Trickiest part is disassembling the dryer to remove the old heating unit. You-tube it; it's gold.
Was this instruction helpful to you?
Thank you for voting!
- Customer:
- Jeremy from BARDSTOWN, KY
- Parts Used:
- DC63-01144A, DC61-02740A
- Difficulty Level:
- Easy
- Total Repair Time:
- More than 2 hours
- Tools:
- Screw drivers, Wrench (Adjustable)
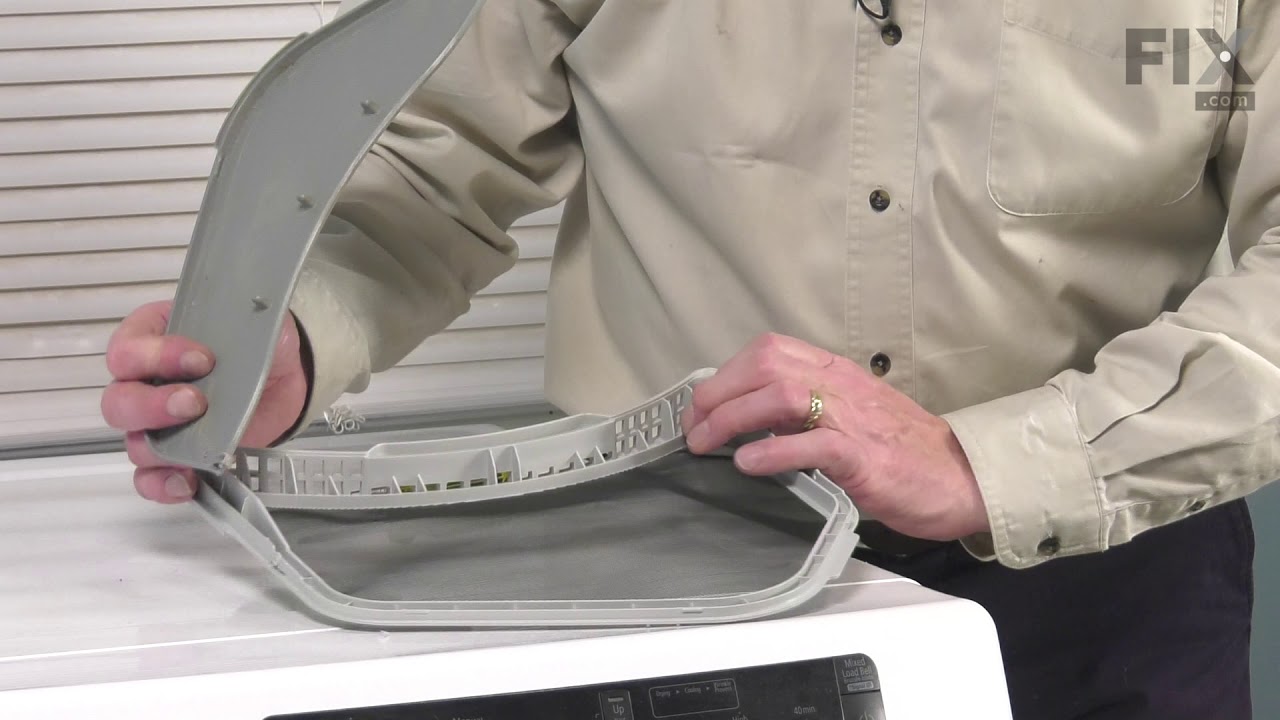
The original cover filter was broken so I had to replace it and needed a new spring as well
It started off as supposed to be 5 minute job but took about 4 and a half hours (most of the time was vacuuming and cleaning the lint from inside the dryer as there was a lot of dryer lint built up including on the heater coils which the lint was charred black. So I went to install the cover filter and spring like in the video but my fing
... Read more
er are larger so the spring fell off the ear/tab and fell down into the lint trap chute and into the flywheel that turns the drum so I had to remove the top and front of the dryer to retrieve the spring. That’s when I found even more lint but in the process of removing the front of the dryer I noticed one single screw holding the rear lint cover onto the dryer and so I removed that and pulled it out then with that rear cover in my hand I installed the cover filter and spring then reinstalled it. The video shows you to only remove the 3 screws to remove the front cover and then to stick your hands in the tight space and get the small spring and cover filter on and snap them into place. But if after you pull out the front cover then you will see a screw in the middle on the front side of the drum that is the the only thing holding g the rear cover in place just unscrew that and remove that cover and then you can replace the spring and cover filter and then you can put it back in and screw it back into place and then you won’t run the risk of dropping the spring down the chute like I did. If I did this trick it would have only taken me within 2 minutes to change the part...on a side note after finding all the lint I did, I would recommend taking the front and back of the dryer off and getting in there with a vacuum and cleaning it out once every year or two which will save you from a potential fire.
Read less
Was this instruction helpful to you?
Thank you for voting!