



Models
>
DLL1600LH
DLL1600LH Hotpoint Dryer
Jump to:
Find Part by Name
Keep searches simple, eg. "belt" or "pump".
Keep searches simple, eg. "belt" or "pump".
$79.09
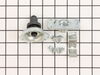
This rear drum bearing kit is a genuine OEM replacement for your dryer. The kit includes a shaft, ground strap, bracket, bearing and seven screws for installation. The bearing supports that back of th...
In Stock
Order now and your part arrives by Sep 25
The lint filter and frame for your dryer traps unwanted lint and debris so your dryer can effectively dry your clothes. If the old lint filter is cracked or clogged, or the dryer takes too long to dry...
No Longer Available

$18.54
This part is the rear dryer drum bearing only. This part helps keep your dryer running smoothly as possible with as little noise as possible.
In Stock
Order now and your part arrives by Sep 25
$20.72
The adjustable leveling screws on the bottom of your dryer can be screwed in or out to lower or raise the leg level. If one of the leveling screws is stripped, damaged, or missing, you may not be able...
In Stock
Order now and your part arrives by Sep 25
This front drum slide kit comes with two slides with the apppropriate mounting hardware.
No Longer Available
$27.28
This white idler pulley is used for many clothes dryers. A dryer's idler pulley wheel serves to help the belt to rotate the drum.
In Stock
Order now and your part arrives by Sep 25
$48.21
Be very careful to not handle the igniter by its gray part. Hold it by its white tip only.
In Stock
Order now and your part arrives by Sep 25
$28.06
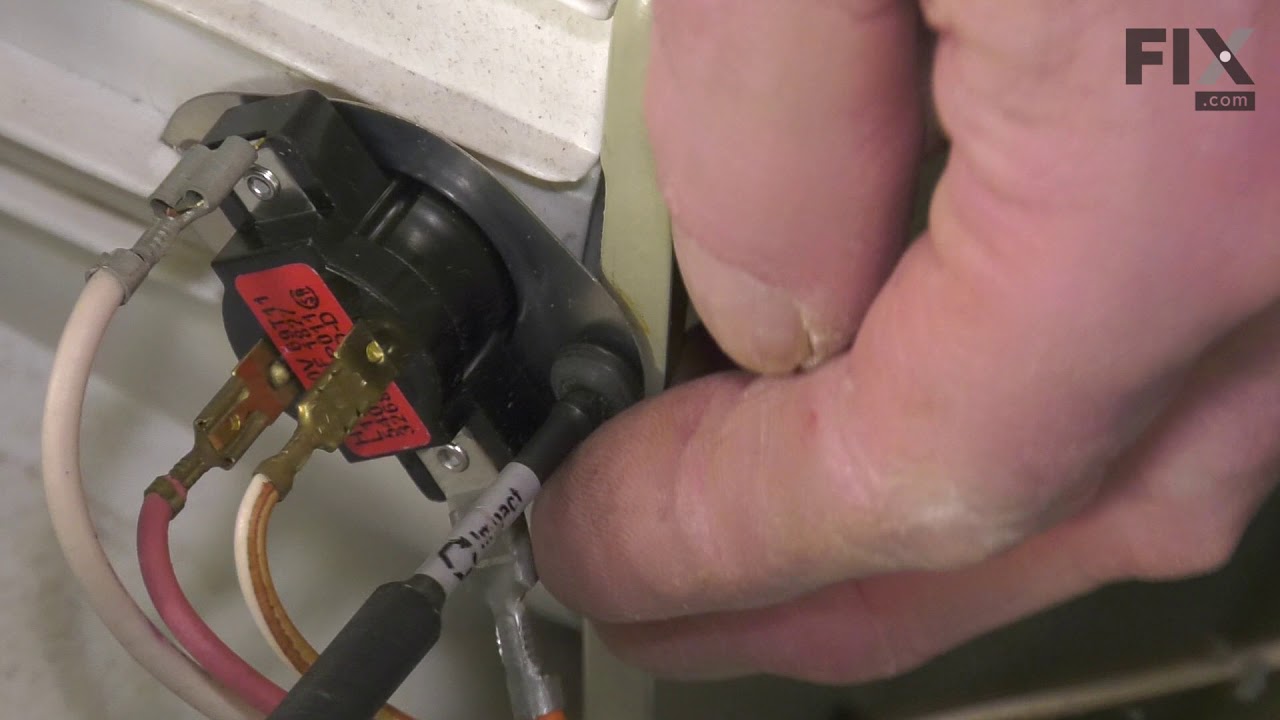
With this high limit/safety thermostat, a dryer's heating element will cut out if the internal temperature reaches 260 degrees Fahrenheit. This element is meant as a safety device, will kick back in w...
Special Order
$181.32
Replaces "T" and "V" style motors. Includes two motor pulleys. If you have an older model dryer, the pulley may be pressed on or held on with a set screw. If pulley is pressed on, a new motor pulley must be ordered.
In Stock
Order now and your part arrives by Sep 25

This part has three terminals. Note: Use the two smaller terminals for models that only have two wires to the switch.
No Longer Available
In Stock
Order now and your part arrives by Sep 25
Common Problems and Symptoms for DLL1600LH
Viewing 3 of 3Noisy
Fixed by these parts

How to fix it
Too hot
Fixed by these parts
How to fix it
Marks left on clothes
Fixed by these parts
How to fix it
Keep searches simple. Use keywords, e.g. "leaking", "pump", "broken" or "fit".
- Customer:
- Owen from Virginia Beach, VA
- Parts Used:
- WE17X10010, WE12X41
- Difficulty Level:
- Easy
- Total Repair Time:
- 1- 2 hours
- Tools:
- Pliers, Screw drivers, Socket set, Wrench (Adjustable)
Dryer made excessively loud noise when running.
I initially opened the front of the dryer and noticed that the drum slides that the drum rides on in the front of the dryer were excessively worn. I then removed the drum and noticed that the plastic bearing that supported the drum in the rear was cracked and the washer(?) appered to be disintigrating. I ordered and replaced the drum sl
... Read more
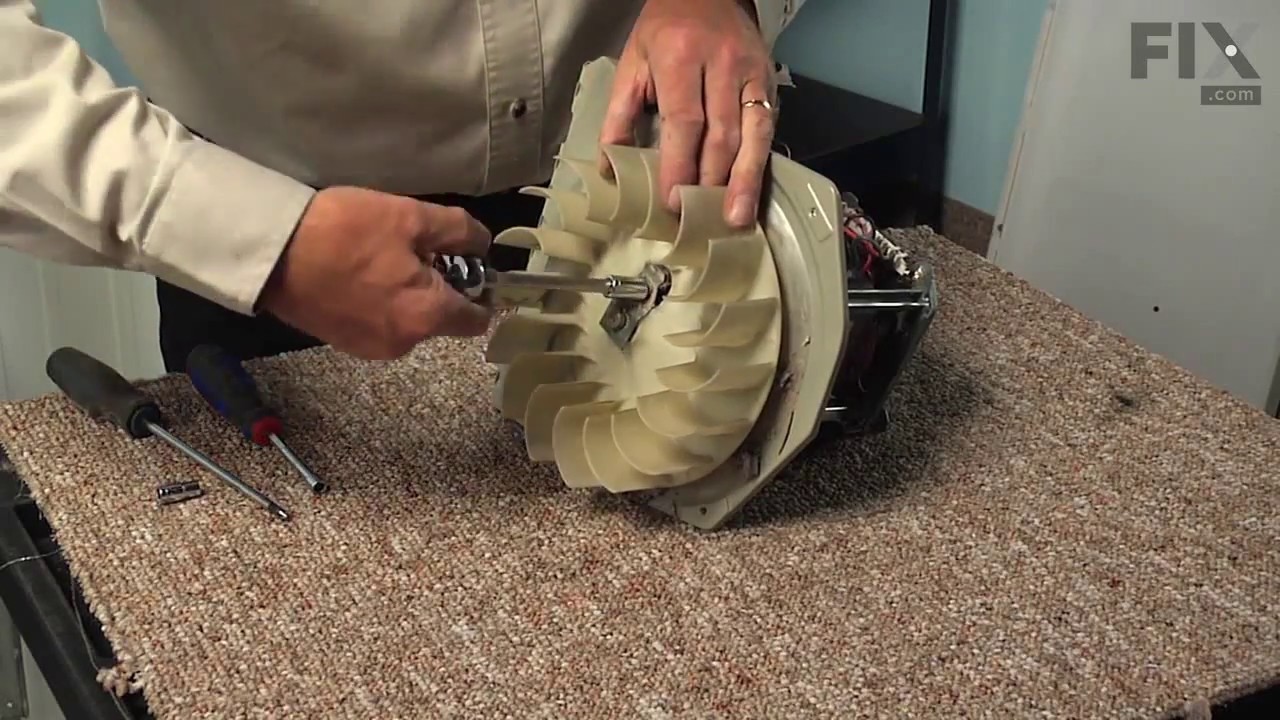
ides and rear bearing. The dryer was still making too much noise. I ran the motor with the drum removed and realized that they motor was the remaining source of the excessive noise. I then ordered and replaced the motor with a new one and this solved the problem. Total cost was around $140. Note that when ordering a new motor, the instructions on the web site indicate that you need to order the motor pulley if your existing motor has a pressed on pulley. The new motor was a kit that came with the pulley included, and therefore the additional part was not needed, and had to be returned. The instructional videos and parts schematics on the web site were very helpful.
Read less
Was this instruction helpful to you?
Thank you for voting!
- Customer:
- Jeff from Seattle, WA
- Parts Used:
- WE4X444
- Difficulty Level:
- Easy
- Total Repair Time:
- 15 - 30 mins
- Tools:
- Wrench set
Gas dryer heat would not come on
Unplugged dryer, opened lower panel. Loosened the bolt that holds igniter assembly to gas unit and removed old igniter. Put new igniter in the pinch clamp then (being VERY careful so as not to crack new part) replaced igniter assembly and tightened its bolt firmly. Voilà, ignition!
Was this instruction helpful to you?
Thank you for voting!
- Customer:
- Jason from Cary, NC
- Parts Used:
- WE25M40
- Difficulty Level:
- A Bit Difficult
- Total Repair Time:
- More than 2 hours
- Tools:
- Screw drivers, Socket set
Squeaking Dryer - Rear Drum bearing gone bad
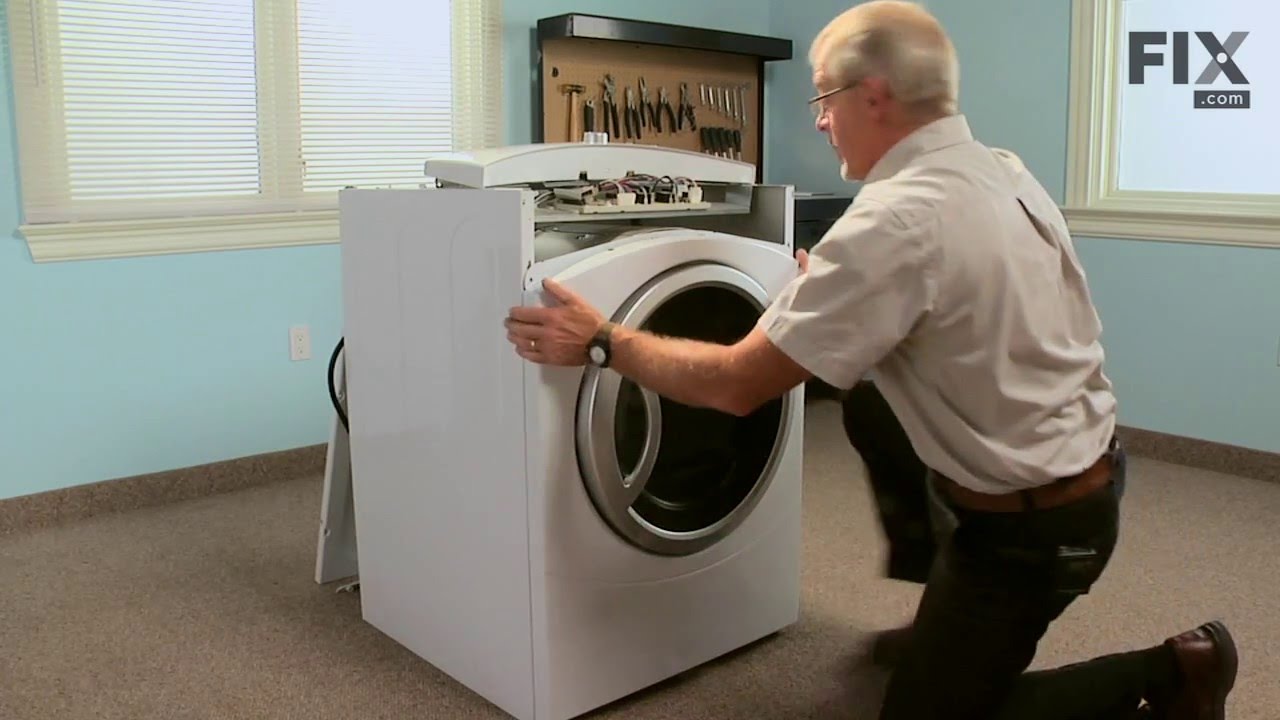
First, I loosened the the top control panel and then loosened the top flat roof panel which allowed me access to the inside of the dryer. Then, I removed the front panel which allowed access to the drum. I was amazed at the amount of lint that was inside the dryer itself. Most of my time was spent in the disassembly and cleaning of the in
... Read more
ternal cavity around the drum. I reached below the drum and removed the belt from the pulley wheels and then unscrewed the drum (from the inside) from the back of the dryer and bearing kit. I removed the diffuser and cleaned it thoroughly. Then I replaced the entire drum bearing kit - the old one was almost completely dissentigrated. I probably should have applied some kind of non-flammable lubricant to the new bearing kit - the instructions did not include this step but after about 3 loads a slight squeak (different). I put everything back together - applying the new drum kit will require 2 sets of hands (my 9-year old daughter did great at this). I re-assembled the dryer and it works great, again except for the slight squeak that's still there. I may disassemble it again and apply some lubricant but I do not know what kind to get; I need to check that out.
Read less
Was this instruction helpful to you?
Thank you for voting!