



Models
>
DLL2980PA
DLL2980PA Hotpoint Dryer
Jump to:
Find Part by Name
Keep searches simple, eg. "belt" or "pump".
Keep searches simple, eg. "belt" or "pump".

$48.21
Be very careful to not handle the igniter by its gray part. Hold it by its white tip only.
In Stock
Order now and your part arrives by Nov 19

$181.32
Replaces "T" and "V" style motors. Includes two motor pulleys. If you have an older model dryer, the pulley may be pressed on or held on with a set screw. If pulley is pressed on, a new motor pulley must be ordered.
In Stock
Order now and your part arrives by Nov 19

This part has three terminals. Note: Use the two smaller terminals for models that only have two wires to the switch.
No Longer Available

In Stock
Order now and your part arrives by Nov 19



Special Order
Common Problems and Symptoms for DLL2980PA
Viewing 1 of 1
Keep searches simple. Use keywords, e.g. "leaking", "pump", "broken" or "fit".
- Customer:
- Owen from Virginia Beach, VA
- Parts Used:
- WE17X10010, WE12X41
- Difficulty Level:
- Easy
- Total Repair Time:
- 1- 2 hours
- Tools:
- Pliers, Screw drivers, Socket set, Wrench (Adjustable)
Dryer made excessively loud noise when running.
I initially opened the front of the dryer and noticed that the drum slides that the drum rides on in the front of the dryer were excessively worn. I then removed the drum and noticed that the plastic bearing that supported the drum in the rear was cracked and the washer(?) appered to be disintigrating. I ordered and replaced the drum sl
... Read more
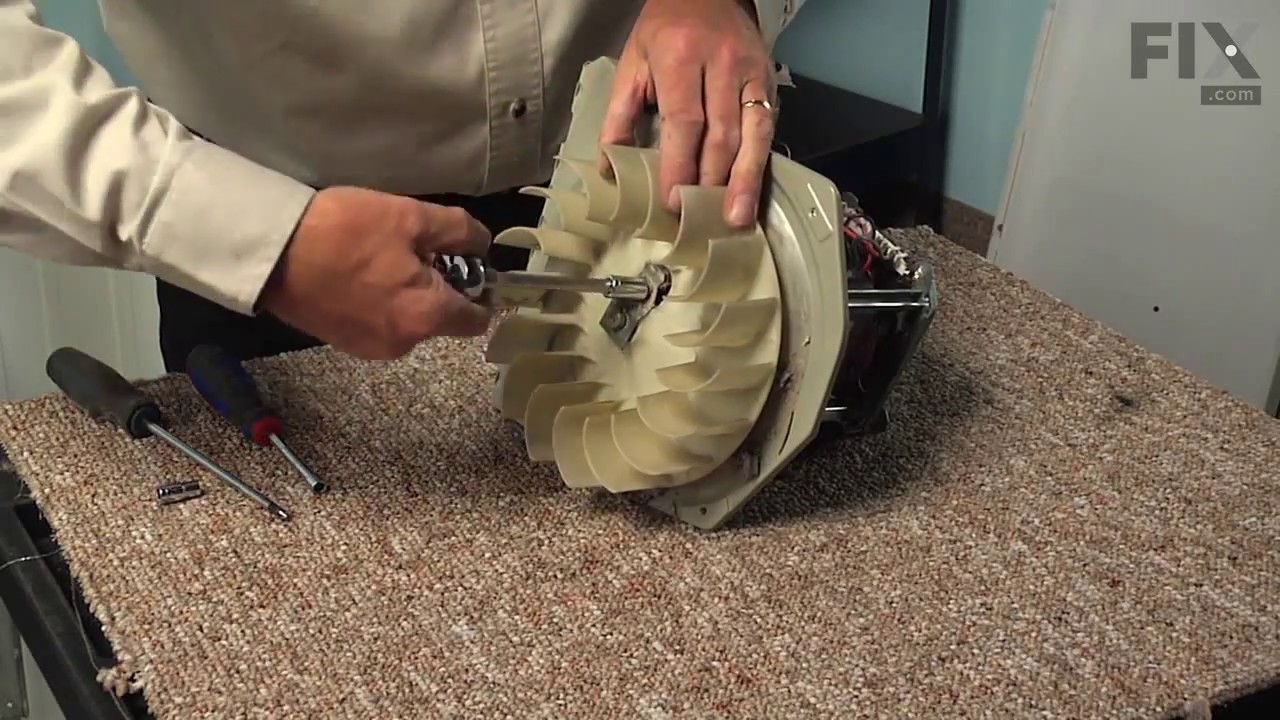
ides and rear bearing. The dryer was still making too much noise. I ran the motor with the drum removed and realized that they motor was the remaining source of the excessive noise. I then ordered and replaced the motor with a new one and this solved the problem. Total cost was around $140. Note that when ordering a new motor, the instructions on the web site indicate that you need to order the motor pulley if your existing motor has a pressed on pulley. The new motor was a kit that came with the pulley included, and therefore the additional part was not needed, and had to be returned. The instructional videos and parts schematics on the web site were very helpful.
Read less
Was this instruction helpful to you?
Thank you for voting!
- Customer:
- Jeff from Seattle, WA
- Parts Used:
- WE4X444
- Difficulty Level:
- Easy
- Total Repair Time:
- 15 - 30 mins
- Tools:
- Wrench set
Gas dryer heat would not come on
Unplugged dryer, opened lower panel. Loosened the bolt that holds igniter assembly to gas unit and removed old igniter. Put new igniter in the pinch clamp then (being VERY careful so as not to crack new part) replaced igniter assembly and tightened its bolt firmly. Voilà, ignition!
Was this instruction helpful to you?
Thank you for voting!
- Customer:
- Robert from Virginia Beach, VA
- Parts Used:
- WE4X197
- Difficulty Level:
- Really Easy
- Total Repair Time:
- Less than 15 mins
- Tools:
- Screw drivers
replqce bad switch
pried old switch assembly from front of machine with screw driver. removed 2 electrical connections. shorted terminals to verify problem. inserted wiring terminals to new switch. verified operation and then pushed switch assembly into machine opening.
Was this instruction helpful to you?
Thank you for voting!