



Models
>
FRQE7000LW0
FRQE7000LW0 Frigidaire Dryer
Jump to:
Find Part by Name
Keep searches simple, eg. "belt" or "pump".
Diagrams for FRQE7000LW0
Viewing 7 of 7


Manuals & Guides for FRQE7000LW0
Click to downloadInstall
Installation Instructions
(2.15MB)
Install
Installation Instructions
(19.93MB)
Manual
Owner's Manuals
(1.13MB)
Manual
Owner's Manuals
(6.11MB)
Wiring
Wiring Diagram
(0.41MB)
Keep searches simple, eg. "belt" or "pump".

$63.45
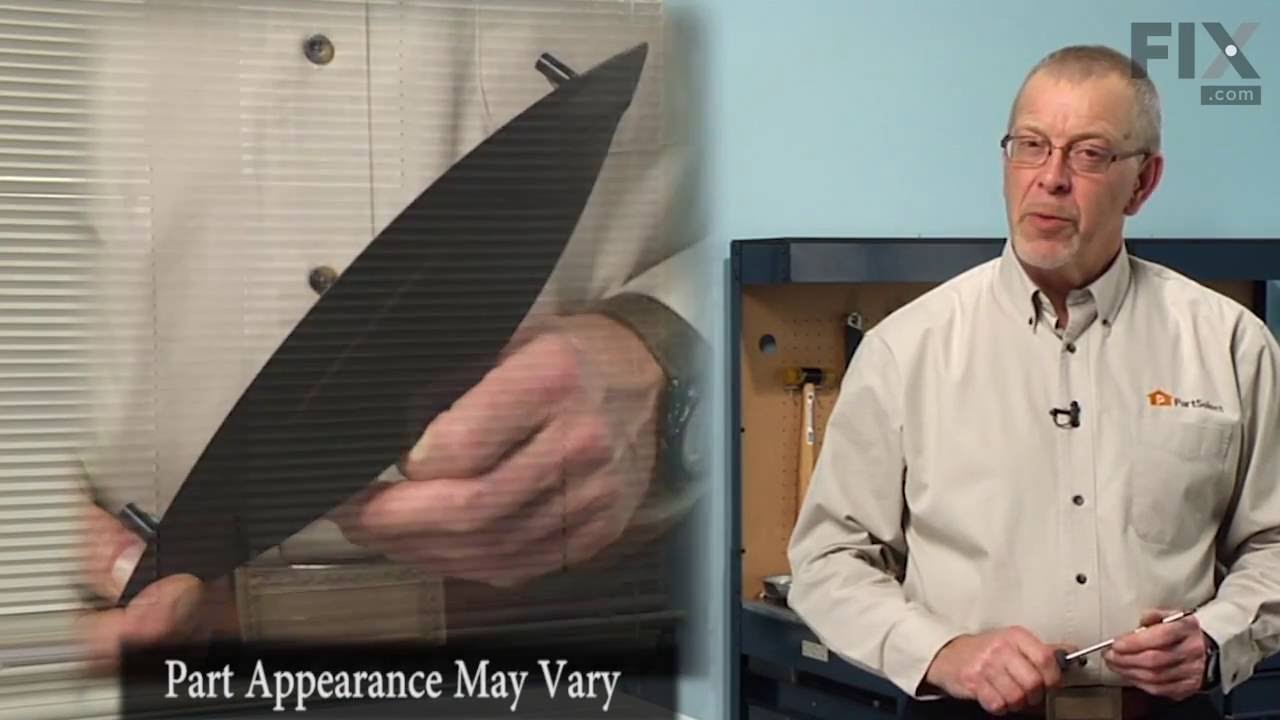
This door catch is an authentic OEM replacement part for your dryer. This part holds the door strike and ensures that the door stays closed while your dryer is running. This prevents hot air or laundr...
In Stock
Order now and your part arrives by Nov 19


$56.28
The two-terminal high limit thermostat has a limit of 260 degrees Fahrenheit and acts as a safety mechanism that keeps the dryer from overheating. The thermostat will cut out when the internal dryer t...
In Stock
Order now and your part arrives by Nov 19

In Stock
Order now and your part arrives by Nov 19

$115.78
If your dryer’s taking forever to dry clothes or making strange noises, the blower wheel might be the problem. This white plastic part helps push air through the drum and out the exhaust. It fits Kenm...
In Stock
Order now and your part arrives by Nov 19

$25.25
This screw is designed to fit washers and dryers. Refer to the diagram provided by the manufacturer for further installation instructions and accurate application of screw in your tool.
In Stock
Order now and your part arrives by Nov 19
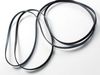
$30.95
Keep your dryer operating properly with this dryer belt, designed to rotate the drum during each cycle for effective drying. Made from durable material, it provides the strength needed to handle regul...
In Stock
Order now and your part arrives by Nov 19

$26.35
This is a screw and it is used with a variety of home appliances. It is less than 1/2 an inch long, and is #8-18 x 3/8. This part is a pan head, sheet metal, screw. It is made of metal.
In Stock
Order now and your part arrives by Nov 19
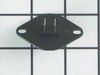
$59.52
This part controls the temperature of the inside of the dryer drum and prevents the dryer from overheating. This part is located in the blower housing.
In Stock
Order now and your part arrives by Nov 19

In Stock
Order now and your part arrives by Nov 19

In Stock
Order now and your part arrives by Nov 19
In Stock
Order now and your part arrives by Nov 19
Common Problems and Symptoms for FRQE7000LW0
Viewing 10 of 10Door won’t close
Fixed by these parts
How to fix it
Noisy
Fixed by these parts
How to fix it
Drum Not Spinning
Fixed by these parts
How to fix it
Not Heating
Fixed by these parts
How to fix it
Too hot
Fixed by these parts
How to fix it
Marks left on clothes
Fixed by these parts
How to fix it
Lid or door won’t close
Fixed by these parts
How to fix it
Door Pops Open
Fixed by these parts
How to fix it
Won’t Start
Fixed by these parts
How to fix it
Leaking
Fixed by these parts

How to fix it
Keep searches simple. Use keywords, e.g. "leaking", "pump", "broken" or "fit".
- Customer:
- Bruce from Seminole, FL
- Parts Used:
- 5303207102, 131658800
- Difficulty Level:
- Really Easy
- Total Repair Time:
- Less than 15 mins
- Tools:
- Pliers
Door Latch & Door Strike Broken On Dryer
I removed the broken door latch & strike with pliers. Then I pushed the new parts into place
Was this instruction helpful to you?
Thank you for voting!
- Customer:
- Michelle from Dallas, TX
- Parts Used:
- 131658800
- Difficulty Level:
- Really Easy
- Total Repair Time:
- Less than 15 mins
My husband ruined the old latch by trying to shut the door too hard, and the old latch fell down into the inside of the dryer.
I took the new latch out of the package and snapped it into place. It took about 15 seconds, and that included the walk to the laundry room!
Was this instruction helpful to you?
Thank you for voting!
- Customer:
- Michael from Dexter, MI
- Parts Used:
- 134412860
- Difficulty Level:
- Really Easy
- Total Repair Time:
- Less than 15 mins
- Tools:
- Screw drivers
The plastic handle on the door of a front load washer cracked at the top.
I removed the two screws holding the old handle on and then then installed the new handle
Was this instruction helpful to you?
Thank you for voting!