



Models
>
FSE747GCS0
FSE747GCS0 Frigidaire Dryer
Jump to:
Find Part by Name
Keep searches simple, eg. "belt" or "pump".
Diagrams for FSE747GCS0
Viewing 6 of 6


Keep searches simple, eg. "belt" or "pump".
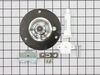
$37.35
This ball-and-socket style bearing kit is used in your dryer to support the rear of the drum as it tumbles through the dry cycle. The bearing attaches on the inside of the rear panel of the dryer cabi...
In Stock
Order now and your part arrives by Oct 24
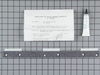
If your dryer is noisy while tumbling, you may need to replace the drum glides. This genuine OEM part is found attached to the front panel of your dryer. It is used to reduce friction and allows the d...
No Longer Available
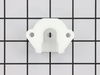
$10.95
The drum support bearing is an authentic OEM replacement part for your dryer. The bearing is used to support the drum and allow it to rotate smoothly and quietly. If your dryer is excessively noisy wh...
In Stock
Order now and your part arrives by Oct 24

$63.45
This door catch is an authentic OEM replacement part for your dryer. This part holds the door strike and ensures that the door stays closed while your dryer is running. This prevents hot air or laundr...
In Stock
Order now and your part arrives by Oct 24
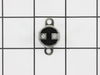
$24.15
This thermal fuse limiter is used in dryers to monitor the temperature and make sure it does not overheat. The thermal fuse has a limit of 220 degrees Fahrenheit before the heating element and power a...
In Stock
Order now and your part arrives by Oct 24
Special Order
$74.46
This part is used to start the dryer once you have selected a setting on the timer.
In Stock
Order now and your part arrives by Oct 24
$23.05
This drum bearing bracket is for dryers. Drum bearing bracket holds and supports the drum bearing
In Stock
Order now and your part arrives by Oct 24

$37.35
This white dryer lint filter screen collects lint as it passes through the dryer vent.
In Stock
Order now and your part arrives by Oct 24
In Stock
Order now and your part arrives by Oct 24

In Stock
Order now and your part arrives by Oct 24
Common Problems and Symptoms for FSE747GCS0
Viewing 8 of 8Noisy
Fixed by these parts
How to fix it
Marks left on clothes
Fixed by these parts
How to fix it
Door won’t close
Fixed by these parts

How to fix it
Too hot
Fixed by these parts
How to fix it
Won’t Start
Fixed by these parts
How to fix it
Drum Not Spinning
Fixed by these parts
How to fix it
Not Heating
Fixed by these parts
How to fix it
Door Pops Open
Fixed by these parts
How to fix it
Keep searches simple. Use keywords, e.g. "leaking", "pump", "broken" or "fit".
- Customer:
- Frank from Boyertown, PA
- Parts Used:
- 5303281153
- Difficulty Level:
- Easy
- Total Repair Time:
- 15 - 30 mins
- Tools:
- Nutdriver, Screw drivers
Loud Squeaking
1. Unplug dryer from outlet
2. Using Lg. flat screwdriver, pry under the front edge of the top and release two spring tabs
3. Lift up top and tilt back out of your way
4. Unscrew two phillips scews on inside of front panel
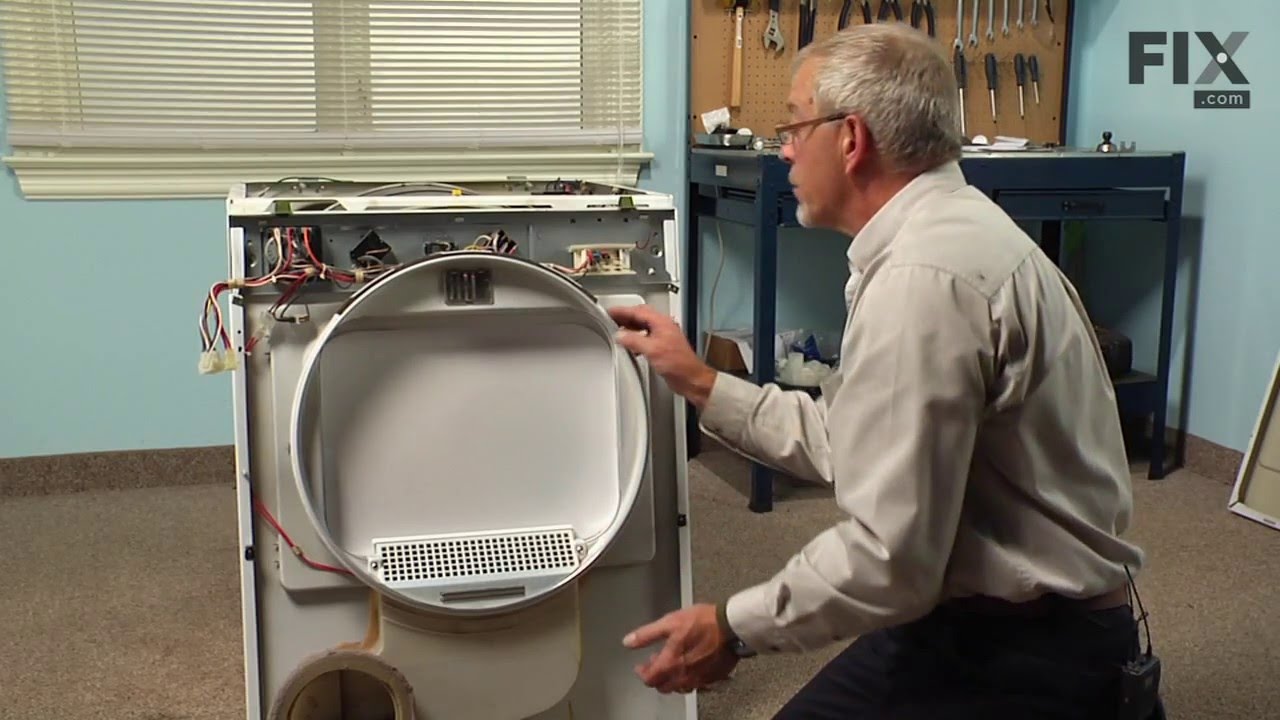
5. Lift up and out the front panel. Two spring clips at bottom.
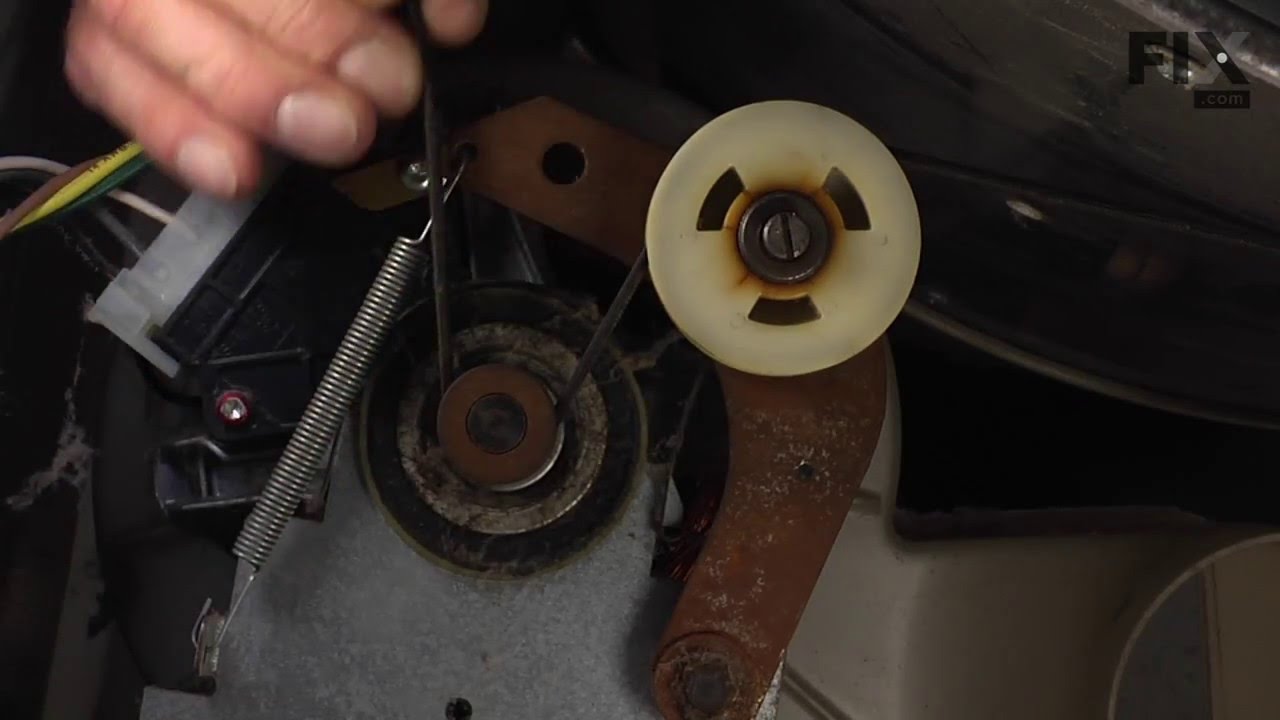
6. Rlease tension on drum be ... Read more lt at the motor. Access panel at rear of dryer.
7.Unscrew 3 screws from inside, center rear of drum.
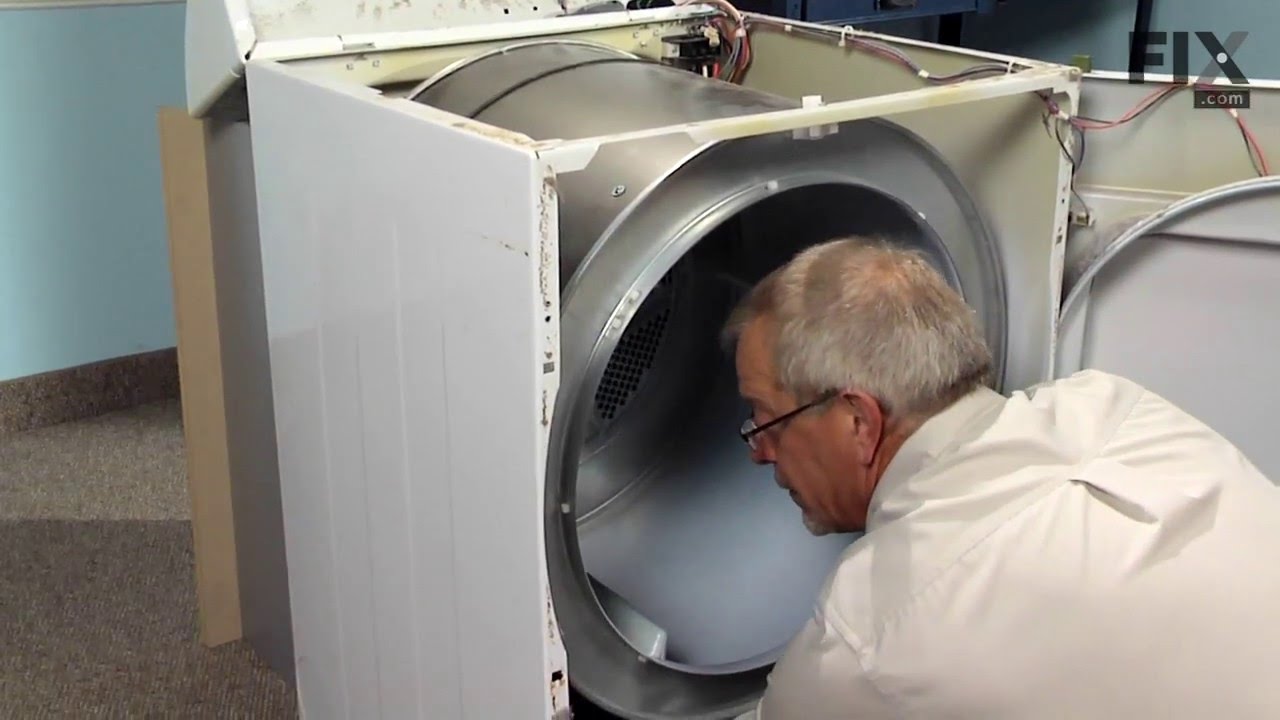
8. Remove drum through the front of the dryer. You may have to spread the sides apart a little bit for it to fit
9. Lift up on the rear drum bearing to remove it from the bearing retainer. ( U shaped plastic socket)
10. unsrew 2 screws and remove the bearing retainer, ground ball. Ball retainer is on outside of dryer.
11. Vacuum everything--duct, blower, lint trap, ect.
12. Intall new bearing retainer and grounding ball, an assistant is helpful at this time, one to hold ball retainer on rear of dryer, one to screw it in from the inside
13. reassemble remainder of parts in reverse order.
2. Using Lg. flat screwdriver, pry under the front edge of the top and release two spring tabs
3. Lift up top and tilt back out of your way
4. Unscrew two phillips scews on inside of front panel
5. Lift up and out the front panel. Two spring clips at bottom.
6. Rlease tension on drum be ... Read more lt at the motor. Access panel at rear of dryer.
7.Unscrew 3 screws from inside, center rear of drum.
8. Remove drum through the front of the dryer. You may have to spread the sides apart a little bit for it to fit
9. Lift up on the rear drum bearing to remove it from the bearing retainer. ( U shaped plastic socket)
10. unsrew 2 screws and remove the bearing retainer, ground ball. Ball retainer is on outside of dryer.
11. Vacuum everything--duct, blower, lint trap, ect.
12. Intall new bearing retainer and grounding ball, an assistant is helpful at this time, one to hold ball retainer on rear of dryer, one to screw it in from the inside
13. reassemble remainder of parts in reverse order.
Read less
Was this instruction helpful to you?
Thank you for voting!
- Customer:
- Stephen from Newnan, GA
- Parts Used:
- 134120900
- Difficulty Level:
- A Bit Difficult
- Total Repair Time:
- 15 - 30 mins
- Tools:
- Pliers, Screw drivers
Thermal Limiter opened
Unplugged Dryer.
Opened top of Dryer, over the drum.
Removed Thermal Limiter.
Tested the Thermal Limiter - found it was open.
Checked all vents and exhaust tube for lint build-up.
Replaced Thermal Limiter.
Closed top of dryer.
Plugged Dryer back.
Tested Dryer - it works.
Opened top of Dryer, over the drum.
Removed Thermal Limiter.
Tested the Thermal Limiter - found it was open.
Checked all vents and exhaust tube for lint build-up.
Replaced Thermal Limiter.
Closed top of dryer.
Plugged Dryer back.
Tested Dryer - it works.
Was this instruction helpful to you?
Thank you for voting!
- Customer:
- Dan from Portland, OR
- Parts Used:
- 5303937139, 5303283286, 131825900, 131553800
- Difficulty Level:
- A Bit Difficult
- Total Repair Time:
- 1- 2 hours
- Tools:
- Pliers, Screw drivers, Wrench set
Brown spots on clothing
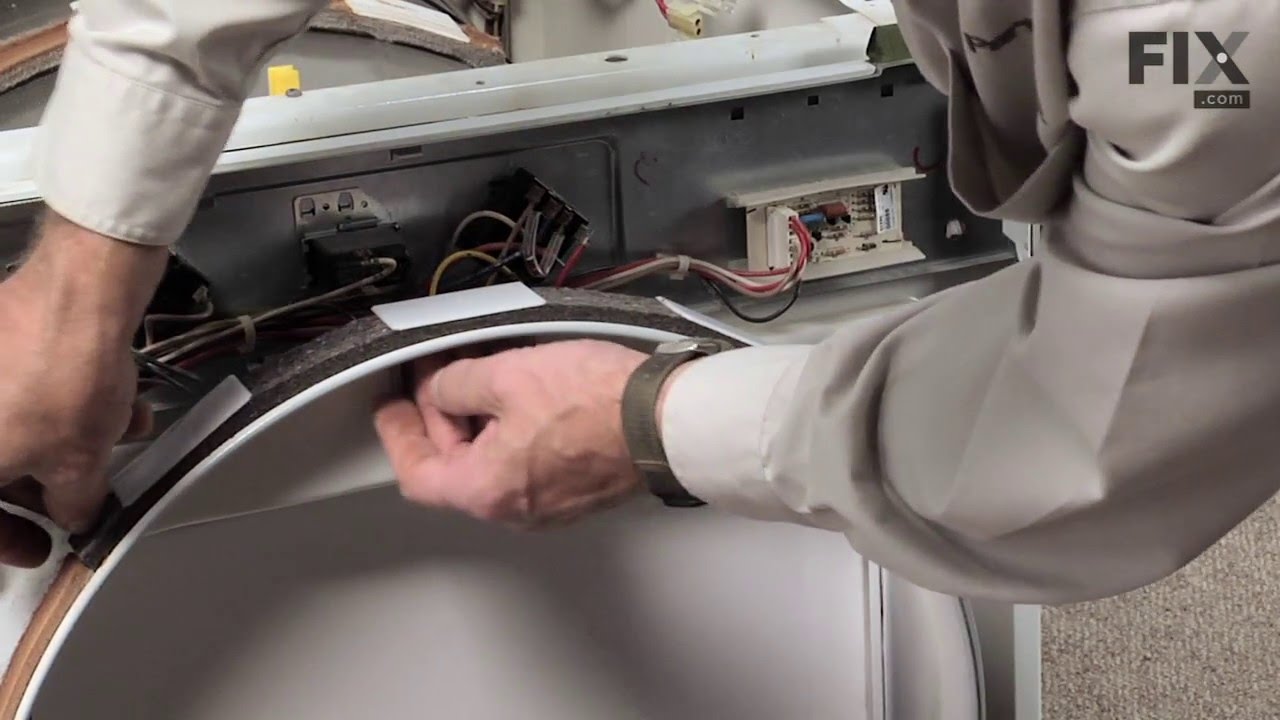
I was getting brown spots on my clothing since I bought this used dryer. Went to partselect.com Fine with me, but not my wife and daughter! Anyway, after ruling out rust, I ended up here and found Randy's story - without it, I'd be lost! Basically, the felt seal crushes over time, and clothing gets caught in the gap stuck against this
... Read more
nasty old brown felt and leaves a mark.
Replacing the belt was a very good idea, though as mentioned, the drum support bearing is just a "nice to do" - not necessary, but it gives you the excuse to re-grease it (I used a thick Molly impregnated grease from my motorcycle).
The only other advice I can give is that I used a chisel to scrape off the old felt - it came off in very little time, and I didn't end up needing to really do much cleaning of the drum afterwards. Just use a sharp one you're not afraid to dull - it'll be metal-on-metal contact.
Using the spring-loaded clamps that you can get from the hardware store was also a huge help - it just needs to keep the upper glide stuck to the drum for the 30 minutes for the glue to cure - I used 6, but 3 would work. The bottom seal doesn't need them as the felt will tend to stick to the drum when the glue is applied.
You might not NEED to replace the lower seal, but I'd suggest it. It's cheap enough, and this job is "not fun" enough that it only adds a few minutes total - good insurance that you do a complete job.
You also might want to get some aluminum foil tape and re-tape your blower extension tube - mine was ripped off from moving from house to house over the years.
Replacing the belt was a very good idea, though as mentioned, the drum support bearing is just a "nice to do" - not necessary, but it gives you the excuse to re-grease it (I used a thick Molly impregnated grease from my motorcycle).
The only other advice I can give is that I used a chisel to scrape off the old felt - it came off in very little time, and I didn't end up needing to really do much cleaning of the drum afterwards. Just use a sharp one you're not afraid to dull - it'll be metal-on-metal contact.
Using the spring-loaded clamps that you can get from the hardware store was also a huge help - it just needs to keep the upper glide stuck to the drum for the 30 minutes for the glue to cure - I used 6, but 3 would work. The bottom seal doesn't need them as the felt will tend to stick to the drum when the glue is applied.
You might not NEED to replace the lower seal, but I'd suggest it. It's cheap enough, and this job is "not fun" enough that it only adds a few minutes total - good insurance that you do a complete job.
You also might want to get some aluminum foil tape and re-tape your blower extension tube - mine was ripped off from moving from house to house over the years.
Read less
Was this instruction helpful to you?
Thank you for voting!