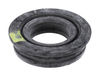
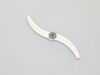
The roller helps the lower rack of your dishwasher to smoothly slide in and out of your appliance. A broken or worn roller wheel can make it clunky or difficult to get the rack in and out of the dishw...
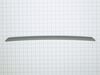
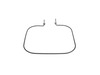
This is a genuine OEM replacement gasket for your dishwasher, that measures approximately 22 inches long and is made of plastic. It is found at the bottom of the inside panel of your dishwasher door. ...
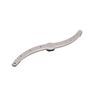
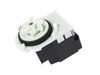
Please be informed that this OEM-verified part that DOES NOT come with the heatshield, as per GE directly and are no longer required. This lower spray arm assembly in your dishwasher distributes water...
If your dishwasher is leaking water while it is running, there may be an issue with the gasket. Also known as a door gasket, the tub gasket creates a watertight seal between the tub of the dishwasher ...
This is an authentic lower dishrack with wheels. Please note that the manufacturer has made a design change, which requires the silverware basket to be relocated from the door to the inside of the rac...
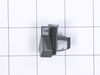
This genuine OEM part is an end cap for the racks in your dishwasher. The end cap ensures that the rack does not fall off the rails when you pull the rack in and out. If the end caps are damaged or mi...
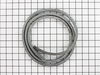
- Includes: 4 brackets, 4 roller wheel brackets, and 8 wheels part # WD12X26146
Dishwasher Lower Dishrack Carrier and Roller Kit (Set of 4). This kit will replace all four one piece roller carriers w...
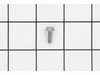
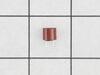
This OEM-compatible screw is designed for use with many GE dishwashers. Measuring 8-16 HXW and 1/2" in length, this stainless steel screw secures the middle spray arm hub to the upper rack assembly, e...
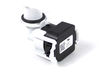
This dishwasher latch strike is a manufacturer-approved replacement part for your appliance. The latch strike is an important component in your dishwasher door assembly, and adds an extra layer of sec...
Ask our experts a question about this part and we'll get back to you as soon as possible!
3 questions answered by our experts.
< Prev
1
Next >
Sort by:
Search filter:
Clear Filter
Your search term must have 3 or more characters.
Keep searches simple. Use keywords, e.g. "leaking", "pump", "broken" or "fit".
Sorry, we couldn't find any existing answers that matched. Try using some different or simpler keywords, or submit your new question by using the "Ask a Question" button above!
Lacy
29 days ago
Dishwasher upon pressing start, drains continuously and does successfully drain water, but never stops draining to start filling.
For model number HDF330PGR3WW
Hello Lacy, thank you for reaching out to us. Based on the issue description, you will need to replace the water pressure sensor, part number FIX12741258, to fix the issue. The float switch inside the tub may be stuck in the "up" position, signaling the machine that it is full of water. Gently lift the float up and down. It should move freely and click when it reaches the top. If it is stuck, wash away any stuck-on food or mineral deposits blocking it. We hope this information helps!
Dishwasher starts, then it stops, and then the green light above. The start button starts blinking.
For model number HDF330PGR3WW
Hello Lavel, thank you for reaching out. Based on the description that you have provided, we would recommend replacing the door latch, part number FIX16659468, to fix the issue. We hope this solves your problem!
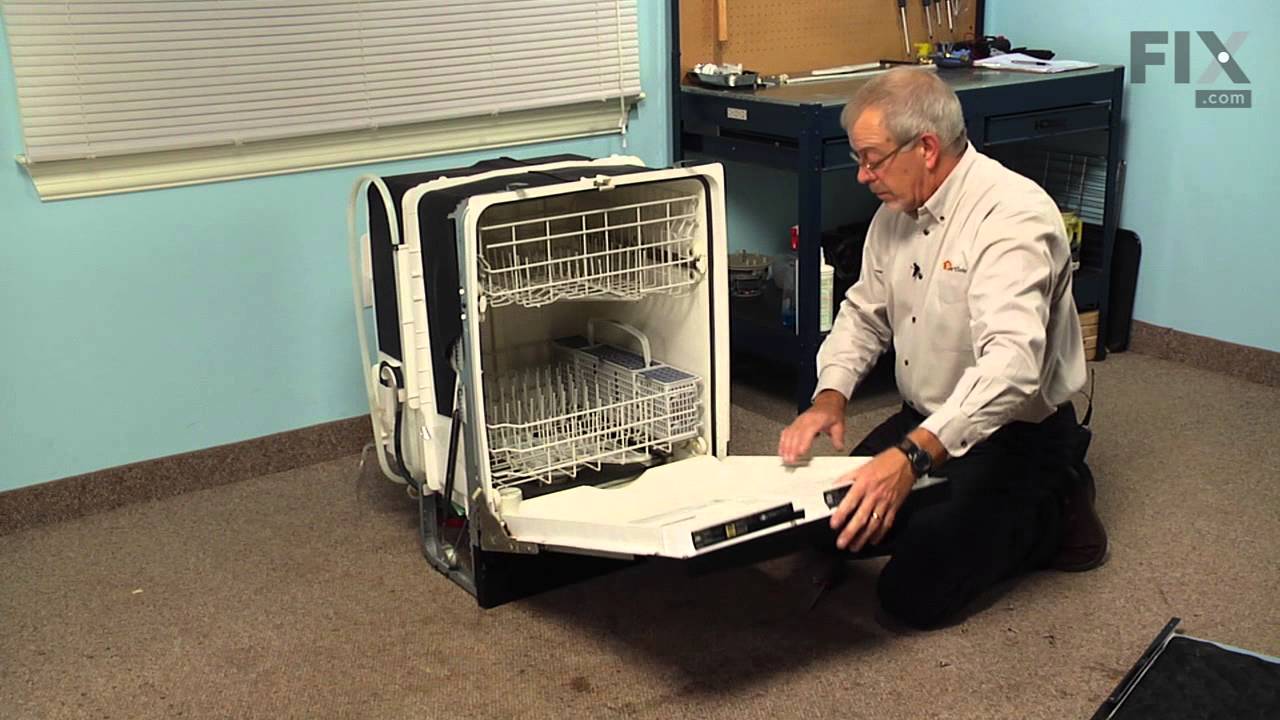
Hello Lorin, Thank you for your inquiry. You would need to remove the door and arm hinges and then you should be able to slide the old gasket out and put the new one in. Although we do not have a repair video for your exact part number, we have included one of our videos for a similar part to give you a general idea of the repair. We hope this helps you.
Took off the kickplate, diconnected the wires and removed the whole door by lifting straight up, removing spring wires from hinges. Once door is disconnected from the machine, removed one hinge by removing bolt. Slid gasket into place, secured hinge back in place, then reconnected wires at bottom, replaced hinge spring wires and slid d
... Read moreoor back down onto hinges. Now that we know how to do it, could do it in 15 min to half hour.
I found it online! There were step by step instructions that were easy to understand. I have never had to do anything like this in my life, only recently had to start doing everything around the house myself due to husband's illness. The repairman came out, charged me $100 to determine what the dishwasher needed & left me with the p
... Read moreart number. He was going to charge me $389 to install the part and they were over charging for the part. The repairman suggested I just get a new dishwasher. I ordered the part from the website at 1/2 the price that the other place charges and found it on line. With the step by step instructions and the online page, I successfully installed it MYSELF. Saved me a ton of $$. I LOVE the website Thank You!!!!
Don't remove the door! Unscrew the bolts at each lower corner of the door(this is how the door is attached to the hinges so it is now free). Then open the door fully and slowly pull the door toward you a few inches. This slides the door up the hinges and allows just enough room to slide the old gasket out and and slide the new one in.
... Read more Then slide the door back down the hinges(pushing it away from you, back into place). Then simply close the door and reinstall the bolts at the bottom corners and all done! I watched several videos and believe me, removing the door to replace this gasket does nothing but turn and small quick repair into a large lengthy one.