



Models
>
GQB7429VC119
GQB7429VC119 General Electric Dishwasher
Jump to:
Find Part by Name
Keep searches simple, eg. "belt" or "pump".
Diagrams for GQB7429VC119
Viewing 1 of 1
Keep searches simple, eg. "belt" or "pump".
In Stock
Order now and your part arrives by Sep 21
$15.26
This push on nut is for your dishwasher or refrigerator. As the name suggests, it pushes into place, rather than being screwed in. It is approximately half an inch in diameter and is made of stainless steel.
In Stock
Order now and your part arrives by Sep 21
In Stock
Order now and your part arrives by Sep 21
In Stock
Order now and your part arrives by Sep 21
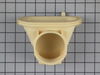
$49.29
This part is the replacement sump housing or sump insert for your dishwasher. It is made of plastic and is approximately 7 inches by 5 inches. The sump housing is attached to the bottom of the dishwas...
In Stock
Order now and your part arrives by Sep 21
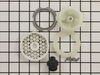
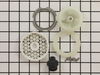
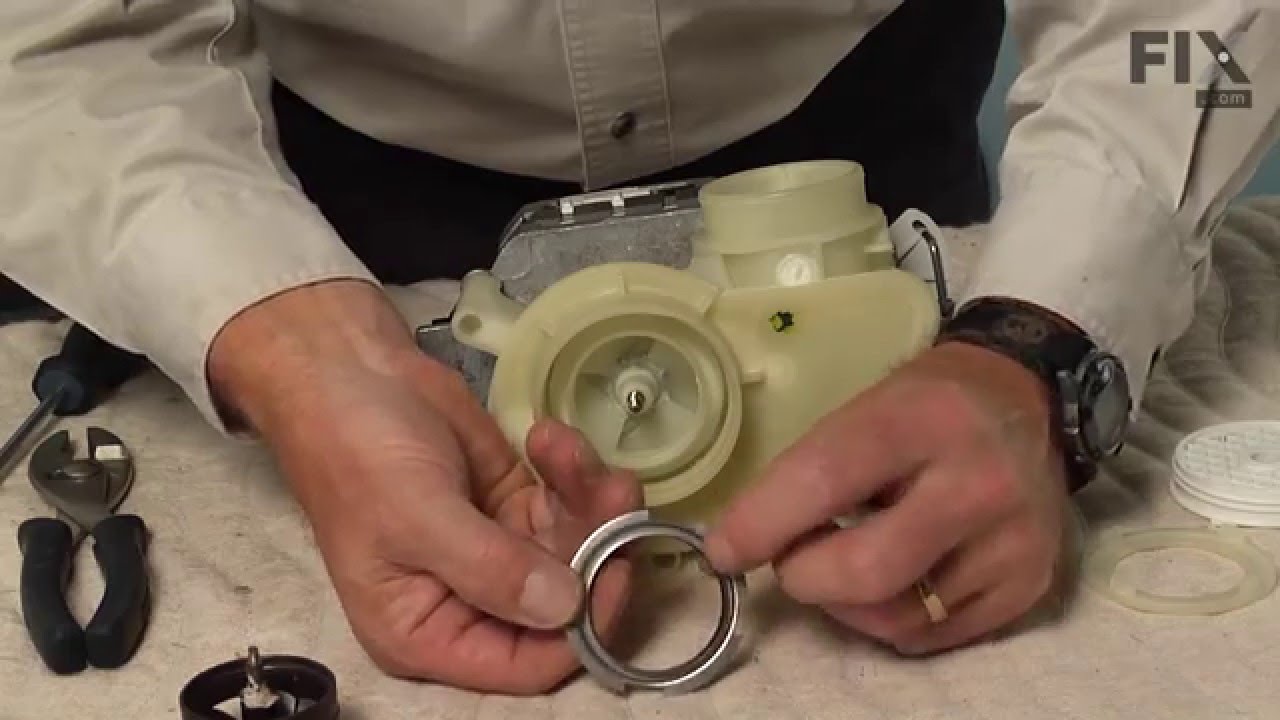
This part helps stop your dishwasher from leaking. This kit includes the impeller, seal, blade, filter, skidder and skidder holder.
No Longer Available
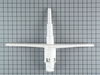
$57.30
This part may differ in appearance, but functions same as original.
On Order
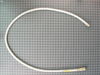
$48.21
This drain hose is an OEM, manufacturer-approved replacement part for your dishwasher. The drain hose filters out the wastewater from the dishwasher. If there is a hole in it, water will leak out of y...
In Stock
Order now and your part arrives by Sep 21
In Stock
Order now and your part arrives by Sep 21
$82.14
This kit includes the armature and link assembly. You may need the solenoid bracket which is sold separately.
This valve opens in order for the water to drain out of the dishwasher.
In Stock
Order now and your part arrives by Sep 21
$25.10
This hose clamp kit contains two clamps. The smaller of the two is an inch in diameter while the larger of the two is two inches in diameter.
In Stock
Order now and your part arrives by Sep 21
Special Order
Common Problems and Symptoms for GQB7429VC119
Viewing 4 of 4Leaking
Fixed by these parts
How to fix it
Not cleaning dishes properly
Fixed by these parts
How to fix it
Not draining
Fixed by these parts
How to fix it
Will not fill with water
Fixed by these parts
How to fix it

Keep searches simple. Use keywords, e.g. "leaking", "pump", "broken" or "fit".
Water leak from gate (diverter) valve shaft
This was a fairly simple repair. After disconnecting power to the dishwasher and removing the panel below the door, first had to remove a retainer C clip from the gate valve shaft. Then disconnected the linkage from the gate valve solenoid, removed two return springs and slid the gate valve contol arm off the shaft. Then removed the solen
... Read more
oid bracket that was fastened to the housing by 2 screws. This allowed access to the push on nut on the valve shaft. Removed the old push on nut which exposed the leaking seal. Removed the bad seal, then moistened and carefully slid on and seated the new drain valve shaft seal. Affixed new push on nut. Reinstalled the above mentioned parts that were removed. Problem solved - no more leak. Total cost $18.81 for factory GE parts plus $6.95 shipping. Thank you PartSelect.
Read less
Was this instruction helpful to you?
Thank you for voting!
- Customer:
- William from Middle Island, NY
- Parts Used:
- WD22X155
- Difficulty Level:
- Really Easy
- Total Repair Time:
- Less than 15 mins
- Tools:
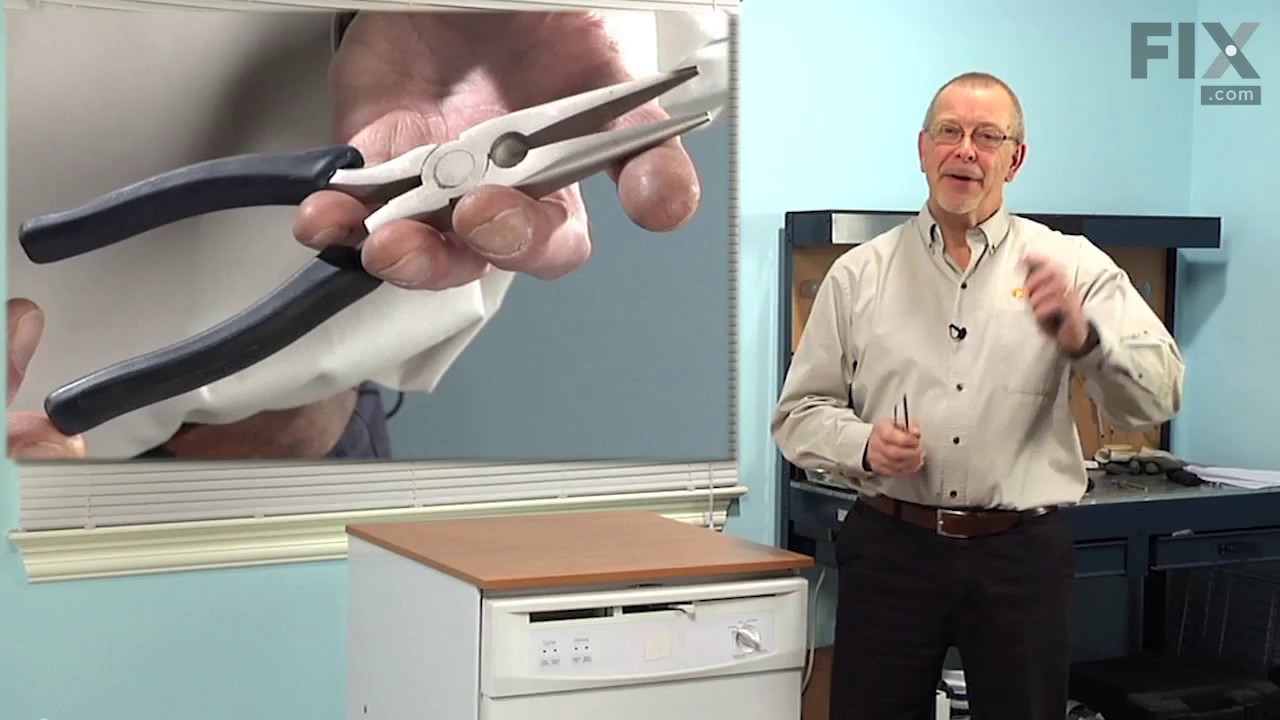
- Pliers
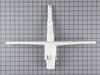
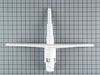
Top of the water spray "tower" was broken off by opening lower dish drawer and not checking to see if tower was in the down position.
Apply large vice like pliers at base of the lower spray arm and not applying too much pressure to plier as this is an all plastic part and slowly turn counter-clockwise until entire spray arm is loose enough to lift out and install the new part in the reverse order.
Was this instruction helpful to you?
Thank you for voting!
- Customer:
- David E from Colorado Springs, CO
- Parts Used:
- WD18X214
- Difficulty Level:
- Easy
- Total Repair Time:
- 15 - 30 mins
- Tools:
- Nutdriver, Screw drivers, Socket set
Rubber connector was leaking (slit in rubber)
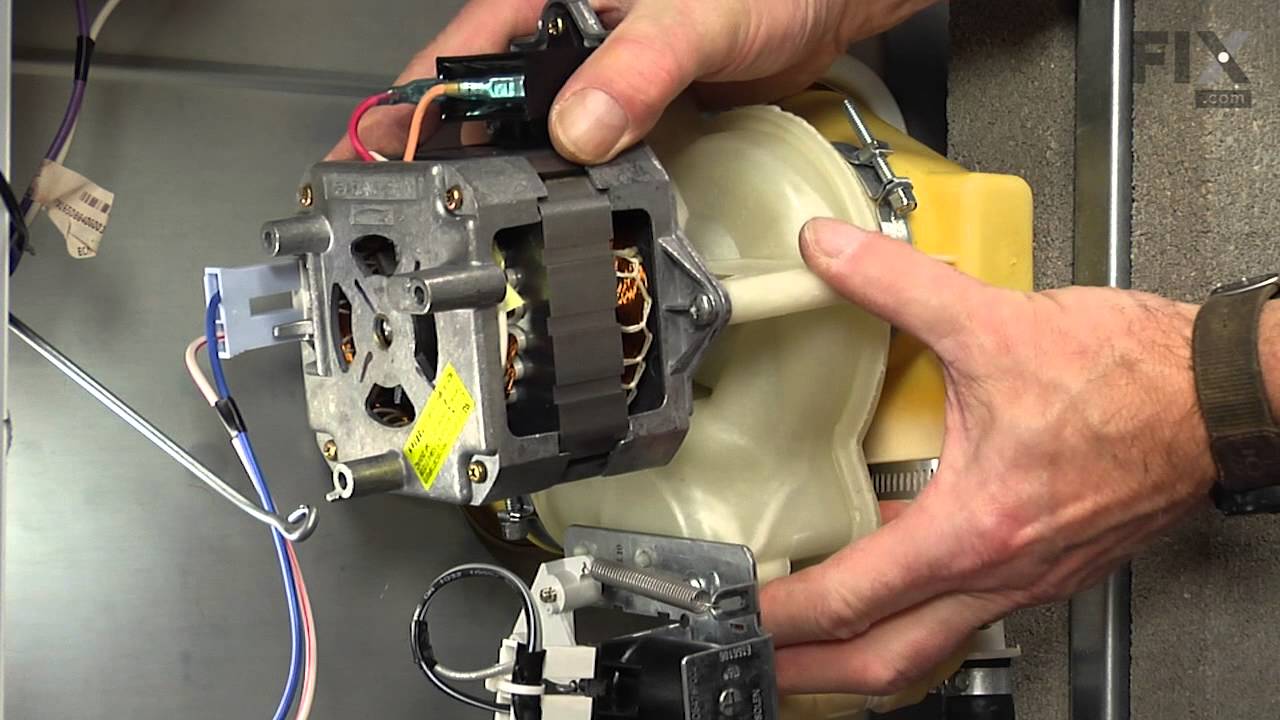
First I removed the dishwasher from underneath the countertop and laid it on its back. I used a nut driver to remove the pump support wire and the two clamps holding the rubber connectors to the pump. It helped to hook the pump support wire in a hole in the left side of the frame and reconnect it to the pump to hold it up out of the way
... Read more
. I was able to remove the rubber connector by hand and unscrew it. To install the new rubber connector tightly, I slipped a piece of 2" PVC pipe (outside diameter is 2-3/8") inside the connector and tightened the clamp around the connector and PVC pipe. This allowed me to use the pipe to tighten the rubber connector. I reassembled the dishwasher pump and connections and put the dishwasher back into service
Read less
Was this instruction helpful to you?
Thank you for voting!