



Models
>
PSKS333EB3WW
PSKS333EB3WW General Electric Dishwasher
Jump to:
Find Part by Name
Keep searches simple, eg. "belt" or "pump".
Diagrams for PSKS333EB3WW
Viewing 3 of 3


Keep searches simple, eg. "belt" or "pump".
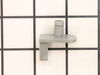
This genuine OEM replacement kit includes 8 rollers and axles for the lower rack of your dishwasher. If you have difficult sliding the rack in and out of your dishwasher, or the wheels continue to fal...
In Stock
Order now and your part arrives by Oct 16
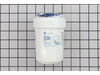
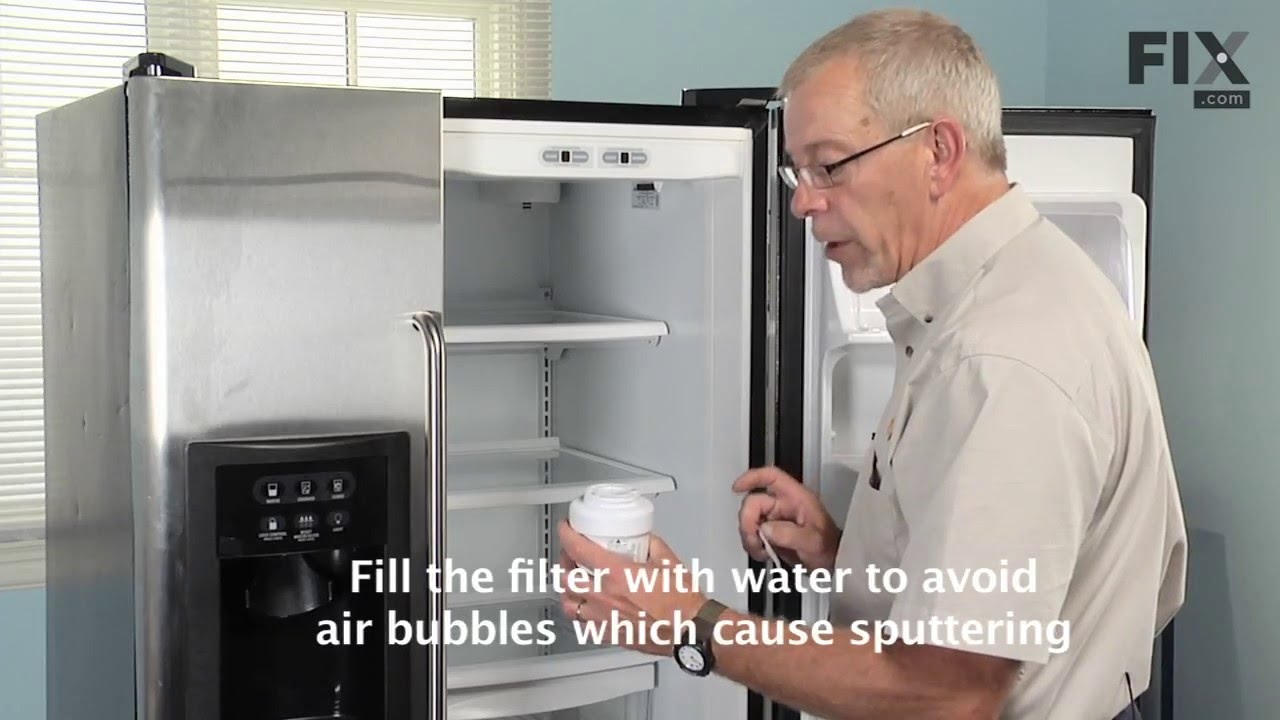
Keep water and ice properly filtered with this updated refrigerator filter. It installs in the upper right corner of select refrigerator models. Turn the old filter left to remove it, then align the a...
In Stock
Order now and your part arrives by Oct 16
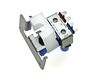
$103.95
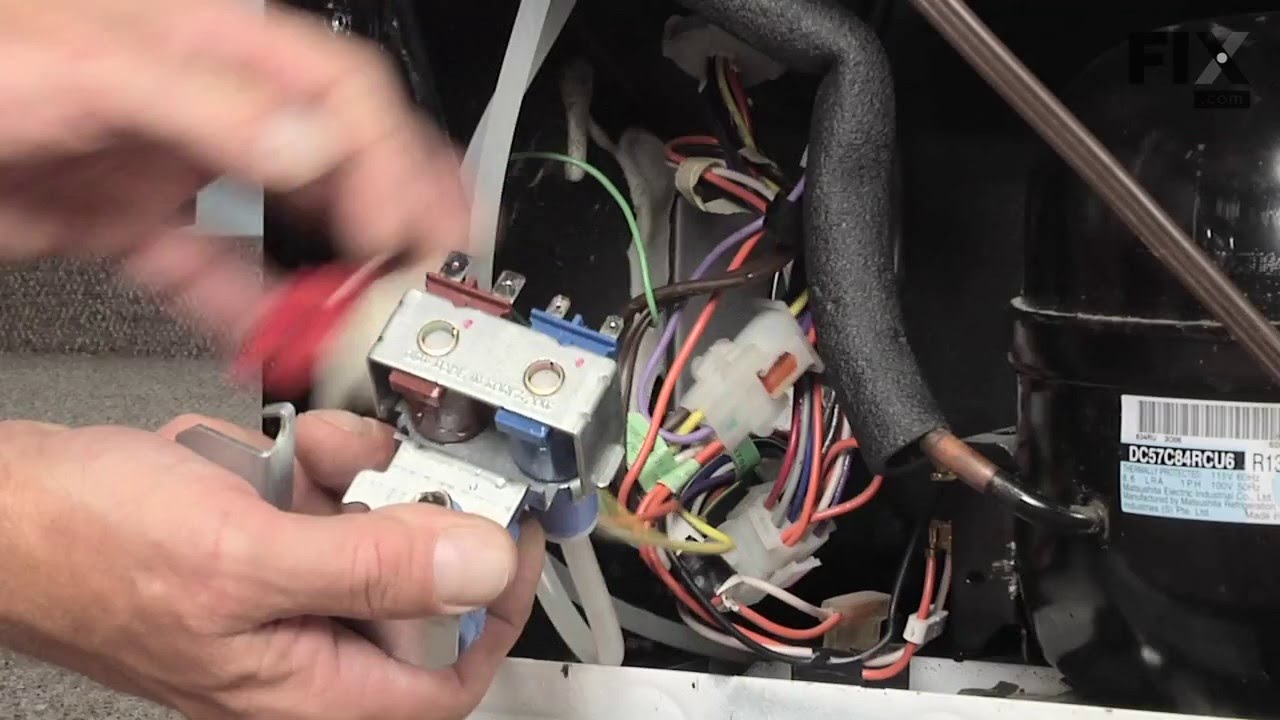
This double inlet water valve has quick connections. This valve has 1/4 and 5/16 John Guest fittings for the outlet lines and a 1/4 compression fitting for the inlet line.
In Stock
Order now and your part arrives by Oct 16
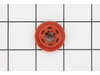
$16.95
The evaporator fan grommet is used to provide a cushion between the fan motor and the motor mounting bracket in your freezer. This genuine OEM part is about one inch in diameter and is red in color. I...
In Stock
Order now and your part arrives by Oct 16
$408.23
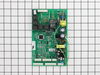
This electronic board (Main Control Board Assembly, Control Board, Motherboard) controls the temperature and defrost functions of the unit. This control board is located on the back of the refrigerato...
In Stock
Order now and your part arrives by Oct 16
$42.95
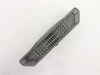
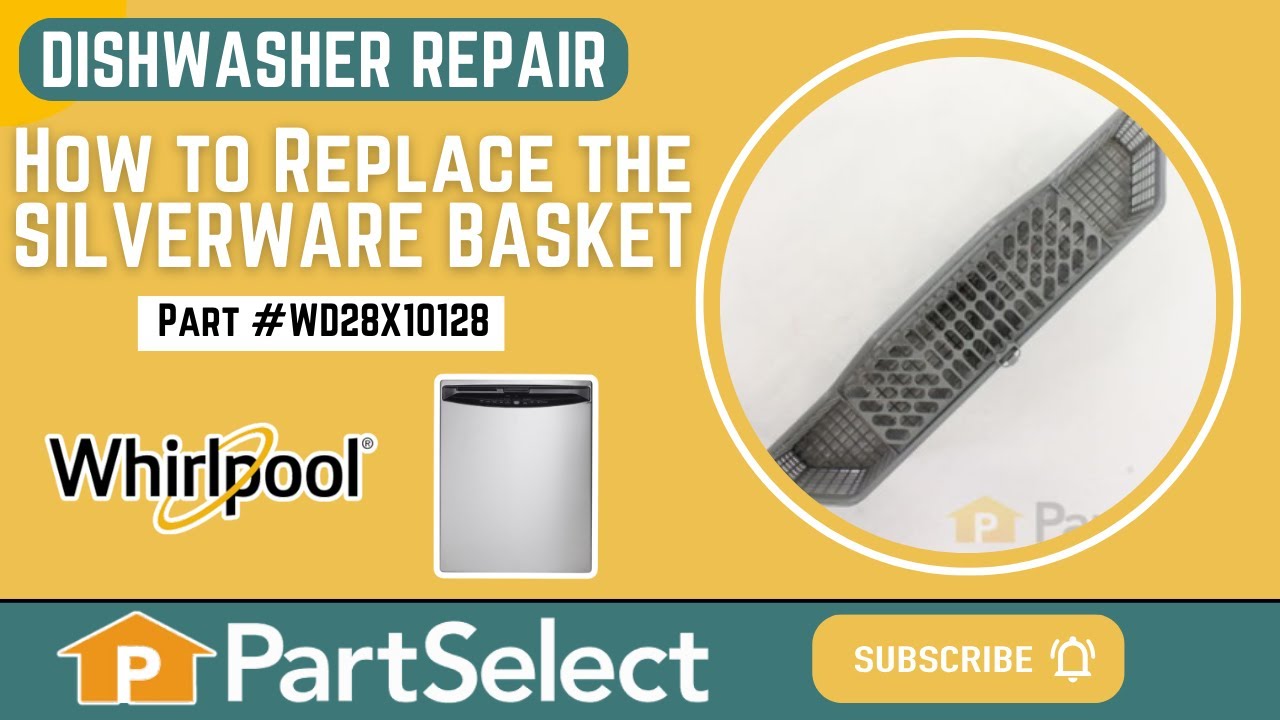
This is an authentic OEM replacement silverware basket for your dishwasher. If the basket has become damaged, it should be replaced. Holes in the basket can cause cutlery to fall through to the bottom...
On Order
This grommet is found on both the front and back of the fan motor assembly for the condenser and the evaporator in your fridge. It is used to provide a buffer between the fan motor and the mounting br...
In Stock
Order now and your part arrives by Oct 16
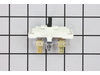
This genuine OEM light switch is used to control the light in your refrigerator. When the fridge door is closed, it depresses the switch and turns the light off. When the fridge door opens, it release...
In Stock
Order now and your part arrives by Oct 16
$33.20
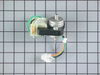
This push-to-start switch is a genuine OEM part and is used to activate your dryer. If your dryer will not start, or will only start if the switch is pushed down, or the timer knob is not engaging wit...
In Stock
Order now and your part arrives by Oct 16
$58.95
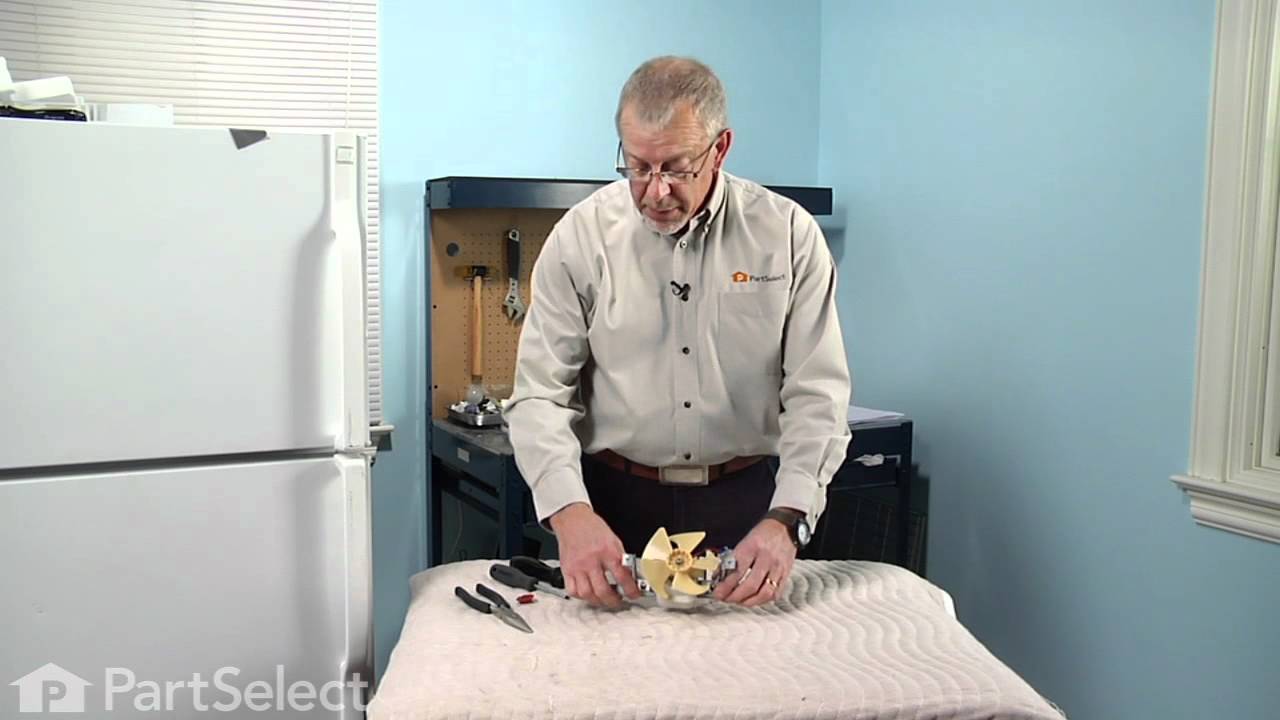
This fan motor is most times used with frost-free refrigerators with a condenser coil. When the compressor runs, so does this fan, circulating air through the refrigerator grille, cooling the compress...
In Stock
Order now and your part arrives by Oct 16
$15.26
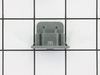
This OEM compression ring is used to hold the evaporator fan motor in place. Signs that you may need to replace the compression ring are if the fan is noisy, or your fridge or freezer are too warm. We...
In Stock
Order now and your part arrives by Oct 16
$15.26
This end cap is sold individually. It is the same end cap used on the right and left side, for both front and back. It attaches to the end of the upper rack slide rail, and prevents the rack from fall...
In Stock
Order now and your part arrives by Oct 16
Common Problems and Symptoms for PSKS333EB3WW
Viewing 30 of 30Leaking
Fixed by these parts
How to fix it
Noisy
Fixed by these parts
How to fix it
Not dispensing water
Fixed by these parts
How to fix it
Will Not Start
Fixed by these parts
How to fix it
Fridge too warm
Fixed by these parts
How to fix it
Not cleaning dishes properly
Fixed by these parts
How to fix it
Freezer section too warm
Fixed by these parts
How to fix it
Light not working
Fixed by these parts
How to fix it
Ice maker not making ice
Fixed by these parts
How to fix it
Door latch failure
Fixed by these parts
How to fix it
Will not dispense detergent
Fixed by these parts
How to fix it
Door won’t close
Fixed by these parts

How to fix it
Clicking sound
Fixed by these parts
How to fix it
Won’t Start
Fixed by these parts
How to fix it
Will not fill with water
Fixed by these parts
How to fix it
Fridge and Freezer are too warm
Fixed by these parts
How to fix it
Ice maker won’t dispense ice
Fixed by these parts
How to fix it
Fridge runs too long
Fixed by these parts
How to fix it
Door won’t open or close
Fixed by these parts
How to fix it
Too warm
Fixed by these parts
How to fix it
Fridge too cold
Fixed by these parts
How to fix it
Ice maker dispenses too little ice
Fixed by these parts
How to fix it
Touchpad does not respond
Fixed by these parts
How to fix it
Freezer not defrosting
Fixed by these parts
How to fix it
Not draining
Fixed by these parts
How to fix it
Freezer too cold
Fixed by these parts
How to fix it
Door Pops Open
Fixed by these parts
How to fix it
Leaks water
Fixed by these parts
How to fix it
Won’t start
Fixed by these parts
How to fix it
Frost buildup
Fixed by these parts
How to fix it
Keep searches simple. Use keywords, e.g. "leaking", "pump", "broken" or "fit".
- Customer:
- ralph from bristow, VA
- Parts Used:
- WR57X33326
- Difficulty Level:
- Really Easy
- Total Repair Time:
- Less than 15 mins
- Tools:
- Nutdriver, Screw drivers, Socket set
Refrigertor water dispenser not working BUT ice machine is working
The very first symptom here is important! The door water dispenser is not working but the ice macine is working. You may only have a frozen water tube in the door so do the following before diagnosing that your solenoid valve is bad: 1) the tube usually runs under the front of the refrigerator and usually has a quick disconnect. Undo t
... Read more
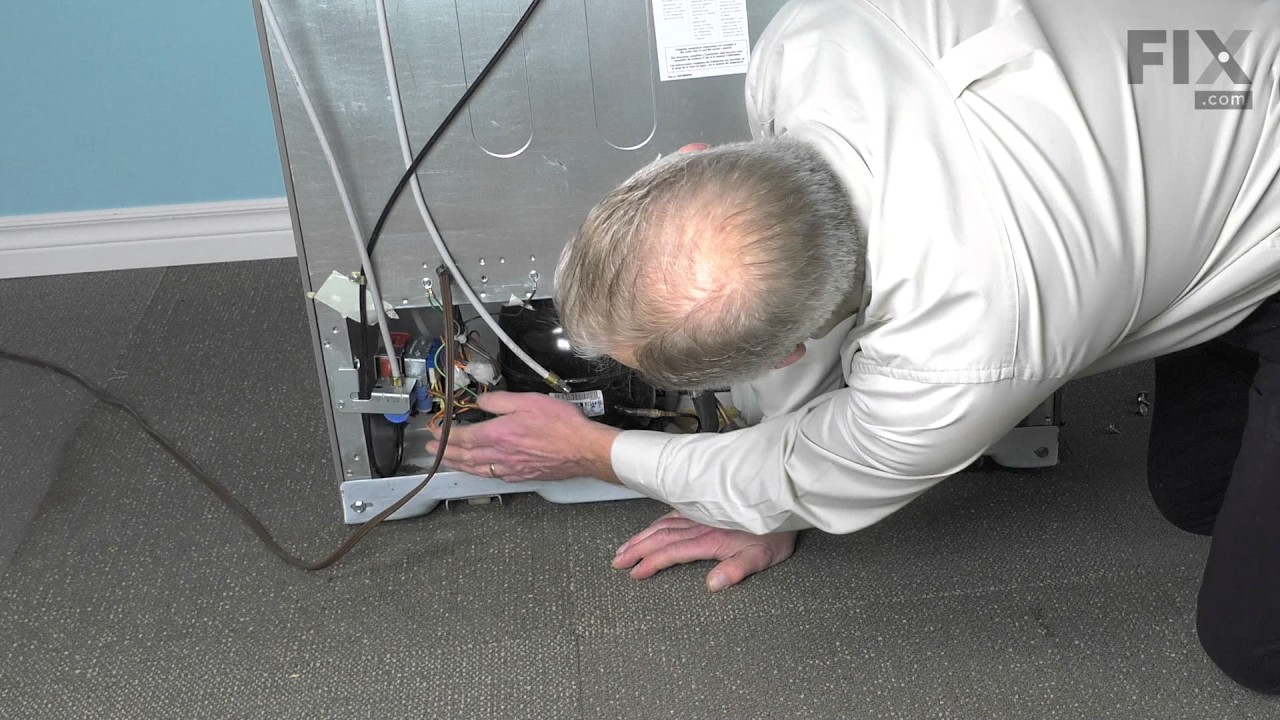
he connection and press the dispenser. If water comes out of the tube you have a frozen or blocked tube in the door. 2) Immediately adjust the temperature in the freezer and warm the freezer compartment as much as you can without destroying the freezer contents. Wait 24 hours. This will usually unfreeze the line. Do not waste your time with a hair dryer. NOW, if this doesn't work and you are convinced you need to order and replace the solenoid, follow these steps. Assemble your tools first. I needed a good ratchet set and a screwdriver. A shop towel is helpful for spilled water. A light is handy. Pull out the refreigerator to gain access to the rear of the unit. Unplug the power and close the water valve (older homes, you may need to actually shut the house water supply). Remove the screws which hold the cover over the lower half of the refrigerator. On the left you will see the solenoid. It's always good to see that your new part matches the one you feel needs replaced. They may not match perfectly due to changing design but they should be very similar. One screw holds this part in place and access is very simple. Now simply unplug the electrical connections. In my case, one blue "blade" type connection (powering the water) and one red "blade" type connection powering the ice maker. They are not the same size and this coupled with the coloring means you will not accidently switch them. pull the tubes clear of the solenoid. This is simple and needs no explantion. Grab your new solenoid and reattach both the electrical and water lines (two, remember, ice maker and drink dispencer). Replace the single screw. Re-attach the rear, lower refrigerator cover and go to the front of the unit to check the water. You can listen carefully and hear the power engage from the new part bringing you water. Clean up, replace the refrigerator back to its place and look really tired when your wife sees that you worked "so hard"! You probably saved at least $50-$80 from a service call which can now be used to take the family to dinner after your "exhausting" 15 minute workout of removing about 10 screws and wheeling the unit in and out of place. Writing this article took longer! My 4 year old worked harder holding the flash light!
Read less
Was this instruction helpful to you?
Thank you for voting!
- Customer:
- Glen from Alpine, CA
- Parts Used:
- WD35X21041, WD35X21041
- Difficulty Level:
- Really Easy
- Total Repair Time:
- Less than 15 mins
Lower wheel axles worn out
Simple repair... Great Company, quick shipping (in CA had it the next day). Quality parts, GE OEM!! And to top it off the lowest prices!!
Was this instruction helpful to you?
Thank you for voting!
- Customer:
- Michelle from Weddington, NC
- Parts Used:
- WD35X21041, WD35X21041
- Difficulty Level:
- Really Easy
- Total Repair Time:
- Less than 15 mins
My wheels would not stay on the roller rack which made me dread having to put a dish in the rack.
All I had to do is take out the rack, pop off the old wheels, place the new stud rollers on, then pop on the new wheels. So easy and now my dishes don't get chipped when I pull the rack out and push it back in. I wish I didn't wait so long to order new parts.
Was this instruction helpful to you?
Thank you for voting!