



Models
>
RC8900XAQ1
RC8900XAQ1 Whirlpool Cooktop
Jump to:
Find Part by Name
Keep searches simple, eg. "belt" or "pump".
Diagrams for RC8900XAQ1
Viewing 8 of 8


Manuals & Guides for RC8900XAQ1
Click to downloadKeep searches simple, eg. "belt" or "pump".
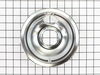
$15.26
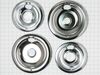
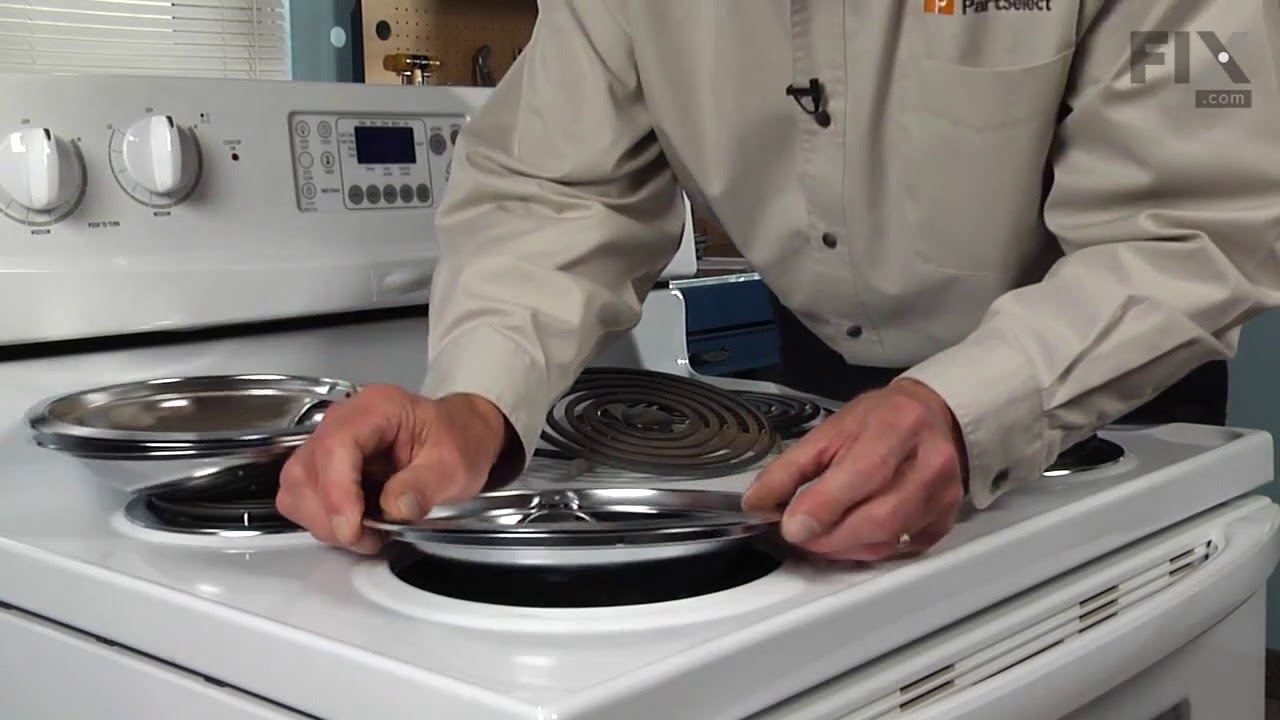
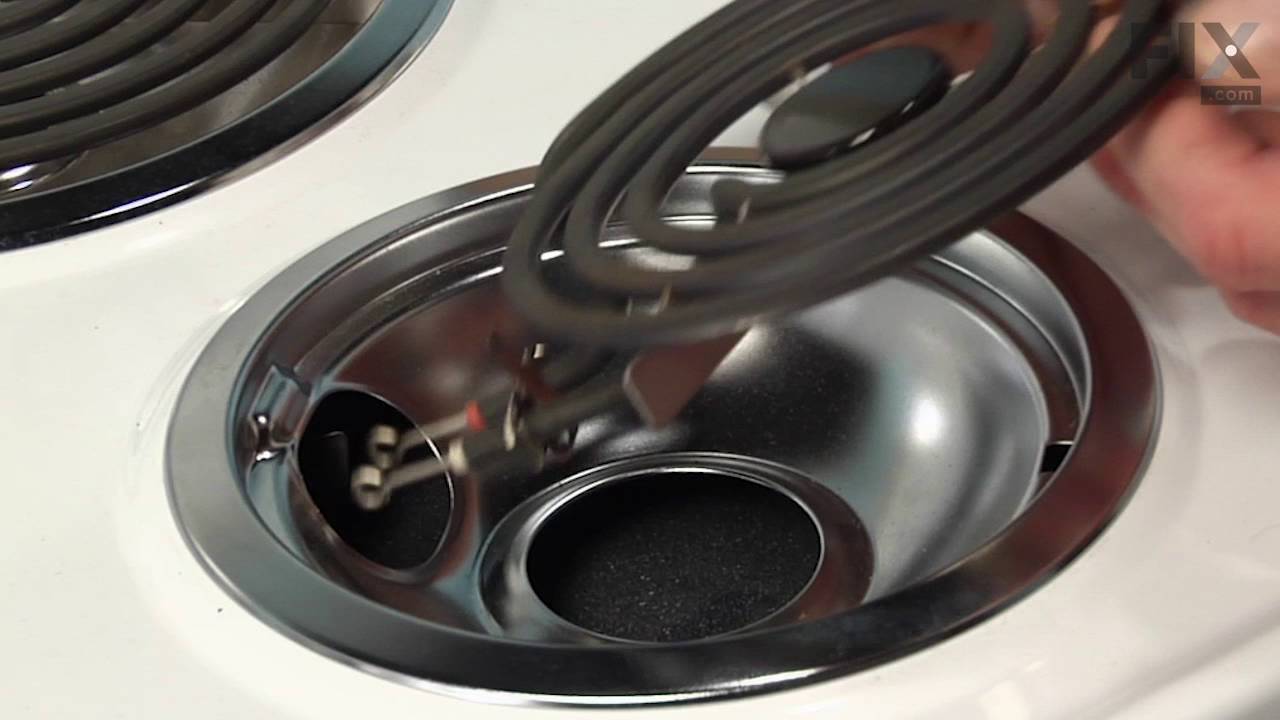
The drip bowl is used for electric ranges or cooktops with the coiled style burners, to catch any drips, spills, or crumbs that may occur while cooking. If your bowls have become discolored, corroded,...
In Stock
Order now and your part arrives by Sep 21
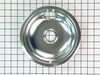
$16.35
The drip bowl is found underneath the burner element of ranges with a rolled terminal style plug-in surface element. The purpose of the bowl is to catch any drips or spills that may occur while cookin...
In Stock
Order now and your part arrives by Sep 21
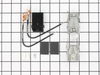
This is a genuine OEM replacement part. This surface burner plug-in block kit is designed for use with surface elements of your ranges and cooktops. This kit helps connect the wire harness to the surf...
In Stock
Order now and your part arrives by Sep 21
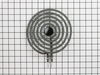
NOTE: The manufacturer recommends that you replace the burner receptacle at the same time.
In Stock
Order now and your part arrives by Sep 21
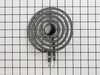
The manufacturer suggests replacing the receptacle at the same time.
In Stock
Order now and your part arrives by Sep 21
$7.60
This is a multi-use screw and can be used on a variety of appliances. The measurements of the screw are: 8/18 x 3/8. *Please note: the screw is sold individually. Refer to the manual provided by the m...
In Stock
Order now and your part arrives by Sep 21
In Stock
Order now and your part arrives by Sep 21
This 10 oz bottle of cooktop cleaner is formulated to safely and effectively remove tough, baked-on residues from glass, ceramic, and porcelain surfaces. Its non-abrasive, creamy texture breaks down s...
No Longer Available
Special Order
In Stock
Order now and your part arrives by Sep 21
Special Order

This knob allows you to control the function of the fan switch and takes a D-shaped shaft.
No Longer Available
Common Problems and Symptoms for RC8900XAQ1
Viewing 2 of 2Element will not heat
Fixed by these parts
How to fix it
Will Not Start
Fixed by these parts
How to fix it
Keep searches simple. Use keywords, e.g. "leaking", "pump", "broken" or "fit".
- Customer:
- Michael from Kings Park, NY
- Parts Used:
- W10196406RW, W10196405RW
- Difficulty Level:
- Really Easy
- Total Repair Time:
- Less than 15 mins
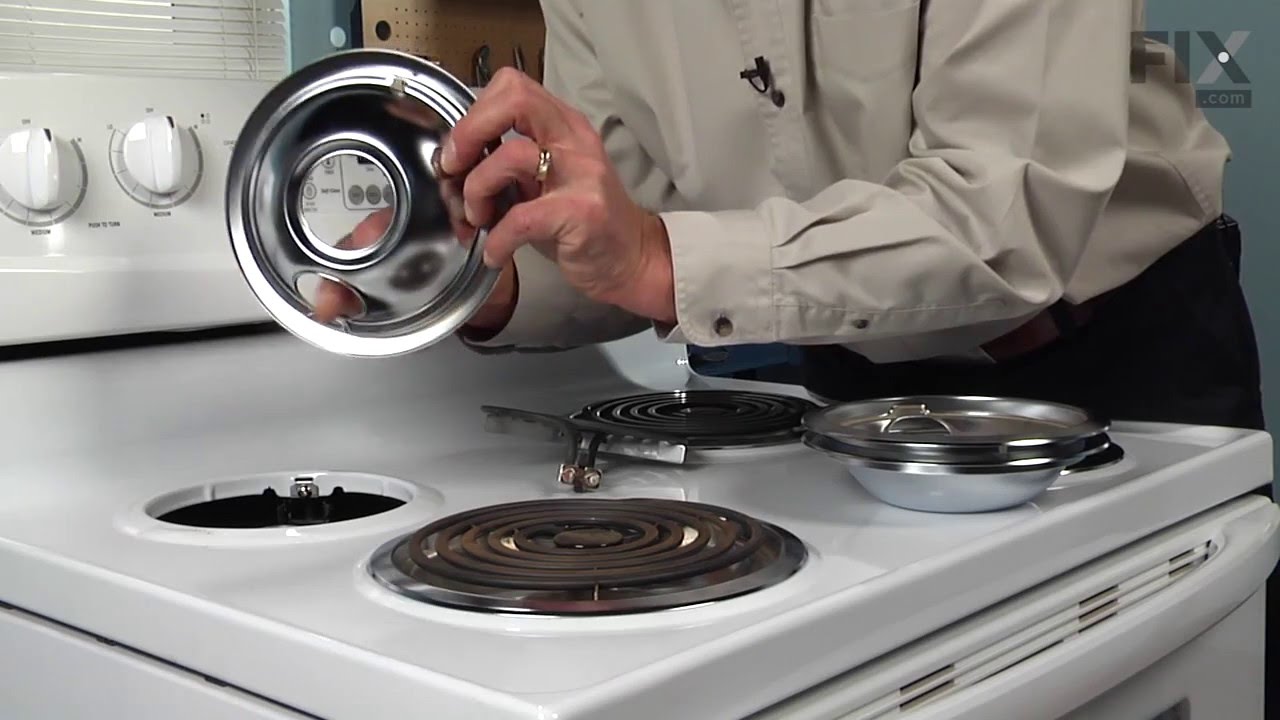
Drip bowls were rusty and rotting through
I simply removed the elements and replaced the drip bowls with new ones. Put the elements back in and my stove looks %1000 better!
Was this instruction helpful to you?
Thank you for voting!
- Customer:
- Roger from Osage Beach, MO
- Parts Used:
- W10196405RW, W10196406RW
- Difficulty Level:
- Really Easy
- Total Repair Time:
- Less than 15 mins
Just Replaced Ole Drip Bowls.
Unplugged burners. . . . . Removed old bowls and replaced with new. . . . . . Plugged burners back in. However, I do want you to know that I could not believe the promptness of your service and the courteous customer service person that assisted me with my problem in selecting the correct drip bowls. You are definitely a unique compan
... Read more
y!!!!
Read less
Was this instruction helpful to you?
Thank you for voting!
- Customer:
- Laurie from Tequesta, FL
- Parts Used:
- W10196406RW, W10196405RW, WP660532
- Difficulty Level:
- Really Easy
- Total Repair Time:
- Less than 15 mins
Burner element broke and drip bowls needed to be replaced.
I went to the local discount mart and bought drip bowls. The ones available at that store did not fit, so I decided to buy directly from the stove's manufacturer distributor.
The drip pans were simple to replace, as was the new burner element. My old one had broke and was still working, but I decided to replace it when I ordere ... Read more d the drip pans.
Everything was easy to install and it looks like a brand new new stove top! I saved a lot of money doing it myself.
The drip pans were simple to replace, as was the new burner element. My old one had broke and was still working, but I decided to replace it when I ordere ... Read more d the drip pans.
Everything was easy to install and it looks like a brand new new stove top! I saved a lot of money doing it myself.
Read less
Was this instruction helpful to you?
Thank you for voting!