



Models
>
MEC5536BAB
MEC5536BAB Maytag Cooktop
Jump to:
Find Part by Name
Keep searches simple, eg. "belt" or "pump".
Diagrams for MEC5536BAB
Viewing 3 of 3


Manuals & Guides for MEC5536BAB
Click to downloadKeep searches simple, eg. "belt" or "pump".
In Stock
Order now and your part arrives by Oct 10
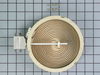
This 6 Inch 1200-watt radiant surface element with limiter is located under the main cooktop. When the element is turned on, it will heat up and provide heat to the cooking area on top of the range. I...
In Stock
Order now and your part arrives by Oct 10
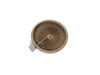
This is the replacement large surface element for your cooktop or range. It is approximately 10-inches in diameter and is 1200/2500 watts. The large surface element is installed under the cooktop and ...
In Stock
Order now and your part arrives by Oct 10
In Stock
Order now and your part arrives by Oct 10
On Order
$152.65
This range radiant surface element provides consistent, reliable heat for cooking on the cooktop surface. Designed to restore proper heating performance, it is commonly used to fix burners that fail t...
In Stock
Order now and your part arrives by Oct 10
$11.98
Use this scraper for your ceramic/glass cooktop. It has a retractable blade and is an all-purpose tool for cooktops, mirrors, windows and tile. Use it to also remove paint, paper, dirt, stickers and more.
In Stock
Order now and your part arrives by Oct 10
In Stock
Order now and your part arrives by Oct 10
In Stock
Order now and your part arrives by Oct 10
$193.17
This dual radiant surface element restores proper heating on an electric cooktop and provides both an inner and outer heating ring so you can match the burner size to different pans. It is commonly re...
In Stock
Order now and your part arrives by Oct 10
In Stock
Order now and your part arrives by Oct 10
$145.55
This switch controls the stove top surface burner. To the Rear Right Burner and Center Rear Burner
In Stock
Order now and your part arrives by Oct 10
Common Problems and Symptoms for MEC5536BAB
Viewing 2 of 2Element will not heat
Fixed by these parts
How to fix it
Will Not Start
Fixed by these parts
How to fix it
Keep searches simple. Use keywords, e.g. "leaking", "pump", "broken" or "fit".
- Customer:
- Mark from Loxahatchee, FL
- Parts Used:
- W10823711
- Difficulty Level:
- Really Easy
- Total Repair Time:
- 15 - 30 mins
- Tools:
- Nutdriver, Screw drivers
Right rear burner went bad
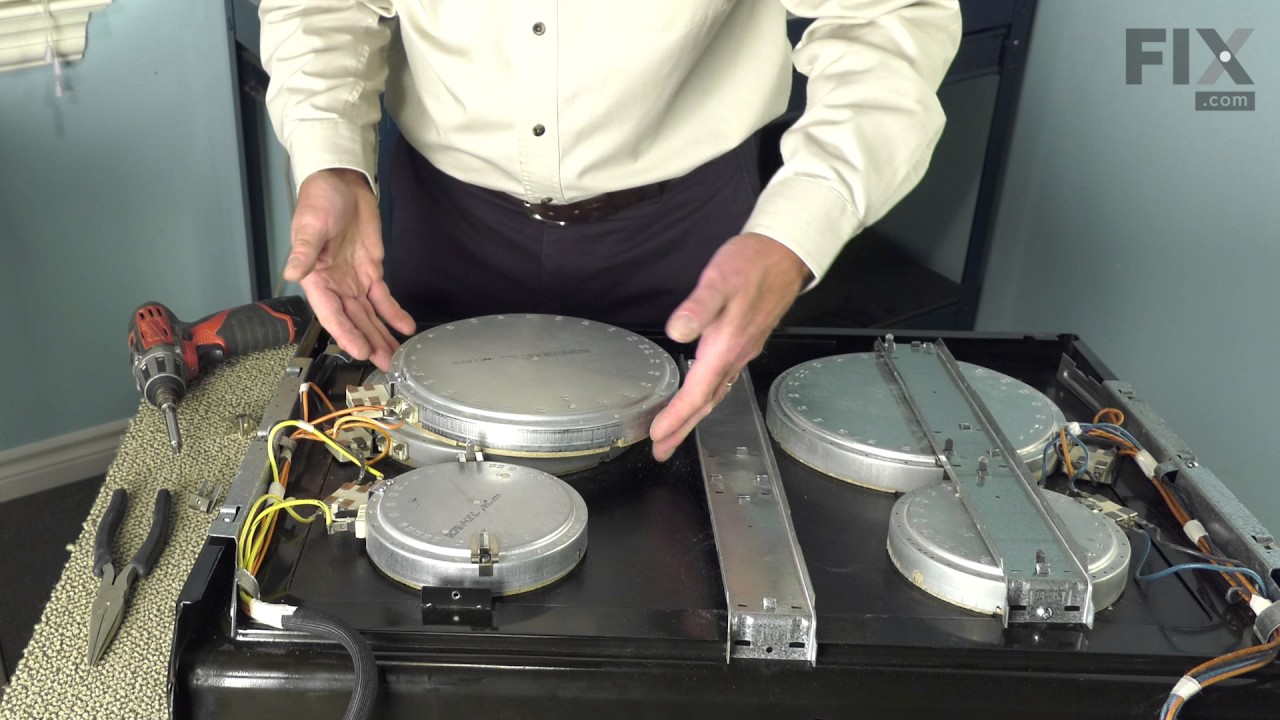
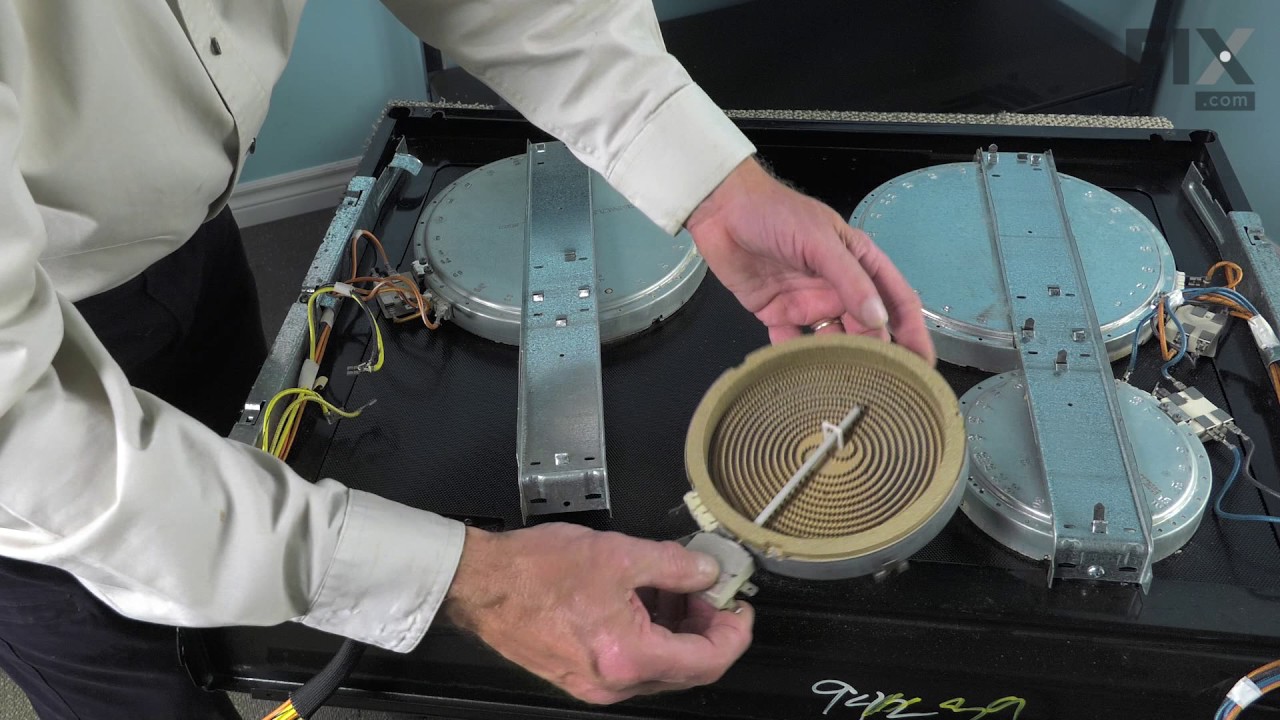
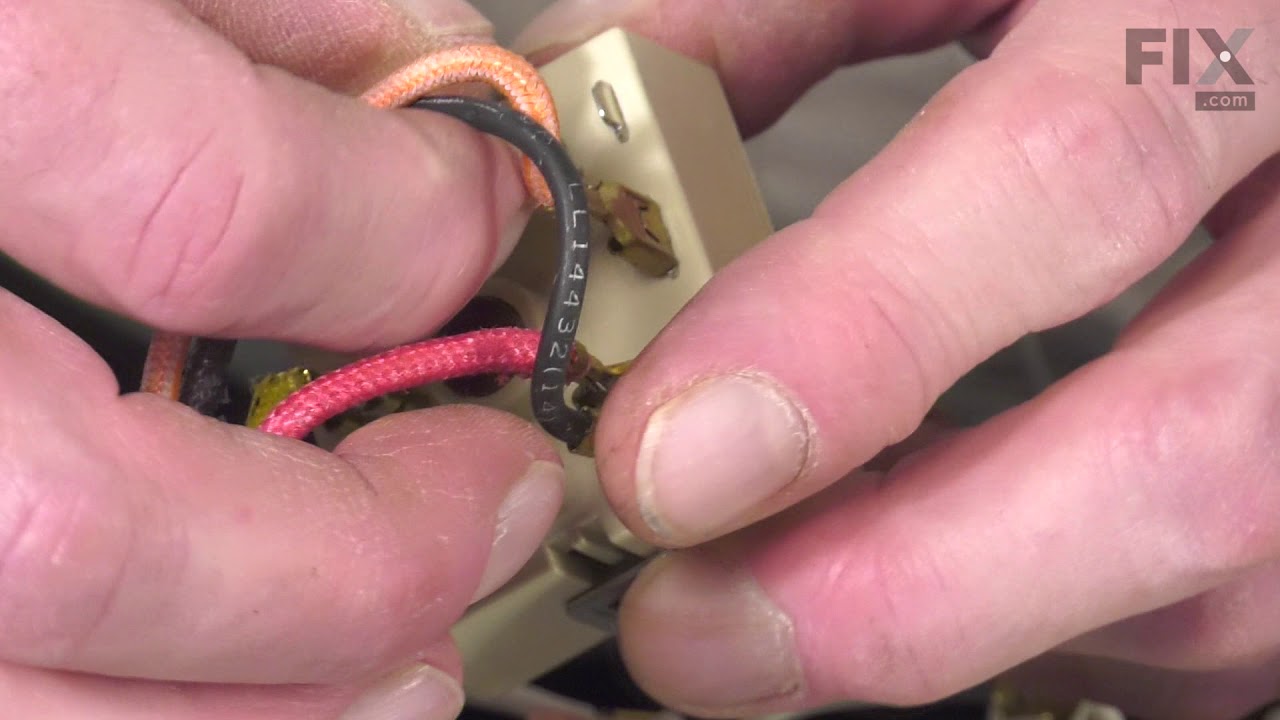
Turned the breaker off, I removed 2 screws securing the range top to the range, opened the top and secured it in the up position, Removed the 2 screws securing the element ,one at a time I swapped the quick connectors from the old element to the new and repeated the process in reverse. I save over $100.00 in labor, plus most companies get
... Read more
you for a trip charge. It was easy!!
Read less
Was this instruction helpful to you?
Thank you for voting!
- Customer:
- GEORGE from NEWNAN, GA
- Parts Used:
- W10823692
- Difficulty Level:
- Easy
- Total Repair Time:
- 15 - 30 mins
- Tools:
- Pliers, Screw drivers
Radiant element, 2400 watt, under Ceran glass cok top needed replacement.
turned off power
removed ceran top from cabinet
removed element
installed new element
replaced top
powered up and was done
removed ceran top from cabinet
removed element
installed new element
replaced top
powered up and was done
Was this instruction helpful to you?
Thank you for voting!
- Customer:
- Gregory from Cary, NC
- Parts Used:
- W10823711
- Difficulty Level:
- Really Easy
- Total Repair Time:
- 15 - 30 mins
- Tools:
- Screw drivers
Hot Burner Light always on
Thermal switch is integral to element and can not be changed, must replace entire element.
Turn off power. Removed front two screws above oven door jamb and lifted the top. Removed the bracket that holds the element against the glass top and removed the element. Moved brackets from old element to new one, aligning to same numer ... Read more ical position and then moved wiring to new element. Slide new element under bracket and reinstalled single screw. Replaced top and screwed down. Turn on power and test .
Turn off power. Removed front two screws above oven door jamb and lifted the top. Removed the bracket that holds the element against the glass top and removed the element. Moved brackets from old element to new one, aligning to same numer ... Read more ical position and then moved wiring to new element. Slide new element under bracket and reinstalled single screw. Replaced top and screwed down. Turn on power and test .
Read less
Was this instruction helpful to you?
Thank you for voting!