



Models
>
CCG2521A
CCG2521A Jenn-Air Cooktop
Jump to:
Find Part by Name
Keep searches simple, eg. "belt" or "pump".
Diagrams for CCG2521A
Viewing 3 of 3


Keep searches simple, eg. "belt" or "pump".
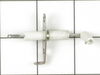
In Stock
Order now and your part arrives by Oct 19
$21.82
This is a screw and it is made for multiple appliances in your home. This model is called a sheet metal screw because it has sharp points, and the threads are closer together. This screw is designed t...
In Stock
Order now and your part arrives by Oct 19
This part distributes flame evenly to your cookware.
No Longer Available
$7.60
This is a multi-use frame screw that fits a variety of power tools and equipment. Follow installation instructions and safety practices provided in the manual by the manufacturer.
Special Order
In Stock
Order now and your part arrives by Oct 19
In Stock
Order now and your part arrives by Oct 19
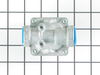
This valve automatically cuts off the flow of gas at a certain pressure.
No Longer Available
Part might differ in appearance, but functions same as original. Sold individually.
No Longer Available

Special Order
Special Order
Common Problems and Symptoms for CCG2521A
Viewing 3 of 3Will Not Start
Fixed by these parts
How to fix it
Gas igniter glows, but will not light
Fixed by these parts
How to fix it
Element will not heat
Fixed by these parts
How to fix it
Keep searches simple. Use keywords, e.g. "leaking", "pump", "broken" or "fit".
- Customer:
- roy from East Providence, RI
- Parts Used:
- 74004053
- Difficulty Level:
- Easy
- Total Repair Time:
- 15 - 30 mins
- Tools:
- Screw drivers
gas burner ignitor failure
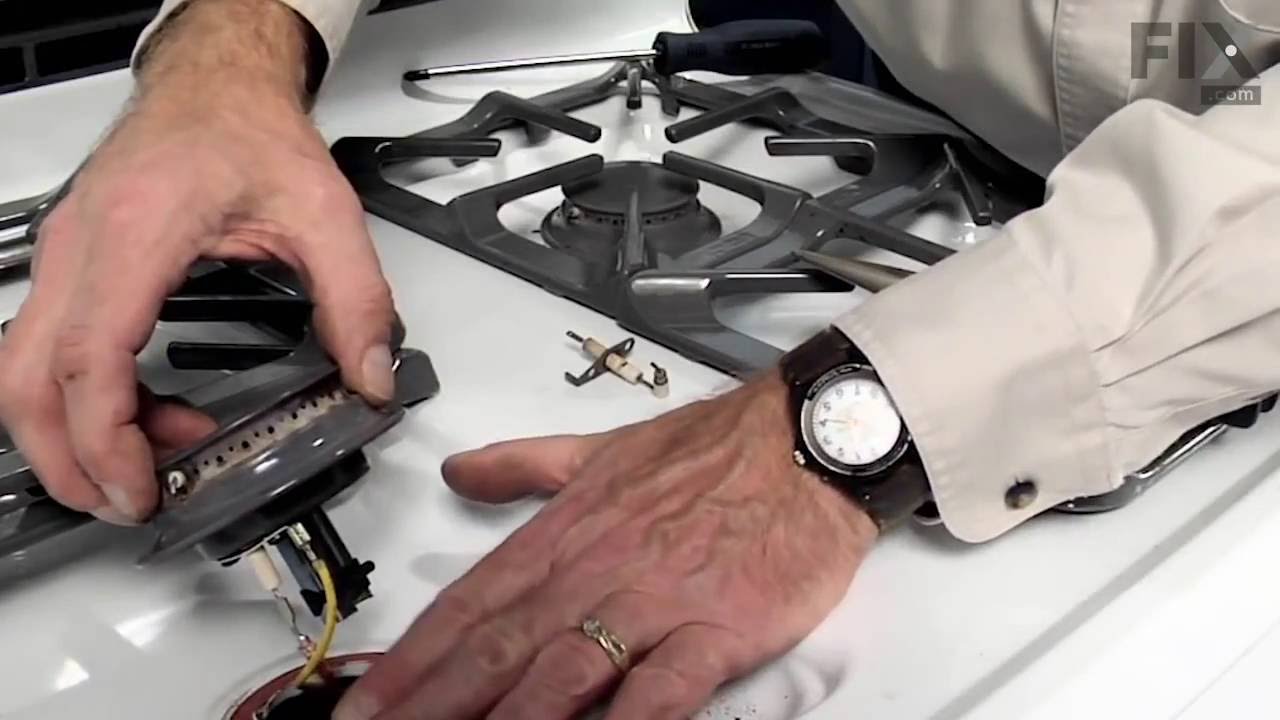
Lift out sealed burner assembly rear of stove first while careully sliding to rear to disengage ignitor probes.Remove philips head screws from bottom sheet metal housing to expose bottom of burners Remove gas tube assembly screws and move tube away carefully.Unplug wires from ignitor.Remove screws for ignitor .Remove ignitor, I noticed t
... Read more
hat rust and dirt had built up around burner to pan connection.I used my oil filter wrench to turn slightly the burner to remove it from the pan to clean.Reassembled in reverse order.
Read less
Was this instruction helpful to you?
Thank you for voting!
- Customer:
- paul from mc neal, AZ
- Parts Used:
- 74004053, WP3412D025-09
- Difficulty Level:
- Really Easy
- Total Repair Time:
- 30 - 60 mins
- Tools:
- Screw drivers
porcelan on igniter broken (2)
remove 2 screws that hold element in place, remove element, replace with new element, and replace screws , replaced burner assy on other
Was this instruction helpful to you?
Thank you for voting!
- Customer:
- Candace L. from Woodinville, WA
- Parts Used:
- 74004053
- Difficulty Level:
- Really Easy
- Total Repair Time:
- 15 - 30 mins
- Tools:
- Screw drivers
burner would not light; ignitor did not produce spark
Take a few screws off the back of the slide in burner module. Take off the back. Unscrew the ignitor screw, remove ignitor carefully, replace with the new ignitor, put the screw back in, put the back back on, try it out! Ours worked after a couple of tries - don't know if the ignitor had to "rev up" by several sparks or we just didn't
... Read more
have it properly installed at first. Anyway, very easy. Did it in my pajamas on a Saturday morning.
Read less
Was this instruction helpful to you?
Thank you for voting!