



Models
>
E36EC75DSS2
E36EC75DSS2 Electrolux Cooktop
Jump to:
Find Part by Name
Keep searches simple, eg. "belt" or "pump".
Diagrams for E36EC75DSS2
Viewing 4 of 4


Manuals & Guides for E36EC75DSS2
Click to downloadKeep searches simple, eg. "belt" or "pump".
$41.29
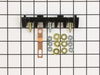
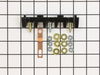
Terminal blocks (also called terminal boards or strips) provide a convenient means of connecting individual electrical wires.
In Stock
Order now and your part arrives by Oct 3
$91.95
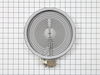
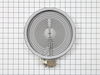
This dual radiant surface element features both 9-inch and 6-inch heating zones, making it versatile for different cookware sizes. It provides fast, even heating and includes a sturdy metal temperatur...
In Stock
Order now and your part arrives by Oct 3
In Stock
Order now and your part arrives by Oct 3
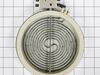
This 6-inch surface heating element delivers steady, even heat for everyday cooking tasks. Designed for consistent performance, it is commonly replaced when a burner fails to heat, heats unevenly, or ...
In Stock
Order now and your part arrives by Oct 3
This infinite control switch regulates power to a surface burner, allowing smooth and adjustable heat control. Reliable switching improves cooking accuracy and safety. Replacing a faulty switch helps ...
In Stock
Order now and your part arrives by Oct 3
Special Order
In Stock
Order now and your part arrives by Oct 3
This dual radiant surface bridge element provides targeted heat to electric cooktops and ranges by activating a radiant coil beneath the glass surface. Rated at 1800/2600 watts, it ensures efficient a...
In Stock
Order now and your part arrives by Oct 3
Special Order

Sold individually. This knob accepts a double-flat shaft.
No Longer Available
Common Problems and Symptoms for E36EC75DSS2
Viewing 5 of 5Element will not heat
Fixed by these parts
How to fix it
Little to no heat when baking
Fixed by these parts
How to fix it
Will Not Start
Fixed by these parts
How to fix it
Oven not heating evenly
Fixed by these parts
How to fix it
Little to no heat when broiling
Fixed by these parts
How to fix it

Keep searches simple. Use keywords, e.g. "leaking", "pump", "broken" or "fit".
- Customer:
- Timothy from Spring Valley, AL
- Parts Used:
- 5304409888
- Difficulty Level:
- Really Easy
- Total Repair Time:
- 15 - 30 mins
- Tools:
- Screw drivers, Socket set
Cord was not tightened enough by delivery crew.
PF alarm appeared on display. Noticed clicking when cord was moved. Had arced for some time and melted original block. New part slightly different. Only has 3 lugs, old one had six. Stack using washers provided. Take note of colors before disassembly. Use caution while working through access opening. The edges are sharp. Only tools neede
... Read more
d are phillips screwdriver, deep socket for lug nuts. Nut driver optional. Hope this is helpful.
Read less
Was this instruction helpful to you?
Thank you for voting!
- Customer:
- Tom from Wallingford, CT
- Parts Used:
- 316555800
- Difficulty Level:
- Really Easy
- Total Repair Time:
- Less than 15 mins
- Tools:
- Nutdriver, Screw drivers
Burned element
Flip up top, remove wires and two screws. Replace in opposite way. Turn off power to stove first.
Was this instruction helpful to you?
Thank you for voting!
- Customer:
- Frederic from KILLEEN, TX
- Parts Used:
- 316555800
- Difficulty Level:
- A Bit Difficult
- Total Repair Time:
- 30 - 60 mins
- Tools:
- Pliers, Screw drivers, Socket set
Old element connections different from new element
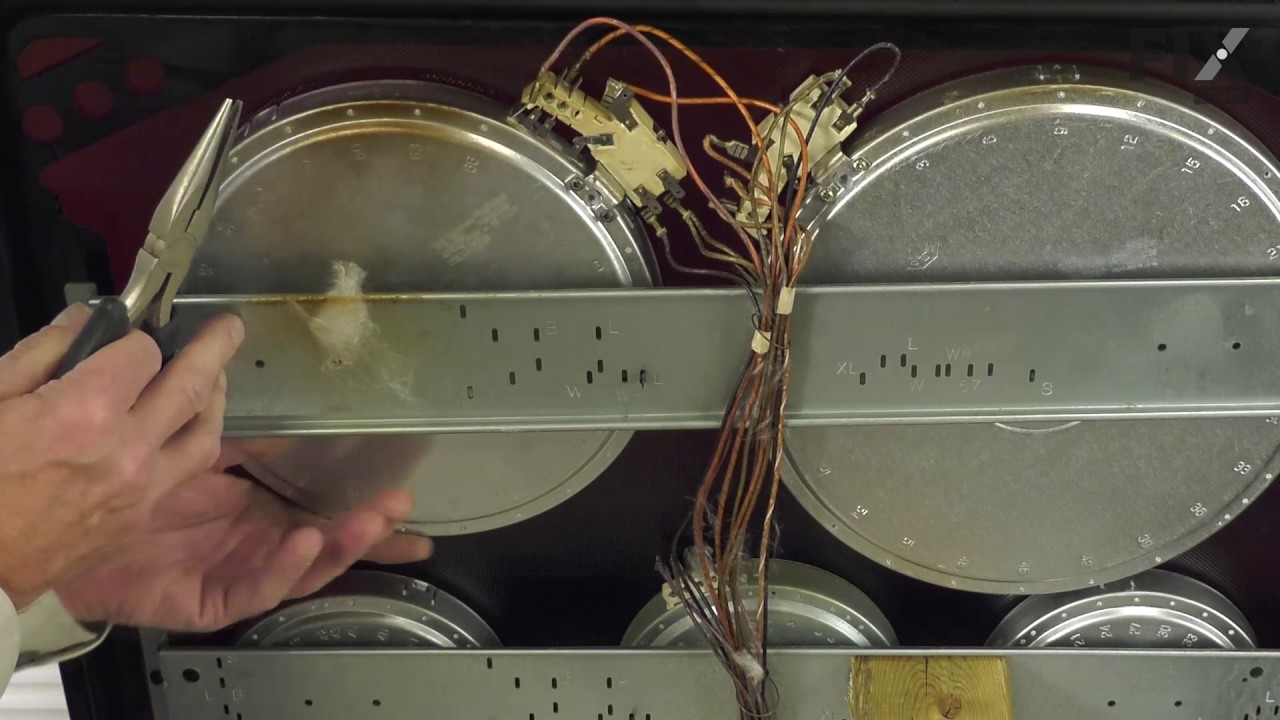
Disconnected power at breaker. Removed cooktop mounting screws, lifted top and propped in up position. Removed two screws and lowered two front burners mounting frame. Wiggled dual element free at the clips and proceeded to swap wires one at a time and realized the difference with connectors 1a and 2b much later when only the center porti
... Read more
on was heating up. Finally figured out the problem and everything works as advertised. Pay attention if you own a Kenmore product.
Read less
Was this instruction helpful to you?
Thank you for voting!