



Models
>
295
295 (TYPE 3) Poulan Chainsaw
Jump to:
Find Part by Name
Keep searches simple, eg. "belt" or "pump".
Keep searches simple, eg. "belt" or "pump".
$9.79
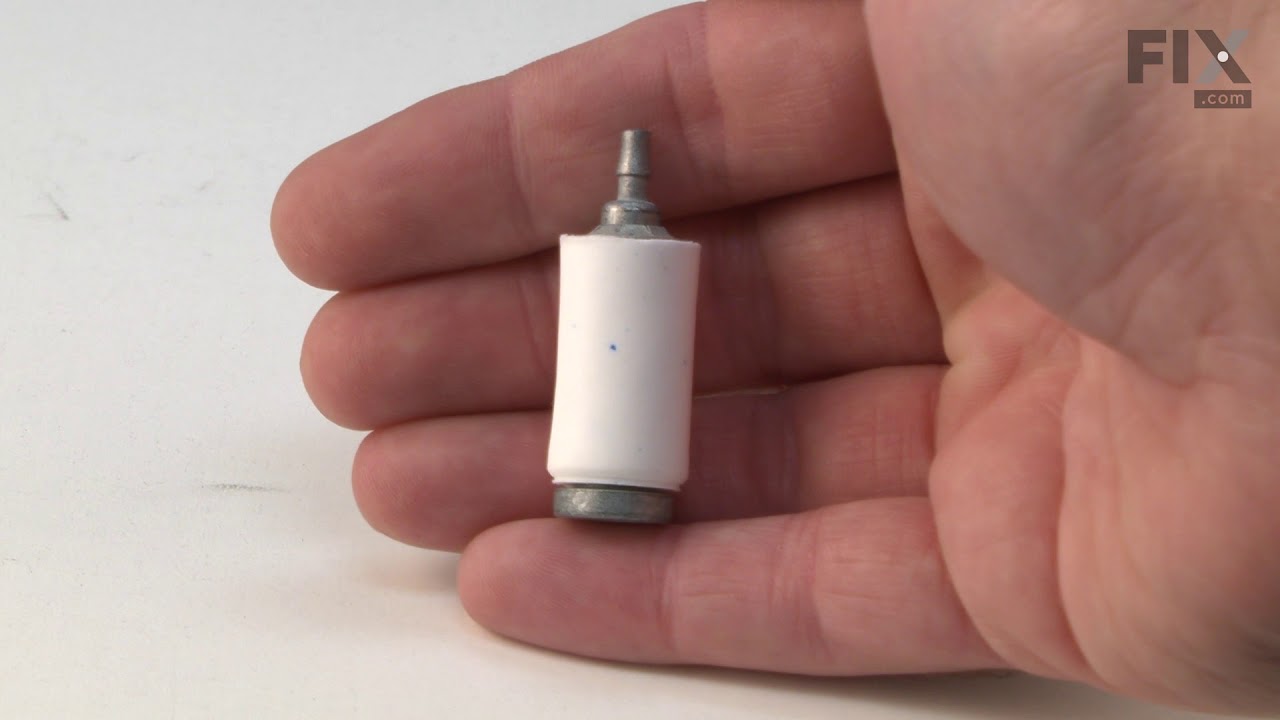
This is a single fuel filter found in numerous types of lawn and garden equipment that have small engines. The fuel filter cleans the fuel before making its way to the carburetor, thus preventing buil...
In Stock
Order now and your part arrives by Oct 22
$6.55
This 25-inch fuel line carries fuel from the tank to the carburetor, ensuring proper engine operation. Made from durable clear plastic, it is designed to withstand regular use but may become clogged o...
In Stock
Order now and your part arrives by Oct 22
$6.55
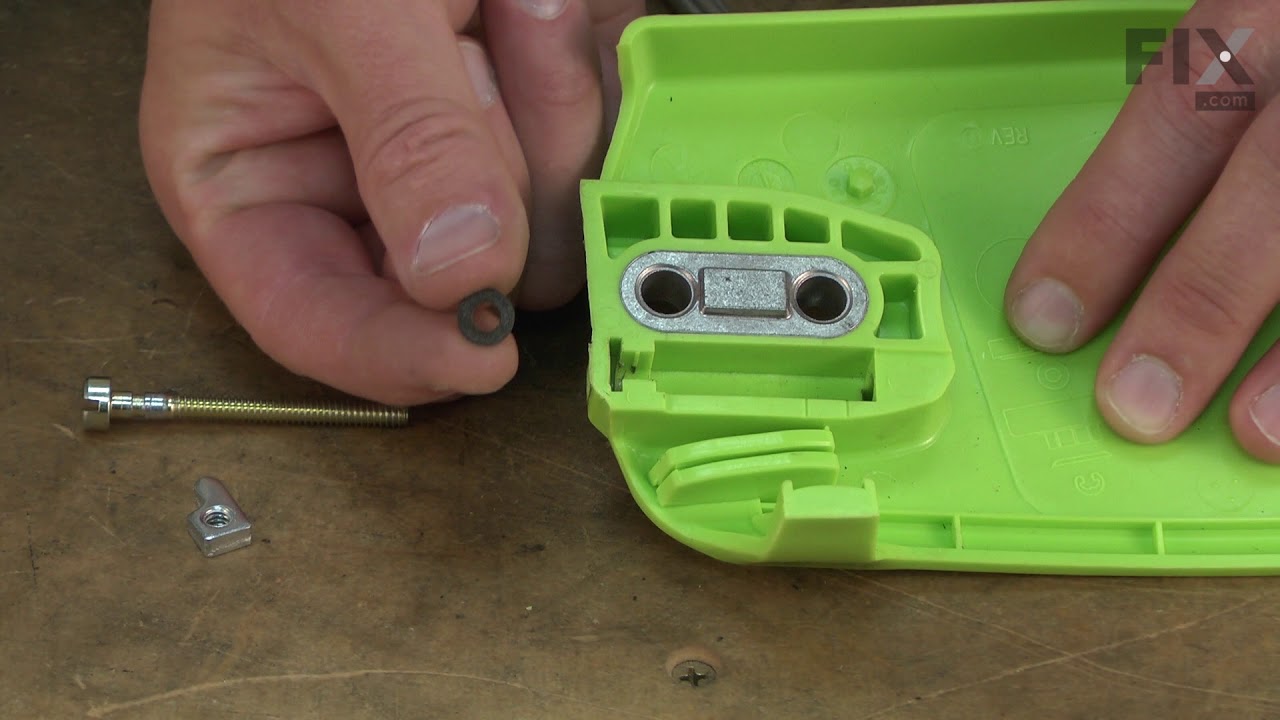
It is a genuine item that is supplied by the original equipment manufacturer for use with Craftsman chainsaws. This is the special nut that helps to secure the bar. It provides an identical replacemen...
In Stock
Order now and your part arrives by Oct 22
$7.65
This is an individual air filter for a chainsaw. It is sourced directly from the original manufacturer, ensuring proper fit and quality performance. The air filter protects the carburetor and engine f...
In Stock
Order now and your part arrives by Oct 22
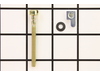
$12.05
This is an authentic replacement part manufactured for use with Craftsman chainsaws and a pole pruner. The adjustment screw kit is used to change the tension of the chain around the bar. This adjustme...
In Stock
Order now and your part arrives by Oct 22
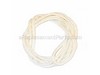
$7.65
This is a 3ft rope for a variety of power tools, most commonly chainsaws. It twists around the pulley of the recoil starter, which will allow you to pull-start the engine. This part is made of a durab...
In Stock
Order now and your part arrives by Oct 22

This is an authentic Craftsman replacement part that has been sourced from the original manufacturer to be used with chainsaws. The oil cap connects to the saw\\\'s chassis by covering the oil fill sp...
No Longer Available

$7.65
This is an authentic replacement part manufactured for use with chain saws from Craftsman. This part helps adjust the tension on the bar, which loosens or tightens the chain. You may need a screw dri...
In Stock
Order now and your part arrives by Oct 22
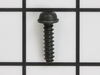
$5.95
This is a standard hardware which has multiple applications based on your tool. It is sourced from original equipment manufacturer for use with a variety of power equipment. Please refer to diagrams f...
In Stock
Order now and your part arrives by Oct 22
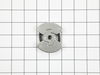
$28.55
This is an authentic replacement part sourced from original manufacturer. It is commonly used on gas chainsaws. A centrifugal clutch is a part that uses centrifugal force to connect two concentric sha...
In Stock
Order now and your part arrives by Oct 22
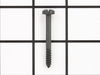
$6.55
Genuine Poulan replacement part, this item is sold individually. This Screw is used on the Chainsaws listed below. It is used to attach the Cylinder Shield to the main body of the Chainsaw. This is a ...
On Order
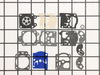
$27.12
This is a genuine OEM replacement part sourced directly from Walbro. If the engine in your lawn and garden equipment is running rough, the carbonator might need to be cleaned and rebuilt. This kit is ...
In Stock
Order now and your part arrives by Oct 22
Common Problems and Symptoms for 295
Viewing 3 of 3Will Not Start
Fixed by these parts
How to fix it
Engine stops after a few seconds or minutes
Fixed by these parts
How to fix it
Chain comes off guide bar
Fixed by these parts
How to fix it
")
Keep searches simple. Use keywords, e.g. "leaking", "pump", "broken" or "fit".
Fuel line deterioration and carb overhaul
The machine was offered for free on FB marketplace. The person tried a rebuild of the carb, but could not figure out how to connect the fuel line, which feeds from the tank above the carb. I couldn’t either, so I went to a local parts dealer, who could not find a diameter the same size (it’s tiny). I assumed there may have been a fitting
... Read more
in the tank, but if so, it was absent. The only parts that were found in the tank: a large filter in a 3/4”piece of larger tubing and this tiny fuel line was inserted into the other end. The resulting arrangement was long enough to reach the hole in the tank.Since the machine looked spectacularly clean, I used these parts to make it run.
1. Using diagonal cutters, I cut a very sharply angled end on the small line.
2. I generously lubricated the new line and the hole in the tank. I then took angled end of the new line and inserted it into the hole. Using a screwing type motion , I slowly worked it into the tank, using generous amounts of lubricant, until the line was far enough into the tank to grab from the fill hole with needle nose pliers. I then pulled and twisted until the line came out of the top of the tank.
3. I cut the angled end square at this point. I then inserted the filter into the larger tubing the cut about an inch longer than the filter Barb.I then lubed the larger line and the smaller line and pulled the line back into the tank from the bottom until the filter laid flat on the bottom of the tank.
4. At this point, I cut the end of the small line so that about an inch protruded from the bottom of the tank. I then re-lubed that line and inserted into a well lubricated length of larger line of sufficient length to reach the inlet on the carb.
About the carb: the donor of the machine had apparently attempted a rebuild. While it was very clean, he assembled it incorrectly. The metering diaphragm was pinched and he left off two of the four screws which held it together. I disassembled it, and using the correct parts assembled in the correct order, (there are parts for multiple applications included in the kit), mounted it back to the machine, and after about six or eight pulls, it roared to life. I did not get into the jets etc, because they seemed to work. This Walbro carb only has one inlet and no purge bulb, and after adjusting the carb it starts on the third pull every time using the choke as it was designed to.
1. Using diagonal cutters, I cut a very sharply angled end on the small line.
2. I generously lubricated the new line and the hole in the tank. I then took angled end of the new line and inserted it into the hole. Using a screwing type motion , I slowly worked it into the tank, using generous amounts of lubricant, until the line was far enough into the tank to grab from the fill hole with needle nose pliers. I then pulled and twisted until the line came out of the top of the tank.
3. I cut the angled end square at this point. I then inserted the filter into the larger tubing the cut about an inch longer than the filter Barb.I then lubed the larger line and the smaller line and pulled the line back into the tank from the bottom until the filter laid flat on the bottom of the tank.
4. At this point, I cut the end of the small line so that about an inch protruded from the bottom of the tank. I then re-lubed that line and inserted into a well lubricated length of larger line of sufficient length to reach the inlet on the carb.
About the carb: the donor of the machine had apparently attempted a rebuild. While it was very clean, he assembled it incorrectly. The metering diaphragm was pinched and he left off two of the four screws which held it together. I disassembled it, and using the correct parts assembled in the correct order, (there are parts for multiple applications included in the kit), mounted it back to the machine, and after about six or eight pulls, it roared to life. I did not get into the jets etc, because they seemed to work. This Walbro carb only has one inlet and no purge bulb, and after adjusting the carb it starts on the third pull every time using the choke as it was designed to.
Read less
Was this instruction helpful to you?
Thank you for voting!
installing fuel through fuel tank wall
To start, remove the plastic carburetor grill. DO NOT remove the carburetor. The fuel line has to be sliced down to fit through the tank hole and get it in far enough up into the tank to grab with needle nose pliers.( need long needle nose pliers which I didn't have) I placed about six inches of the plastic tubing in the jaws of vice so t
... Read more
hat half of the tube was squeezed in the vice jaws. I then used a razor blade to shave off the exposed tube. I slipped the shaved end of the tube up through the tank hole far enough to grab with long tweezers and pulled it up to where I could grab it in the tank with needle nose pliers. I put light lube oil on the remaining tubing and pulled it through. It takes a steady firm pull to pull it in. Install the filter and pull the tube back down into the tank. I also used a small diameter drill bit and with my fingers slightly reamed the tube ends to ease the tube over the filter and carburetor nipples. To prime the engine, spray starting fluid into the carburetor and start. Repeat until the engine will run on fuel. It took me hours to figure this out, but will take less than an hour with this method.
Read less
Was this instruction helpful to you?
Thank you for voting!
- Customer:
- Howard from UNICOI, TN
- Parts Used:
- 530069247
- Difficulty Level:
- Really Easy
- Total Repair Time:
- 30 - 60 mins
- Tools:
- Pliers
Split fuel line driving brother-in-law to frustration
Seven screw, three case cover, two air cleaner, two carb mounting, pulled carb, drained tank, pulled old fuel line, treaded new one in, wire to thread, thread to angle cut fuel line. Reassemble, test, sharpen chain, retest…not exactly a doityourselfer, graduate degree in mechanical/industrial engineering and former medium/heavy mechanica
... Read more
l. Get fuel line on carb prior to reassembly, line may need some stretching with a tapered punch.
Read less
Was this instruction helpful to you?
Thank you for voting!