



Models
>
XRSS264BB
XRSS264BB (PXRSS264BB1) Amana Refrigerator
Jump to:
Find Part by Name
Keep searches simple, eg. "belt" or "pump".
Diagrams for XRSS264BB
Viewing 17 of 17


.gif "SUPPLEMENTAL INFORMATION Diagram and Parts List for PXRSS264BB1 Amana Refrigerator")

Keep searches simple, eg. "belt" or "pump".
$9.79
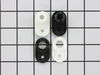
This part helps with the closing of the door and helps keep them in position.
In Stock
Order now and your part arrives by Jul 24
$31.05
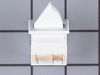
This part includes one authentically sourced 3-pin rocker switch for a refrigerator. It is responsible for turning the light on inside the fridge when the door is open. It is commonly replaced because...
In Stock
Order now and your part arrives by Jul 24
$21.82
This is a screw and it is made for multiple appliances in your home. This model is called a sheet metal screw because it has sharp points, and the threads are closer together. This screw is designed t...
In Stock
Order now and your part arrives by Jul 24
$7.60
This is a multi-use screw and can be used on a variety of appliances. The measurements of the screw are: 8/18 x 3/8. *Please note: the screw is sold individually. Refer to the manual provided by the m...
In Stock
Order now and your part arrives by Jul 24
In Stock
Order now and your part arrives by Jul 24
$105.67
Sold individually.
Front Width: 16.8;
Front to Back: 14.9";
Width at Rear: 16.42.
In Stock
Order now and your part arrives by Jul 24
Need to keep your fridge’s water and ice working while the filter is out? This bypass cap lets water flow to the dispenser and ice maker without a filter. It’s easy to install and fits Whirlpool, Mayt...
In Stock
Order now and your part arrives by Jul 24

In Stock
Order now and your part arrives by Jul 24
$27.83
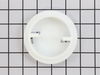
This helix end cap is almost four inches in diameter. It is all white in color and is made of plastic. This end cap is used in a refrigerator's icemaker.
In Stock
Order now and your part arrives by Jul 24
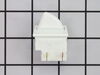
$28.91
This is a light switch for your refrigerator. It activates when the door of your appliance is opened, and it will turn the light inside on and off. You will need to replace this part is if your light ...
In Stock
Order now and your part arrives by Jul 24
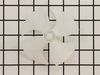
$28.91
If your refrigerator or freezer is too warm, or making noises, you may need to replace the fan blade. The fan blade attaches to the evaporator motor, which is in the freezer section, to help circulate...
In Stock
Order now and your part arrives by Jul 24
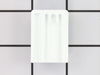
This right side shelf support is just over an inch long. It is all white in color and it is made entirely of plastic.
No Longer Available
Common Problems and Symptoms for XRSS264BB
Viewing 13 of 13Light not working
Fixed by these parts
How to fix it
Leaking
Fixed by these parts

How to fix it
Ice maker won’t dispense ice
Fixed by these parts

How to fix it
Not dispensing water
Fixed by these parts
How to fix it
Door won’t open or close
Fixed by these parts
How to fix it
Ice maker not making ice
Fixed by these parts
How to fix it
Noisy
Fixed by these parts
How to fix it
Fridge too warm
Fixed by these parts
How to fix it
Clicking sound
Fixed by these parts
How to fix it
Door Sweating
Fixed by these parts
How to fix it
Too warm
Fixed by these parts
How to fix it
Ice maker dispenses too little ice
Fixed by these parts
How to fix it
Freezer section too warm
Fixed by these parts
How to fix it


Keep searches simple. Use keywords, e.g. "leaking", "pump", "broken" or "fit".
- Customer:
- Russ from Asheville, NC
- Parts Used:
- R0181181
- Difficulty Level:
- Easy
- Total Repair Time:
- 15 - 30 mins
- Tools:
- Nutdriver, Screw drivers
Door would not close
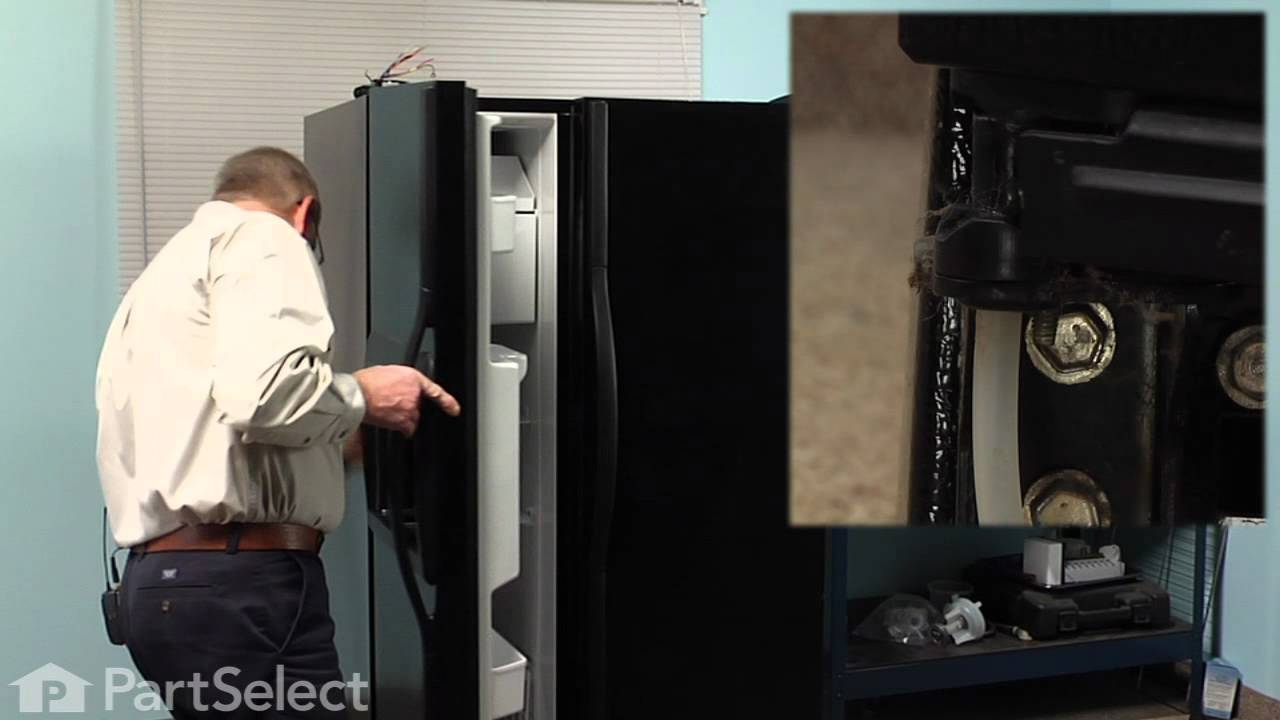
After emptying the refrig. door, I unscrewed the plate on the top of the refrigerator that covered the door bolts. Then off with the three bolts. I removed the door by lifting it up a few inches. The two parts of the door cam were easily removed and replaced with the new part. BEFORE REPLACING the door spread vasoline on both cam parts.
... Read more
(Not after as I did. The second time you do any of these repairs go SO much better :o)
After putting the door back on, adjust the tension of the screws holding the door in place if needed to align the door on the cams so that it shuts completely. Failure to do this will require taking the top off the door again. (see comment above on "... second time...")
If all is properly aligned, the door should swing completely shut.
Even with the mistakes that required removing the door to lubricate the cams, and removing it AGAIN to readjust the screws on the top to properly align the door on the cams, this was a twenty minute job. My wife and I were still speaking to one another at the end of it- a sure sign of an easy repair.
(Not after as I did. The second time you do any of these repairs go SO much better :o)
After putting the door back on, adjust the tension of the screws holding the door in place if needed to align the door on the cams so that it shuts completely. Failure to do this will require taking the top off the door again. (see comment above on "... second time...")
If all is properly aligned, the door should swing completely shut.
Even with the mistakes that required removing the door to lubricate the cams, and removing it AGAIN to readjust the screws on the top to properly align the door on the cams, this was a twenty minute job. My wife and I were still speaking to one another at the end of it- a sure sign of an easy repair.
Read less
Was this instruction helpful to you?
Thank you for voting!
- Customer:
- Todd from Lancaster, PA
- Parts Used:
- WP67005959, WPD7749401
- Difficulty Level:
- Really Easy
- Total Repair Time:
- Less than 15 mins
- Tools:
- Socket set
Ice maker would not turn allowing the ice to come out the dispenser. The ice bucket was also cracked from kids (ok and parents) getting frustrated and shaking the ice bucket!
Piece of cake!
Removed the old ice bucket which was cracked and ice would not dispense. The Helix Cap also looked worn which is why I ordered both parts. (Probably if not for the shaking of the ice bucket the Helix cap would have been the only part required. We ended up cracking the ice bucket) Removed the four hex screws from ... Read more the auger system on the old ice bucket with a socket wrench. Removed the old Helix end cap from the auger system and replaced with the new. Literally just slips on the auger. Reinstalled auger system back onto the new ice bucket. Total time not even five minutes.
Working great! Probably saved $ 75.00 - $ 100.00 on a service call. Half of a wrench on skill level needed (One=Low skill level/ Five=High skill level)
Great response & delivery from Parts Select!
Definitely recommend highly.
Todd
Lancaster-PA
Removed the old ice bucket which was cracked and ice would not dispense. The Helix Cap also looked worn which is why I ordered both parts. (Probably if not for the shaking of the ice bucket the Helix cap would have been the only part required. We ended up cracking the ice bucket) Removed the four hex screws from ... Read more the auger system on the old ice bucket with a socket wrench. Removed the old Helix end cap from the auger system and replaced with the new. Literally just slips on the auger. Reinstalled auger system back onto the new ice bucket. Total time not even five minutes.
Working great! Probably saved $ 75.00 - $ 100.00 on a service call. Half of a wrench on skill level needed (One=Low skill level/ Five=High skill level)
Great response & delivery from Parts Select!
Definitely recommend highly.
Todd
Lancaster-PA
Read less
Was this instruction helpful to you?
Thank you for voting!
- Customer:
- Kevin from Beckley, WV
- Parts Used:
- W11396033
- Difficulty Level:
- Really Easy
- Total Repair Time:
- Less than 15 mins
- Tools:
- Screw drivers
while closing the door, the light switch fouled, resulting in the switch breaking
I used a flat screwdriver and released the lock tab on the bottom of the light switch, and pried the switch out, being careful to not damage the plastic around the mounting place of the switch, unplugged wiring from old switch, plugged in the new one and pushed the new switch into place. Job finished light switch now working.
Was this instruction helpful to you?
Thank you for voting!