



Models
>
TRGI22J
TRGI22J (P7791107W) Amana Refrigerator
Jump to:
Find Part by Name
Keep searches simple, eg. "belt" or "pump".
Diagrams for TRGI22J
Viewing 11 of 11





Keep searches simple, eg. "belt" or "pump".
$19.75
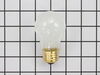
This is a genuine OEM 40-Watt replacement light bulb that is compatible with various types of appliances. It has a frosted glass bulb with a standard metal socket base, making it easy to screw and uns...
In Stock
Order now and your part arrives by Aug 3
$46.07
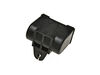
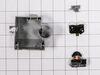
The capacitor, also known as a run capacitor, is a component in your fridge that allows the compressor to cycle on and off to maintain a constant temperature. If your fridge and freezer are too warm i...
In Stock
Order now and your part arrives by Aug 3
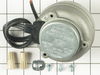
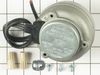
This condenser fan motor is used with frost-free refrigerators with a condenser coil. When the compressor runs, so does this fan, circulating air through the refrigerator grille, cooling the compresso...
In Stock
Order now and your part arrives by Aug 3
$85.67
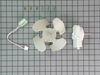
This fan motor is used in frost-free refrigerators with a condenser coil. When the compressor runs, so does this fan, circulating air through the refrigerator grille, to cool the compressor and conden...
In Stock
Order now and your part arrives by Aug 3
$21.82
This is a screw and it is made for multiple appliances in your home. This model is called a sheet metal screw because it has sharp points, and the threads are closer together. This screw is designed t...
In Stock
Order now and your part arrives by Aug 3
$7.60
This is a multi-use screw and can be used on a variety of appliances. The measurements of the screw are: 8/18 x 3/8. *Please note: the screw is sold individually. Refer to the manual provided by the m...
In Stock
Order now and your part arrives by Aug 3

$27.83
This is the replacement water tube kit for your refrigerator. This tubing is made of plastic, is 1/4 inch in diameter, and comes with 2 inserts. This tube may be longer than the original tube, and may...
In Stock
Order now and your part arrives by Aug 3
In Stock
Order now and your part arrives by Aug 3
In Stock
Order now and your part arrives by Aug 3
$74.30
If your ice maker keeps running or isn’t making ice like it should, this small sensor might be the reason. It sits in the ice bin and keeps track of the temperature, helping your fridge know when to m...
In Stock
Order now and your part arrives by Aug 3
In Stock
Order now and your part arrives by Aug 3
$50.36
There is approximately 10'of wire.
Note:2 kits are needed to replace both directions.
In Stock
Order now and your part arrives by Aug 3
Common Problems and Symptoms for TRGI22J
Viewing 16 of 16Noisy
Fixed by these parts
How to fix it
Fridge too warm
Fixed by these parts
How to fix it
Freezer section too warm
Fixed by these parts
How to fix it
Will Not Start
Fixed by these parts
How to fix it
Fridge and Freezer are too warm
Fixed by these parts
How to fix it
Light not working
Fixed by these parts
How to fix it
Leaking
Fixed by these parts


How to fix it
Clicking sound
Fixed by these parts
How to fix it
Fridge runs too long
Fixed by these parts
How to fix it
Too warm
Fixed by these parts
How to fix it
Ice maker not making ice
Fixed by these parts
How to fix it
Door Sweating
Fixed by these parts
How to fix it
Door latch failure
Fixed by these parts
How to fix it
Not dispensing water
Fixed by these parts
How to fix it
Won’t start
Fixed by these parts
How to fix it
Freezer not defrosting
Fixed by these parts
How to fix it



Keep searches simple. Use keywords, e.g. "leaking", "pump", "broken" or "fit".
- Customer:
- garth from forest lake, MN
- Parts Used:
- WPW10662129
- Difficulty Level:
- Really Easy
- Total Repair Time:
- 15 - 30 mins
- Tools:
- Nutdriver, Screw drivers
My refrigerator stopped cooling and the freezer section stopped freezing
I knew the chances of all the freon leaking out was unlikely so I looked at the wiring to the compressor and there was a capacitor and a starter/overload so i figured I would start there. I went on line and found the parts at this site and they were less than the minimum service call charge for a service tech so I figured what the heck le
... Read more
t's give her a shot so I did give it a shot. I ordered the parts and they were there in less time than a service tech could come out and i installed the parts and guess what for 90.00 in parts and 15 minutes in time I repaired my refrigerator. Thanks guys, It took less time to order the parts than it did to make the repair so thanks, your website rocks and is very well designed so my hat is off to you guys!
Read less
Was this instruction helpful to you?
Thank you for voting!
- Customer:
- Josue from Jacksonville, NC
- Parts Used:
- W10124096
- Difficulty Level:
- Really Easy
- Total Repair Time:
- Less than 15 mins
- Tools:
- Screw drivers
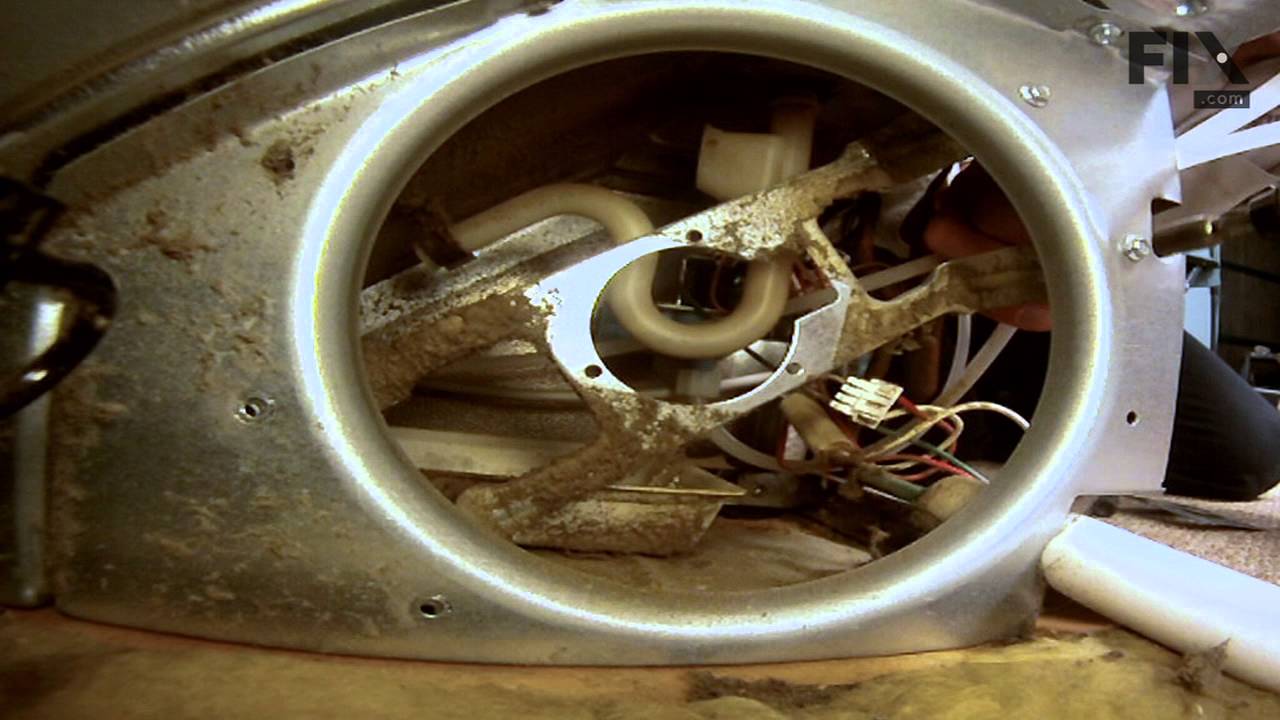
Seven year old condenser fan was making noise when it was running.
The process to repair was very simple, I removed the back of the refrigerator to expose the motor area. I then removed three screws that held the condenser motor in place. once it was loose I detactched the electrical harness and removed the old motor. I then placed the new motor in place and secured it with the screws and reattached the
... Read more
new electrical harness that came with the new part. Once completed I reviewed it to make sure I didn't miss anything. I then replaced the cover over the motor area and enjoyed my success in repairing my own appliance with no added cost for labor, which would have been expensive I'm sure. The part purchased came with clear and consice instructions very easy to follow.
Read less
Was this instruction helpful to you?
Thank you for voting!
- Customer:
- Tom from Franklin, WI
- Parts Used:
- 833697
- Difficulty Level:
- A Bit Difficult
- Total Repair Time:
- 15 - 30 mins
- Tools:
- Nutdriver, Pliers
Sometimes the condenser fan would start causing the refrigerator to overheat.
Unplug the appliance.
Removed the screws holding the back panel.
Removed the fan blade.
removed 3 screws holding the condenser fan.
Remove the 3 metal brackets attached to the fan.
(First note which studs the brackets are attached to. Attach the 3 metal brackets to the new fan. (New screws were supplied)
Cut ... Read more and strip the wire about two inches from the fan.
Cut and strip the new wire. I cut the new wire in half (about 6 inches.) Connect the two wires, twist and used 2 wire nuts. Tie wrap the wire to the wire harness. Mount the new fan (three screws)
Screw the back panel back on.
Mount the new
Removed the screws holding the back panel.
Removed the fan blade.
removed 3 screws holding the condenser fan.
Remove the 3 metal brackets attached to the fan.
(First note which studs the brackets are attached to. Attach the 3 metal brackets to the new fan. (New screws were supplied)
Cut ... Read more and strip the wire about two inches from the fan.
Cut and strip the new wire. I cut the new wire in half (about 6 inches.) Connect the two wires, twist and used 2 wire nuts. Tie wrap the wire to the wire harness. Mount the new fan (three screws)
Screw the back panel back on.
Mount the new
Read less
Was this instruction helpful to you?
Thank you for voting!