



Models
>
SX25SE
SX25SE (P1198902W E) Amana Refrigerator
Jump to:
Find Part by Name
Keep searches simple, eg. "belt" or "pump".
Diagrams for SX25SE
Viewing 12 of 12


Keep searches simple, eg. "belt" or "pump".
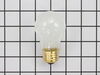
$19.75
This is a genuine OEM 40-Watt replacement light bulb that is compatible with various types of appliances. It has a frosted glass bulb with a standard metal socket base, making it easy to screw and uns...
In Stock
Order now and your part arrives by Aug 8
In Stock
Order now and your part arrives by Aug 8
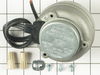
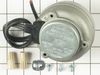
This condenser fan motor is used with frost-free refrigerators with a condenser coil. When the compressor runs, so does this fan, circulating air through the refrigerator grille, cooling the compresso...
In Stock
Order now and your part arrives by Aug 8
$9.79
This part helps with the closing of the door and helps keep them in position.
In Stock
Order now and your part arrives by Aug 8
$7.60
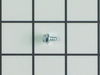
This is a multi-use screw and can be used on a variety of appliances. The measurements of the screw are: 8/18 x 3/8. *Please note: the screw is sold individually. Refer to the manual provided by the m...
In Stock
Order now and your part arrives by Aug 8
$55.18
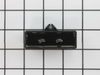
This part helps the compressor kick on and off while maintaining a constant temperature to keep things frozen in your freezer.
In Stock
Order now and your part arrives by Aug 8
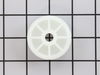
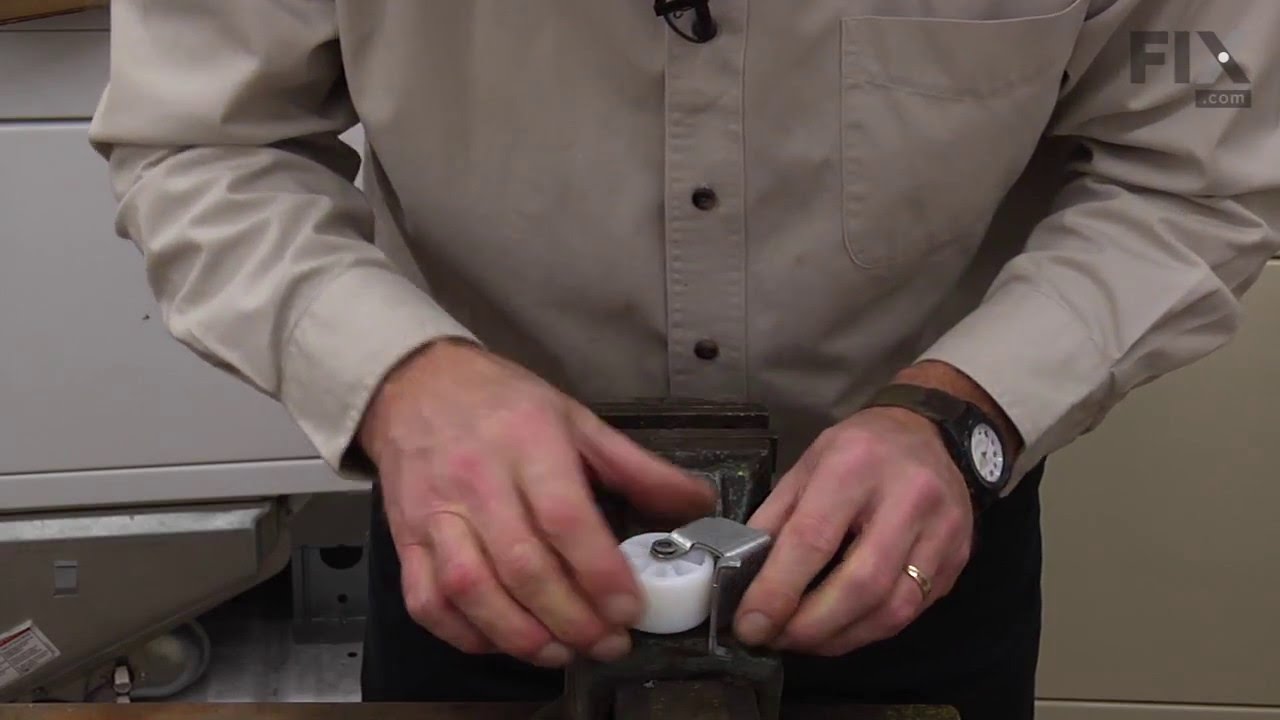
This wheel is sold individually. It is located on the bottom of the refrigerator.
In Stock
Order now and your part arrives by Aug 8
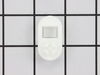
This part is the replacement shelf support for your refrigerator/freezer. It is made of white plastic and is approximately 1 inch by 1 inch. The shelf support attaches to the side of your refrigerator...
No Longer Available
$40.65
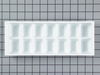
This fourteen cube ice cube tray is eleven inches long. It is all white in color and is made entirely of plastic.
In Stock
Order now and your part arrives by Aug 8
In Stock
Order now and your part arrives by Aug 8
In Stock
Order now and your part arrives by Aug 8
$7.60
This screw is a little under an inch long and is made of metal. It is used with a refrigerator's ice maker assembly. Sold individually.
In Stock
Order now and your part arrives by Aug 8
Common Problems and Symptoms for SX25SE
Viewing 12 of 12Light not working
Fixed by these parts
How to fix it
Fridge too warm
Fixed by these parts
How to fix it
Freezer section too warm
Fixed by these parts
How to fix it
Will Not Start
Fixed by these parts
How to fix it
Noisy
Fixed by these parts
How to fix it
Door won’t open or close
Fixed by these parts
How to fix it
Fridge and Freezer are too warm
Fixed by these parts
How to fix it
Clicking sound
Fixed by these parts
How to fix it
Fridge runs too long
Fixed by these parts
How to fix it
Door Sweating
Fixed by these parts
How to fix it
Too warm
Fixed by these parts
How to fix it
Leaking
Fixed by these parts
How to fix it



Keep searches simple. Use keywords, e.g. "leaking", "pump", "broken" or "fit".
- Customer:
- Tom from Franklin, WI
- Parts Used:
- 833697
- Difficulty Level:
- A Bit Difficult
- Total Repair Time:
- 15 - 30 mins
- Tools:
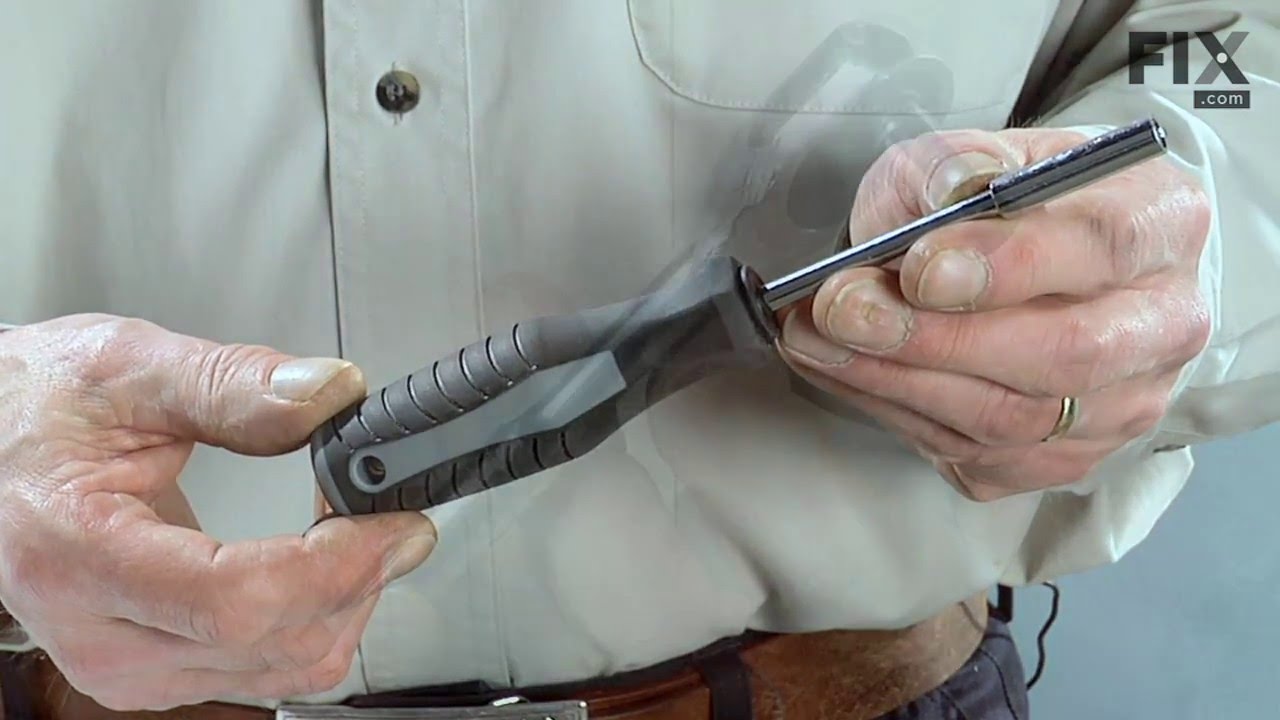
- Nutdriver, Pliers
Sometimes the condenser fan would start causing the refrigerator to overheat.
Unplug the appliance.
Removed the screws holding the back panel.
Removed the fan blade.
removed 3 screws holding the condenser fan.
Remove the 3 metal brackets attached to the fan.
(First note which studs the brackets are attached to. Attach the 3 metal brackets to the new fan. (New screws were supplied)
Cut ... Read more and strip the wire about two inches from the fan.
Cut and strip the new wire. I cut the new wire in half (about 6 inches.) Connect the two wires, twist and used 2 wire nuts. Tie wrap the wire to the wire harness. Mount the new fan (three screws)
Screw the back panel back on.
Mount the new
Removed the screws holding the back panel.
Removed the fan blade.
removed 3 screws holding the condenser fan.
Remove the 3 metal brackets attached to the fan.
(First note which studs the brackets are attached to. Attach the 3 metal brackets to the new fan. (New screws were supplied)
Cut ... Read more and strip the wire about two inches from the fan.
Cut and strip the new wire. I cut the new wire in half (about 6 inches.) Connect the two wires, twist and used 2 wire nuts. Tie wrap the wire to the wire harness. Mount the new fan (three screws)
Screw the back panel back on.
Mount the new
Read less
Was this instruction helpful to you?
Thank you for voting!
- Customer:
- Clint from Rayville, MO
- Parts Used:
- W11384469
- Difficulty Level:
- Really Easy
- Total Repair Time:
- Less than 15 mins
- Tools:
- Screw drivers
Lights inside refrigerator not working
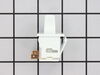
I used a flat-head screwdriver to pop out the old light rocker switch. Then, I unplugged the wires, plugged them into the new light rocker switch, and then popped the new switch into the hole. That's it! Lights began working again.
Was this instruction helpful to you?
Thank you for voting!
- Customer:
- Russ from Asheville, NC
- Parts Used:
- R0181181
- Difficulty Level:
- Easy
- Total Repair Time:
- 15 - 30 mins
- Tools:
- Nutdriver, Screw drivers
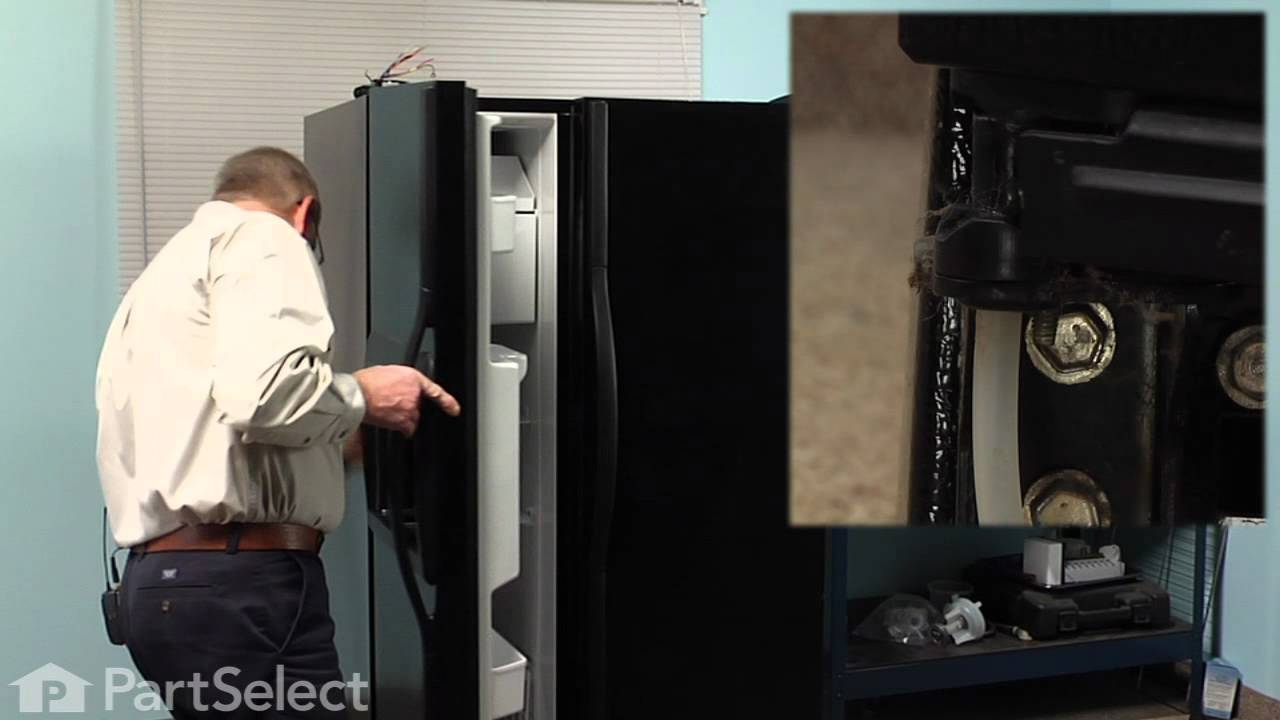
Door would not close
After emptying the refrig. door, I unscrewed the plate on the top of the refrigerator that covered the door bolts. Then off with the three bolts. I removed the door by lifting it up a few inches. The two parts of the door cam were easily removed and replaced with the new part. BEFORE REPLACING the door spread vasoline on both cam parts.
... Read more
(Not after as I did. The second time you do any of these repairs go SO much better :o)
After putting the door back on, adjust the tension of the screws holding the door in place if needed to align the door on the cams so that it shuts completely. Failure to do this will require taking the top off the door again. (see comment above on "... second time...")
If all is properly aligned, the door should swing completely shut.
Even with the mistakes that required removing the door to lubricate the cams, and removing it AGAIN to readjust the screws on the top to properly align the door on the cams, this was a twenty minute job. My wife and I were still speaking to one another at the end of it- a sure sign of an easy repair.
(Not after as I did. The second time you do any of these repairs go SO much better :o)
After putting the door back on, adjust the tension of the screws holding the door in place if needed to align the door on the cams so that it shuts completely. Failure to do this will require taking the top off the door again. (see comment above on "... second time...")
If all is properly aligned, the door should swing completely shut.
Even with the mistakes that required removing the door to lubricate the cams, and removing it AGAIN to readjust the screws on the top to properly align the door on the cams, this was a twenty minute job. My wife and I were still speaking to one another at the end of it- a sure sign of an easy repair.
Read less
Was this instruction helpful to you?
Thank you for voting!