



Models
>
AZF33X18DW07
AZF33X18DW07 Amana Freezer
Jump to:
Find Part by Name
Keep searches simple, eg. "belt" or "pump".
Keep searches simple, eg. "belt" or "pump".
In Stock
Order now and your part arrives by Jul 27
$28.91
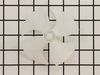
If your refrigerator or freezer is too warm, or making noises, you may need to replace the fan blade. The fan blade attaches to the evaporator motor, which is in the freezer section, to help circulate...
In Stock
Order now and your part arrives by Jul 27
In Stock
Order now and your part arrives by Jul 27
In Stock
Order now and your part arrives by Jul 27
In Stock
Order now and your part arrives by Jul 27
In Stock
Order now and your part arrives by Jul 27
In Stock
Order now and your part arrives by Jul 27
In Stock
Order now and your part arrives by Jul 27
In Stock
Order now and your part arrives by Jul 27

$68.99
This coated wire shelf adds extra storage space to your freezer and helps improve airflow. Its shallow design makes it ideal for organizing smaller items and can be easily repositioned to fit your needs.
In Stock
Order now and your part arrives by Jul 27
In Stock
Order now and your part arrives by Jul 27

In Stock
Order now and your part arrives by Jul 27
Common Problems and Symptoms for AZF33X18DW07
Viewing 7 of 7Noisy
Fixed by these parts
How to fix it
Fridge too warm
Fixed by these parts
How to fix it
Door won’t open or close
Fixed by these parts
How to fix it
Too warm
Fixed by these parts
How to fix it
Fridge too cold
Fixed by these parts
How to fix it
Frost buildup
Fixed by these parts
How to fix it
Freezer section too warm
Fixed by these parts
How to fix it


Keep searches simple. Use keywords, e.g. "leaking", "pump", "broken" or "fit".
- Customer:
- Daniel from BOCA RATON, FL
- Parts Used:
- WPW10515763, WPW10141622
- Difficulty Level:
- A Bit Difficult
- Total Repair Time:
- 30 - 60 mins
- Tools:
- Nutdriver, Screw drivers, Socket set
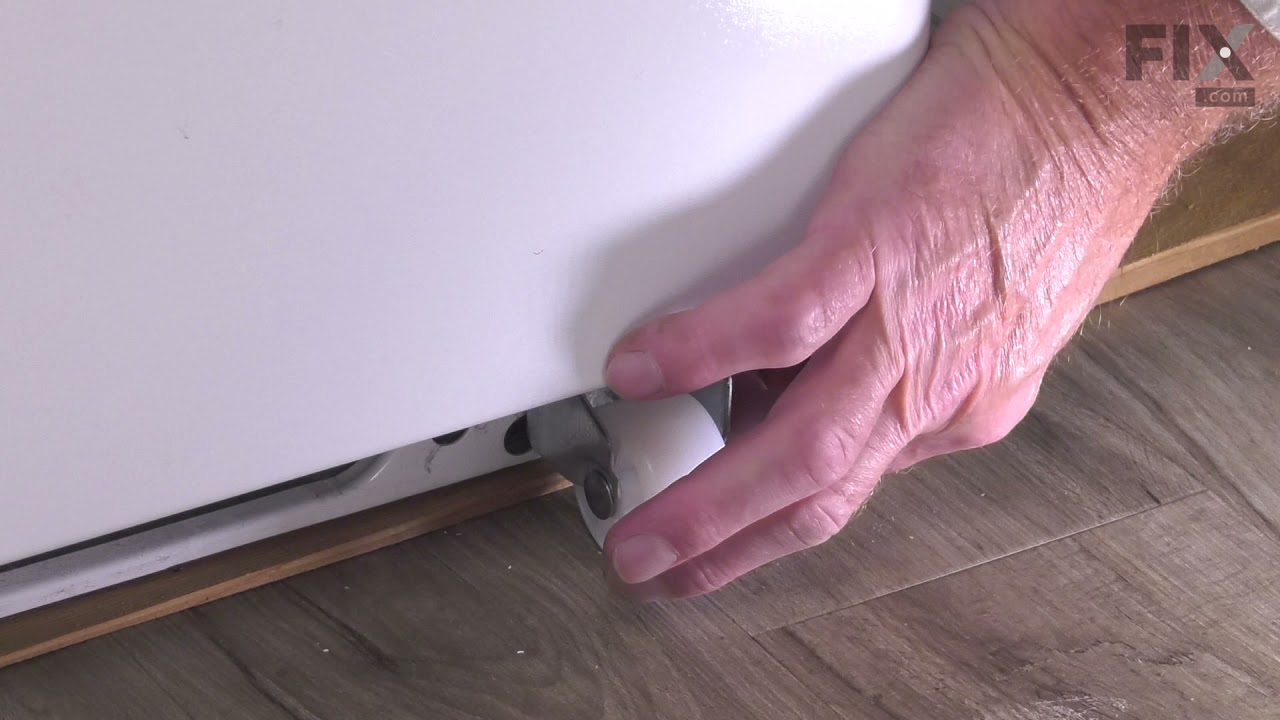
Original bracket foot brake screw hole was stripped and foot brake would not extend
The repair seemed simple, I just needed to remove the old bracket -- 4 screws -- and slip the new one on.
The tricky bit is that the roller bracket holds the weight of the fridge. So in order to make sure that the fridge did not fall over, and to keep the installation point off the ground so that I could align the screw holes, ... Read more I needed to shim up the side of the fridge that I was working on.
To tap in the shims, I used a hammer and a spare chunk of wood. I ultimately used 3 shims, and kept tapping until the roller wheel could roll freely. Then I knew that the fridge was high enough. After that, it was pretty easy to remove the 4 screws, align the new bracket, and replace the screws. After that, in order to get the shims out I could just extend the foot brake as it was designed, and that lifted the fridge enough for me to easily slide out the shims. After that I just had to level out the fridge by adjusting the two feet.
The tricky bit is that the roller bracket holds the weight of the fridge. So in order to make sure that the fridge did not fall over, and to keep the installation point off the ground so that I could align the screw holes, ... Read more I needed to shim up the side of the fridge that I was working on.
To tap in the shims, I used a hammer and a spare chunk of wood. I ultimately used 3 shims, and kept tapping until the roller wheel could roll freely. Then I knew that the fridge was high enough. After that, it was pretty easy to remove the 4 screws, align the new bracket, and replace the screws. After that, in order to get the shims out I could just extend the foot brake as it was designed, and that lifted the fridge enough for me to easily slide out the shims. After that I just had to level out the fridge by adjusting the two feet.
Read less
Was this instruction helpful to you?
Thank you for voting!
- Customer:
- Hans from OGDEN, UT
- Parts Used:
- WPW10475495
- Difficulty Level:
- Really Easy
- Total Repair Time:
- Less than 15 mins
- Tools:
- Socket set
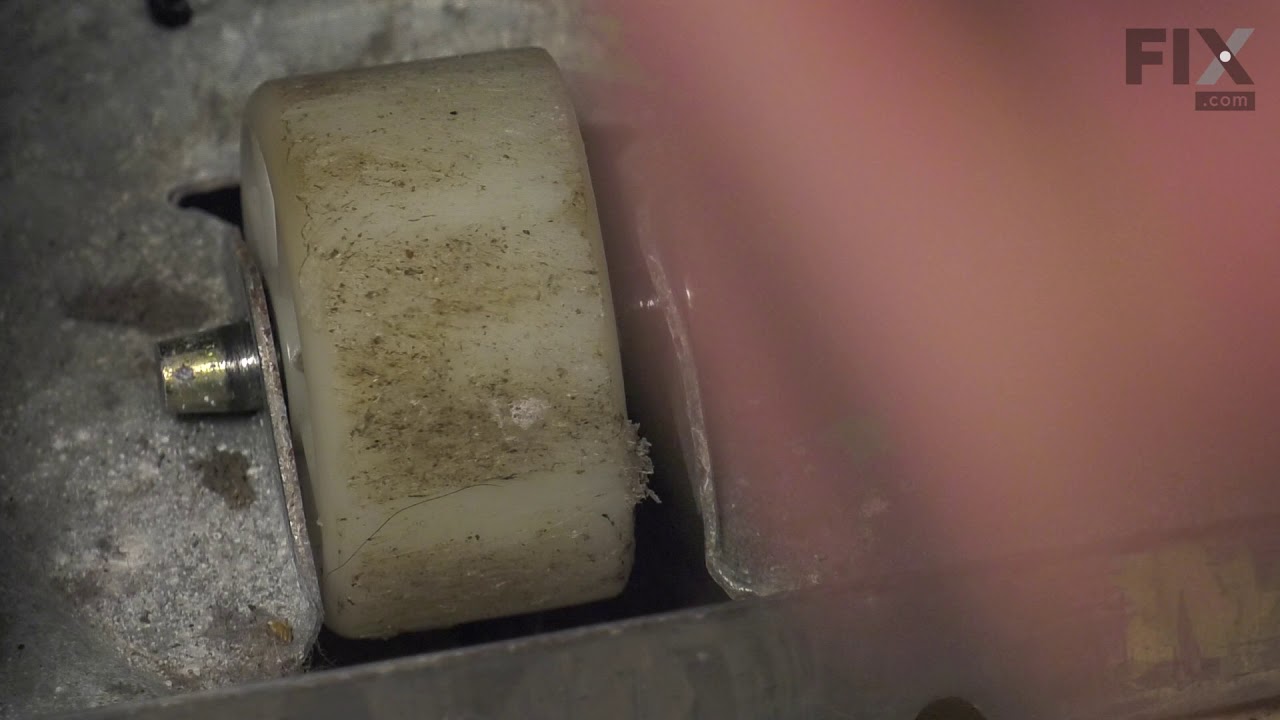
Raise side of fridge and slide 2x4 under side with broken wheel.
Remove back side cardboard access cover. About 6 dcrews need to be removed. Remove 9/16” bolt and lower compressor tray frame down to slide out wheel axel. Place wheel in slot and replace axel. Lift compressor tray and replace 9/16” bolt. Replace cardboard cover. Remove 2x4.
Was this instruction helpful to you?
Thank you for voting!
- Customer:
- daryl from Palm Harbor, FL
- Parts Used:
- WPW10475495
- Difficulty Level:
- Really Easy
- Total Repair Time:
- Less than 15 mins
- Tools:
- Screw drivers
Broken rear wheel
I unplugged the unit Frist. Then I removed the grill covering the compressor and fan from the back. I then located the rear wheel and pin. I bent down the retaining tab and removed the pin and wheel. I installed new wheel and pin and bent retaining tab back to origional location. Replaced grill and checked unit for proper operation.
Was this instruction helpful to you?
Thank you for voting!