



Models
>
HMG621861
HMG621861 Admiral Refrigerator
Jump to:
Find Part by Name
Keep searches simple, eg. "belt" or "pump".
Keep searches simple, eg. "belt" or "pump".
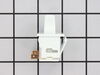
In Stock
Order now and your part arrives by Aug 6
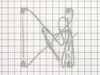
$40.71
This is an OEM part sourced directly from the manufacturer. This defrost heater assembly is designed for use with refrigerators. These heaters melt the frost that builds up on the evaporator coils dur...
In Stock
Order now and your part arrives by Aug 6
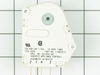
$125.31
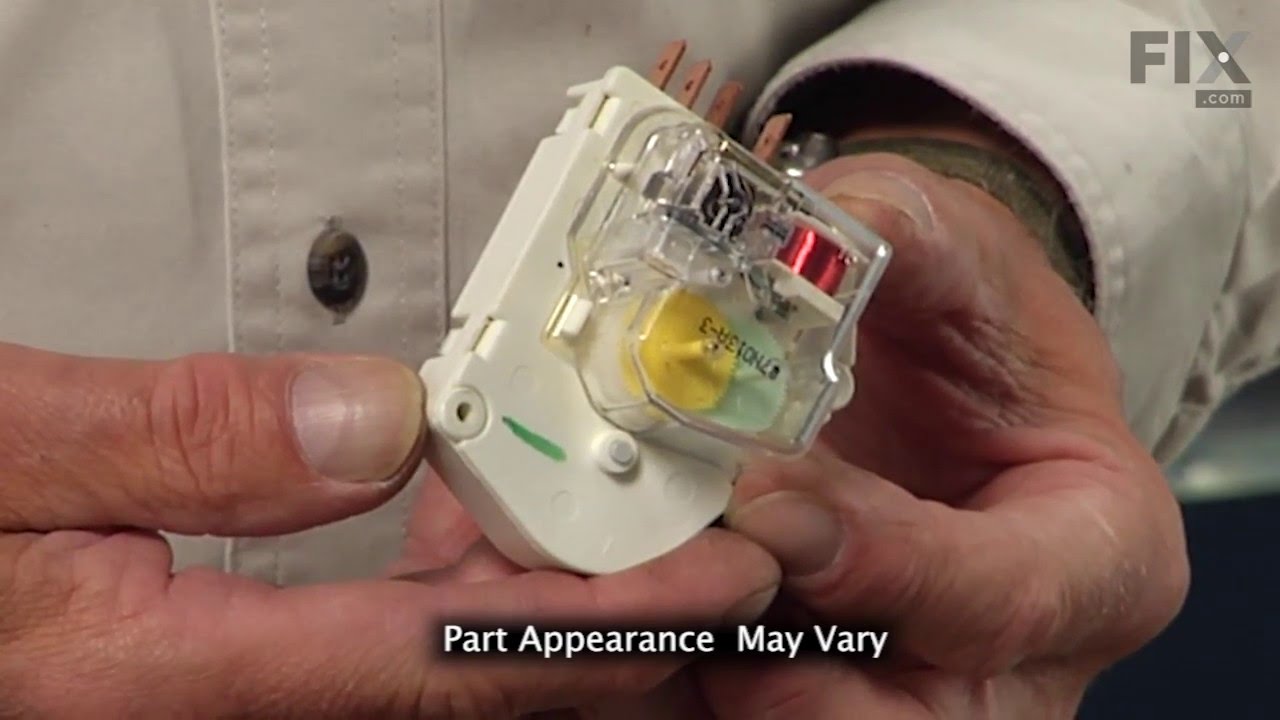
This defrost timer will cycle for twenty-one minutes after every ten hours of run time.
The defrost timer acts like a clock. It continually advances and alternates between activating the cooling cy...
In Stock
Order now and your part arrives by Aug 6
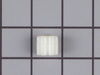
$11.98
This is a compression nut for your refrigerator/freezer. The compression nut is used with the plastic water line for the icemaker assembly. It is the connection between the water supply line and the o...
Special Order
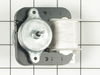
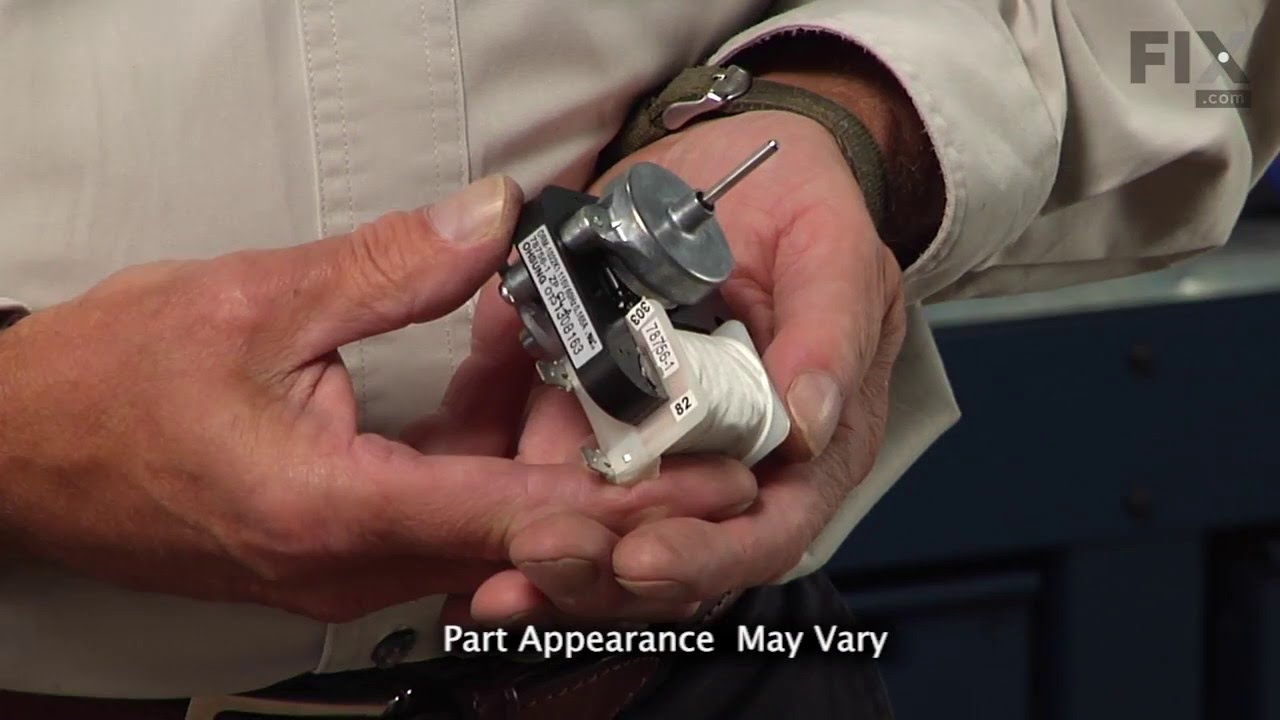
This evaporator fan motor assembly is just over three inches long. It is made of both metal and plastic, and is made up of black, white, and metalllic pieces.
On Order

In Stock
Order now and your part arrives by Aug 6
$17.44
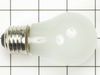
This appliance light bulb is used for many Maytag brand refrigerators. This 40W light bulb is frosted. Sold individually.
In Stock
Order now and your part arrives by Aug 6
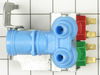
This double outlet water valve has a treaded outlet connection, and comes with all of the necessary screws, fittings, and brackets needed to make this valve compatible.
No Longer Available
$17.44
This is an OEM part sourced directly from the manufacturer. This leveling leg is commonly used with refrigerators, dryers, freezers, ranges, cooktops, and microwaves. This leveling leg ensure that you...
Special Order
This is an authentic OEM replacement part. This defrost evaporator fan is commonly used in refrigerators and freezers. When the defrost heater is at work melting frost on the evaporator coils the wate...
No Longer Available
This fill tube grommet is used to supply water to the icemaker and is partially located in the refrigerator/freezer wall.
No Longer Available
$129.05
This cold control thermostat cycles on and off regularly to keep your refrigerator cold.
Special Order
Common Problems and Symptoms for HMG621861
Viewing 13 of 13Light not working
Fixed by these parts
How to fix it
Fridge too warm
Fixed by these parts
How to fix it
Leaking
Fixed by these parts

How to fix it
Freezer not defrosting
Fixed by these parts
How to fix it
Freezer section too warm
Fixed by these parts
How to fix it
Noisy
Fixed by these parts
How to fix it
Ice maker not making ice
Fixed by these parts
How to fix it
Frost buildup
Fixed by these parts
How to fix it
Fridge runs too long
Fixed by these parts
How to fix it
Fridge and Freezer are too warm
Fixed by these parts
How to fix it
Will Not Start
Fixed by these parts
How to fix it
Freezer too cold
Fixed by these parts
How to fix it
Fridge too cold
Fixed by these parts
How to fix it

Keep searches simple. Use keywords, e.g. "leaking", "pump", "broken" or "fit".
- Customer:
- Clint from Rayville, MO
- Parts Used:
- W11384469
- Difficulty Level:
- Really Easy
- Total Repair Time:
- Less than 15 mins
- Tools:
- Screw drivers
Lights inside refrigerator not working
I used a flat-head screwdriver to pop out the old light rocker switch. Then, I unplugged the wires, plugged them into the new light rocker switch, and then popped the new switch into the hole. That's it! Lights began working again.
Was this instruction helpful to you?
Thank you for voting!
- Customer:
- Leon from Chaparral, NM
- Parts Used:
- WP68233-3
- Difficulty Level:
- Really Easy
- Total Repair Time:
- Less than 15 mins
- Tools:
- Nutdriver
Would not exit defrost mode (continual defrost)
Unplug the refrigerator. Remove face plate located in the upper back of the refrigerator compartment. Remove face place bracket on the right using nut driver. Removing these screws also frees the metal case enclosing the Defrost Timer. Pull the case away from the back of the refrigerator exposing the Defrost timer. Remove the electri
... Read more
cal plug from the Defrost Timer. Then remove the Defrost Timer from the case by removing the two screws securing it. Reverse the procedure to install the new Defrost Timer.
Read less
Was this instruction helpful to you?
Thank you for voting!
- Customer:
- James Richard from St. Cloud, MN
- Parts Used:
- W11384469
- Difficulty Level:
- Easy
- Total Repair Time:
- Less than 15 mins
- Tools:
- Socket set
Light Switch broke
An easy job for smaller hands. Removed the two bolts holding the light cover. Removed two electrical connections from the old switch by pinching the retaining clip,removed the switch, snapped in the new one and re-attached the connectors. Your online illustrations helped me to know that the plastic housing for the light switch would only
... Read more
swing down so far and was not intended to be removed. Saved me from breaking that plastic cover's tabs. This home repair saved me more than 5 times the cost of hiring a professional to do it. Very happy homeowner.
Read less
Was this instruction helpful to you?
Thank you for voting!