




Models
>
DVE60A9900V
DVE60A9900V Samsung Dryer
Jump to:
Find Part by Name
Keep searches simple, eg. "belt" or "pump".
Models for DVE60A9900V
Click on the best match to narrow your results.
Keep searches simple, eg. "belt" or "pump".
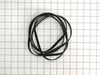
$56.05
This black rubber drum belt connects the motor pulley to the dryer drum, enabling the drum to rotate as the motor runs. Positioned between the drive motor and the drum, it plays a key role in the dryi...
In Stock
Order now and your part arrives by Jul 11
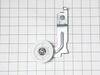
$62.63
This idler pulley assembly includes the pulley wheel and bracket, and is located near the motor in compatible dryer models. It maintains tension on the dryer belt, allowing the drum to rotate smoothly...
In Stock
Order now and your part arrives by Jul 11
In Stock
Order now and your part arrives by Jul 11
$28.78
This replacement thermostat is designed for use with electric dryers to help regulate and maintain the correct temperature during each drying cycle. A properly working thermostat ensures that the heat...
In Stock
Order now and your part arrives by Jul 11
$48.51
This thermal cut-off fuse (part number DC47-00015A) is for dryers. Thermal cut-off fuse DC47-00015A shuts off the heat if the dryer overheats. Unplug the dryer before installing this part. Wear work g...
On Order
In Stock
Order now and your part arrives by Jul 11
In Stock
Order now and your part arrives by Jul 11
In Stock
Order now and your part arrives by Jul 11
In Stock
Order now and your part arrives by Jul 11
$19.95
Leveling leg supports the dryer. Adjust the height of the leveling leg to make the dryer level.
In Stock
Order now and your part arrives by Jul 11

On Order
In Stock
Order now and your part arrives by Jul 11
Common Problems and Symptoms for DVE60A9900V
Viewing 5 of 5Not Heating
Fixed by these parts
How to fix it
Noisy
Fixed by these parts
How to fix it
Drum Not Spinning
Fixed by these parts
How to fix it
Won’t Start
Fixed by these parts
How to fix it
Too hot
Fixed by these parts
How to fix it



Keep searches simple. Use keywords, e.g. "leaking", "pump", "broken" or "fit".
- Customer:
- Christopher from SUGARLOAF, CA
- Parts Used:
- 6602-001655
- Difficulty Level:
- Really Easy
- Total Repair Time:
- 15 - 30 mins
- Tools:
- Screw drivers
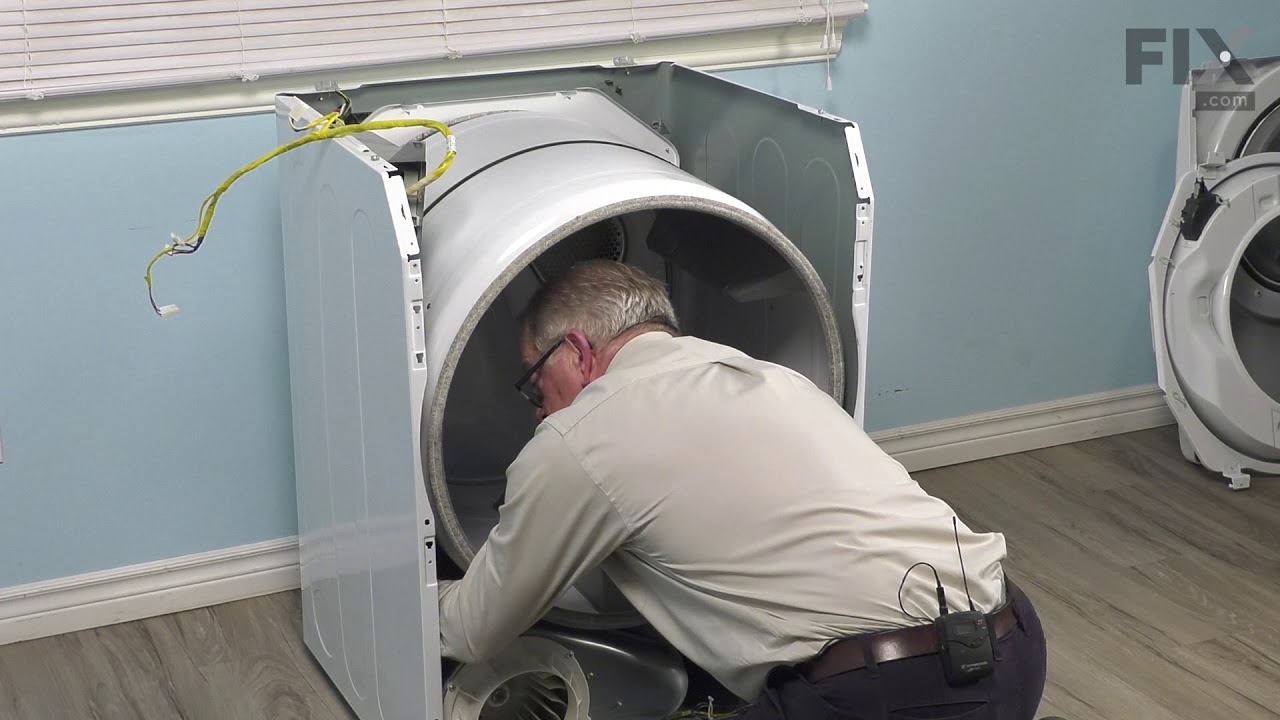
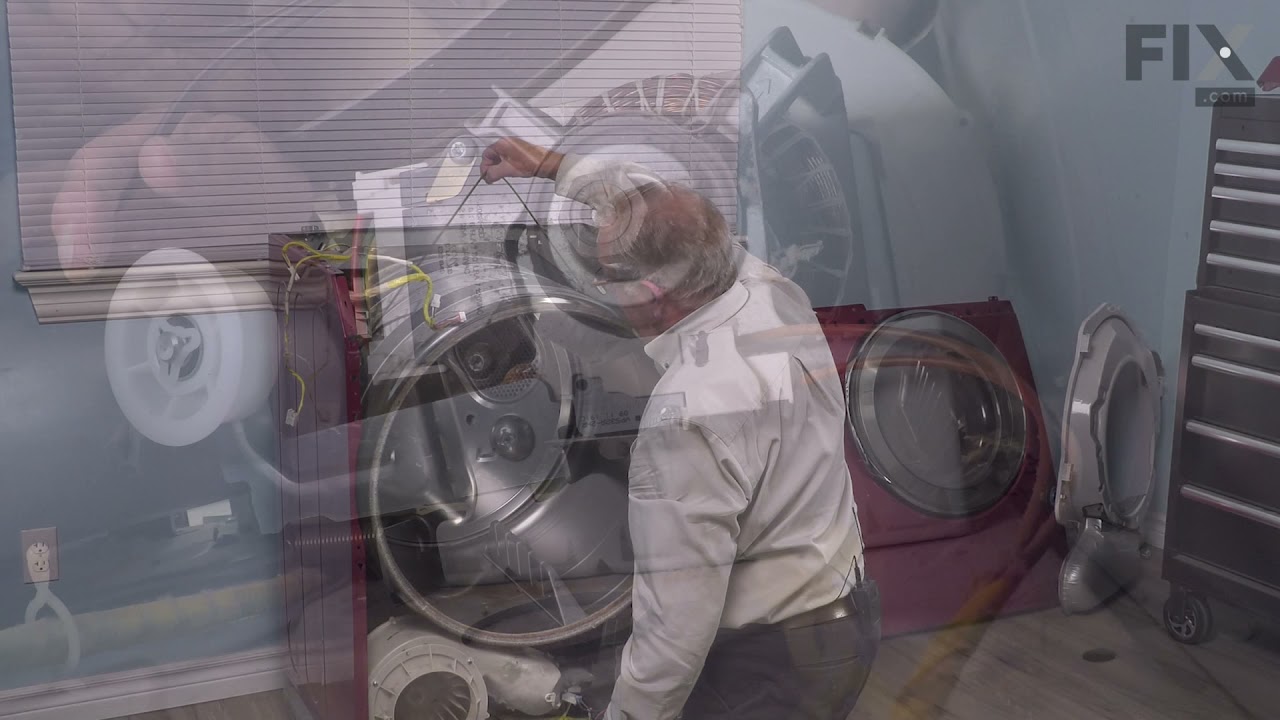
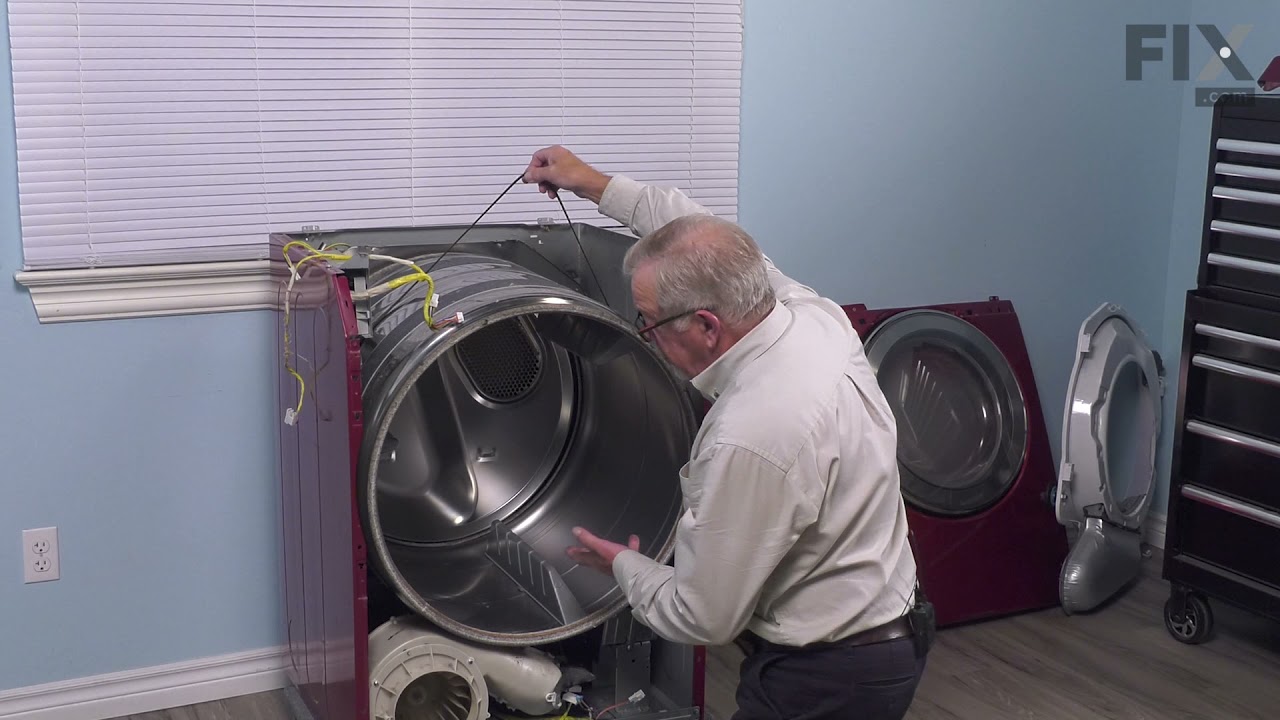
The dryer turned on but the drum did not move when you pressed start even though It started it cycles.
I YouTube it and there’s a step by step process on how to do it, took maybe 30 mins. If I can so can you
Was this instruction helpful to you?
Thank you for voting!
- Customer:
- Noah from OXFORD, KS
- Parts Used:
- DC93-00634A
- Difficulty Level:
- Really Easy
- Total Repair Time:
- Less than 15 mins
- Tools:
- Screw drivers
Tension/Dead Man Wheel Broke/Shattered
Dryer would not start but electronics were working.
Pulled top of dryer off; noticed the belt was loose but not broken.
Went in through the back (1 screw and removed the exhaust pipe/plate); noticed the wheel was broken and thus the belt had fallen off.
Ordered replacement wheel/arm.
One screw to remove ol ... Read more d one, one screw to install new one...tentioned the belt. Dryer was good as new.
Pulled top of dryer off; noticed the belt was loose but not broken.
Went in through the back (1 screw and removed the exhaust pipe/plate); noticed the wheel was broken and thus the belt had fallen off.
Ordered replacement wheel/arm.
One screw to remove ol ... Read more d one, one screw to install new one...tentioned the belt. Dryer was good as new.
Read less
Was this instruction helpful to you?
Thank you for voting!
- Customer:
- Eric from CHAMBERSBURG, PA
- Parts Used:
- DC61-02627A
- Difficulty Level:
- Easy
- Total Repair Time:
- 30 - 60 mins
- Tools:
- Screw drivers
Dryer getting warm but turning off before clothes dry
Cleaned the sensors from inside the drum with alcohol and that did not work. Ordered two sensors. Lift top cover. Remove screws on each of the front side that secures front cover. Unplug door sensor and pull front cover towards you and lift at same time removing from frame. I own dogs and immediately noticed dog hair and surprisingly
... Read more
lint all over the place. Remove the screws from the lint trap. (Theres one you access from inside the drum.) Unplug your sensor wires. Remove lint trap. The sensors simply push in/out. While I was in there I removed the cover for the lint tube and cleaned it out good. Lint had started to gather around the fan. Reverse your process and your done. TIP: Keep your screws orderly as you unscrew them. If you have this problem, just a good cleaning of hair, lint, dirt may do the trick as it essentially packs around the plug of the sensors. I had already ordered my sensors so I just put them in. I took my time and cleaned good and it was about an hour. It could be done in 15-30 minutes easily.
Read less
Was this instruction helpful to you?
Thank you for voting!