




Models
>
8965
8965
Jump to:
Find Part by Name
Keep searches simple, eg. "belt" or "pump".
Models for 8965
Click on the best match to narrow your results.
- 8965 (SER 759A) Milwaukee Utility Vacuum (Vacuum Cleaner)
- 8965 (SER 759-1001) Milwaukee Utility Vacuum (1-Stage Wet/Dry Vacuum Cleaner)
- 8965 Milwaukee Leaf Blower / Vacuum (Milwaukee 8965 Parts)
- 8965-0 Briggs and Stratton Generator (2,400 Watt Generator)
- 8965-0-580328331 Craftsman Generator (8965-0 - 580.328331, 2,400 Watt Craftsman)
- 8965-1 Briggs and Stratton Generator (2,400 Watt Generator)
- 8965-1-580328331 Craftsman Generator (8965-1 - 580.328331, 2,400 Watt Craftsman)
- 8965-2 Craftsman Generator (8965-2 - 328332, 2,400 Watt Craftsman)
- 8965-2 Briggs and Stratton Generator (2,400 Watt Generator)
- 89652 LG Microwave (Lg Microwave 89652)
- 89652-0A Frigidaire Freezer (FREEZER)
- 89652-0B Frigidaire Freezer (CHEST FREEZER)
Exact Part matches for your search term
Viewing 2 of 2
Keep searches simple, eg. "belt" or "pump".
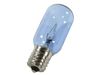
$63.53
Ensure proper lighting inside your refrigerator with this 3.8W LED bulb, designed for use in various models. It provides clear, energy-efficient illumination to help you easily see stored items. If yo...
In Stock
Order now and your part arrives by Jul 16
In Stock
Order now and your part arrives by Jul 16
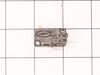
$21.82
This is a genuine OEM replacement switch for the door of your microwave. When the door is closed and the switch depressed, it allows the microwave to run and the turntable to rotate. When the door ope...
Special Order
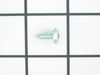
$19.63
This multi-use screw fits various appliances and tools such as, freezers, refrigerators, wall ovens, washers, ranges, dishwashers, dryers, microwave oven combos, combos, wine and beverage coolers. *Pl...
In Stock
Order now and your part arrives by Jul 16
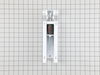
$79.87
This freezer door hinge assembly supports the door and allows it to open and close smoothly while helping maintain a proper seal. It provides the stability needed to keep cold air inside and food stor...
Special Order
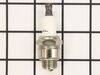
$6.51
This is a spark plug and it is found in various lawn equipment. If your engine is not starting or running poorly, you may need to replace the spark plug. This part is a RJ9LM. Meaning, it is a resisto...
In Stock
Order now and your part arrives by Jul 16
In Stock
Order now and your part arrives by Jul 16
Special Order
On Order
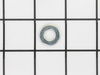
$6.51
This is a washer for various lawn and garden equipment. It is a flat washer and requires a 5/16-inch bolt size. Washers are positioned under the head of a nut or bolt to strengthen the connection of two or more parts.
Special Order
Common Problems and Symptoms for 8965
Viewing 9 of 9No heat
Fixed by these parts

How to fix it
Won’t turn on
Fixed by these parts
How to fix it
Will Not Start
Fixed by these parts


How to fix it
Frost buildup
Fixed by these parts

How to fix it
Doesn’t shut off
Fixed by these parts
How to fix it
Won’t start
Fixed by these parts

How to fix it
Tray won’t turn
Fixed by these parts
How to fix it
Fridge too warm
Fixed by these parts
How to fix it
Freezer section too warm
Fixed by these parts
How to fix it
Keep searches simple. Use keywords, e.g. "leaking", "pump", "broken" or "fit".
- Customer:
- Melvin from Semmes, AL
- Parts Used:
- 216008900
- Difficulty Level:
- Easy
- Total Repair Time:
- Less than 15 mins
Clicking sound then within a minute clicking again, not cooling.
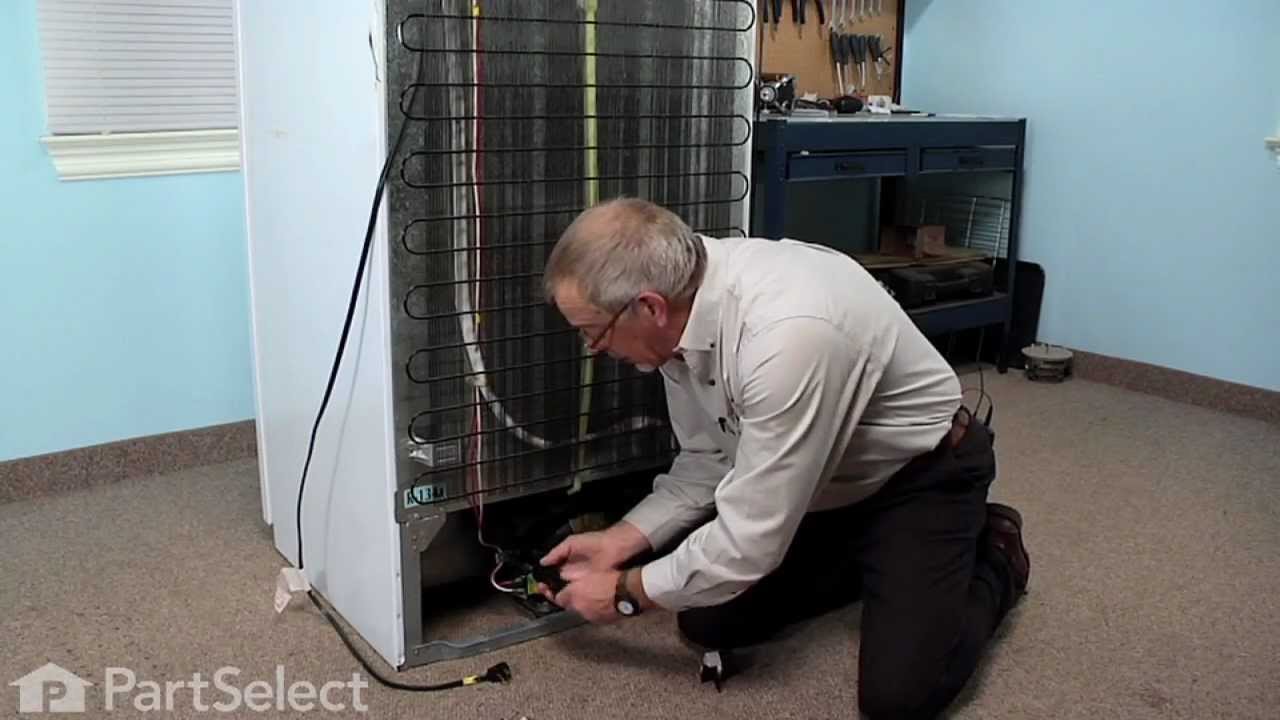
UNPLUG REFRIGERATOR. Carefully remove relay from the side of the compressor. You shouldn't need a tool to do this, if it is hard you can gently pry the edge with a flat head screw driver just to loosen. Unplug white and red wires from relay, noting that the white wire goes in the hole with a #2 stamped beside it. Shake old relay, if it r
... Read more
attles like a baby rattler then it's most likely the problem. Replace wires into the new relay and plug back into the compressor.
Read less
Was this instruction helpful to you?
Thank you for voting!
- Customer:
- JAMES from BILLINGS, MT
- Parts Used:
- 3B73362F
- Difficulty Level:
- Very Easy
- Total Repair Time:
- 30 - 60 mins
- Tools:
- Screw drivers
Broken door micro switch. (unit does not start heating)
Unplug the unit before servicing. Need phillips screwdriver. Open door. Use step ladder to access and remove 2 small screws from top of the room air diffuser at top of unit. Slide diffuser slightly to the left to align the diffuser's plastic tab on the left side to rotate toward you. (The wires for the front control panel are at the far l
... Read more
eft side of this difuser, but difuser is slotted for easy removal). Once the difuser is removed you will see 1 screw at the top that secures the pannel cover on the left side of the unit. Remove screw and slide this panel slightly up and out. This exposes the plastic frame that holds the upper and lower door switches. To locate the door switches and observe how they work, close and open the door and watch the door (bayonets) open and close the micro switches. Do the (red) buttons on top of the switches move up and down when the door bayonets push and release? If the buttons do not "pop" up when opened the switch is defective. The switch frame is secured with 2 screws. Remove screws and rotate the unit out for easy access to the micro switch(s). The internal (spring?) on my unit that is suposed to allow the red (visible) button on top of the switch to "pop" up when the door is opened was broken. Carefully pry the switch outward while being careful to lift the plastic holder-piece that holds the switch in place. Be careful, there is a small pin on the frame, so rotate the switch OUT toward you while lifting (carefully) the plastic holder-piece (you will see it on top of the switch). You can use an ohm meter to test the continuity of the switches. But if the buttons don't "pop" they are defective. Replace switch and reassemble.
Read less
Was this instruction helpful to you?
Thank you for voting!
- Customer:
- FREDDIE from WHITAKERS, NC
- Parts Used:
- 5303276514, 5303007173
- Difficulty Level:
- Really Easy
- Total Repair Time:
- Less than 15 mins
- Tools:
- Pliers, Screw drivers
Freezer stopped freezing food.
I unplugged electrical cord to the freezer. I removed the cover to the relay and load protector. I labeled the wires and made a diagram on the proper placement of each wire going to the relay. I unplugged each wire and removed the relay. Then I removed the load protector. I installed the new load protector and new relay. I placed the wire
... Read more
s on the proper terminals of the relay. I replaced the electrical cover to the relay and load protector. I plugged the electrical cord back in the electrical outlet. My freezer started working again. I placed several bottles of water in the freezer to make sure the freezer was working properly before I restocked it with food.
Thanks again for the help. You just saved me about $400.
Thanks again for the help. You just saved me about $400.
Read less
Was this instruction helpful to you?
Thank you for voting!