


Like what you're reading?
Get your fix of expert articles delivered straight to your inbox!
Oops! Please double check your email address.
No Thanks - I don't like cool stuff


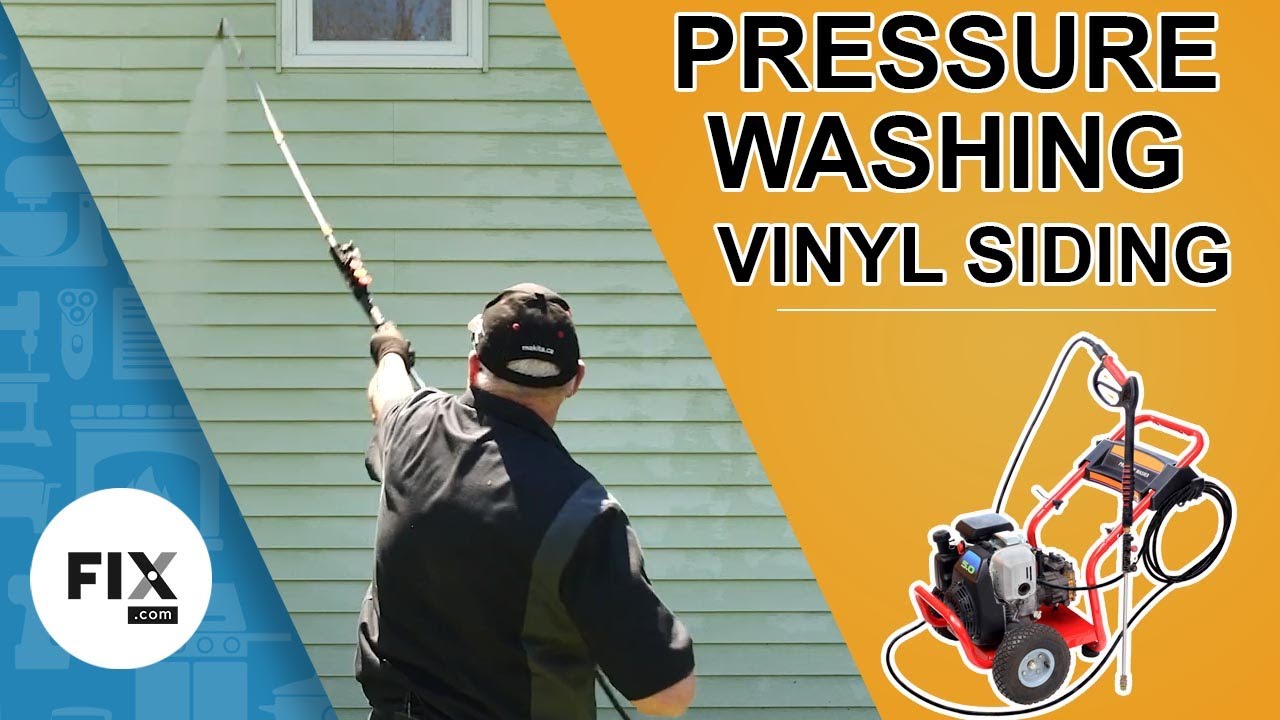
The vinyl siding on your home helps keep everything inside dry, but the constant exposure to the elements can do a number on the material. Dirt, dust, bird droppings, cobwebs, along with mold and mildew can all make an appearance. While vinyl siding is typically a low maintenance option, it does require some regular cleaning in order to keep up its appearance. With some basic prep work, using a pressure washer is a quick and easy way to remove all that grime from the exterior of your home.
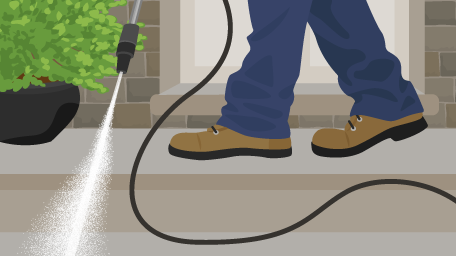
Before you even get the pressure washer out of the garage, you need to start with a visual inspection of your siding and yard. Check for any damage or excessive mold growth. If you notice either of these, you may need some further remediation. Ensure that all the windows are closed, and then cover any vents and electrical outlets. A plastic bag and some tape will do the trick here and shutting off the appropriate breakers is an added safety step. Trim any grass around the perimeter of your house, and if you have garden beds you will want to cover them, so the cleaning solution doesn’t damage your plants. The last item to consider before you begin is the sun exposure your house receives. You want to make sure you’re working in the shade only, as direct sun will dry out your cleaning solution before it has a chance to work.

Whether you own a pressure washer or you’re renting one for this project, you’ll either be using a gas-powered or an electric model. Both will get the job done, but if you have a particularly tough job you may want to go with a gas model as they tend to have higher pressure settings. Both versions will have either a tank for your cleaning solution, or a supply line you put into the bucket of cleaner.
A gas-powered pressure washer gives you a bit more mobility as you aren’t dependent on an outlet location. However, your hose still needs to be able to reach. The length of your hose and the length of an extension cord are things to consider.

The different styles of wand tips you use on your pressure washer will make all the difference in your cleaning. The wand or nozzle tips have different angles and openings, which can result in lower or very high-pressured streams of water. A wide angle has lower pressure but cleans a larger surface area, and a low angle is a very precise, high-pressure stream. For vinyl siding, you want to use a lower-pressure option, to avoid cracking or damaging the siding. For our house, we’re using the black tip for applying the cleaning solution, and then the green tip for rinsing it off with just water. The white tip will work as well and is a great choice if you’re not used to a pressure washer as it’s a gentler option. If you’re also tackling your walkways or any hardscaping, the yellow or red tip can be used on stone and concrete.

The type of cleaning solution you use in your pressure washer will also make a difference in your final results. You will want to make sure that the product you’re using is appropriate for vinyl siding, and if you have garden beds along the house, that it won’t harm your plants. Chlorine bleach for example can discolor your siding (along with any clothing it may splash onto). An oxygen bleach solution is a better choice. If you prefer a more natural option, vinegar with water will also work. For our house, we’re using a commercial grade multi-purpose cleaner that is safe for use on siding, but also won’t damage our lawn or clothing.

If this is your first time using a pressure washer, you may want to hop over to our “Pressure Washer Startup Guide” to ensure your machine is ready to go. For the gas-powered model we’re using in this example, we’ve done a pre-check of the compressor, along with inspecting the oil for the engine. We're going to add our cleaning solution to the tank, hook up our water line with cold water, and get our wand connected. We're using an extension for the wand to ensure we can reach all the surface areas. To finish our set up, we’re going to insert the black nozzle tip into the wand, then we’re ready to begin!

With the wide-angle, low-pressure black tip inserted into the nozzle, we’re going to start by applying our cleaning solution to the siding. You will want to start at the bottom and work your way up. This ensures that you have even coverage and don’t miss any areas, which can happen if you go from the top down. Be mindful of the angle you’re spraying – you don’t want to force any solution between the siding, or up into your soffits. Once the entire area has been sprayed down with the cleaning solution, let it sit for a few minutes before you rinse it off.

While the solution works its magic, you’ll want to switch over the different components on your pressure washer. Disconnect the tank or remove the supply line to the solution, as we’ll just be using water now. Swap out the nozzle tip for either the white or the green tip – you'll want a bit more oomph to get things clean! As we’re now working with more pressure, you’ll want to add some safety gear like protective eyewear and work gloves. This time we’re going to start spraying at the top and then work our way towards the bottom. Again, make sure you aren’t spraying water directly up into the soffits or between the siding. Once this side of the house has been rinsed off, you can continue the process around the whole house, making sure you’re staying ahead of the sun and only cleaning in the shade.

Before and after photos from pressure washing are so satisfying, so we recommend taking some while you complete this home project! Being able to see the results of your hard work really makes a difference at the end of the day. If you’re discovered that your pressure washer also needs a little TLC, we’ve got you covered. Find all the genuine OEM parts you need by searching for your model number. Want to share your before and after photos? We’d love to see them! Join us on Facebook, Twitter, or Instagram to start a conversation.
Written by:
Written by:
In this guide, we’ll show you some of the key points you should inspect on ...
Keep your garage door in safe working condition by using these routine main...

Consider using luxury vinyl flooring for your next home flooring project. I...
Get your fix of expert articles delivered straight to your inbox!
No Thanks - I don't like cool stuff