


Like what you're reading?
Get your fix of expert articles delivered straight to your inbox!
Oops! Please double check your email address.
No Thanks - I don't like cool stuff


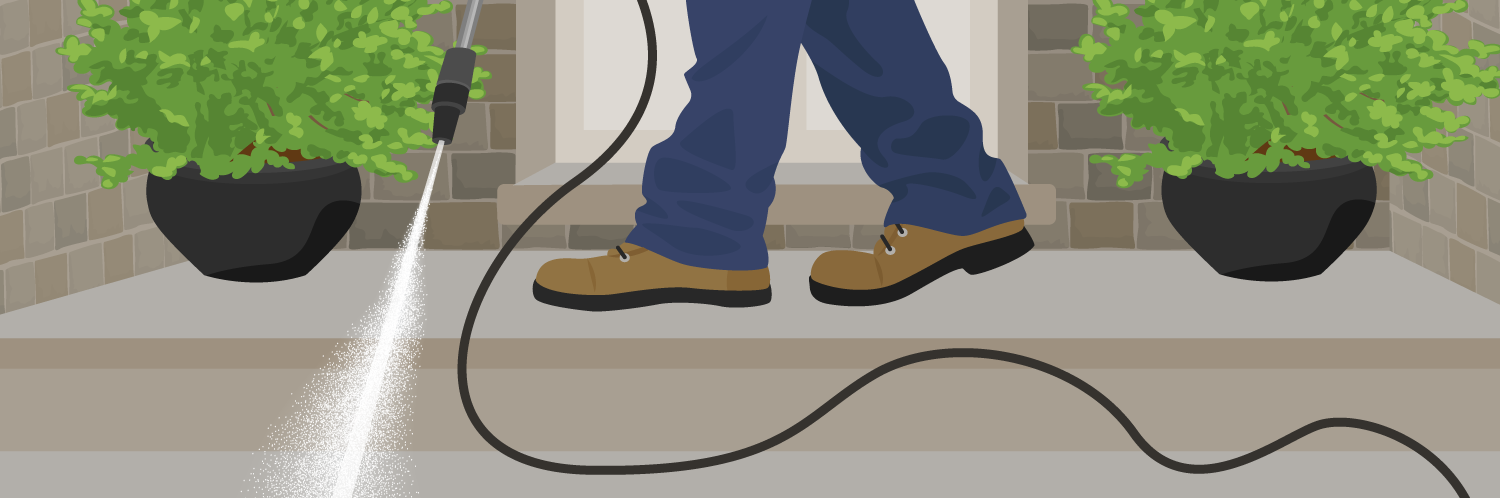
If you’re breaking out your pressure washer for the first time this season, or perhaps you’ve bought one for the first time, you may want to give the equipment a good look over. We’ll show you some of the key points you should check to ensure you get the optimal performance from your machine. We're going to be demonstrating with a basic electric pressure washer, so it may vary from your model. However, many of these startup tips will still apply!
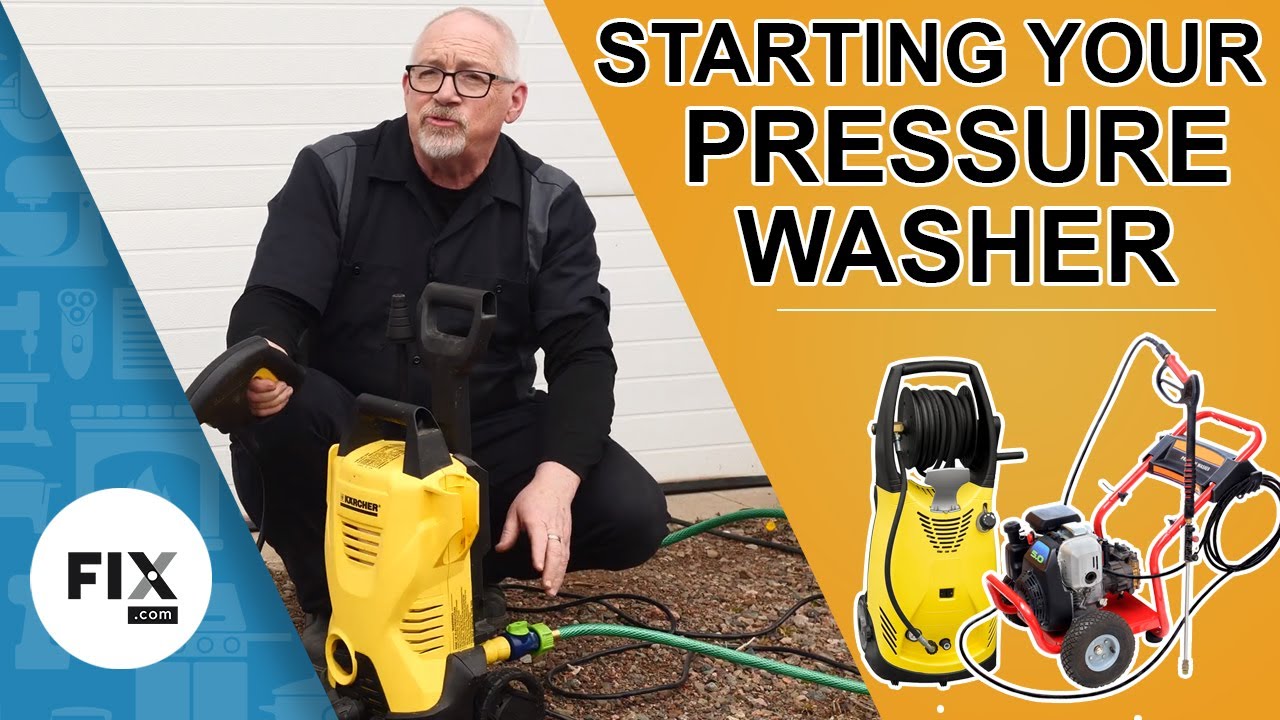
Before you even think about plugging your pressure washer in, you’ll want to first inspect the power cord. Give it a visual inspection by looking for cracks or splits, then run your hand along the cord checking for the same. If the insulation has become damaged, the wires inside could be exposed. If you find any issues, either repair the cord with some electrical tape, or replace the power cord entirely.

The power cord for your pressure washer should have a GFCI built into the cord, where it’s being used with and around water. Its purpose is to cut the power supply if any water gets into the electrical components. It will trip within milliseconds, which helps to protect you from electric shock. You will want to test that this feature is working correctly. Do this by plugging in the cord and pressing the “test” button. You should hear it make a click which indicates that the ground fault is working correctly. Hit “reset” and you’ll be good to go!

The next item you’ll want to look over is the hoses, along with your connectors and the wands. You never want to run a pressure washer without a water source connected to it, or else you’ll ruin your pump. So, start off with a visual inspection of these components. Just like with the power cord, look over the hoses for any signs of cracking or splitting, which would result in leaks. Ensure that the O-rings are on the ends where the hose connects to the machine and to the wands.

Once these areas have been inspected, connect the hose to the machine. This particular model uses a quick connect system, and you’ll hear a click when it snaps in place with the coupler. Some machines will use a nut that threads onto a ferrule in order to attach the hose. Then attach a wand to the other end of the hose before moving on to the next step.

Now that everything is connected to the machine, the final inspection we’re going to do before testing the pressure washer is with the dispenser tank and feed line. For our machine, the water tank is found at the lower back, and just slides out. Visually inspect the tank to ensure that it is in good condition, once again checking that there aren’t any cracks. Look at the cap and filter, ensuring that they are both clean and in good shape.

With all the components inspected and good to go, it’s time to take your pressure washer outside and test it out. We've connected to a power supply, and a cold-water supply. Since our machine is a basic residential style pressure washer, it is only rated for cold water. Be sure to review your user manual to see if your machine can handle a hot water supply. Once the water is connected and turned on, the next step is to bleed any air from the hoses. You need to do this step before the pressure washer is turned on. Do this by squeezing the trigger until water has run through all the lines and comes out the end of the nozzle.

Once you have primed the lines, the pressure washer can be turned on and tested. Perform a test by running the machine for a few seconds, then shut it off. When you release the trigger, the washer should turn itself off. If so, all is working properly! This is now the opportunity to check for any leaks in your set up. If no signs of leaking are present, you are good to carry on using the pressure washer! Otherwise, find the source of the leak and make any necessary repairs. Perhaps things weren’t tight enough, or you need to replace the O-rings. You can find all the necessary replacement parts by searching for your model number on our site.

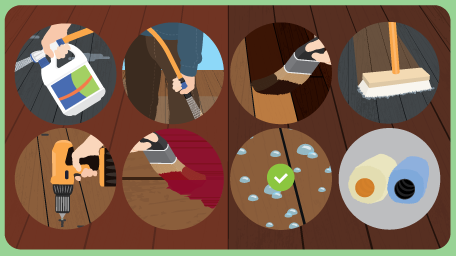
Before you get started blasting the dirt and grime off every surface in sight, be sure to use the proper solution. Some are all purpose, while others are specialized for your car, your wooden deck or fences, or your driveway and concrete items. With all these general inspection steps taken, your pressure washer will be ready to tackle even the grimiest of jobs this season! Find more DIY and how-to videos by subscribing to our YouTube channel.
Written by:
Written by:
Having trouble deciding whether to paint or stain your deck? Find out the p...

Simple accent pieces can transform a room from drab to fab. Fix has budget-...
Make hay while the sun is shining! Our guide to outdoor home upkeep has tip...
Get your fix of expert articles delivered straight to your inbox!
No Thanks - I don't like cool stuff