


Like what you're reading?
Get your fix of expert articles delivered straight to your inbox!
Oops! Please double check your email address.
No Thanks - I don't like cool stuff


Regular maintenance helps to ensure that when you turn your equipment on, it is ready to go. Your air compressor is no exception! We're going to walk you through some of the areas you should be inspecting and maintaining on your equipment, whether it’s regularly used or only occasionally. If it’s been a while since you last used your air compressor, you may want to have some fresh oil and an air filter on hand. Let’s get started!
Before beginning your inspection and maintenance, the most important step is to ensure that the power is cut to the air compressor. Either pull the cord or turn off the breaker. Then you’ll want to bleed any air from the tank so that it’s empty. After that, drain any moisture that has accumulated in your tank. This is something you’ll want to add to your routine maintenance. The amount of moisture in the tank is going to depend on how often you’re using the compressor.
To drain the moisture, find the valve at the bottom of the tank and place a cloth underneath. Use a pair of pliers to open the valve, and let the moisture drip out. Keep the valve open for around five minutes or so, until the water has stopped dripping. Then you can close the valve.

Clean oil is an important component to keep the compressor running smoothly, ensuring the parts are properly lubricated. You will want to use an oil that is made for air compressors, and a standard type of oil should do the trick. It's less expensive than synthetic, and perfectly suitable if you’re only using your air compressor at home for light or medium jobs. Read over your manufacturer’s guide for their recommendations on the best oil for your model.
On your air compressor there will be two different plugs for the oil, one for filling and one for draining. To check the oil level, we’re going to be opening the plug for filling, which is the top plug. Once opened, check that the oil is up to the appropriate level, and the quality of the oil. It should be nice and clear. You will want to check this again every 20 to 30 hours of use with your compressor. You will want to change the oil if it is dark in color, or if you notice there’s a milky look – that indicates there’s moisture in the oil.
To change the oil, remove the bottom drain plug, and drain the oil into an appropriate container. Put the plug back in place, and then refill with fresh air compressor oil. Replace the fill plug and tighten it up.

An air filter is a small and inexpensive part of your air compressor, but it is important to inspect it regularly. The filter helps to keep impurities out of the internal components of your machine, and if the filter gets gummed up it won’t be able to do its job. Pop the filter out and clean it if necessary. If the filter is too far gone, replace it with a new one.
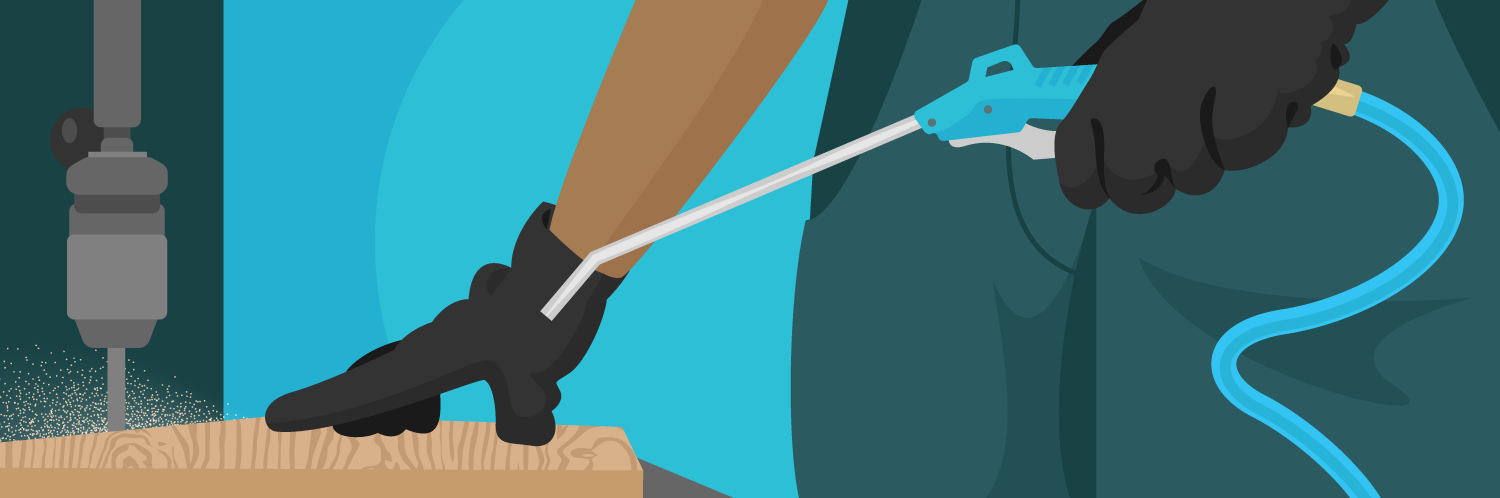
If you’re using your air compressor for a job like spray painting, it’s important that the compressor isn’t in the same area you’re spraying. You don’t want the machine to suck in any of the paint particles, which can be abrasive and cause damage to the internal components of the air compressor.

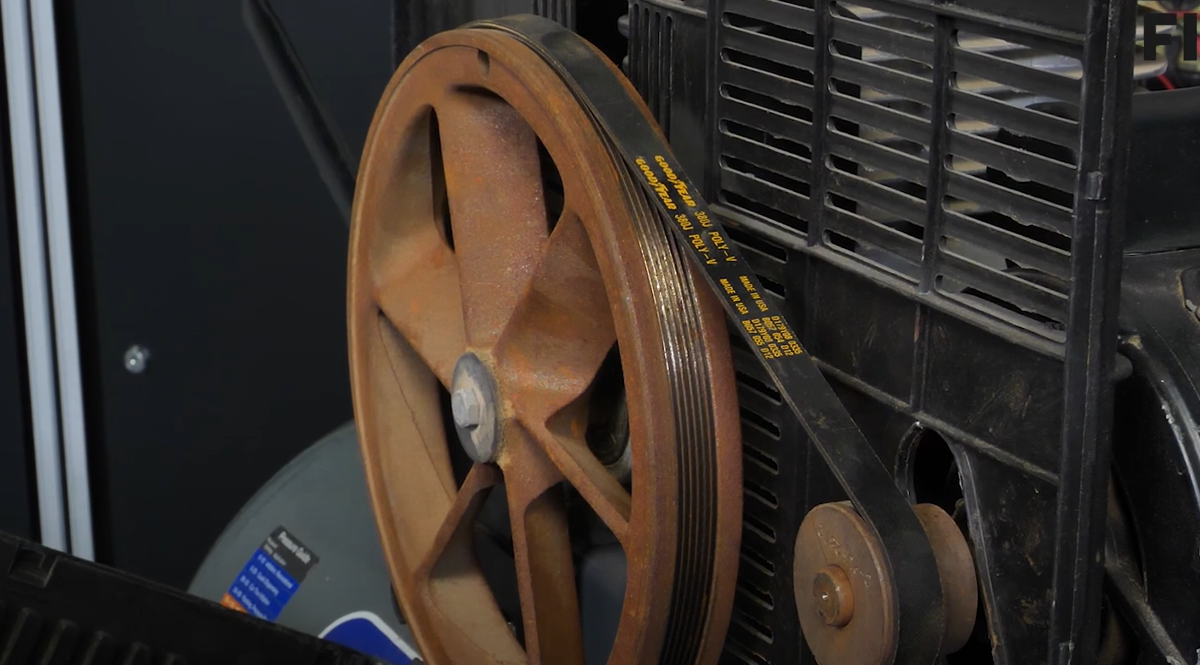
A belt-driven compressor will have a belt attached to the motor, and when you turn the machine on the belt uses a pulley system to power the pump. Due to the moving parts, the belt can wear out over time and will need to be replaced. A well-lubricated belt should run smoothly and quietly, so if you’re experiencing the opposite there may be an issue with the belt.
To inspect the belt, first remove the belt cover, which is an important safety feature of your air compressor. With the cover removed, you can now check that the drive belt is nice and tight on the pulleys, and that there are no signs of cracking or splitting. If you notice any issues, either replace the belt or tighten it up if it’s loose.
Now is the time we get to plug our air compressor in and fire it up! We want to confirm that the machine is functioning properly, and will be looking at the check valve, the pressure switch, the regulator, air hoses, and the blow-off safety valve.
At the end of our first test, we can hear a hissing sound as the air compressor cycles off. This is the valve check unloading the pressure off the head, so that hissing is exactly what we want to hear. It tells us that the check valve is good. The pressure switch cycled off at 130 pounds, which we also wanted, so we now know that our pressure switch is good.
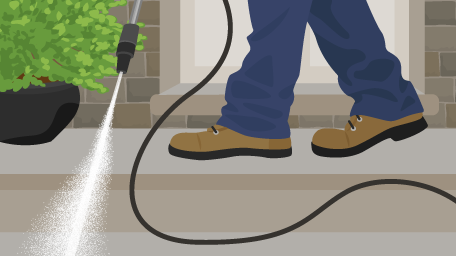
Next, we will check our regulator and inspect our hoses. Take a few seconds to inspect that the air hose connection isn’t worn, or that the hose isn’t cracked or split. Then plug in your hose and get your air gun in order. The air gun is going to be used to hear the change in pressure as we adjust the regulator. As you turn the regulator pressure gauge up and down, the air coming out of the gun changes pitch, which indicates that the regulator is working properly.
This last functionality test will require a pair of safety glasses, so put those on before testing the blow-off safety valve. Pull the ring on the valve, which will let the pressure blow off. When it’s finished, there shouldn’t be any more air hissing noise.

The final step is to do a visual inspection of your air compressor. Check that the wheels are tight and rotate smoothly, that the handle is secure, and then inspect the tank. Check the seam welds to ensure there are no signs of rusting or corrosion. Look for any dents or that none of the paint is splitting. If you’ve found that any parts of your air compressor could do with replacement, we’ve got you covered! Simply search for your model number to find the correct replacement part. Stay up to date with all our videos by subscribing to our YouTube channel.
Written by:
Written by:
In this guide, we’ll show you some of the key points you should inspect on ...

This tool guide will make sure that you have everything on hand to ensure t...

Tired of your boring walls and furniture? Need a splash of color in your li...
Get your fix of expert articles delivered straight to your inbox!
No Thanks - I don't like cool stuff