


Like what you're reading?
Get your fix of expert articles delivered straight to your inbox!
Oops! Please double check your email address.
No Thanks - I don't like cool stuff


There is nothing like the sizzle of a nice piece of meat on the stovetop or in the oven. But there is also nothing like the frustrations that come from steak, chicken, pork, or lamb that sticks to the pan or comes out dry, overcooked, or undercooked. Fortunately, problems from cooking meat are preventable. Here are eight ways you’ve been cooking meat wrong, and how to resolve them.
The problem: You’re afraid to handle meat.
The solution: Wash your hands, don’t rinse raw meat, and keep raw meat separate from other ingredients.
Food safety is a justified concern for home cooks. According to the U.S. Centers for Disease Control and Prevention (CDC), one in six Americans (approximately 48 million people) get sick from food-borne illness each year.https://www.cdc.gov/foodborneburden/ Careful food safety practices, especially when it comes to raw meat, go a long way in preventing food-borne illness.

The problem: The meat sticks to the pan.
The solution: Add meat to a pre-heated pan and don’t be in a rush to flip or stir.
One of the most common problems when cooking meat is that it sticks to the pan. This annoying problem has two main causes:http://www.thekitchn.com/avoid-the-5-most-common-mistakes-when-cooking-meat-on-the-stovetop-tips-from-the-kitchn-208512
The pan isn’t hot enough: Don’t be shy about cranking up the heat. Heat your pan and any cooking fat over medium-high to high heat until the fat shimmers and ripples but doesn’t smoke. To test if cooking fat is ready for the meat, touch a wooden spoon to the pan. Bubbles around the spoon indicate the pan and fat are hot enough for cooking.
You flip or stir too soon: Meat that has a good sear easily releases from the pan. To check for browning or sticking on larger cuts, lift one corner. And to check for browning on small pieces or ground meat, stir a couple test pieces (preferably in different parts of the pan, such as the center and outer edge). If the meat tears or sticks, let it cook a little longer and check again.
The problem: The meat doesn’t brown.
The solution: Stir less and avoid crowding.
Knocking meat around the pan won’t do anything to brown it. For a delicious color with the right texture:
Let the heat do the work: If you’re having trouble achieving good browning, stir less and give each surface more time to stay in contact with the hot pan.
Don’t overcrowd: Overcrowded meat steams instead of sautéing or roasting. Although the meat is cooking, it’s not browning. To give meat more room, either use a larger pan or cook in batches. The extra time will be worth it for a nice, deep sear.http://www.thekitchn.com/avoid-the-5-most-common-mistakes-when-cooking-meat-on-the-stovetop-tips-from-the-kitchn-208512
Blot: Great meat cooks well when there’s little to no surface moisture. To help brown cuts such as chops, fillets, and steaks, blot the meat dry with paper towels before seasoning and searing. Removing some of that moisture beforehand allows the pan’s heat to focus on browning rather than boiling any water off the surface.http://www.seriouseats.com/2013/06/the-food-lab-7-old-wives-tales-about-cooking-steak.html
The problem: The meat comes out dry.
The solution: Ease off the pressing and let cooked meat rest.
Dry meat can be caused by a number of factors. Overworking ground meat can make it tough and dry, and pressing on meat with tongs or a spatula squeezes out fats and juices. If you remove liquid from the meat by pressing on it, that liquid will cook off in the pan instead of being absorbed into the meat. Work the meat less, and don’t press. The sizzling might sound nice, but the flavor will suffer.
To improve texture and moisture even more, let the meat rest after cooking. Don’t rush steaks or a roasted chicken to the table. Give small cuts 5 to 10 minutes to rest before cutting. Larger dishes, such as whole birds or roasts, benefit from a 20-minute rest. This time lets moisture redistribute throughout the cut for added juiciness and flavor that’s well worth the wait.http://www.businessinsider.com/9-things-you-should-never-do-when-cooking-steak-2015-8
Piercing meat with a knife or fork, on the other hand, does not cause it to dry out. Meat loses moisture when the cooking process makes muscle fibers contract, which in turn squeezes out juices. A poke with a fork or knife typically does not cause enough damage to be a concern.http://www.cooksillustrated.com/how_tos/6401-does-poking-meat-during-cooking-cause-moisture-loss
The problem: The meat is undercooked or overcooked.
The solution: Use the one and only true way to check doneness.
Perhaps you’ve heard that if a steak is the same texture as your chin, the fleshy part of your hand, or a January orange harvested from the southern tip of Florida during a full moon, the steak is exactly 145.3 ºF inside.
If that sounds ridiculous, that’s because it is. Different hands have different levels of firmness, and so do different cuts of meat. The firmness of the meat compared to your body parts doesn’t indicate much.http://www.seriouseats.com/2013/06/the-food-lab-7-old-wives-tales-about-cooking-steak.html Color won’t tell you if meat is undercooked or overcooked either. There is only one consistent, tried-and-true, objective way to know whether or not meat is done cooking: temperature.
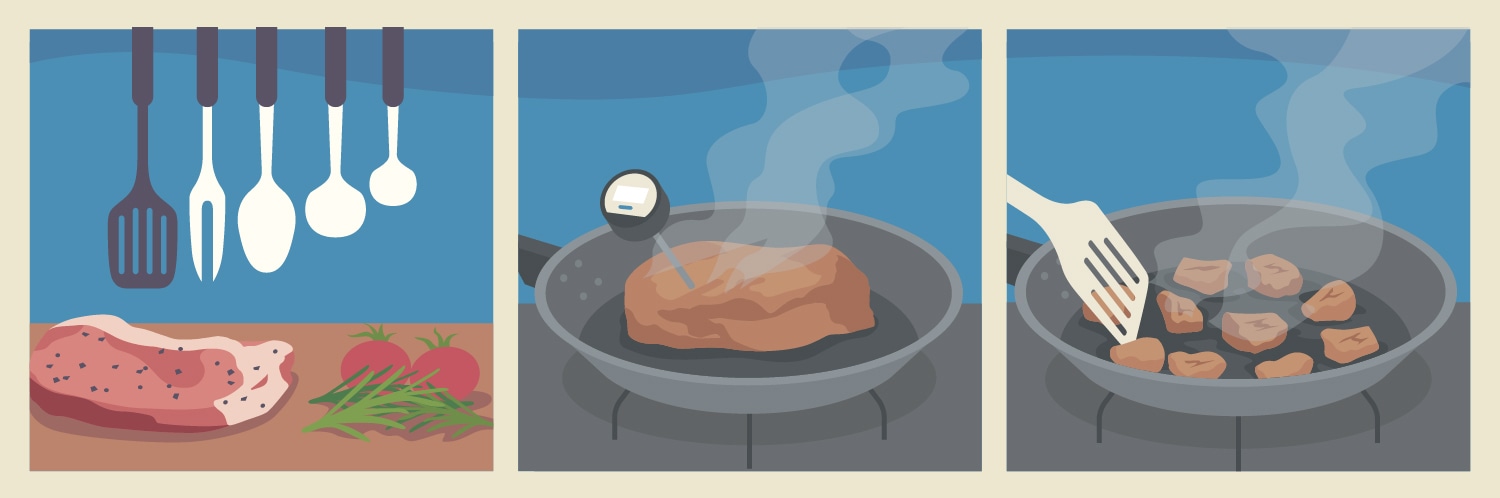
An instant-read thermometer (such as the Thermapen) is the only way to accurately read food temperature and help prevent undercooking or overcooking meat. But what temperatures do you need to cook to?

A final tip: Cooking meat to serving temperature results in the meat being overdone, because it continues to cook once it’s off the heat. Instead, cook meat to 5 to 10 degrees Fahrenheit below the final temperature.http://www.cooksillustrated.com/how_tos/5546-serving-temperatures-for-meat
The problem: The meat cooks unevenly.
The solution: Pound pieces to a uniform thickness.
Just because you can cook to temperature doesn’t mean that food is cooked uniformly. When meat isn’t a uniform thickness, such as a chicken breast that tapers to a thin point, it’s nearly impossible to cook evenly. The rest of the chicken could be perfectly cooked, but the thin portion can get tough. If meat is unevenly thick, give it a good pounding to even out the thickness.http://www.thekitchn.com/10-important-things-to-know-about-cooking-chicken-tips-from-the-kitchn-217950 Put the meat between two pieces of waxed paper (or inside a large zipper bag) and give a few solid whacks with a metal meat tenderizer, rolling pin, or rubber mallet.
The problem: You want a roast, but you don’t want to clean up the roasting pan.
The solution: Leave the roasting pan for the Thanksgiving turkey.
Roasting can be a big production: There’s the giant pan, the big piece of meat or poultry, and all that time fussing and basting and checking.
But you know what? It doesn’t have to be. Roasting is one of the most basic ways to cook large cuts of meat or whole birds.
For starters, ditch the roasting pan. Roasting pans have their uses, but a whole chicken that can be ready for a weeknight dinner in an hour isn’t one of them. (Besides, roasting pans are usually large and unwieldy, which also means they can be a pain to clean.) When roasting meat, try one of these everyday kitchen tools instead:http://www.thekitchn.com/5-things-to-roast-a-chicken-in-other-than-a-roasting-pan-tips-from-the-kitchn-208457
The problem: The meat’s interior and exterior never get cooked to the right doneness.
The solution: Start in the oven, finish on the stovetop.
Prepare cuts like steak in the oven at a fairly low temperature, then finish with a quick sear in a stovetop pan.http://www.cooksillustrated.com/how_tos/9710-the-solution-to-searing-meat The whole process takes roughly 20 to 30 minutes.http://www.chatelaine.com/recipes/chatelainekitchen/how-to-cook-a-perfect-steak-indoors/
Cooking delicious meat at home can seem tricky, but simple steps and changes can transform your home-cooked roasts, steaks, and chops into juicy, evenly cooked dishes every time.
Embed the article on your site

Written by:
Get your fix of expert articles delivered straight to your inbox!
No Thanks - I don't like cool stuff