How Not to Get Lost While Hiking
And What to Do if it Happens
A ramble through the woods, a stroll across a mountain meadow, or a strenuous alpine hike with the reward of a breathtaking vista – it all sounds idyllic until something goes wrong.
As a former search and rescue volunteer and EMT, I’ve participated in too many wilderness searches that could have been avoided with a few precautions, a little know-how, and the right gear.
Trust me – if golf is “a good walk spoiled,” so is a search for a missing hiker!
If you’re planning to explore hiking trails in your region this fall and winter, know what is needed to have a fantastic outdoor experience (and make it home in time for dinner).
Safety Precautions
Before setting out on any wilderness hike, download or buy a topographical map of the trail network so you’ll be aware of trail crossings and alternative routes.
Consider hiking with a buddy, or, if you must hike alone, always tell a friend or loved one where you’ll be and when you plan to be back.
Many trailheads offer “sign-in stations,” where hikers can register their presence.
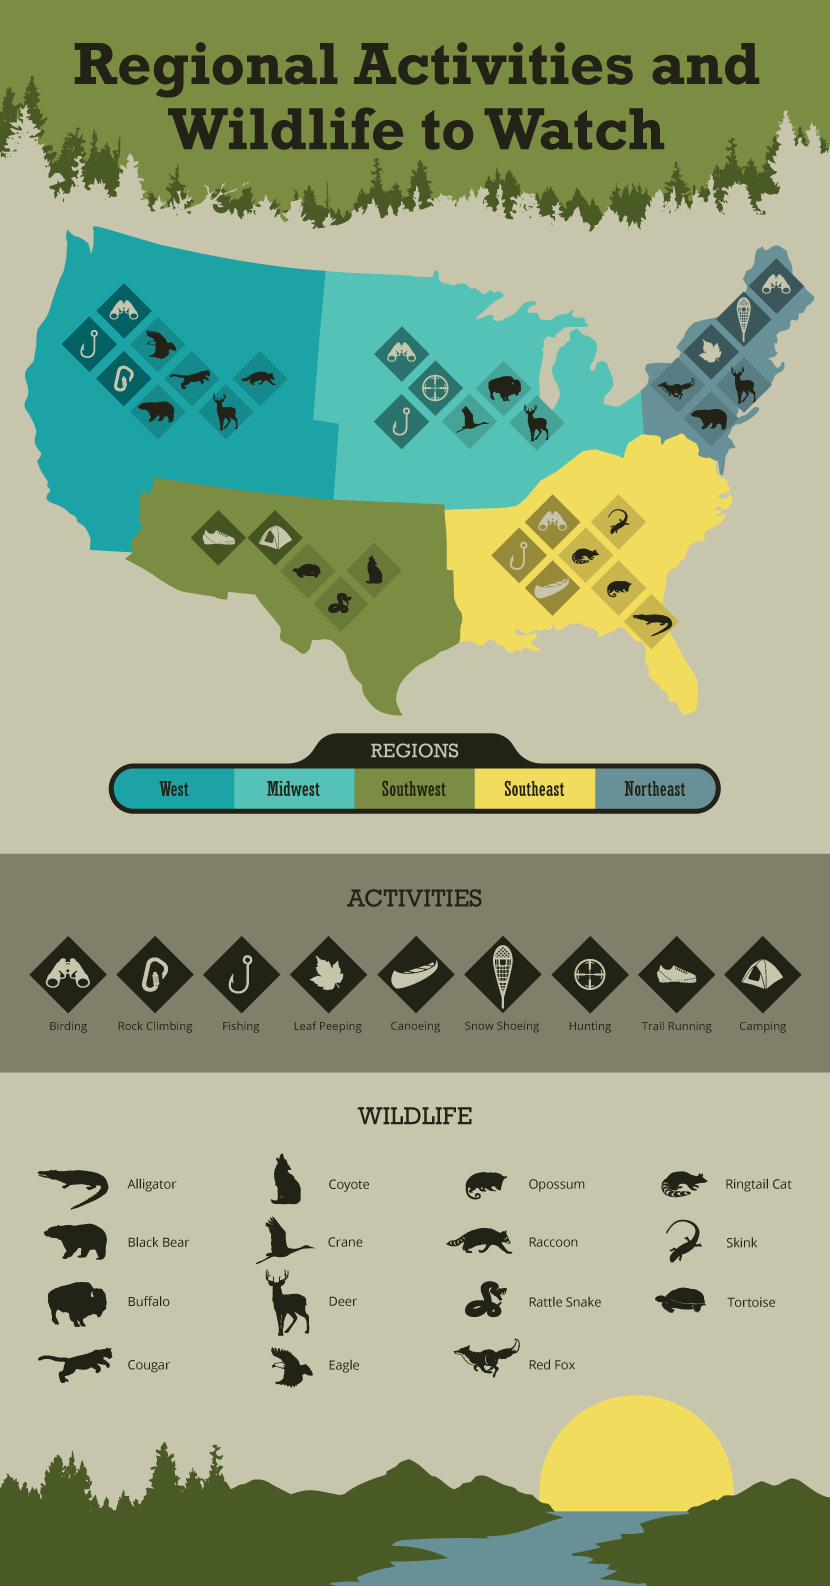
Lucky hikers will enjoy spotting wildlife en route; with very few exceptions, these animals will respect your presence if you respect theirs.
Carrying bear spray is a good precaution against the rare event of an aggressive animal, but a camera will come in handy far more often.

Gear to Take
Most hikers remember to pack weather-appropriate clothing and carry a water bottle when setting out, but they are surprised to learn what else should be in their day pack.
While compasses and GPS units are useful, they don’t make the list of absolute necessities. Neither do high-tech hiking poles or hydration systems, despite being nice to have.
In fact, hikers carrying just the following five items will greatly increase their chances of survival in the wilderness should they spend more time in the elements than planned:
All five of the items above can be purchased for under $10 at any outdoor store or dollar store. Keep all five safety tools in your hiking day pack permanently to ensure they’re at the ready on every hike.

Navigation and Orientation
Once on the trail with your safety gear in place in your pack, there are a number of ways to navigate in the wilderness to ensure that you do not get lost. Whether you want to go high-tech or low-tech, common sense comes into play.
No matter what type of navigational tool used, hikers need to be aware of their surroundings and pay attention to visual clues. Try any of the following navigational tips:
Use Your Topographical Map
For hikers who plan to stay on trails and not walk cross-country, a topographical map may be all that’s needed. Know how to read the terrain via the map: “waves” on mountain ranges indicate steep elevation changes, while more spread-out lines indicate flat space.
Navigate With a GPS Unit
This is far the easiest way to navigate, provided that the owner knows how to use it. Finding one’s way with a GPS unit can be as easy as pressing a button.
Ask for instruction on using your unit when buying (it’s best to purchase a GPS unit at a store specializing in outdoor equipment), and make sure to have extra batteries on hand. Always carry a map, as well, in case your GPS unit loses signal.
Orient by Compass
Go “old school” and impress your friends with your compass knowledge!
Always reliable and never needing batteries, compasses take up very little room in your pack and weigh next to nothing. However, compass navigation can be complicated to learn: make sure you know how to use yours before relying on it.
1. GPS unit ($150-$500) Pros: easy to use, reliable. Cons: expensive, needs batteries and moderate training to use).
2. Compass ($10-$50) Pros: lightweight, does not need batteries to operate. Cons: requires skill to use.
3. Topographical map ($5-15) Pros: does not need signal or batteries, lightweight. Cons: can get ruined or wet (keep in a plastic bag).
Read Your Surroundings
There are a number of ways to know where you’re going without the aid of a navigational tool. Of course, hikers can look to the sun for direction, but they can also try the following:
- Check the moss growing on tree trunks: moss will grow on the north side, which receives less sunlight.
- Follow the flow of creeks or streams: they will deposit into larger bodies of water and will westward on the west side of the Great Divide and eastward on the east side.
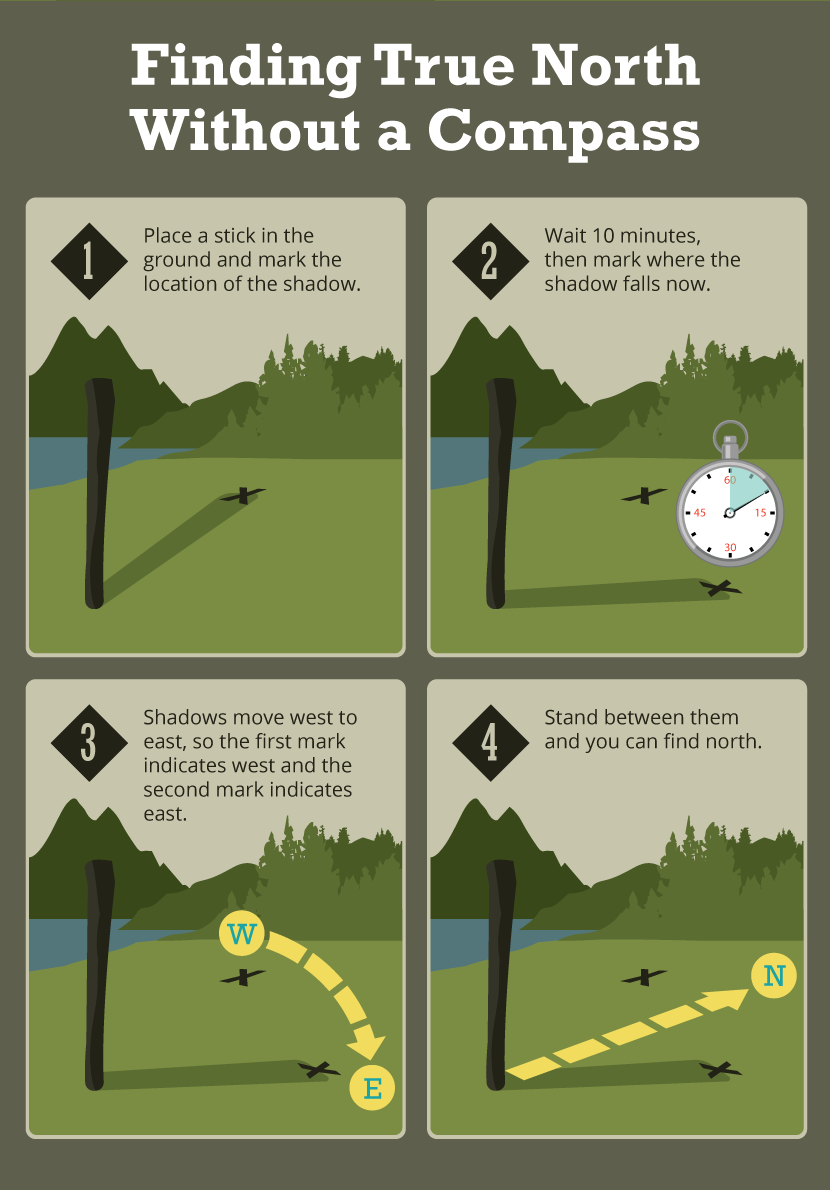
- Read a shadow: place a stick in the ground and mark the location where the shadow is cast. Wait 10 minutes and then mark where the shadow falls now. Shadows move west to east, so the first mark indicates west, and the second mark indicates east. Stand between them, and you can find north.

You’re Lost: What Now?
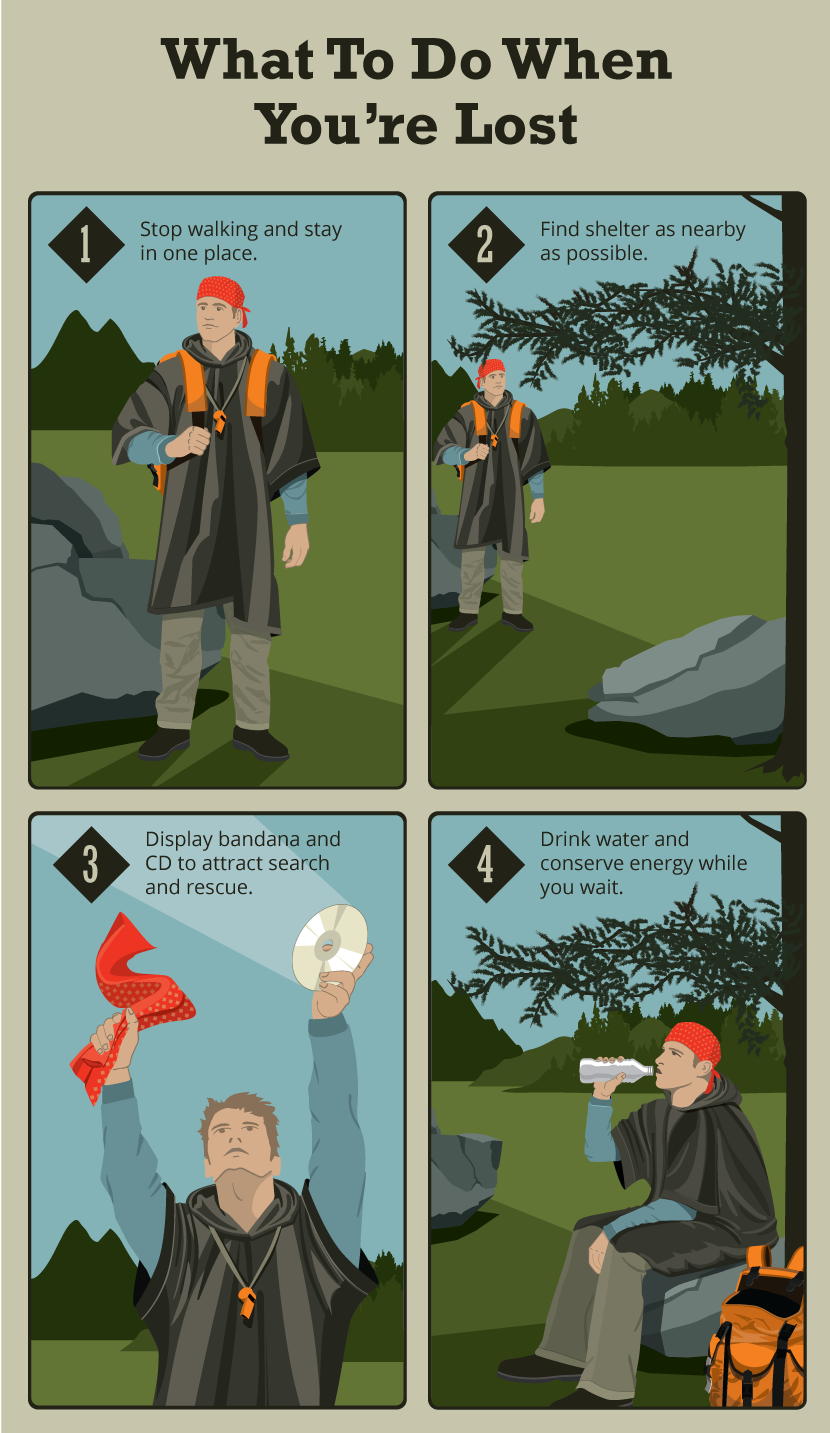
In the event that a hiker does become lost in the woods, despite carrying the right gear and using navigational tools, there’s really only one rule to remember. Luckily, it’s an easy one: stay in one place.
Wherever you become lost, stay there! In my many hours as a search and rescue volunteer, I participated in searches that took hours or even days… all because the lost hiker stayed on the move (while we moved after him or her).
Therefore, when lost, stay put! Then take the following steps:
1. Find nearby shelter from the elements, such as a tree or rock.
2. Use your bandana to alert rescuers. Hang it on a tree branch, or wear it on your head.
3. Shine your CD if a helicopter or plane is visible. It’s remarkable how well “spotters” – rescuers sitting next to pilots – can see it!
4. Drink water.
5. Stay in one place, even through the night.

Provided that you took the precaution to tell somewhere where you decided to hike, brought the five essential items with you, and stay in one place once lost, you’ll be found within hours, if not minutes!
Embed the article on your site

