How to Make a DIY Bulb Christmas Tree
Easy Holiday Crafts
The holidays are right around the corner and we are so excited to show you how to make your own DIY Christmas Decorations! Not only does making your decorations cost less than buying them, but these adorable trees are so easy to make that it can be a fun Christmas craft for kids and adults to enjoy together!
Here is how you can make your own:
Materials & Tools Required
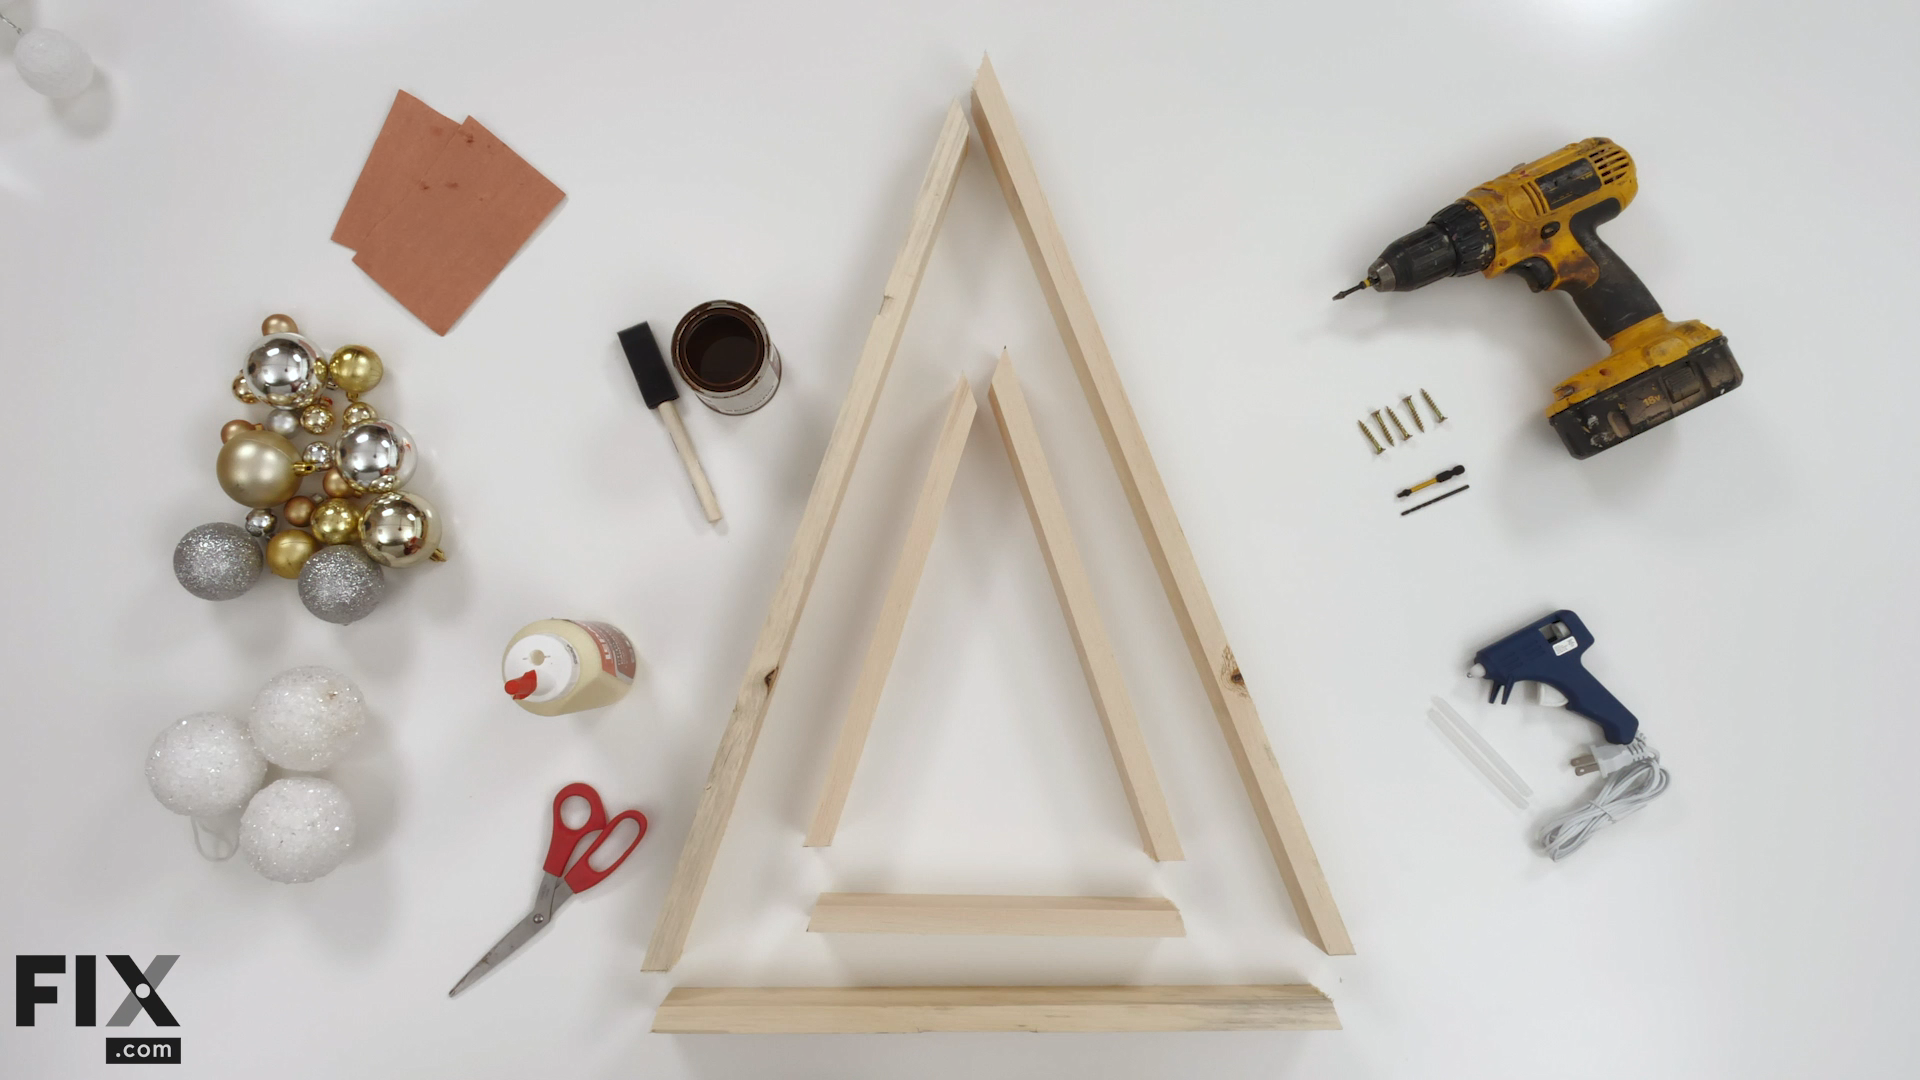
In order to build your tree, you will need the following:
- Two-Inch Pine
- Saw to Cut Wood
- Hot Glue Gun and Glue Sticks
- Drill and Pre-Drill Bit
- 6 Screws
- Wood Glue
- Stain of Your Choice
- Scissors
- Sandpaper
- Bulbs/Ornaments
Instructions
Step 1: Cutting
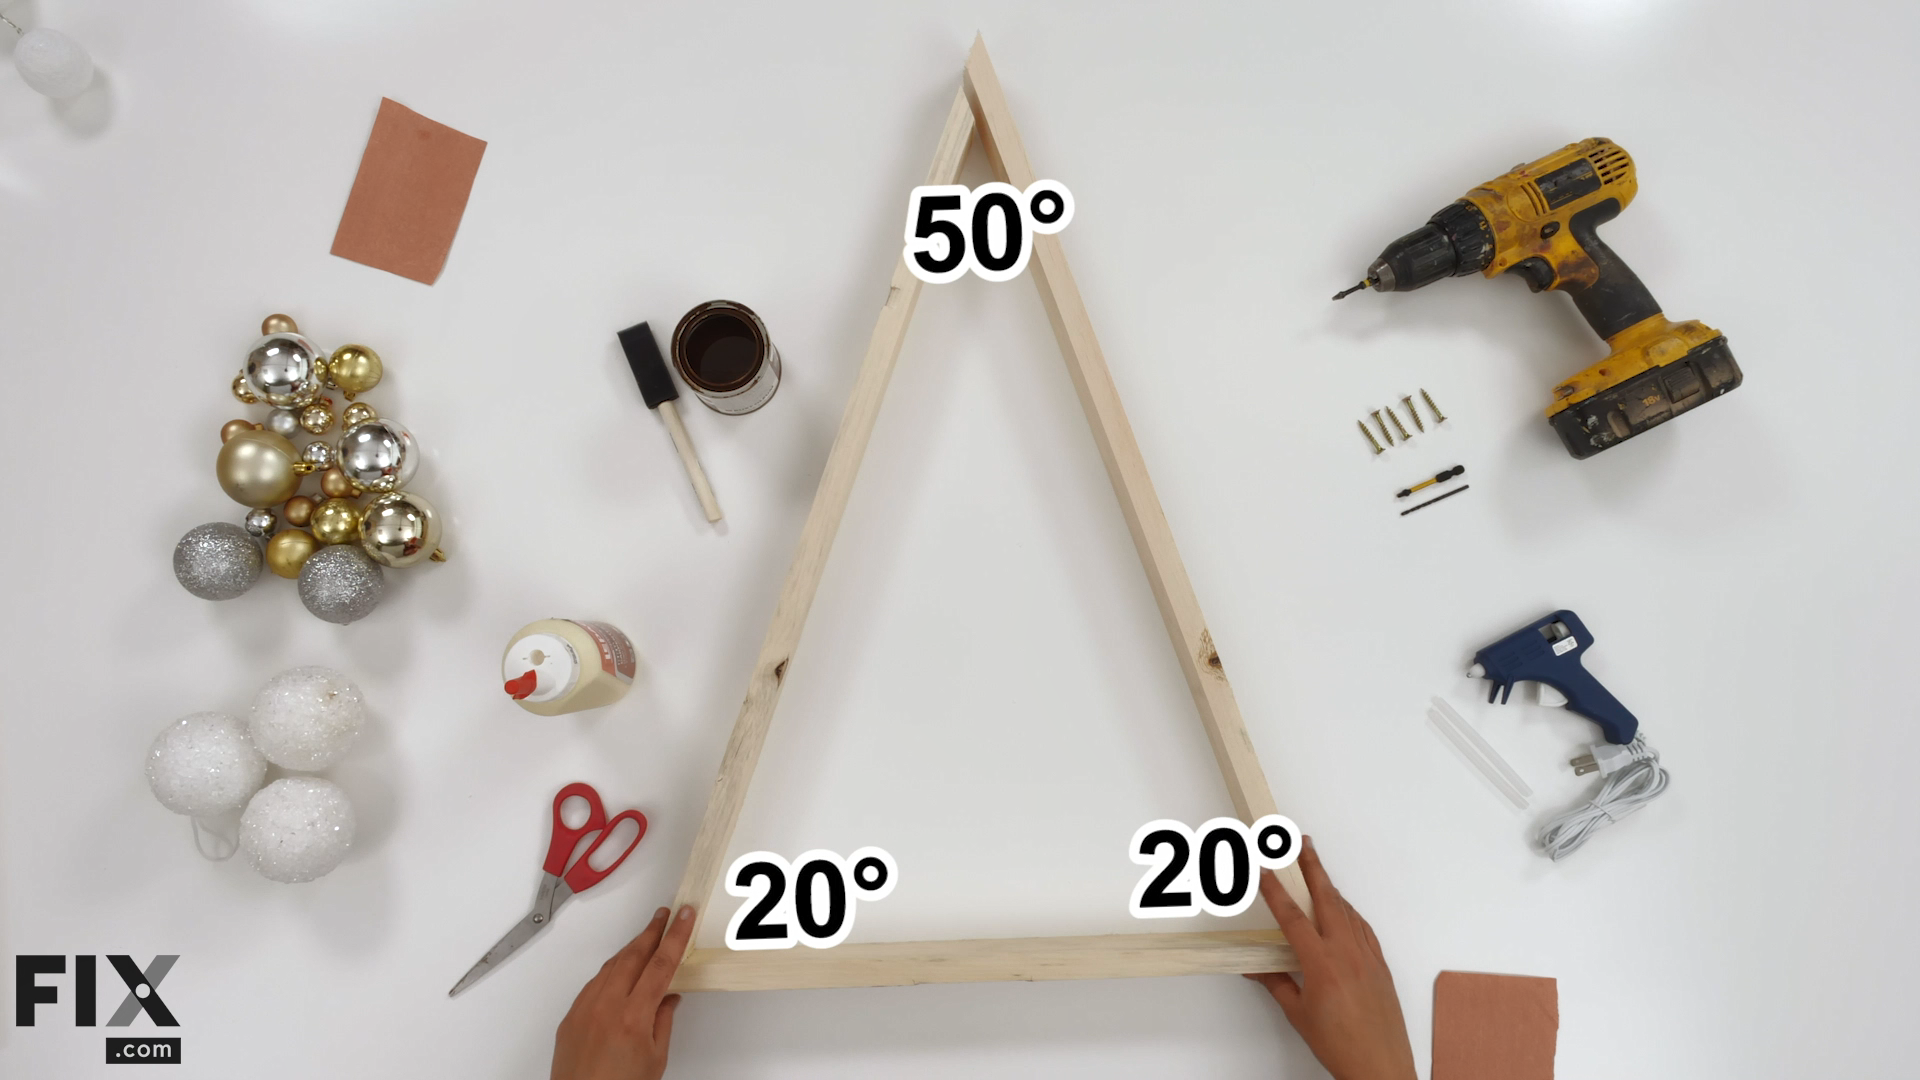
Regardless of how large you would like your tree to be, the most important part is ensuring you cut your wood using the proper angles. As long as you cut your angles to be 20° on the base sides and 50° at the top, you can make your tree as tall or short as you would like!
Step 2: Sanding
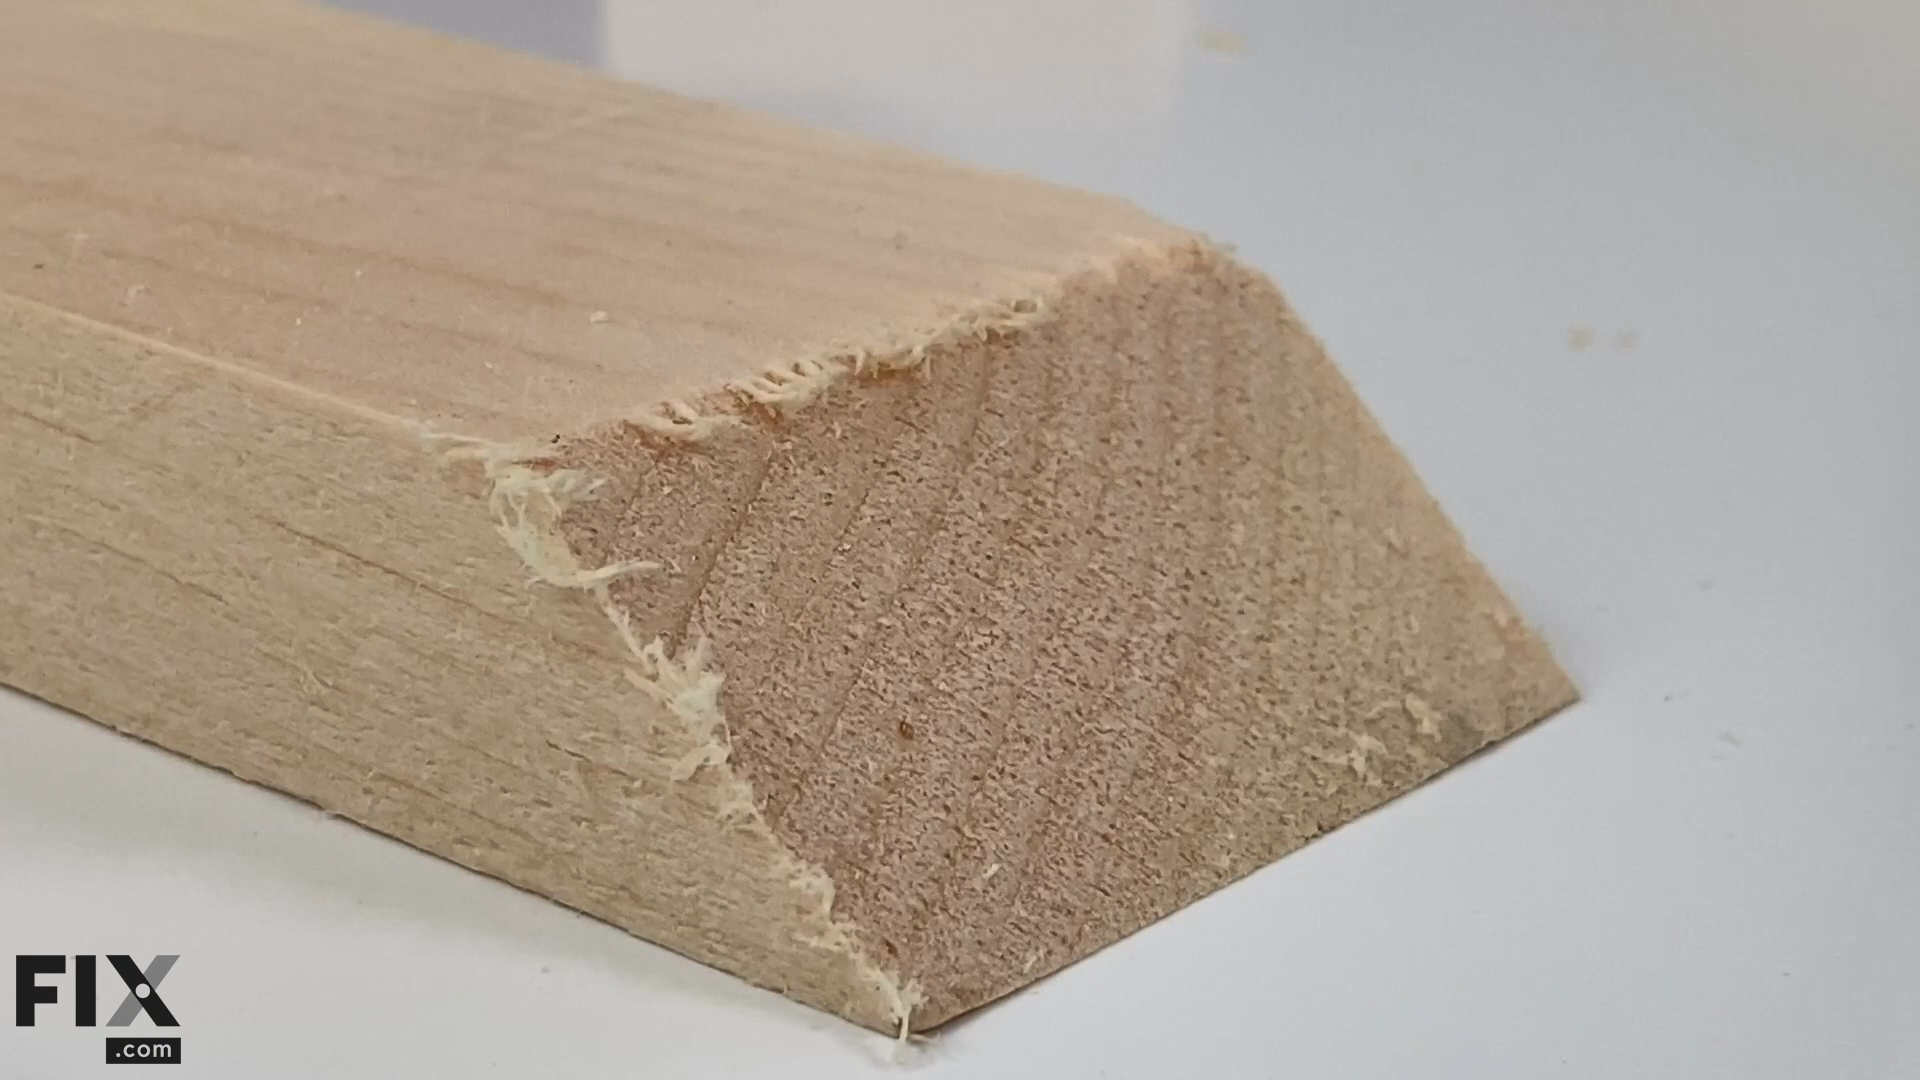
Once you’ve cut the wood, it is vital to sand down any rough edges left by your saw as well the naturally sharp edges of the wood to prevent splintering and extend the life of your tree.
We also recommend sanding the entire piece of wood lightly to remove any imperfections that can become more prominent after you stain it.
Step 3: Drilling
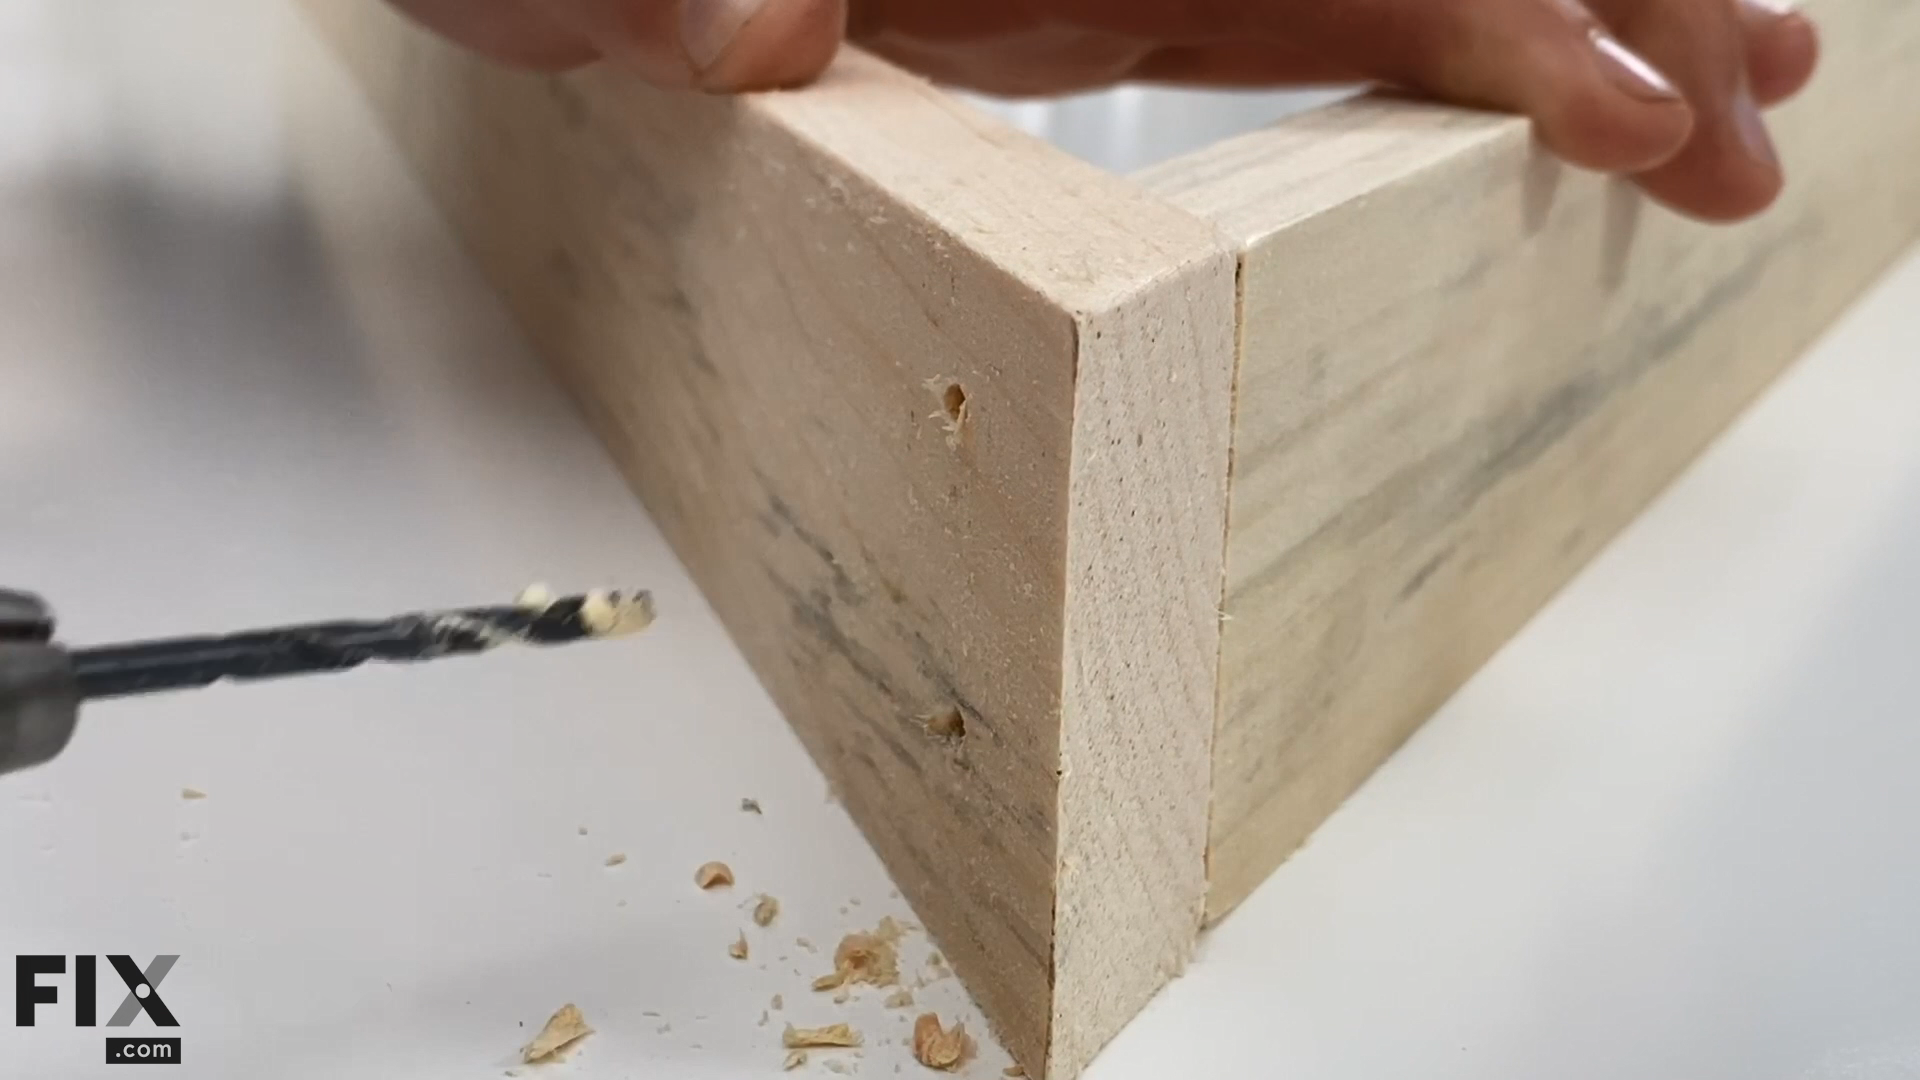
Now that you have your three pieces of wood cut and sanded, we are going to put them together to form the frame. The first step is to pre-drill the holes for the screws by simply lining up your pieces and using your drill with a pre-drill bit to make two holes in each corner of the triangle.
Because we are placing screws so close to the edge of the wood, it is bound to split if you don’t pre-drill the holes so make sure to not skip this step, or you may lose the structural integrity of the wood.
Step 4: Assembling
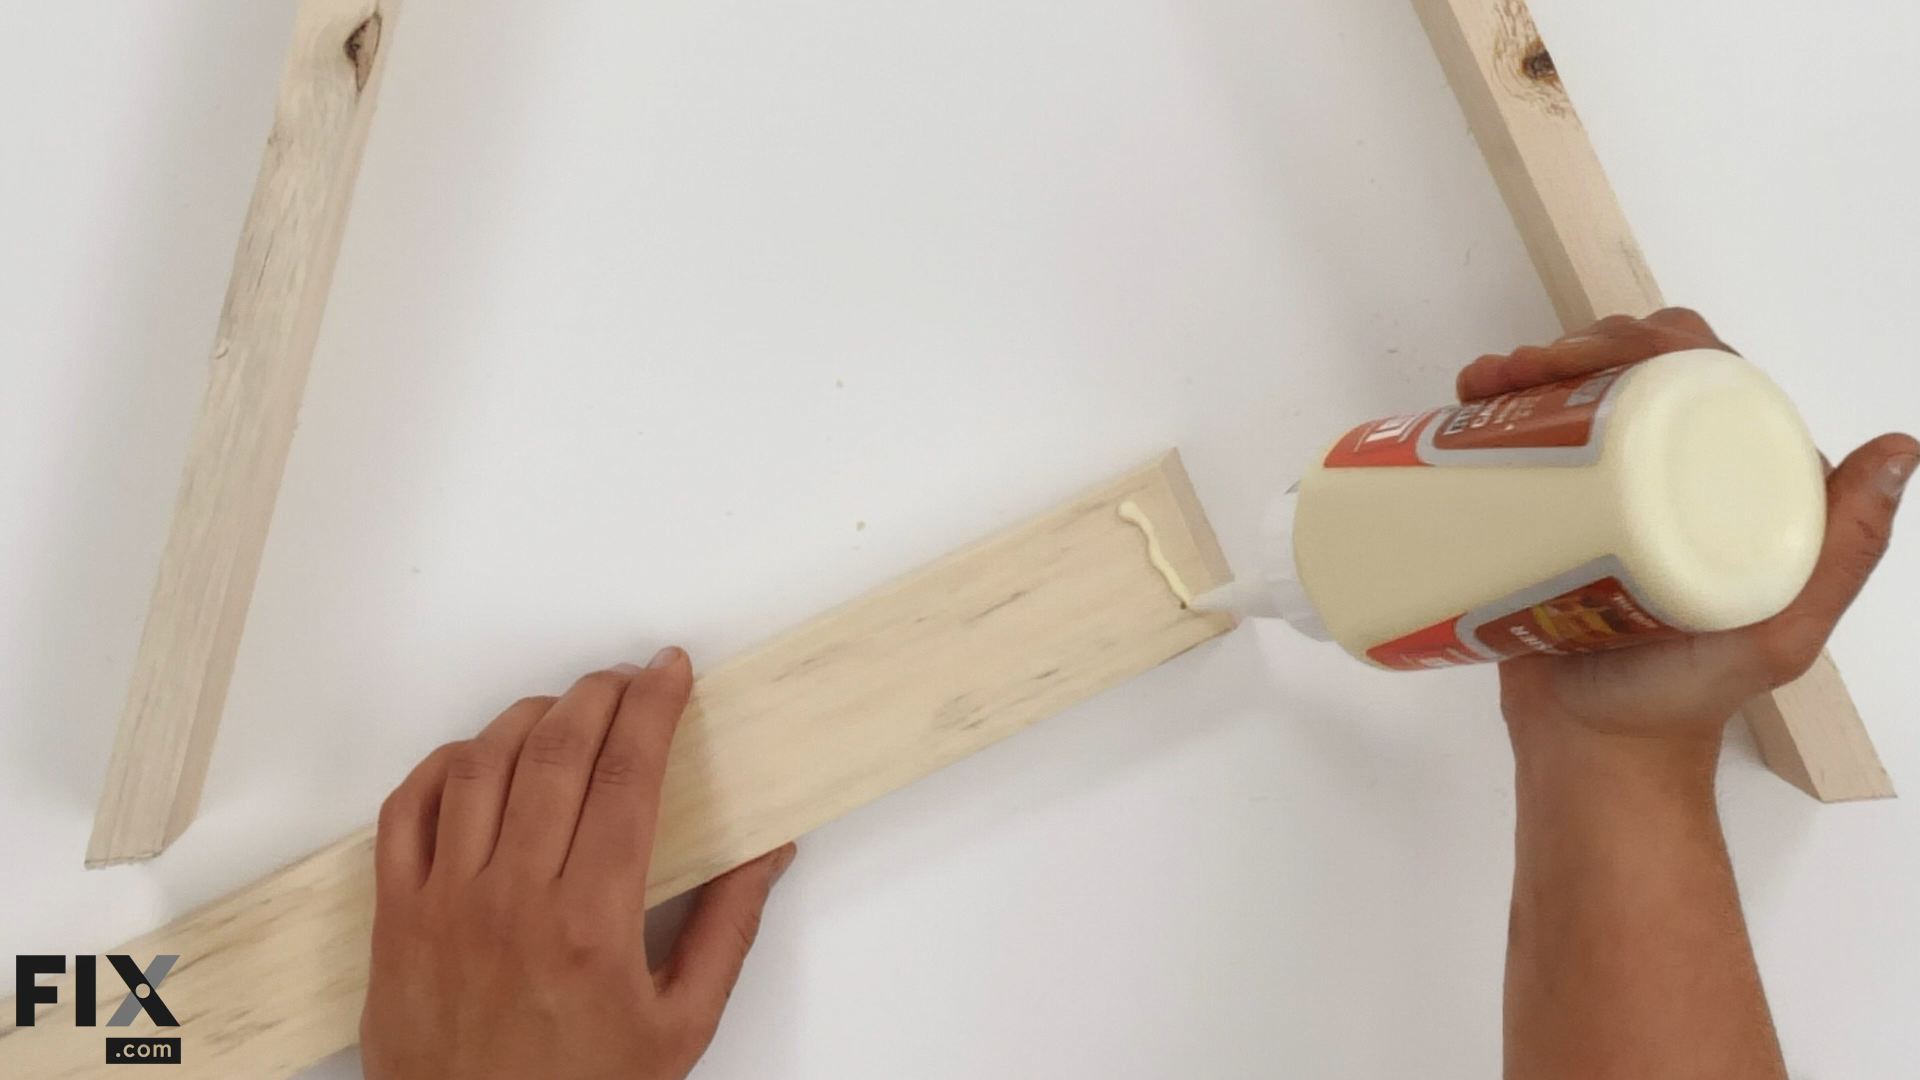
Now that the holes are drilled, we are ready to assemble the frame. To assemble the frame, simply line the pieces up and insert the screws into your pre-drilled holes.
For added strength, put a little dab of wood glue on the joint line before putting the screws in place.
Step 5: Staining
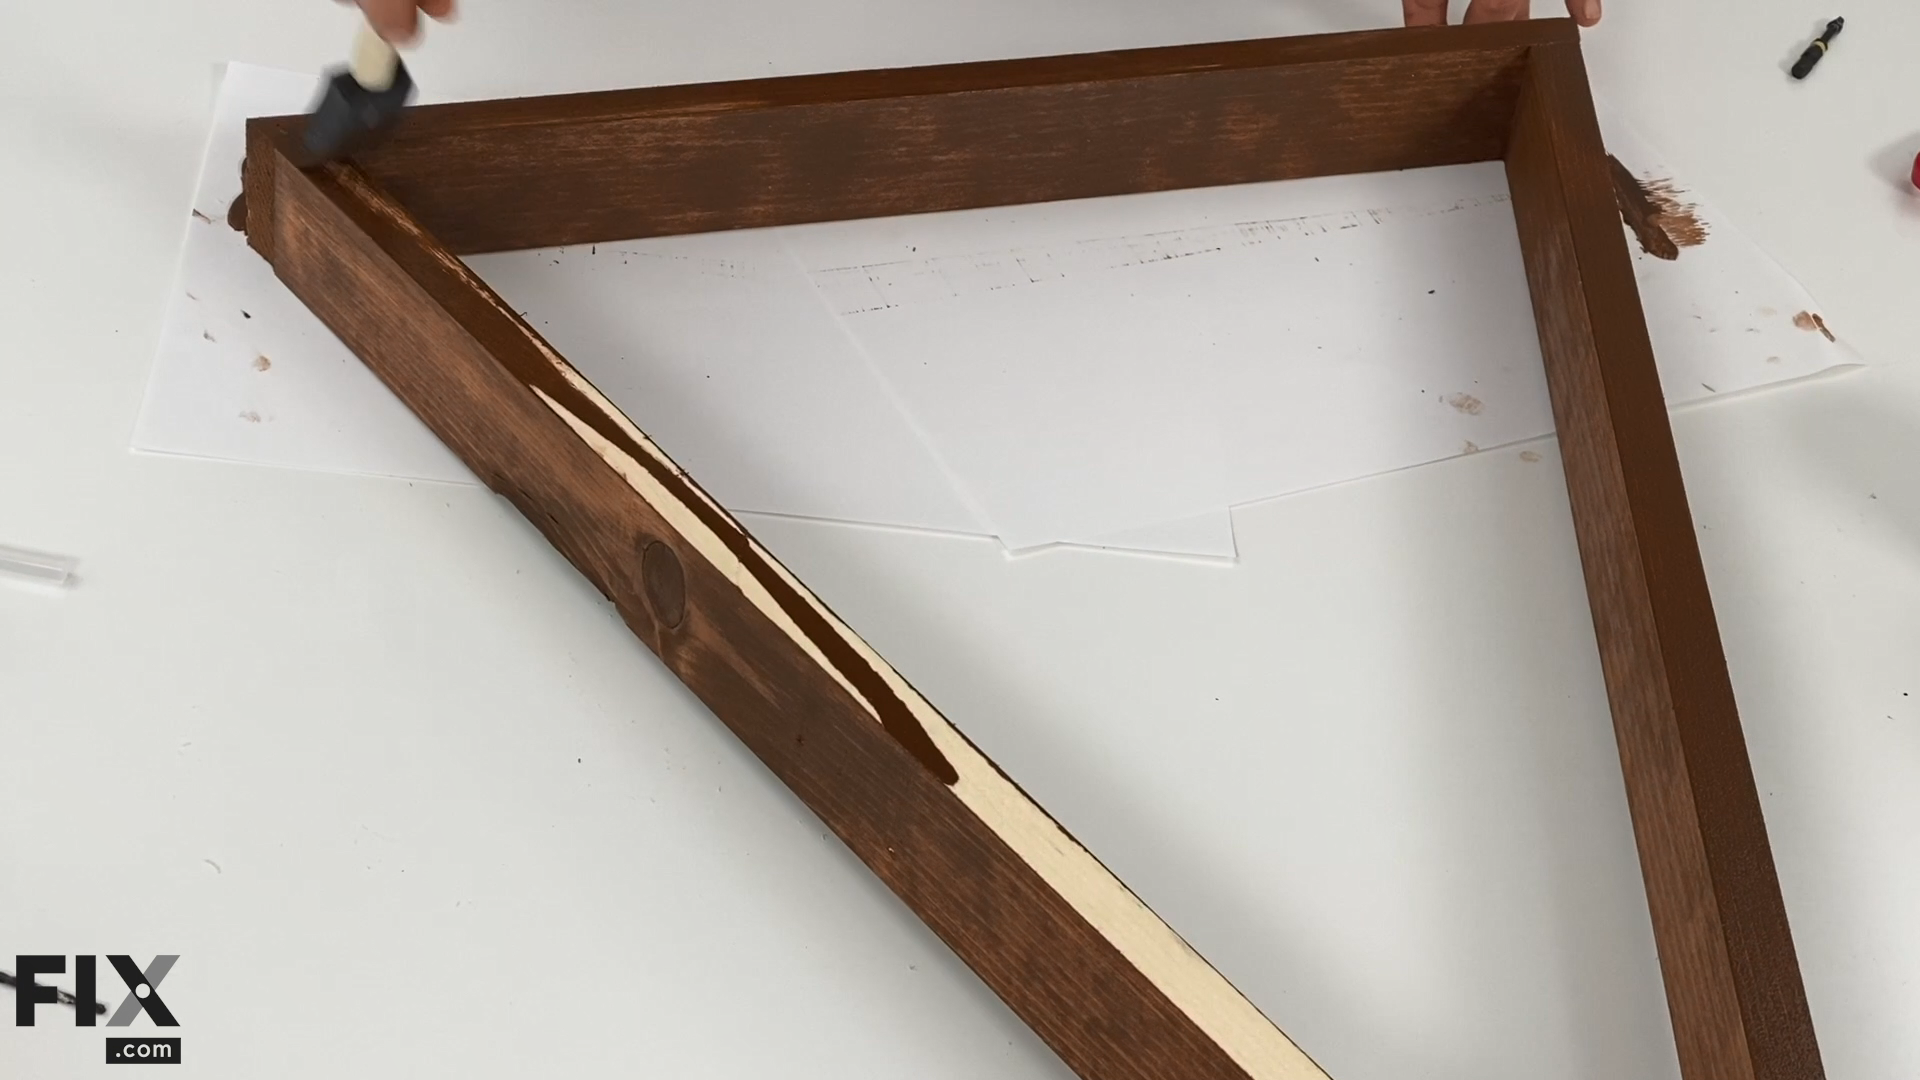
Once the wood glue has dried, the final step of building your frame is to stain it. Use a brush or sponge to apply the stain and follow the manufacturer's recommended drying and re-coating instructions.
If you are staining the wood inside your house, make sure to protect the surface that you are working on by laying out a drop sheet or sheets of paper.
Step 6: Adding the Ornaments
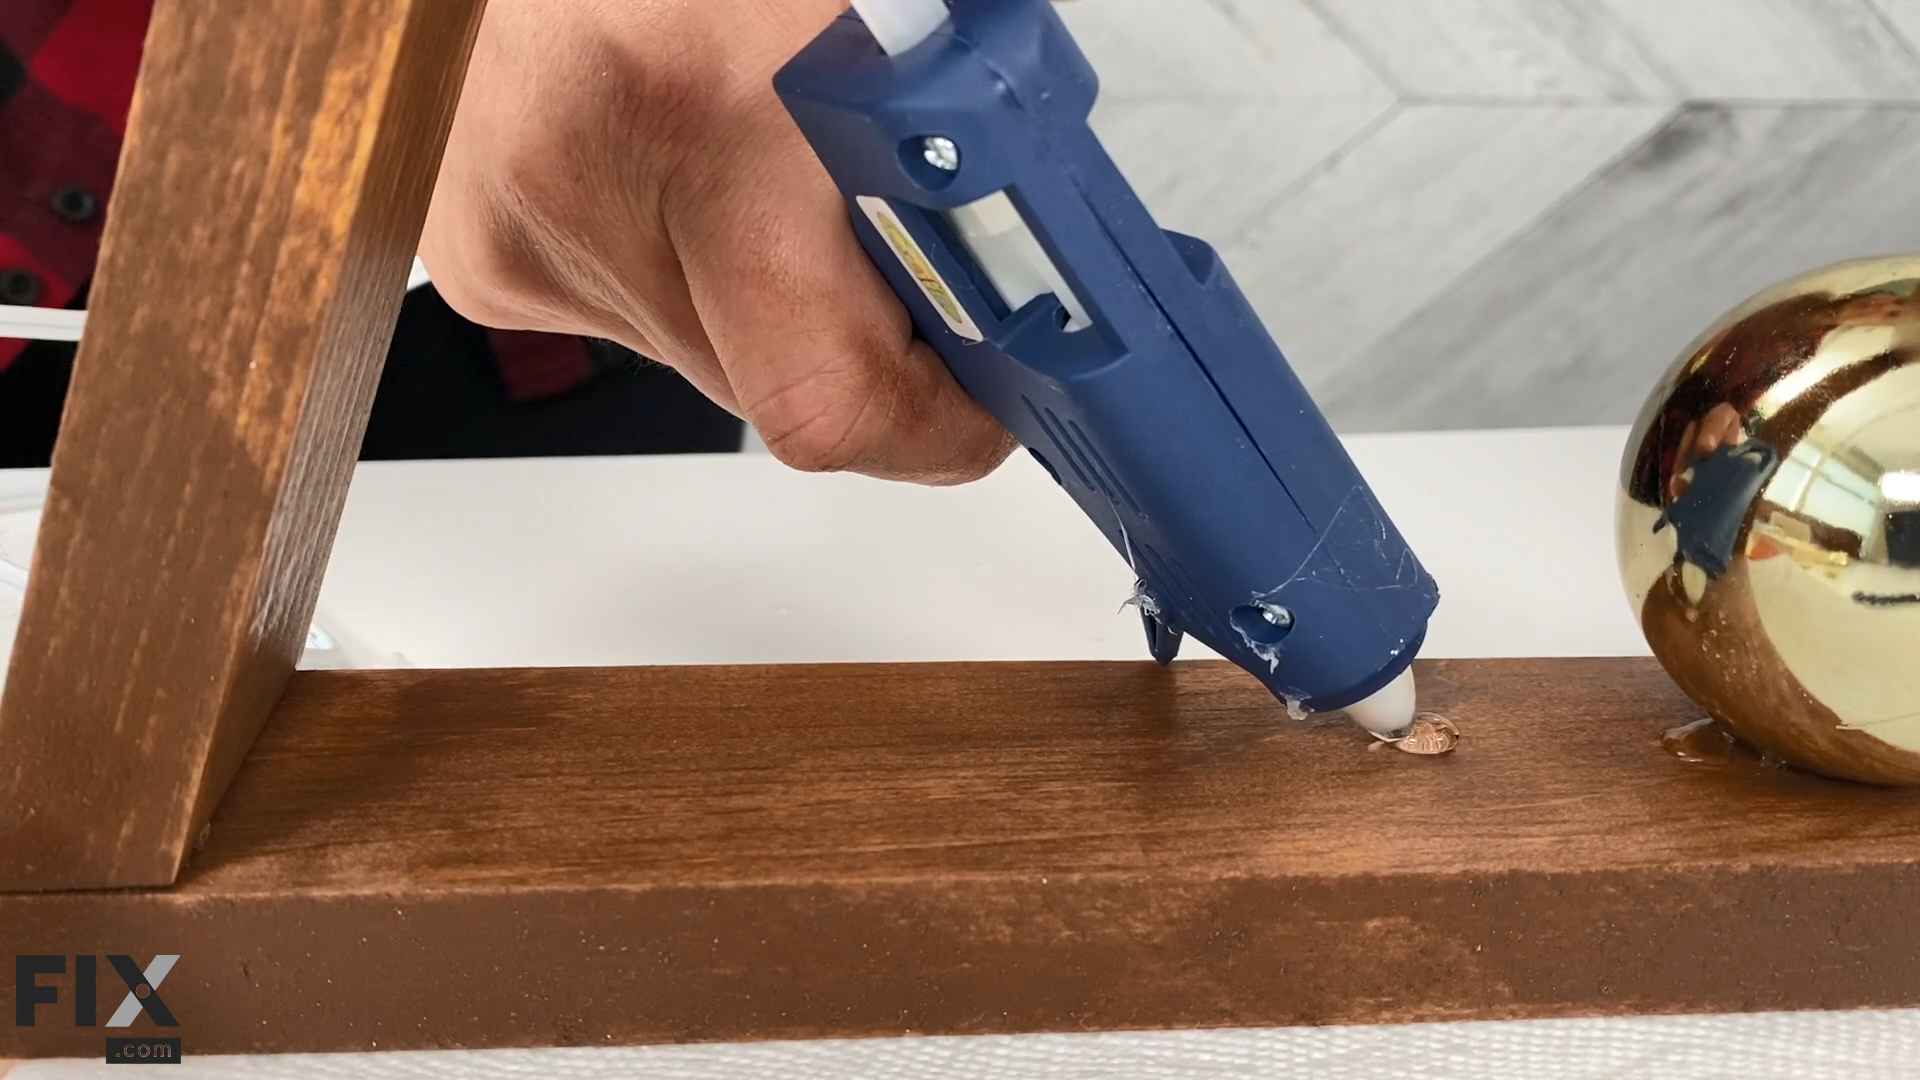
Once the stain has fully dried, we are ready for the final step: gluing the ornaments in place.
To secure each bulb in place, use your hot glue gun to place a dab of glue on any piece of the frame or other bulbs that it comes in contact with. Make sure to properly secure each bulb individually to prevent an ornament avalanche later on.
Happy Crafting!
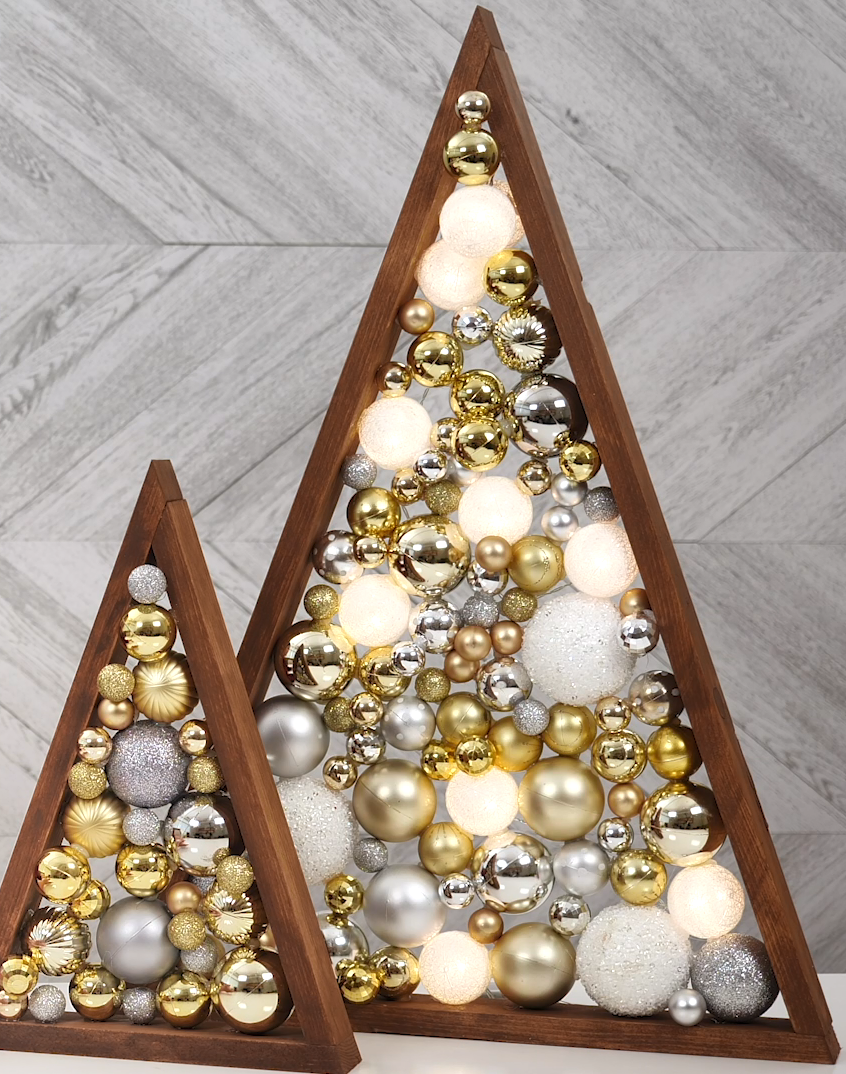
That’s all there is to it! While gluing the balls in place one-by-one can be a bit time consuming, it’s all worth it once you get to see the finished product! If you want to add an extra something to your tree, use a combination of regular bulbs and bulbs that light-up to really make it pop (like we did to the tree on the right).
If you need clarification on any of the steps described above, check out the video at the top of the page to watch our DIY-expert Denika build her own!
