


Like what you're reading?
Get your fix of expert articles delivered straight to your inbox!
Oops! Please double check your email address.
No Thanks - I don't like cool stuff


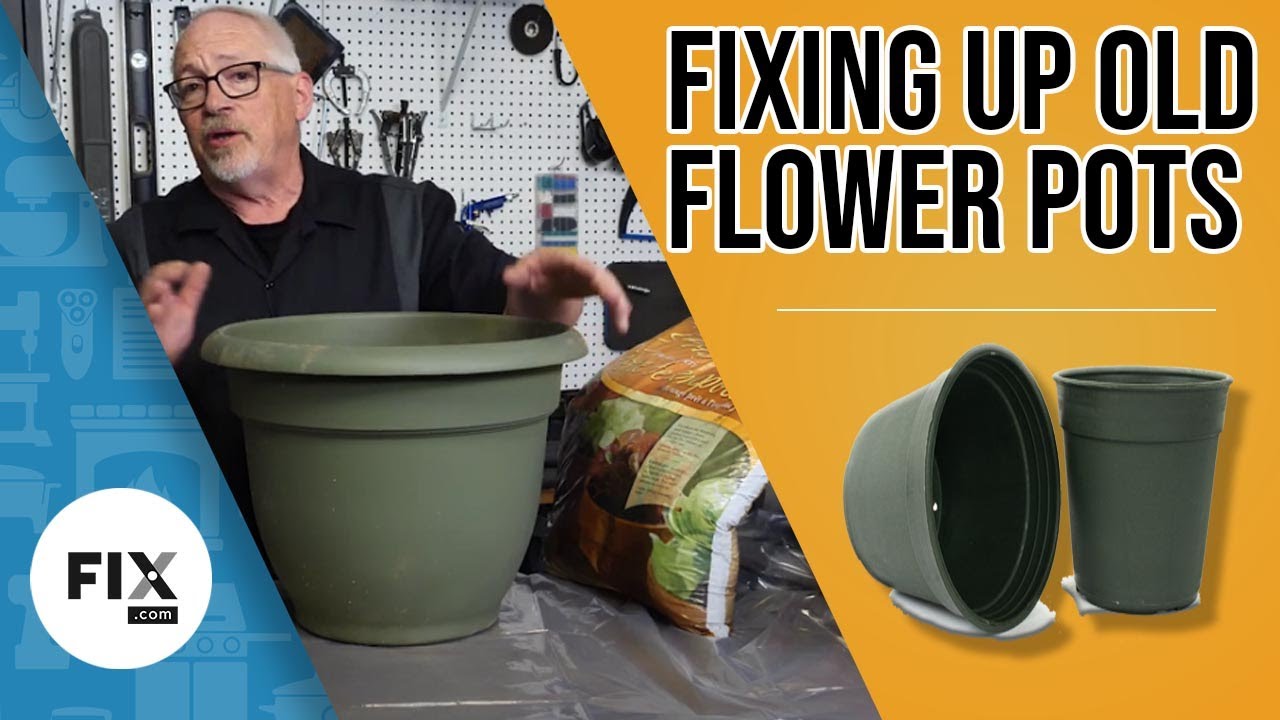
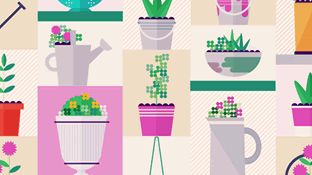
Do you have a collection of planter pots from your local nursery or hardware store’s greenhouse? Those typically aren’t the prettiest things out there and many times, the most affordable choices come in the most boring of colors! Or perhaps you’re sprucing up your patio and want your planters to match the new cushions. We're going to show you how easy it is to spruce up your old, unaesthetically pleasing pots with a bit of paint! The options are endless, from the colors to textures, so you’re sure to create something that matches your style.
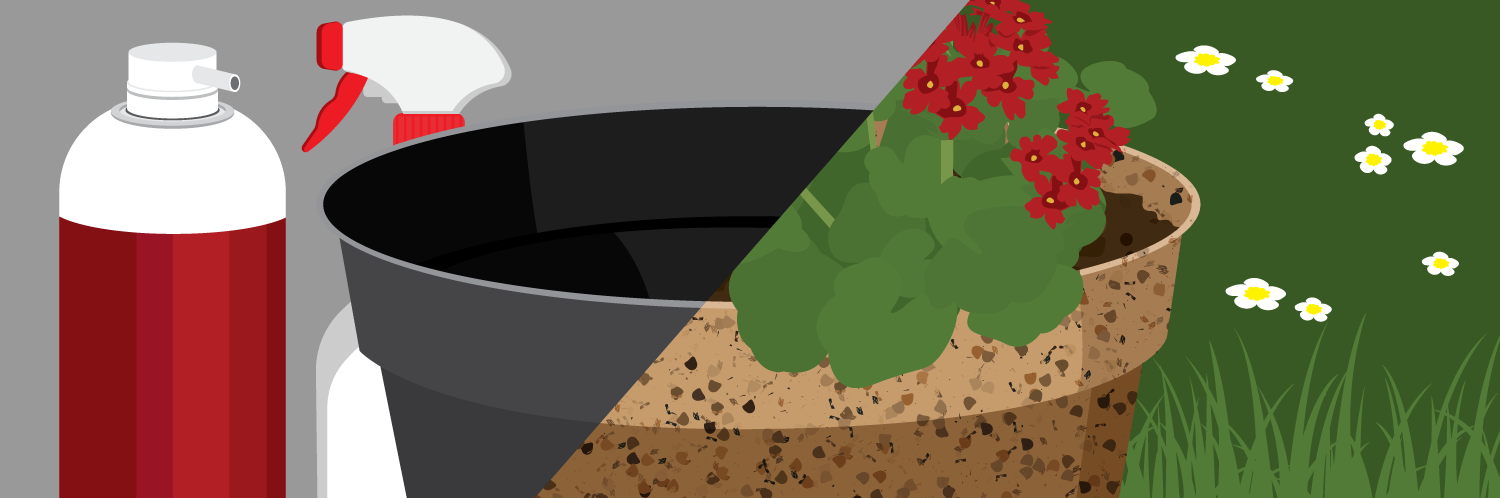
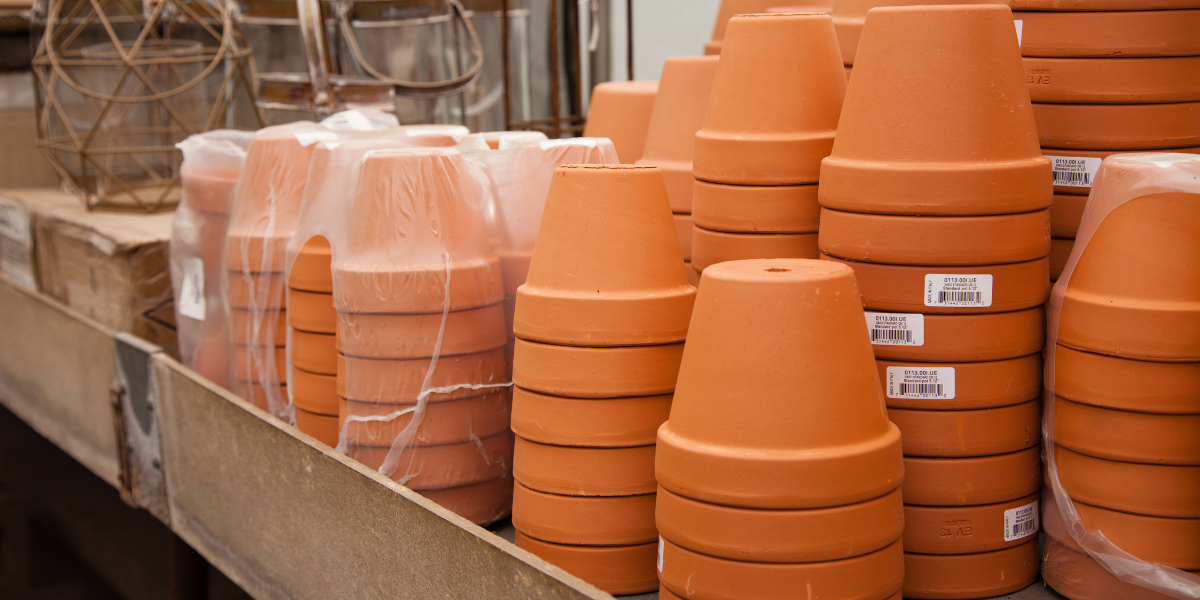
The material of your pots is going to determine what type of paint will work best for you. Are your plant pots made of plastic, terracotta, or concrete? For plastic pots, we’re using spray paint. If you have terracotta or concrete planters, you will want to prime those first as they’re a porous material. Acrylic paint can be used on your terracotta pots, whereas you will want a paint specific for concrete. These may be labeled as masonry spray paints, or cement floor paint. If your planters are going to be outside, make sure the product you choose is rated for outdoor use, or pick up a sealant to add a protective layer.

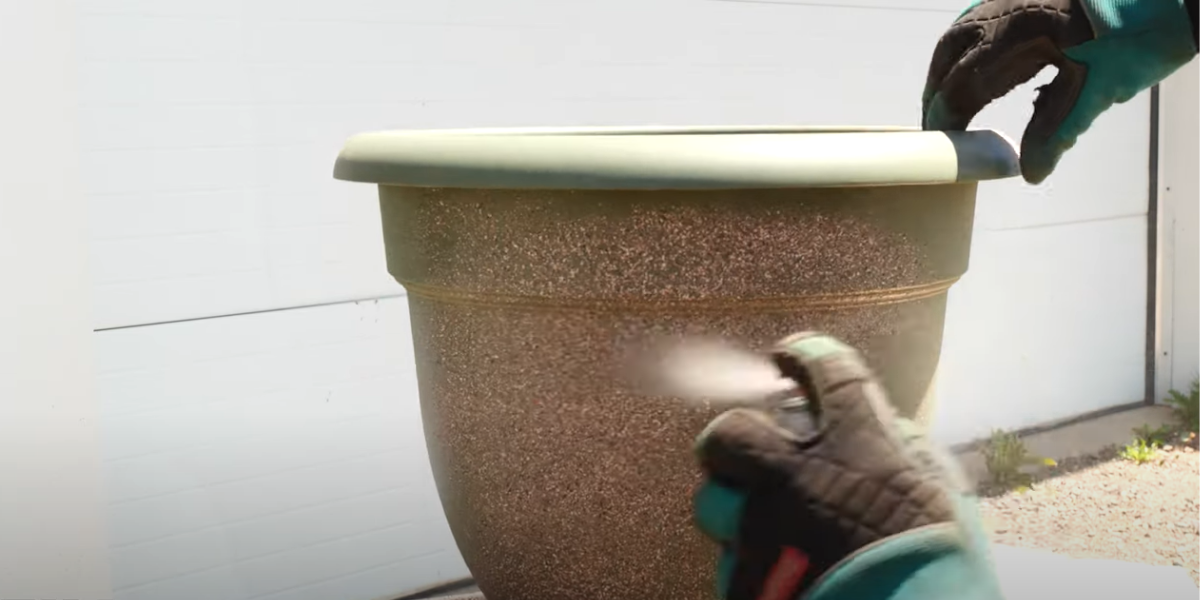
The first step is to get all the old dirt and debris off the pot. Use warm soapy water and a cloth. If there is some caked-on or stubborn dirt, a bristle brush can be used to remove it. Once everything has been cleaned and rinsed, let the pot dry before moving on to the next step.

If you’re refinishing plastic pots, you can skip this step! If you have terracotta pots or concrete planters, they will benefit from a coat of primer before applying any paint. These materials are porous, so adding primer will ensure the pores are filled in. This will also help the paint adhere to the surface better. Let the primer dry completely before painting.
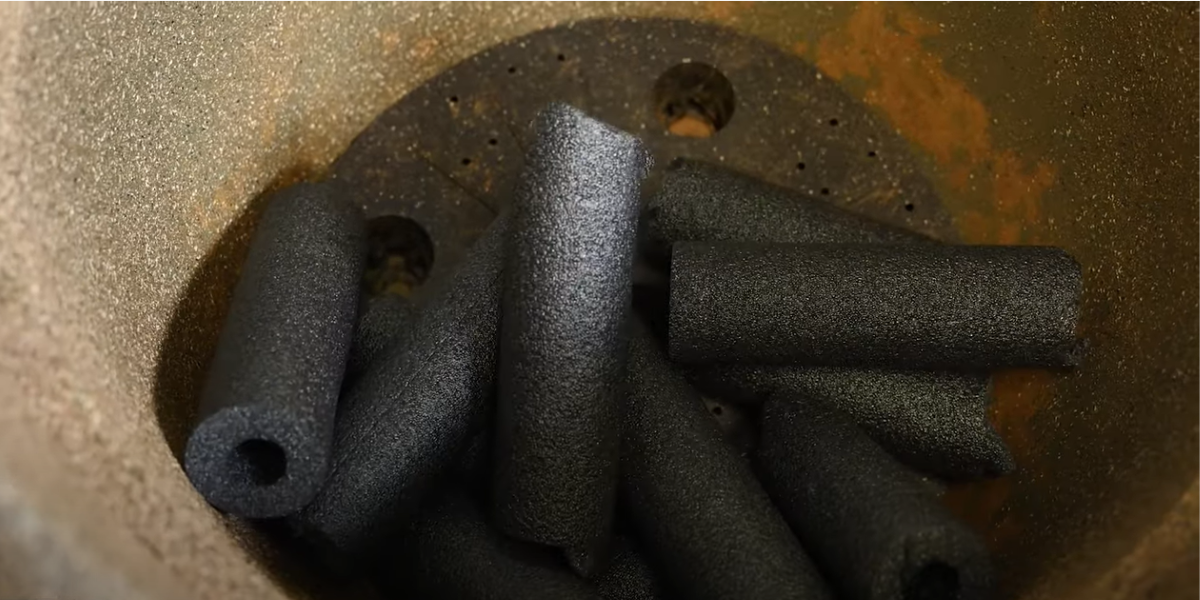
Before we get to planting, it's important for your pots to have good drainage. If water doesn’t drain from your pots, it can lead to mildew or root rot, which will kill your plants. Gravel is a common item to add to the bottom of planters, but that can add excess weight if you need to move things around. We discovered a way to lighten that load while repurposing some other material! If you have old pool noodles or pipe insulation, they’re a lightweight option to line the bottom of your pots with! Just cut them down to size and add a layer where you’d normally have gravel.
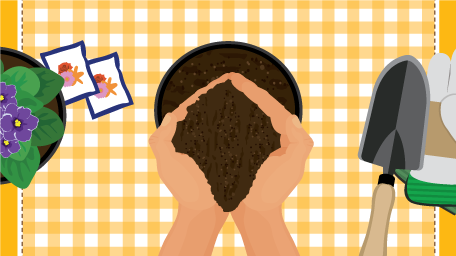
Now that your pots have been cleaned up and have a fresh coat of paint, it’s time to add some flowers! Select a potting mix that is appropriate for the plants you’re using, ensuring it has the right mixture of nutrients. Gently remove the plant from its current container and break up the ball root to loosen the old dirt. Set your plant into the new planter and add more soil around the plant to secure it in place. Give it a drink of water and enjoy your freshly updated planters!

If the rest of your garden could use some sprucing up, we can help with that too! You can find replacement parts for your outdoor power equipment simply by searching with your model number. For more home DIY tips, be sure to follow our YouTube channel.
Written by:
Written by:
Making your own mix of potting soil allows you to cater to the strengths an...
Are you stuck in a gardening rut? Choosing a theme or design for your garde...
Bored with the pots you use for container gardening? This summer, refresh y...
Get your fix of expert articles delivered straight to your inbox!
No Thanks - I don't like cool stuff