

Like what you're reading?
Get your fix of expert articles delivered straight to your inbox!
Oops! Please double check your email address.
No Thanks - I don't like cool stuff


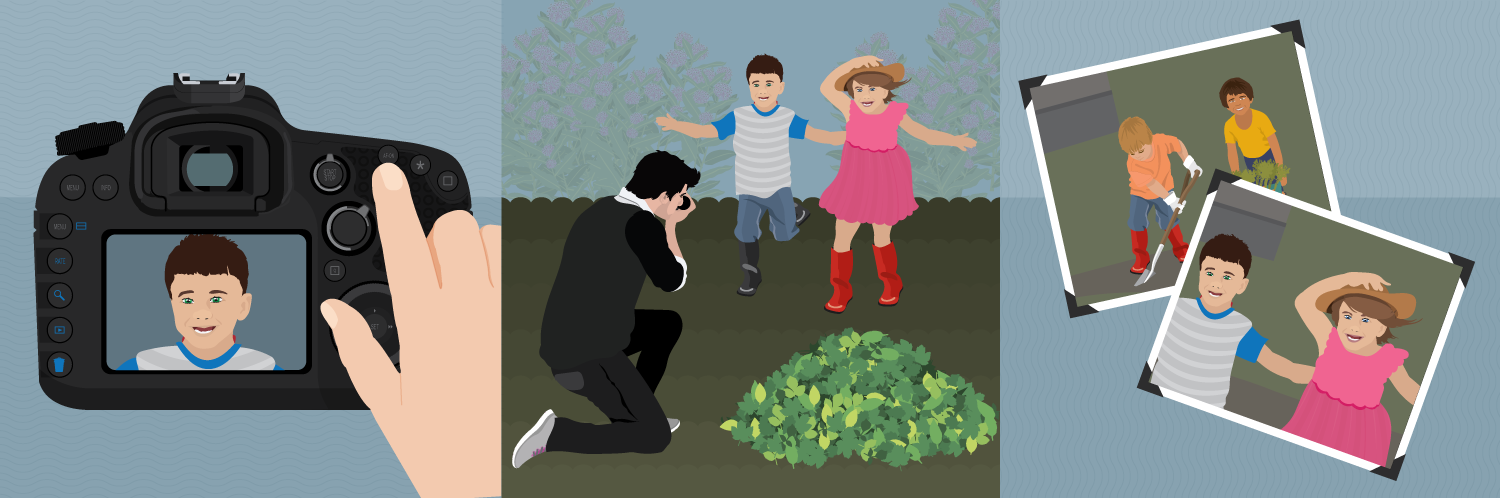
A quick glance through our photo album reveals the majority of pictures of our kids are from their birthday celebrations and family gatherings. But the best time to capture memories of our children can simply be when they’re playing among themselves in day-to-day life.
Outside, children run free and the opportunities for great photography are endless. Here are some tips and techniques to help record these moments without detracting from the growing bond we continue to form with our children.

We all use our smartphones these days, but as convenient as they are, those pictures can easily disappear into the thumbnail abyss of our photo apps. Use a 35mm DSLR camera, or a quality point-and-shoot, exclusively for taking meaningful photographs of your children. You’ll have more control over the picture.
Modern cameras come with manuals as thick as a novel. But it’s important to know your camera, so read the manual and familiarize yourself with the controls.
Here are three useful camera functions, explained in your camera’s manual, that you shouldn’t ignore.
Recovering highlight details that appear to be blown out and overexposed is easy if you’ve shot the image in the RAW format. Pictures that are too dark or underexposed can also be corrected. You can then save the photos as compressed JPEGs that take up less space, and upload them to social media.

Auto Exposure Bracketing (AEB) is another useful function that can help you manage exposures in the bright summer sunshine.
Shooting with the RAW file format gives you more latitude for your exposure. But, ideally, you should aim to make the right exposure every time so you don’t end up spending hours rescuing your favorite pictures in Photoshop.
In bright daylight, it’s hard to see the small image on the digital display on the back of your camera. It’s even harder to tell if you’ve exposed the picture correctly. Setting you camera’s AEB means your camera will make not only the recommended exposure, but also exposures on both sides of the auto-exposure. In other words, it will make slightly different exposures every time you press the shutter.
Here’s an example: Say the kids are playing outside in front of the house, which is dark and in shadow. The camera won’t receive enough reflected light from the underlit house to make the correct exposure and will try to compensate by letting in more light.
This, of course, will overexpose the kids in the foreground. If your AEB is set, the next picture you take will deliberately let less light in to expose the kids correctly. You can then compare the best exposures later on your computer.
Back Button Autofocus. To focus most 35mm cameras you depress the shutter halfway to focus the image, then press again to take the picture. Of course, this means you have to recompose and refocus each time. What if you didn’t have to focus every time? Well, on many cameras there’s a button marked as “AE/AF lock” on the back of the camera, which you can press and lock the focus and/or exposure. You can then shoot as many pictures as you like without having to recompose and focus again.
Shoot “from the hip” – if you want to capture a kid’s world, get down to their level. Don’t shoot from a standing position. The moment you make pictures at your children’s eye level, you’ll start to make pictures that better capture their experience.
Don’t stop! It’s impossible to predict what a child will do next! Photographing children at play isn’t about catching one moment – it’s about catching many!
We all want to see how well we did and look at the photo on the screen after we take them, but it’s a bad habit. If you’re constantly looking at the picture you just took, you’re going to miss the next one! And again, a tiny screen in bright light means it’s hard to tell if you’re in focus. So check your focus, and shoot again.
Get close to the action – photos are more interesting if there’s nothing competing with subject. It’s all about faces! Get in close!
Don’t pose – The temptation is always to stop your kids and pose them for pictures, but you’ll have better more memorable pictures if you shoot candidly. Let them get on with the business of being kids, and you can record what they do. And try to avoid selfies! Selfies of you and your kids are about you, not about them.
The chances of disturbing a quiet moment when the kids are resting is reduced if, as well as turning off the flash, you use a longer focal length – 85mm and above – and shoot from a distance.

The mornings and afternoons are full of light and it may seem counterintuitive, but using flash in the bright sunshine will make better pictures, especially when your kids are active.
Use the flash built into your camera. Direct flash isn’t very flattering for adult portraits, but it’s great for capturing child’s play.
The fill flash is a setting on your camera – another setting you’ll find in your manual. It allows you to open up shadows when you’re shooting into the light.
Toward the end of the day, the light turns a wonderful golden color. It’s also the time when kids slow down and rest. Family meals and barbecues are a pause in the excitement of the day. The little ones are about to go to bed, and it’s the perfect time to turn off the flash and use natural and available light.
Your camera makes exposures based on the amount of reflected light bouncing into it. Instead of measuring the reflected light from the whole of the scene, you can set the camera to measure a tiny portion of the scene. This is called spot metering. In high-contrast scenes, aim the spot meter at the highlights, press the AE lock button – the one you also use to lock the focus – recompose, and you’ll get an exposure for only the brightest area of the scene. The results will be dramatic and the colors will be saturated.
Successful photography isn’t just about taking pictures. Organizing and adjusting the images on your computer is essential before you share them with friends and family on social media.
Set aside time to edit at the end of the day – download your pictures to your computer and edit them while they’re still fresh. Adjust the color and contrast in Photoshop, or add simple filters and select the best ones and save them together in a separate folder.
Always back up! Keep the originals in the “cloud” or a dedicated external hard drive so they don’t get lost in a crash or deleted by accident.
Embed the article on your site

Written by:
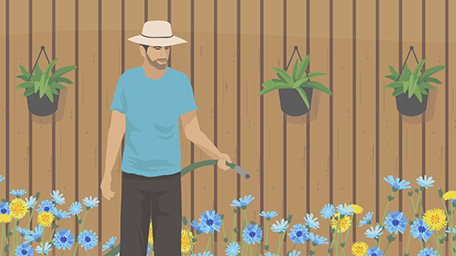
Learn how you can make the most of the wild plants and weeds growing in you...
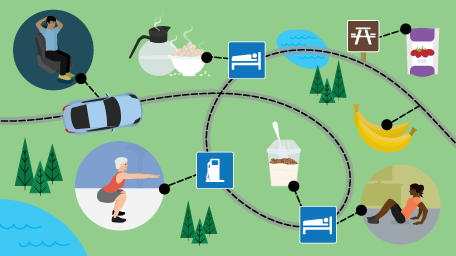
Traveling can disrupt your schedule for both eating and sleeping. Follow th...
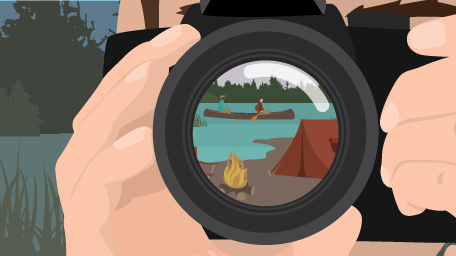
The time it takes to learn the art of landscape photography is well spent w...
Get your fix of expert articles delivered straight to your inbox!
No Thanks - I don't like cool stuff