

Like what you're reading?
Get your fix of expert articles delivered straight to your inbox!
Oops! Please double check your email address.
No Thanks - I don't like cool stuff


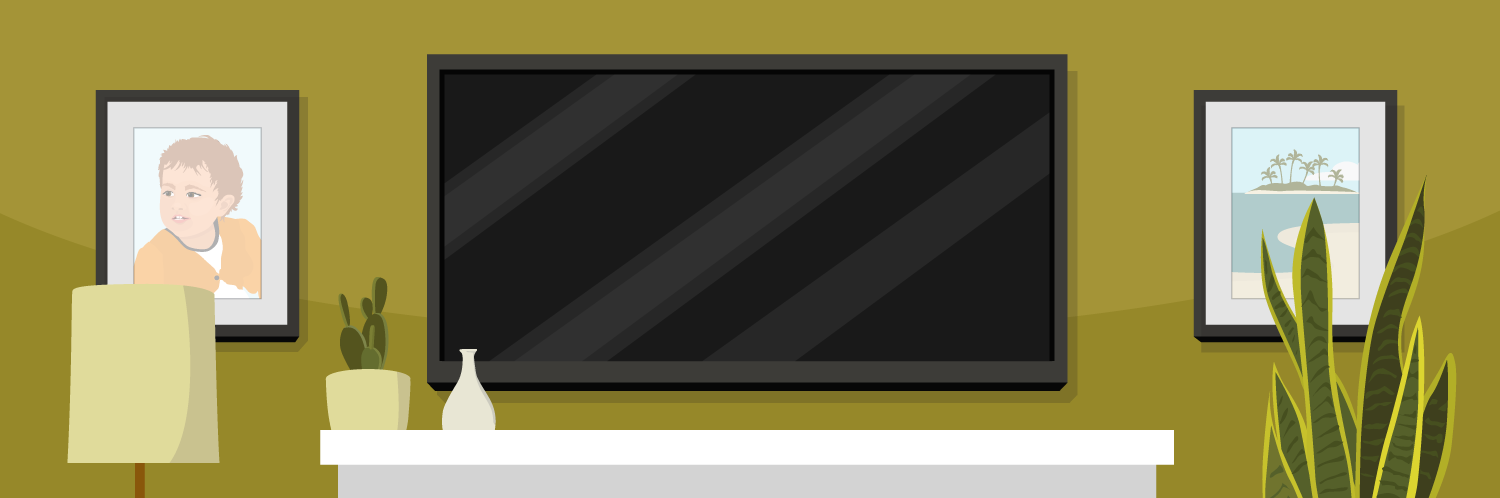
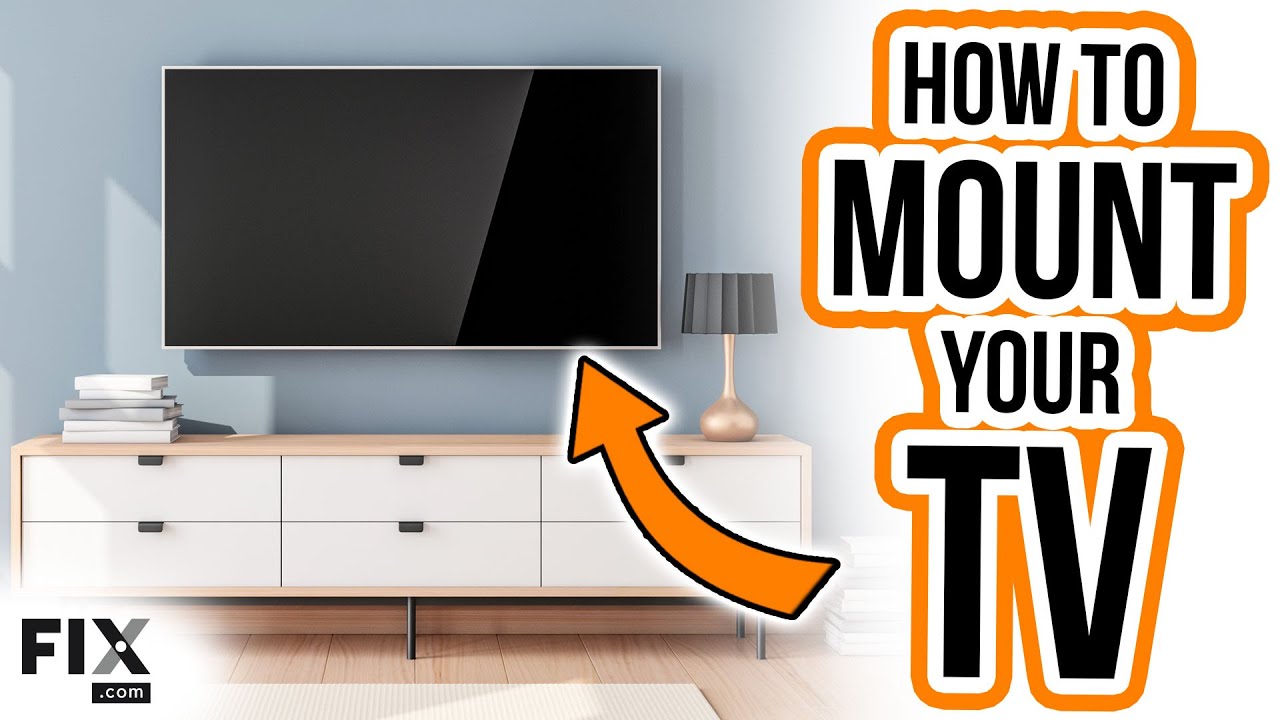
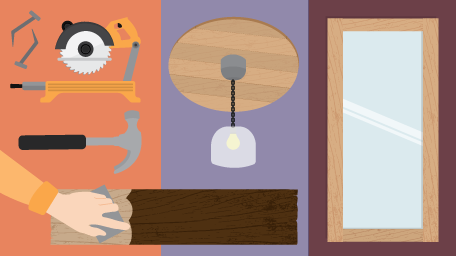
Mounted TVs are all the rage these days. Not only do they add space to your living room or bedroom, but they also help to create a very modern, chic aesthetic. Minimal, stylish, and practical! A mounted TV has it all. Best of all, this upgrade is very cheap and simple to do, as long as you're careful. Check out this video we've made on the process, or take a look at our written guide below:
Measure the height at which you want your TV to sit and mark it on the wall.

Line your TV mount up with the mark you’ve made and, using the level, make marks for the holes you’ll be drilling.

Using a pre-drill bit that’s large enough to fit your toggle bolts, drill pilot holes where the bolts will eventually go.

Attach the pilot bolts to your TV mount so they will align with your wall’s pilot holes.

Insert the toggle bolts into the pilot holes and ensure they’ve opened inside.

Using your drill, tighten the middle bolt.

Before you tighten the other two toggle bottles, ensure that your mount is sitting level.

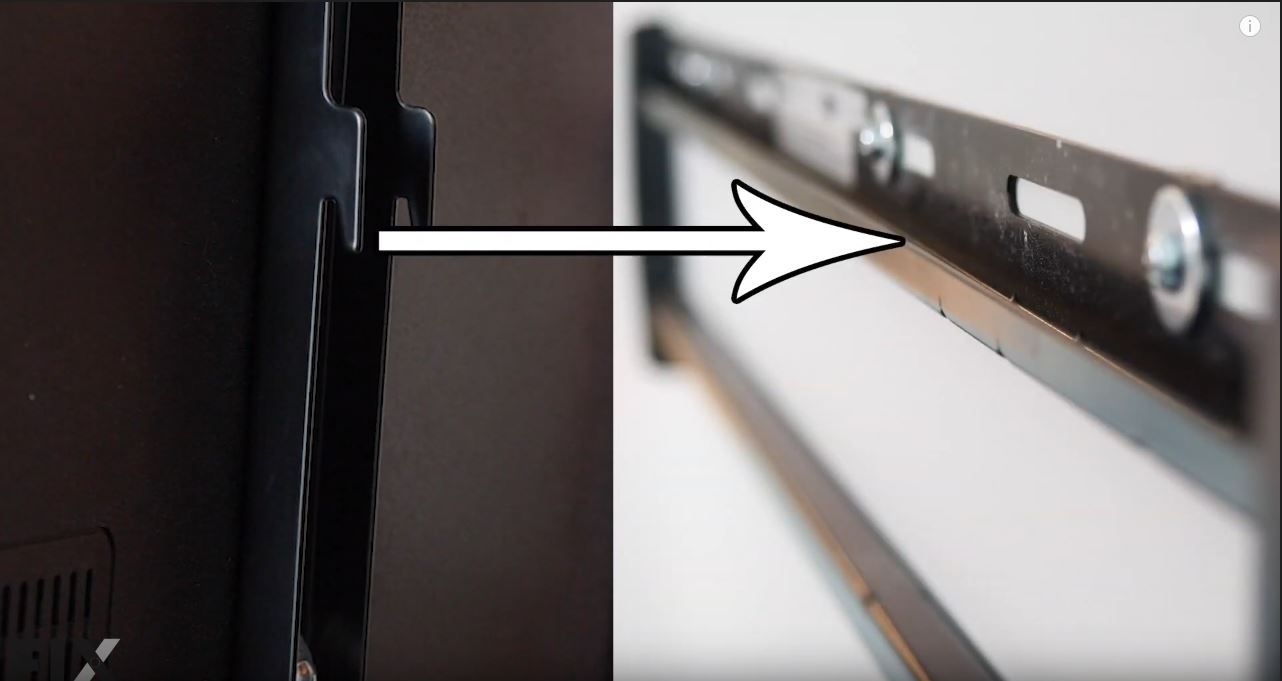
Attach the mount brackets to the back of your TV.

If your TV has feet on it, remove them before you mount it to the wall.

Align the top brackets with the top of the wall mount, then secure the bottom bracket.
And that's it! Now sit back and enjoy your newly mounted TV. Have fun watching, and visit Fix.com for any parts or DIY you may need for this or future projects.
Embed the article on your site

Written by:
Looking to sell your home and not sure which areas of the house to upgrade?...
Repurpose and upcycle your reclaimed wood with these easy home improvement ...
Planning your kitchen layout is all about functional design. An efficient k...
Get your fix of expert articles delivered straight to your inbox!
No Thanks - I don't like cool stuff