


Like what you're reading?
Get your fix of expert articles delivered straight to your inbox!
Oops! Please double check your email address.
No Thanks - I don't like cool stuff


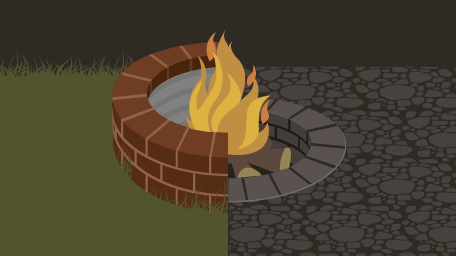
When you have wood and paper scraps that you either have no idea how to get rid of, or simply want to dispose of more efficiently, a burn barrel becomes an answer for you and your waste solutions. Burn barrels can also be doubled as a makeshift campfire, but depending on what you’re burning, maybe having the entire family gathered around wouldn’t be the safest option.
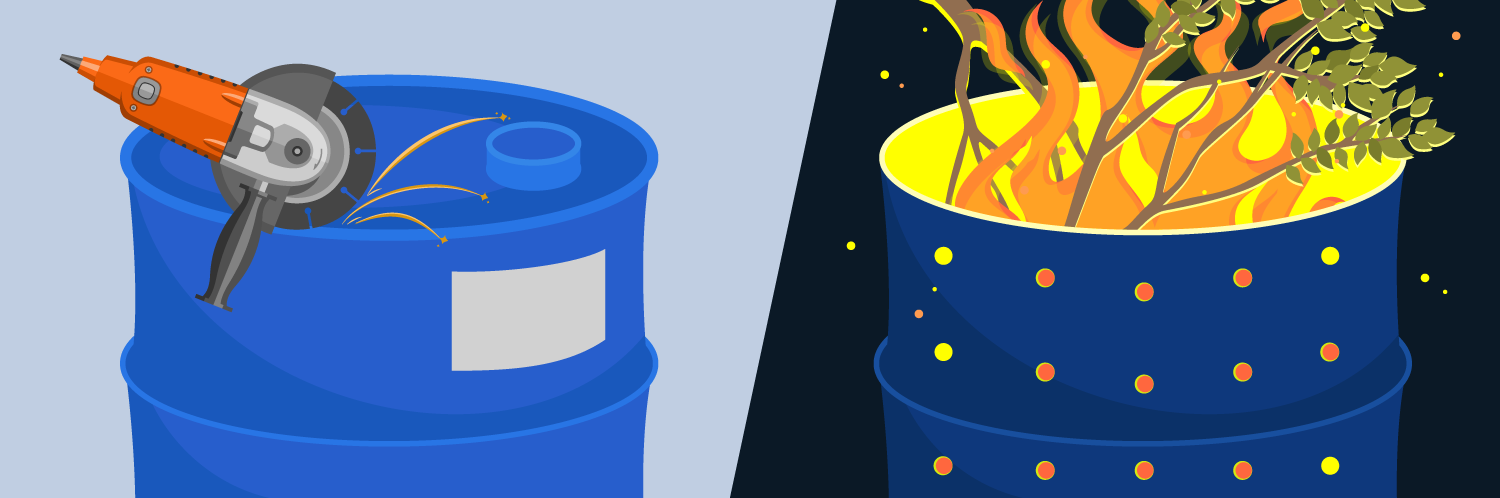
A burn barrel is a barrel that’s used to hold and burn combustible and flammable materials, such as wood, paper, and cardboard, for the purpose of disposing of it. Built out of a barrel, and featuring a metal grill at the bottom, a burn barrel also has ventilation holes on the outside and is fairly simple to make - but before we get to the building, some burning questions you might have!
Burn barrels are generally legal anywhere you go, but certain communities, states, or provinces have specific laws, regulations, and policies around what, when, where, and how things can be burnt. So it’s best that you check with your local community before burning anything or getting to work on your burn barrel.
Most places would consider a burn barrel an open fire since it is essentially a bunch of wood, paper, and cardboard scraps burning in a barrel, as opposed to a closed structure, like a fire pit or chimney-style fire pit.
Although some laws may not prohibit it, don't burn plastics, aerosols, paint, or harsh chemicals. Not only is it very harmful to the environment, but it’s also extremely dangerous to you and the people around the barrel when it’s ablaze. So, let’s just be safe and avoid all of that.
Make sure that you’re always monitoring the fire and start the burn barrel with a bed of twigs, newspaper, and dry leaves, and extinguish it when you’re done. Use plenty of kindling and wood to keep the fire ablaze, and avoid using toxic materials. And please make sure not to burn on windy or hot and dry days, because that can be equally, or even more dangerous!
To get your burn barrel up and running, here are all of the supplies that we used to create ours! And if you need parts for your grinder or drill, we have a wide range of parts to help fix either!
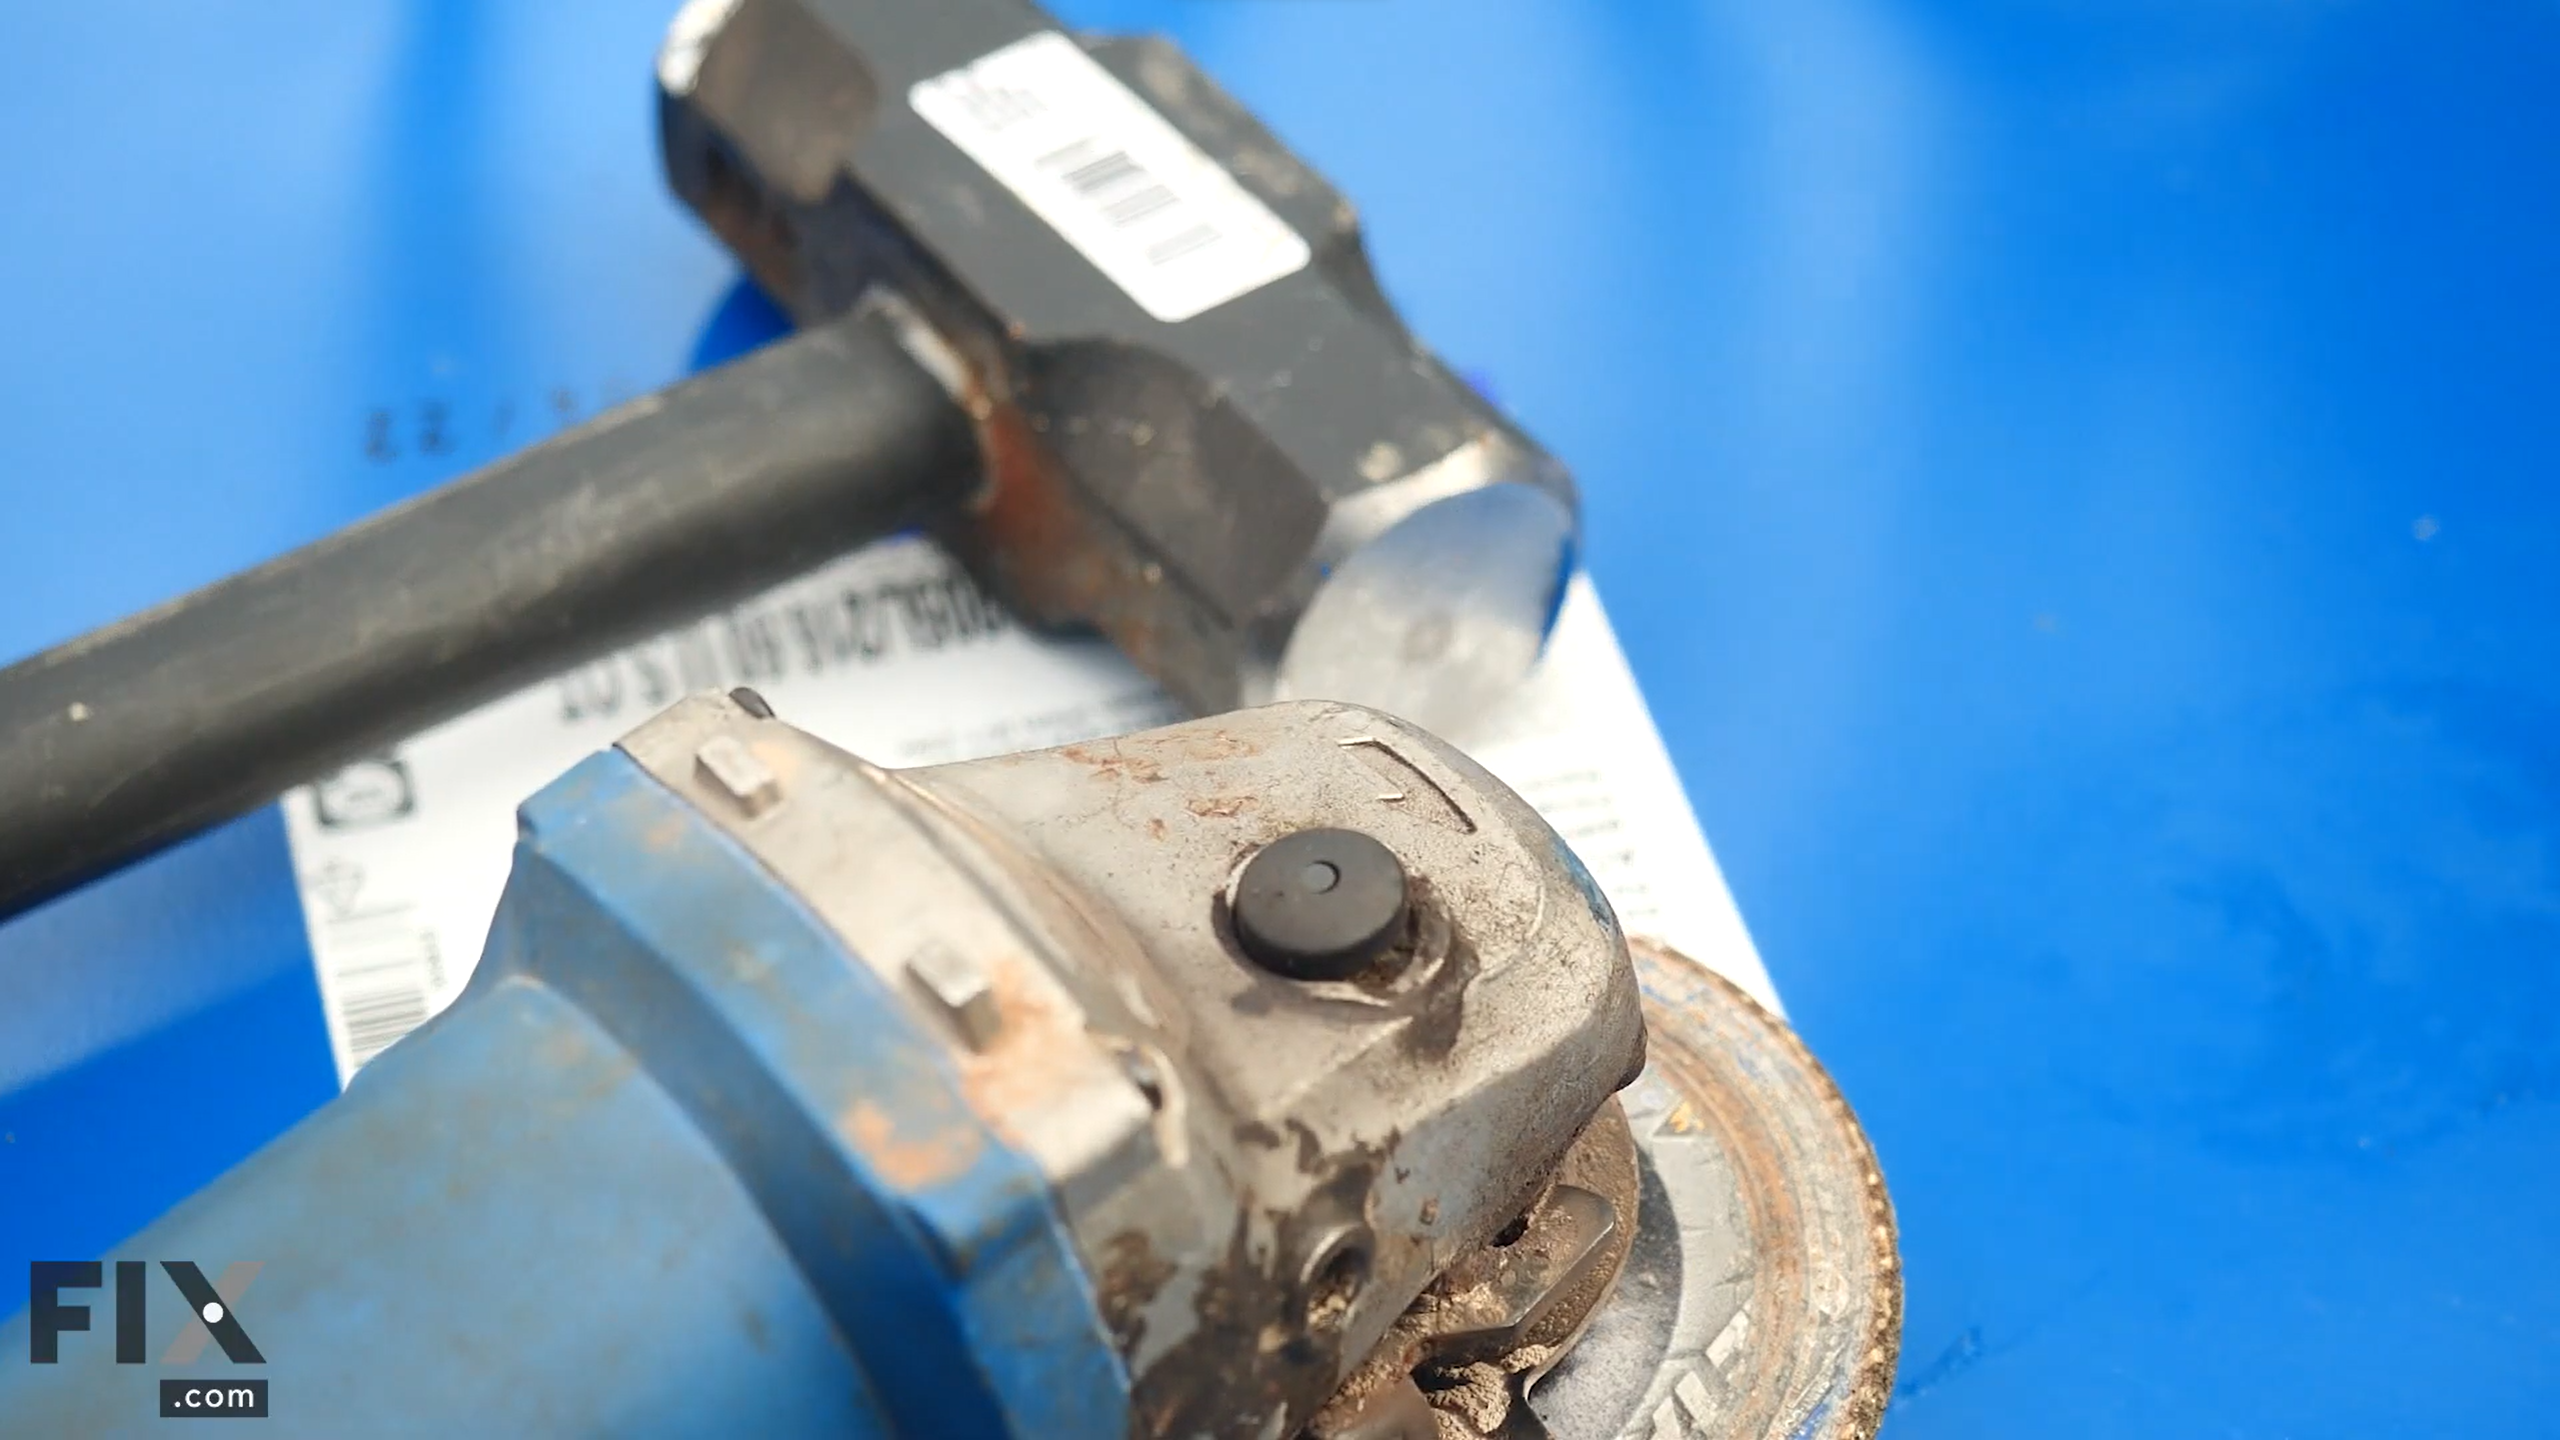
To start off, you’ll want to prepare your barrel by using a grinder or other power tool to cut the top off your barrel. Once the top is cut the entire way around, you can use a hammer to hit the lid of the barrel and knock it out.
Once the top is removed, you’ll likely notice that there will be a lot of metal burrs around the edge of the barrel lid. Here, we’ll use the file to smooth the lid and eliminate any burrs sticking out. This isn’t completely necessary, but if you need to move your barrel at any point it may be helpful to have the burrs gone so you don’t accidentally cut your hands. It also generally makes the barrel appear more refined - either way, it’s definitely a good idea!
It’s super important that you drill holes all around the side of the burn barrel to allow for the fire to not only burn well and efficiently, but also receive the necessary ventilation to continue burning and also produce less smoke. In order for a fire to burn well, oxygen and proper airflow are needed and thus these holes prove crucial to the burn barrel’s success.
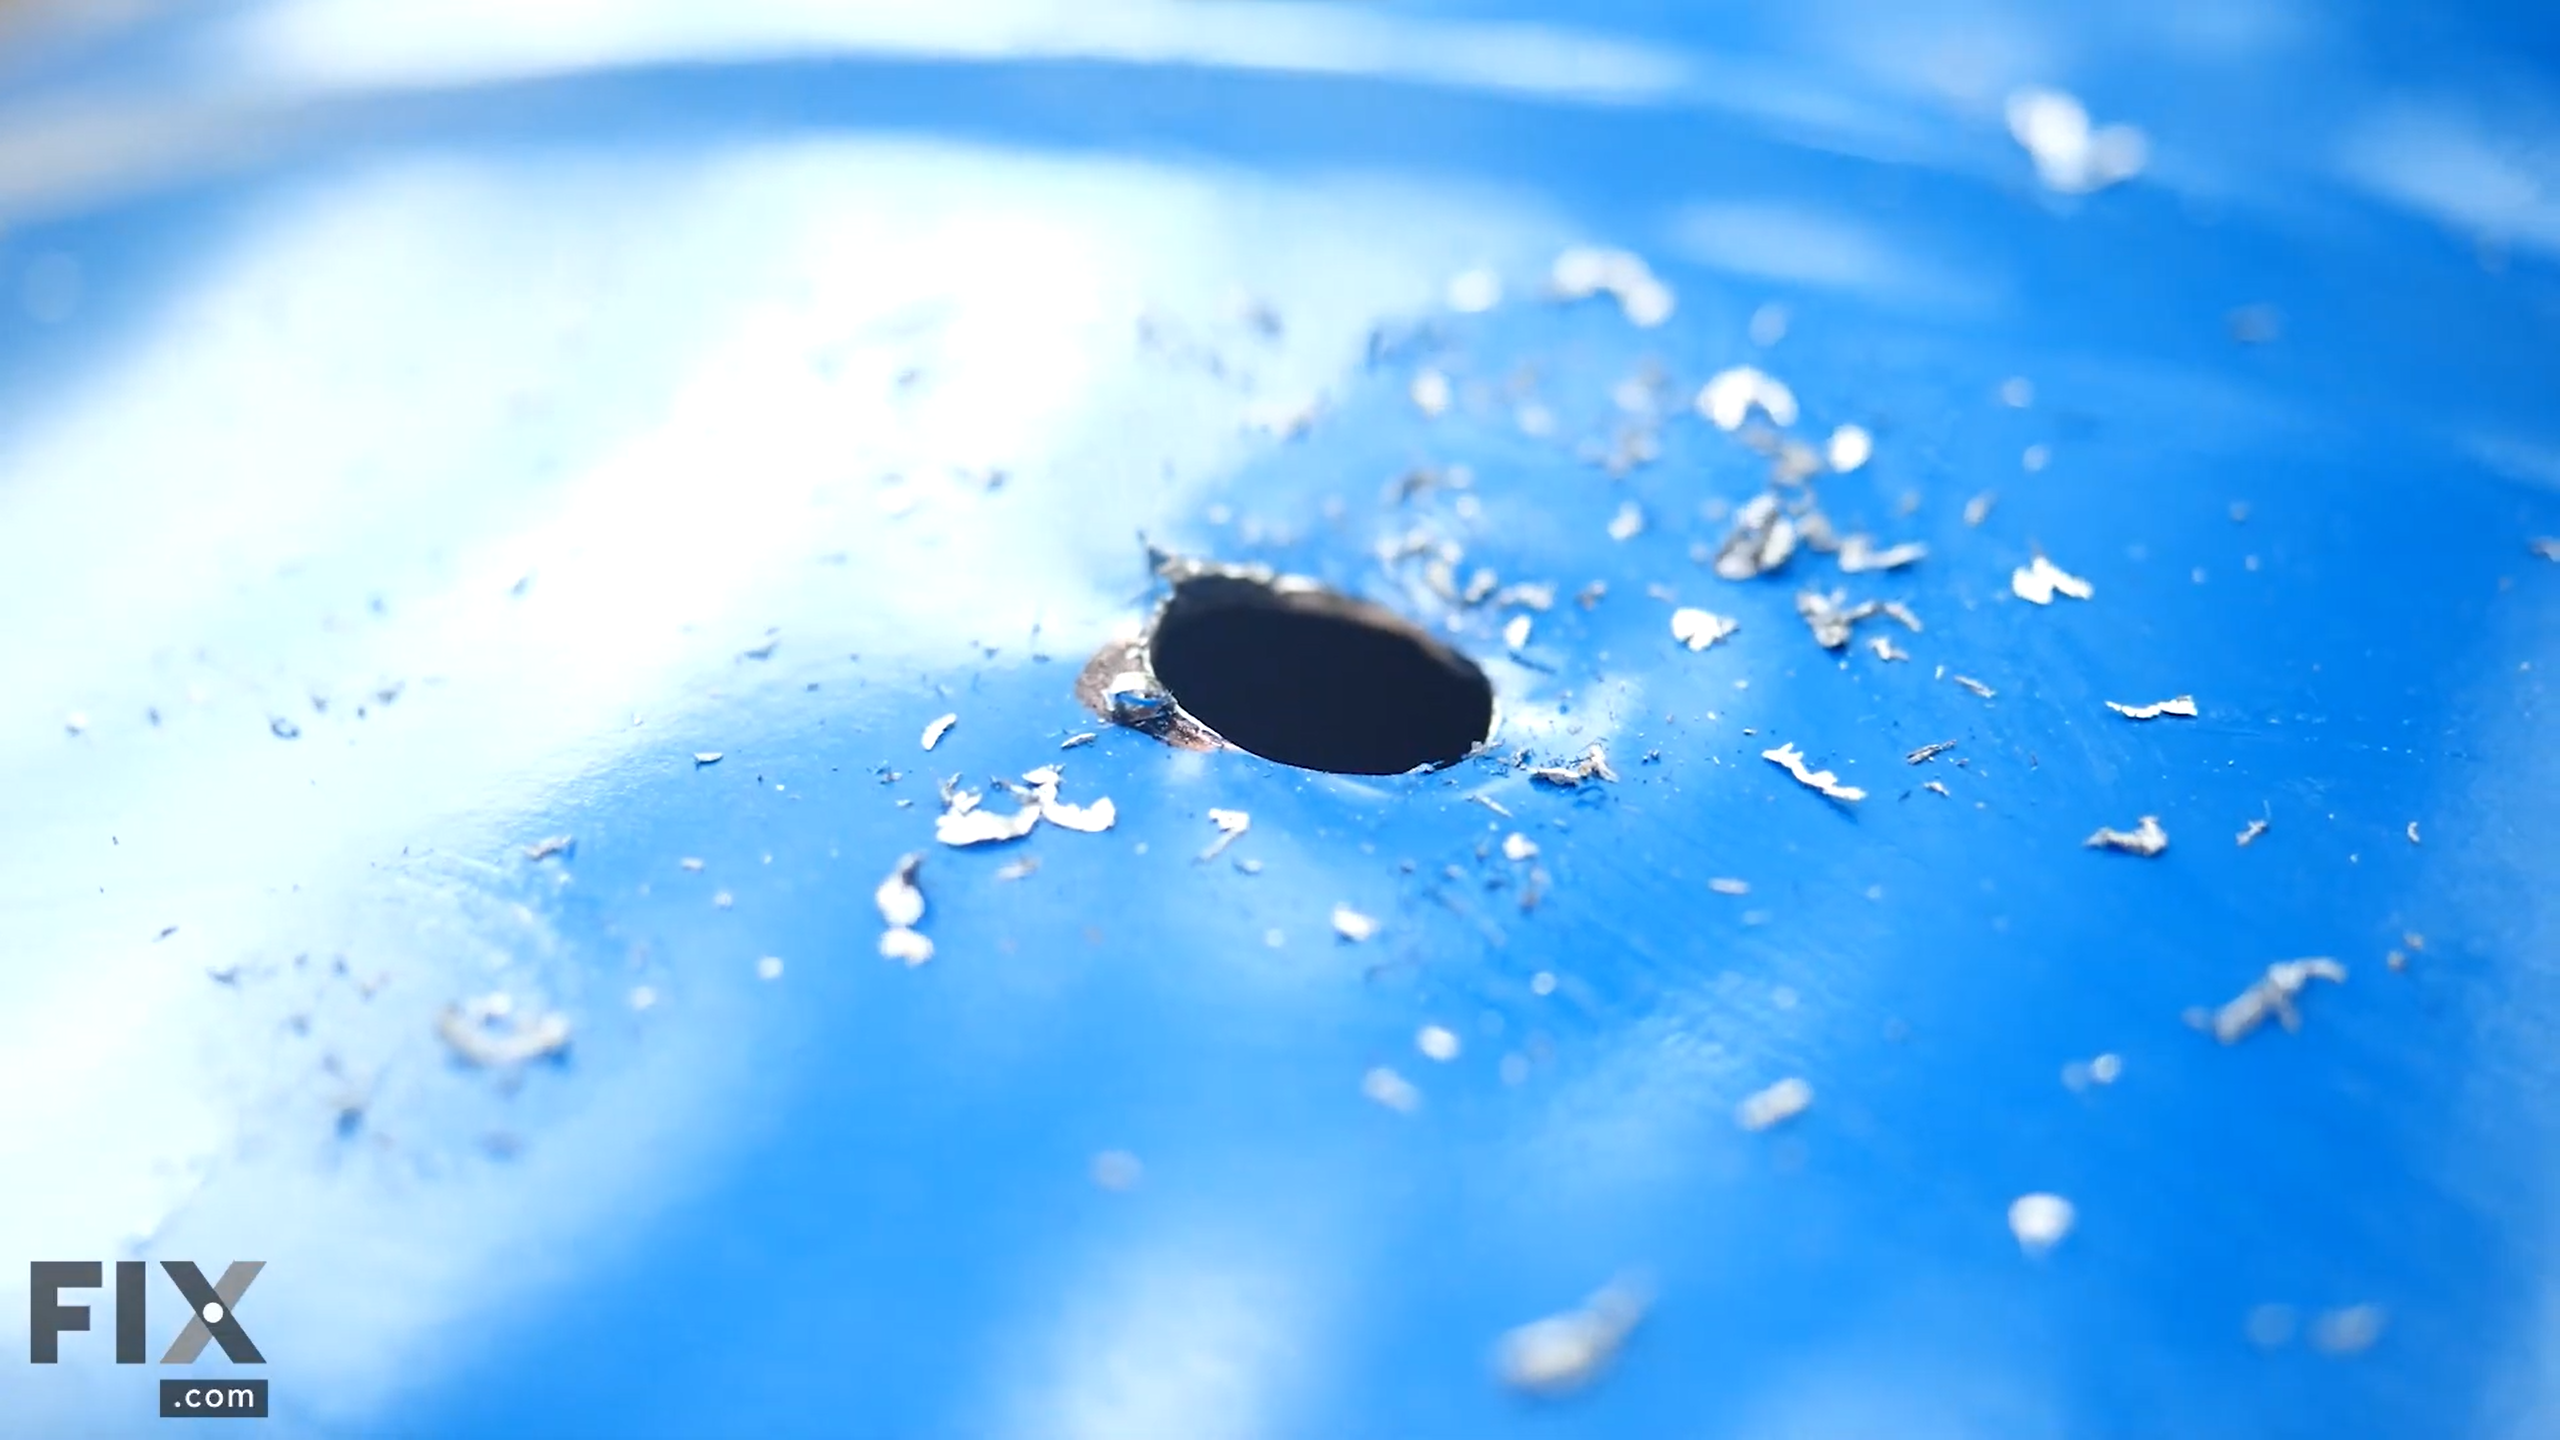
First, you’ll want to use your tape measure and Sharpie marker to evenly mark the holes around your barrel. There’s no recommended parameter for this, just as long as you adequately distribute the ventilation. Then you’ll want to use a smaller drill bit to make the initial ventilation holes, and then use a larger drill bit to finish those same holes and make them slightly larger.
This section is almost completely optional, since it does require more resources, but it can definitely help your burn barrel’s burning efficiency and clean-up. Then again, it’s not completely necessary for a reason, because depending on what you’re burning with your barrel, a grate may not be needed!
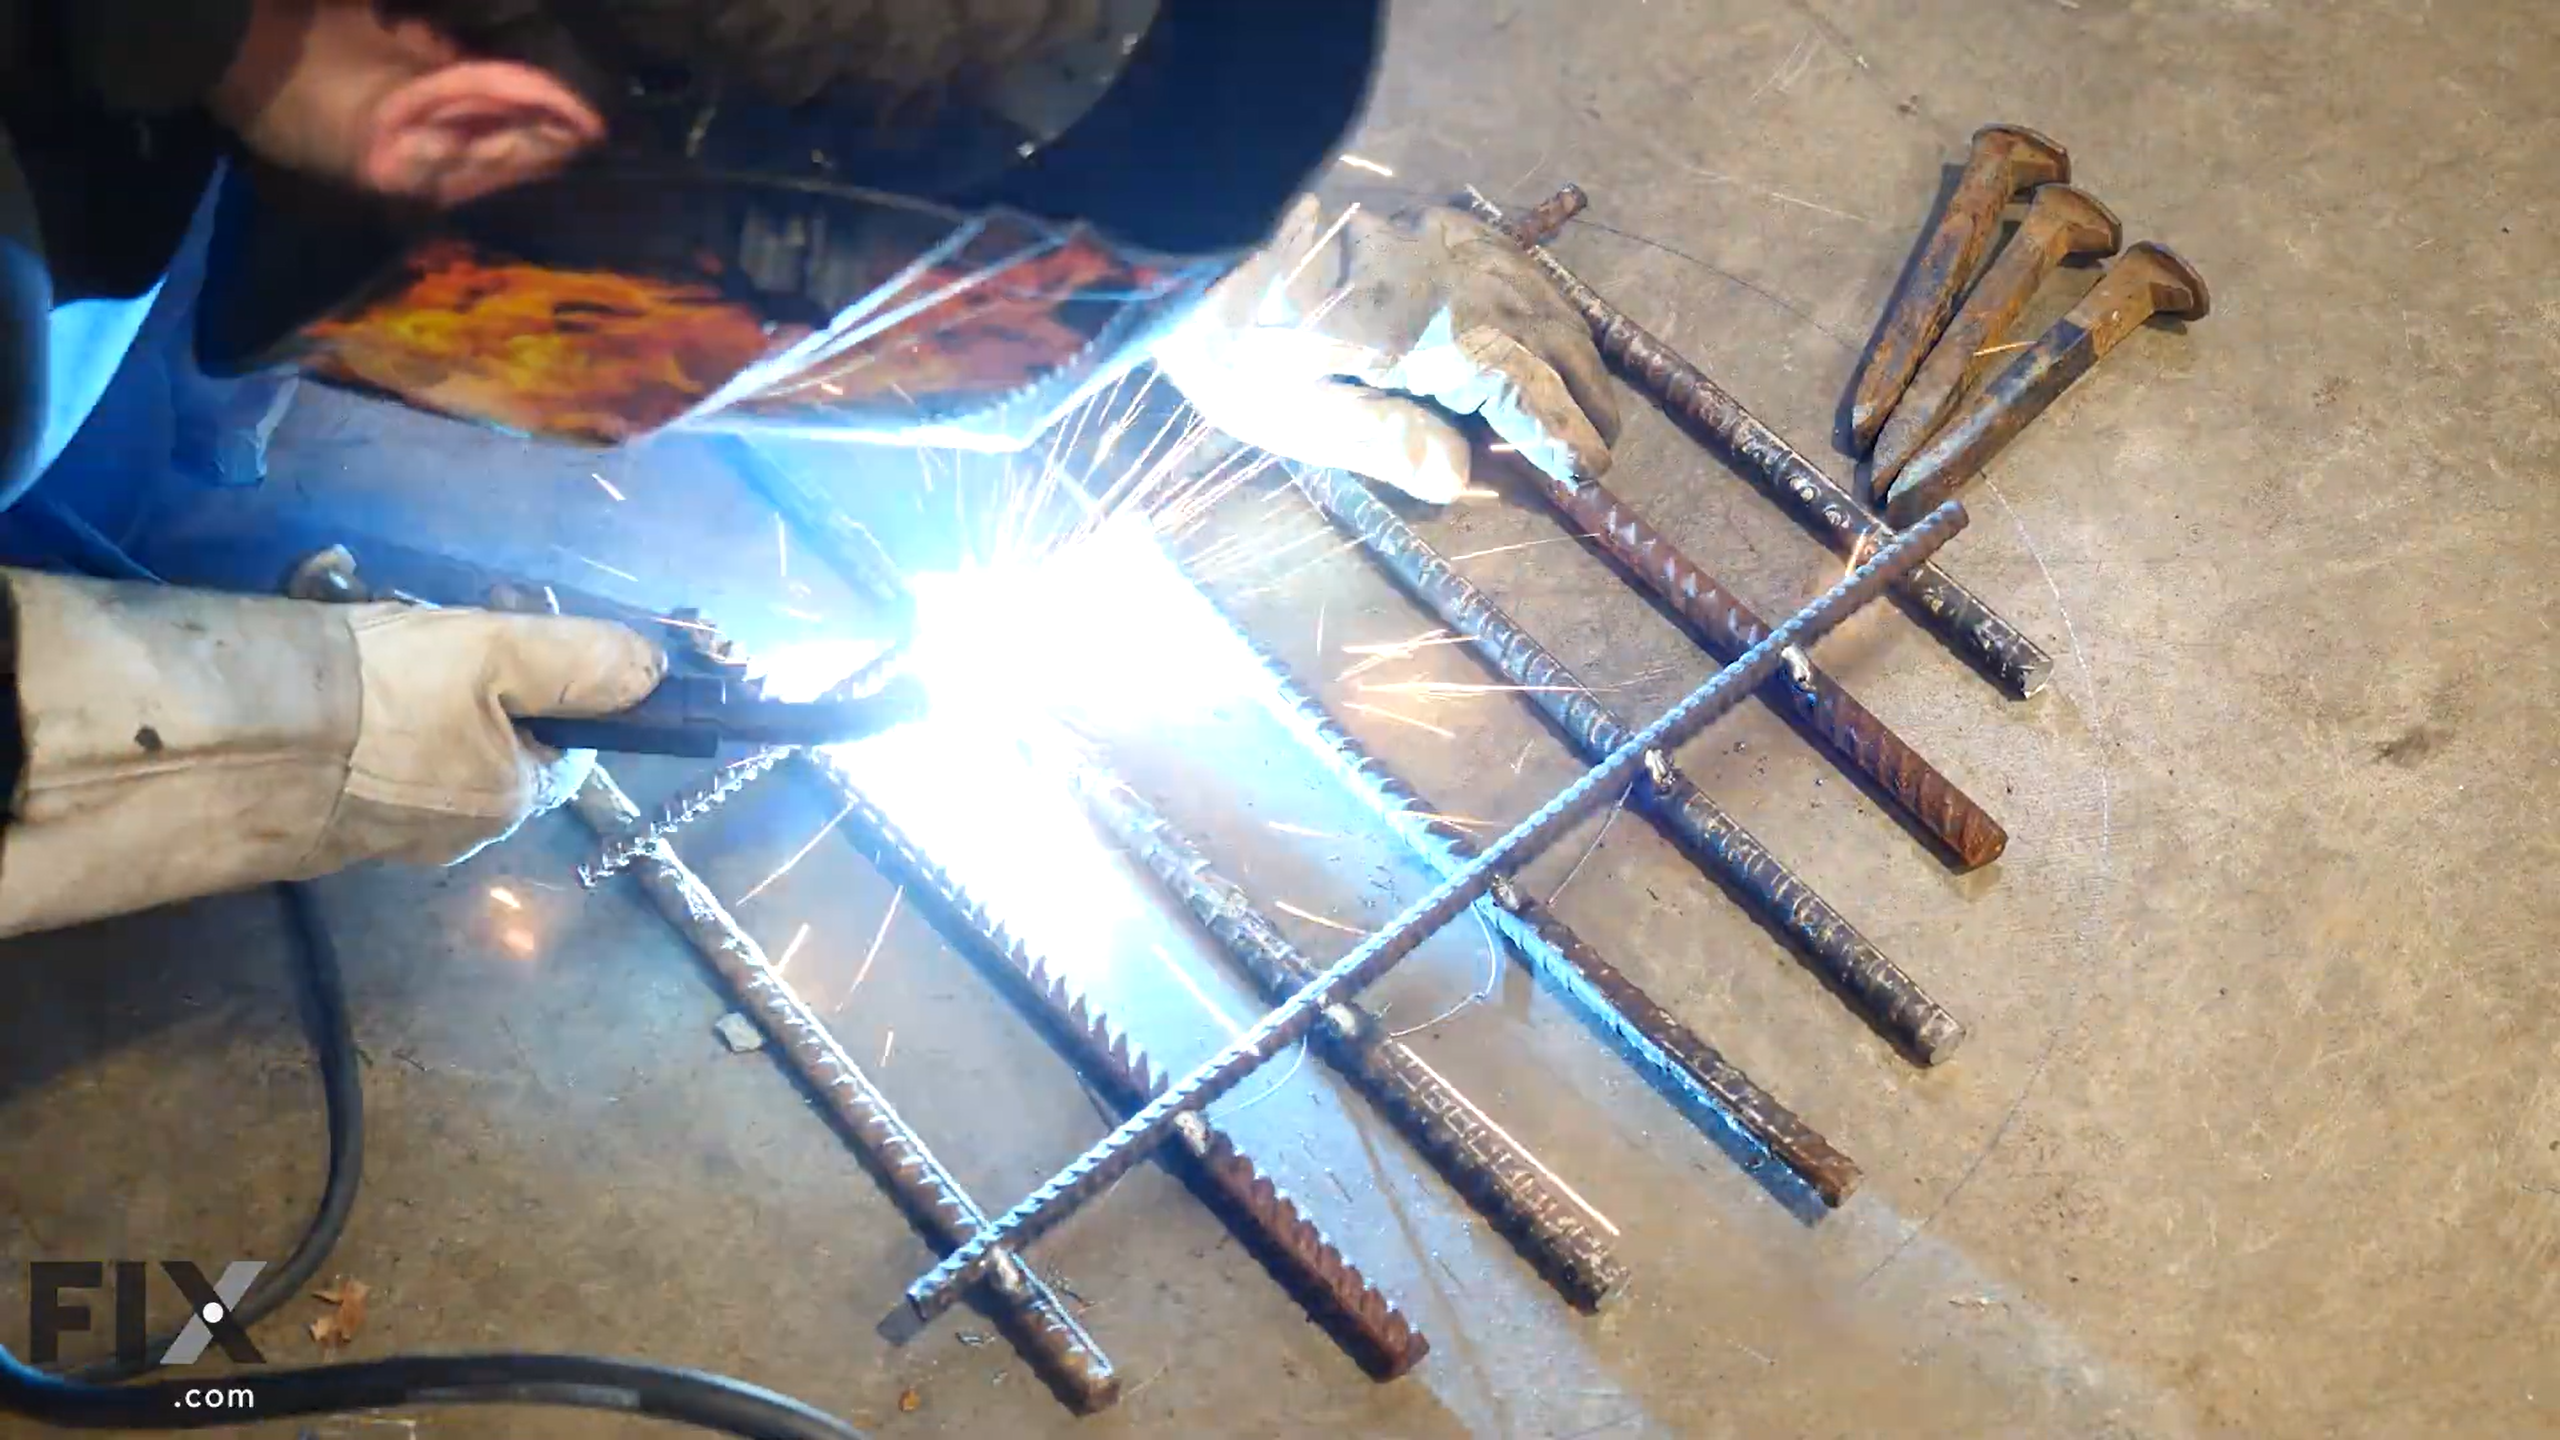
If you want to make a grate to lie at the bottom of your burn barrel, you’ll want some strong metal bars that you can weld together. You can use something like rebar, and weld it into a small and neat little grate.
First, you’ll want to measure the different lengths from one side of the barrel lid to the other - straight through the middle, a few inches to the side, and a couple of inches after that. You should have a few lengths that can be used to cut your material with.
Once you’ve cut the different lengths, you’ll want two or three long connecting lengths that you can weld the other lengths to. Weld each of those lengths, and then weld some feet to one side of the grate, so that the grate can be suspended a few inches off the base of your barrel. We used some railroad spikes, but you can use whatever metal you have at your disposal.

Install the grate at the bottom of your barrel and that’s it, it’s finished! You can now start burning your wood and paper scraps, and maybe even have family or friends to come and gather around! And make sure to check out our YouTube channel and other blogs for your next DIY project that you can do on your own or with family!
Embed the article on your site

Written by:
Written by:

Turn your home into a carnival with these fun outdoor games, and don't worr...
Don't assume backpacking means eating trail mix and freeze-dried foods. Lea...
There is nothing more relaxing than sitting around a roaring fire with fami...
Get your fix of expert articles delivered straight to your inbox!
No Thanks - I don't like cool stuff