How to Properly Clean Your Oven
Turn your oven back into a lean, clean, cooking machine!

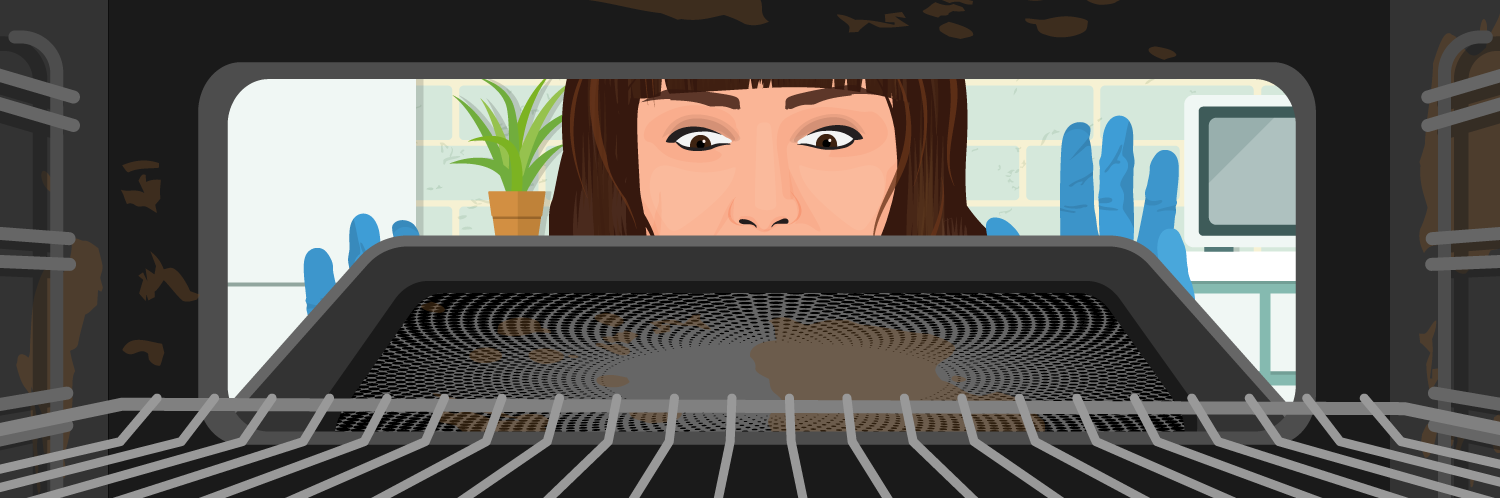
Whether you’re whipping up a devil’s food cake for someone’s milestone birthday or you’re midway through the process of basting a Thanksgiving turkey, your oven has your back. For an appliance that oversees the star dishes of many get-togethers, it is only fair that you give your oven some regular TLC.

Besides, your oven could only do the heavy lifting for so long. Neglecting routine maintenance leads to the buildup of excess residue. Your poor oven would need to work extra hard to reach and maintain desired temperatures. This also ultimately shortens your oven’s lifespan, and has worse consequences such as food contamination, grease fire, or oven failure.

Don’t worry, cleaning your oven is not as daunting as it seems!

How Often Should I Clean My Oven?

Your oven should be cleaned based on how often you use it. The general rule of thumb is once every 3 to 6 months. However, if you’re a baking connoisseur who always has a batch of freshly made cookies ready, you would have to clean it more frequently. Your oven will also drop you hints that it's time to take the rubber gloves out:

  • Its doors are splattered with so much food that you can’t see through them
  • It emits an unpleasant smell
  • It produces strange-tasting or unevenly cooked meals
  • Smoke comes out of it when it heats up

Should I Use My Oven's Self-Cleaning Feature?

Self-cleaning is now a nearly universal feature of ovens, promising users needed backup in this dreaded household chore (Don’t you love technology?). There are two main cleaning modes:

  • High-heating ovens, which use pyrolysis, crank their temperature north of 800°F to burn existing residue and convert it into ash. The thin layer of ash can then be wiped away with a rag.
  • Steam-cleaning ovens, which use hydrolysis, soften grime at a temperature of 250°F with a combination of heat and water. A manual clean is still required after this but the convenience you get out of this is worth that little bit of elbow grease.

While this magic button is appealing to push, you should only use this when your oven has light residue. Otherwise, this could lay the groundwork for a potential fire hazard.

When using this feature, it is also advised that you turn a range hood on, open some windows, and ensure that the oven door stays locked throughout the cycle. The oven racks would also need to be removed and cleaned by hand.

Should I Use Homemade Natural Cleaners or Store-bought Chemical Cleaners?

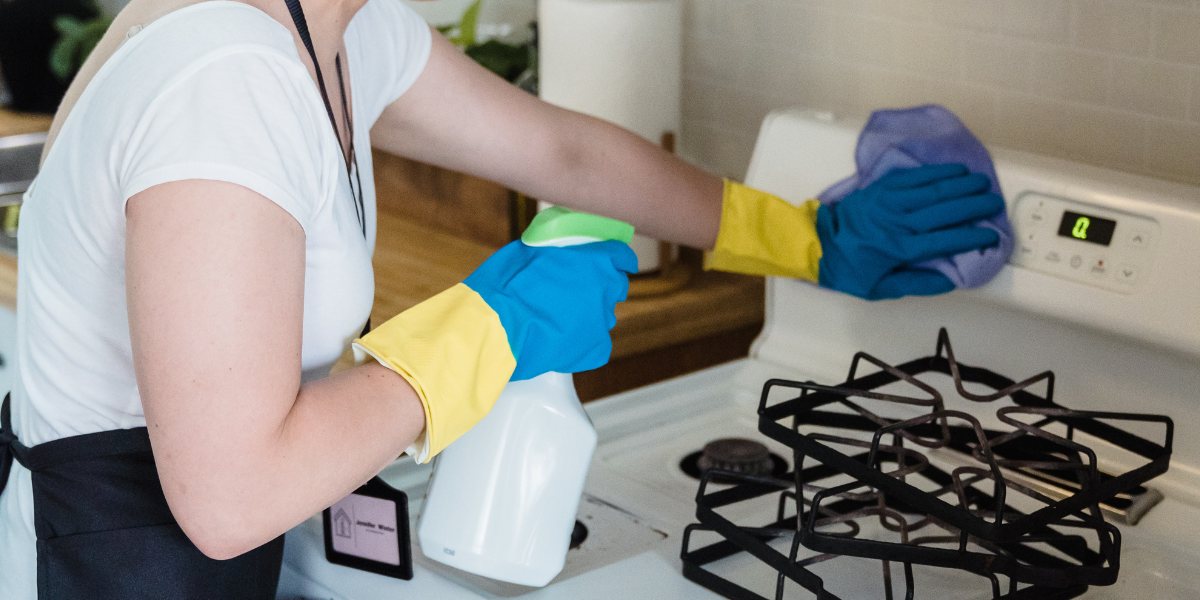
Chemical-based cleansers effectively remove grime and are easily purchased from the shelf. Unfortunately, they also tend to be caustic. Be sure to wear rubber gloves and safety glasses when using them and avoid using these in self-cleaning ovens as they could corrode the enamel that they are coated with.

Cleaning a Stovetop with Rubber Gloves on

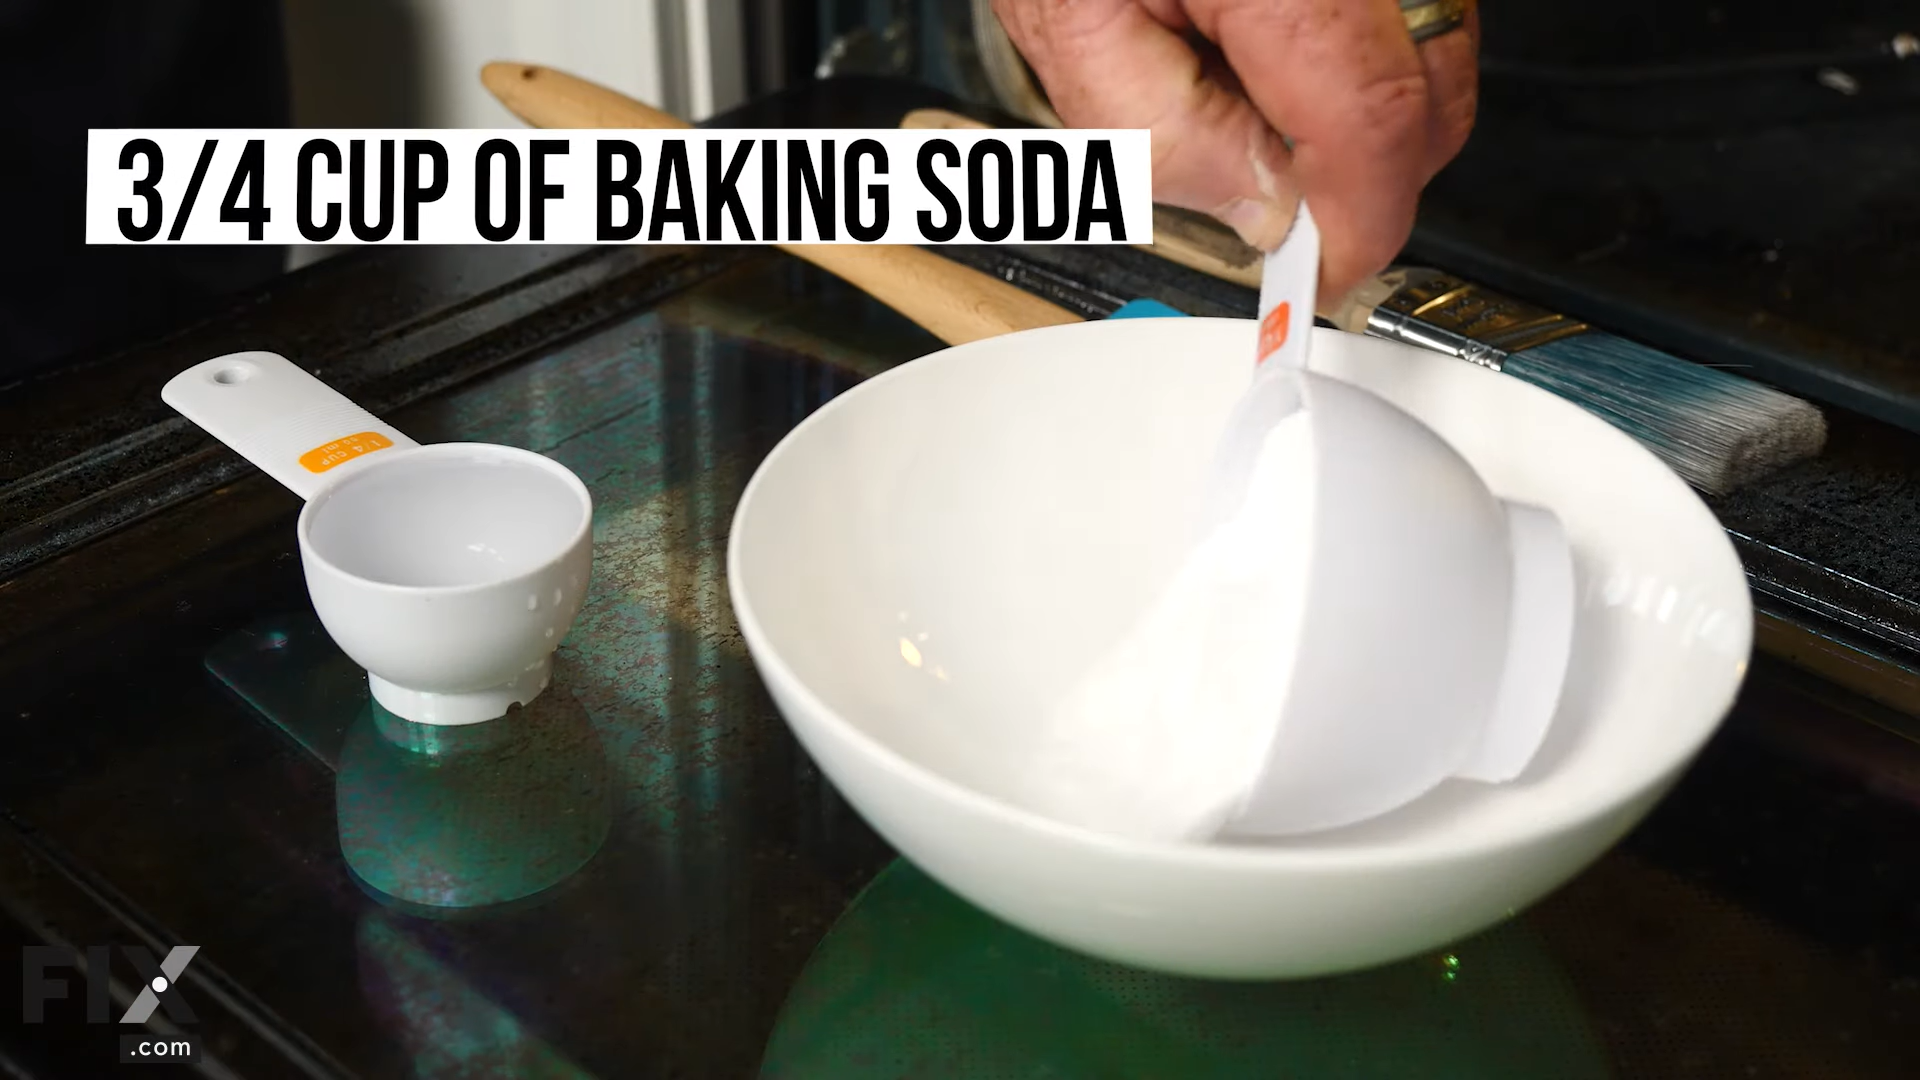
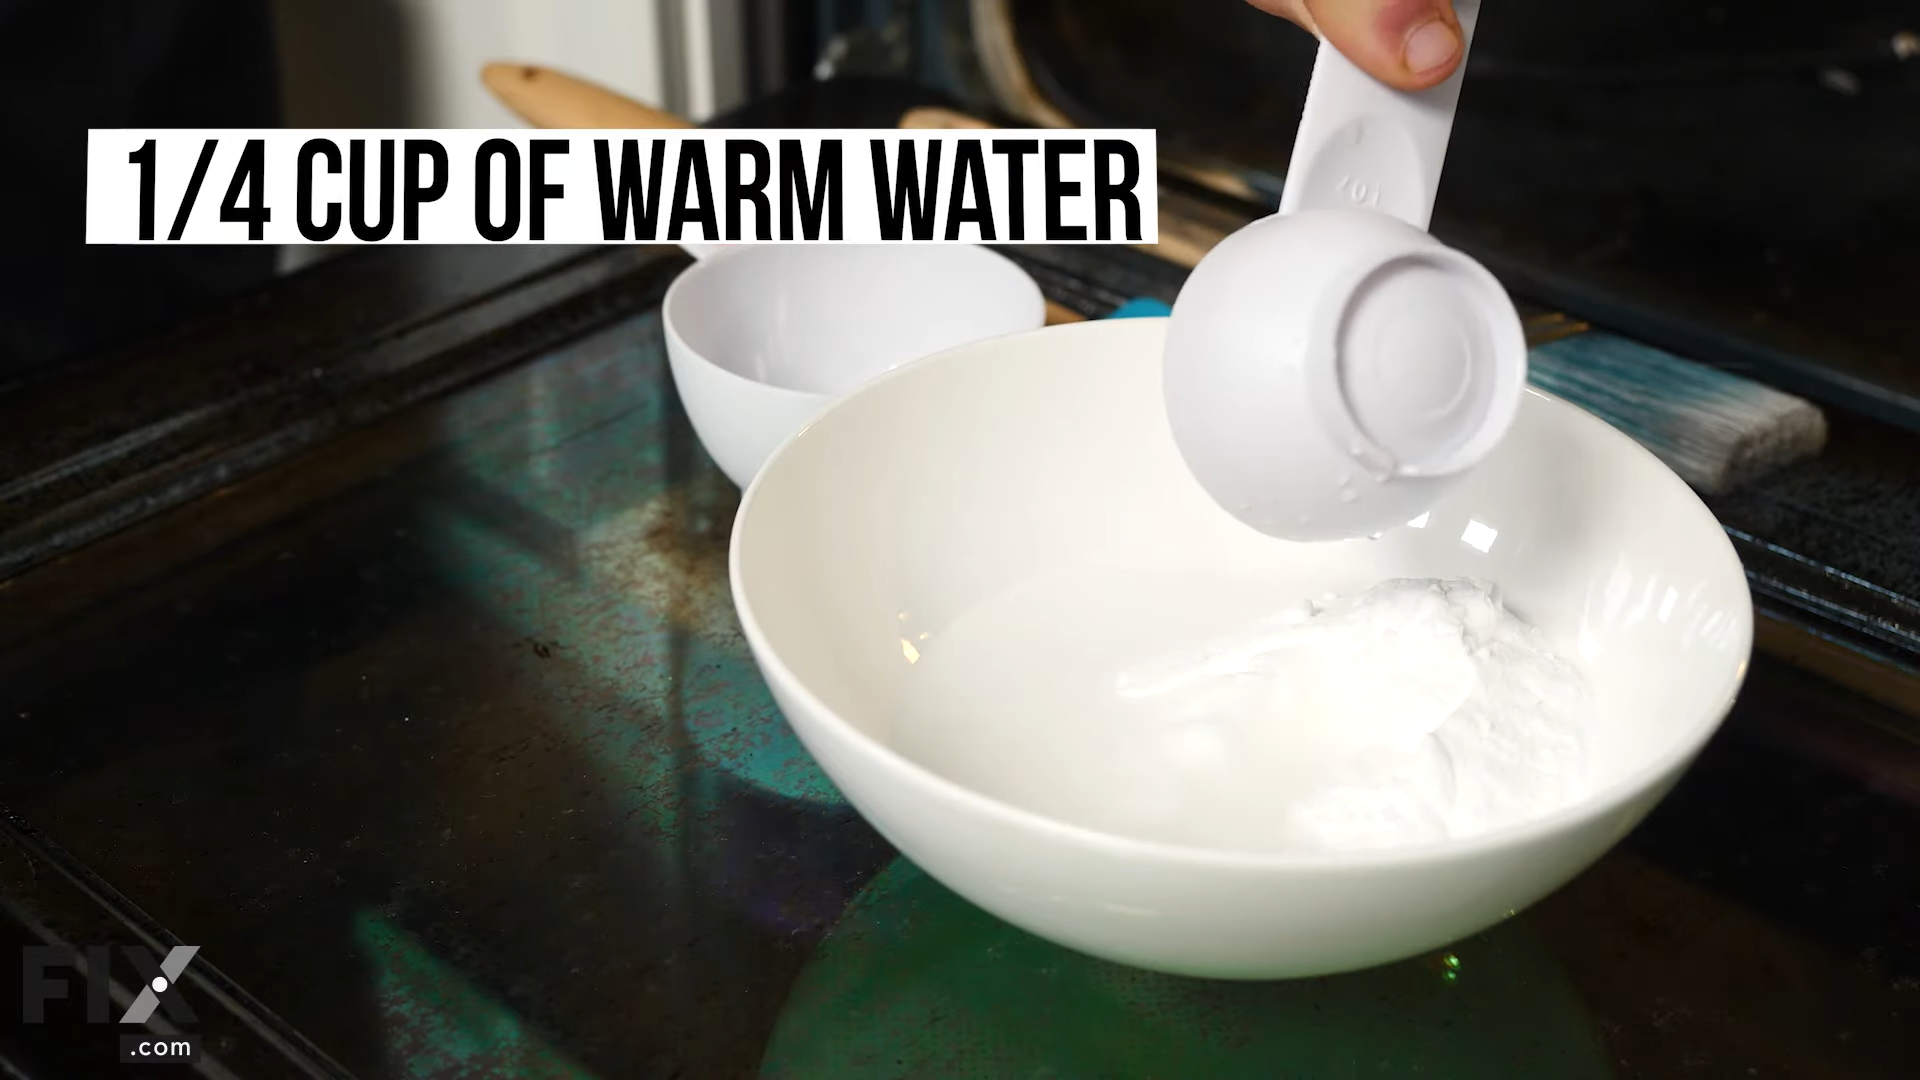
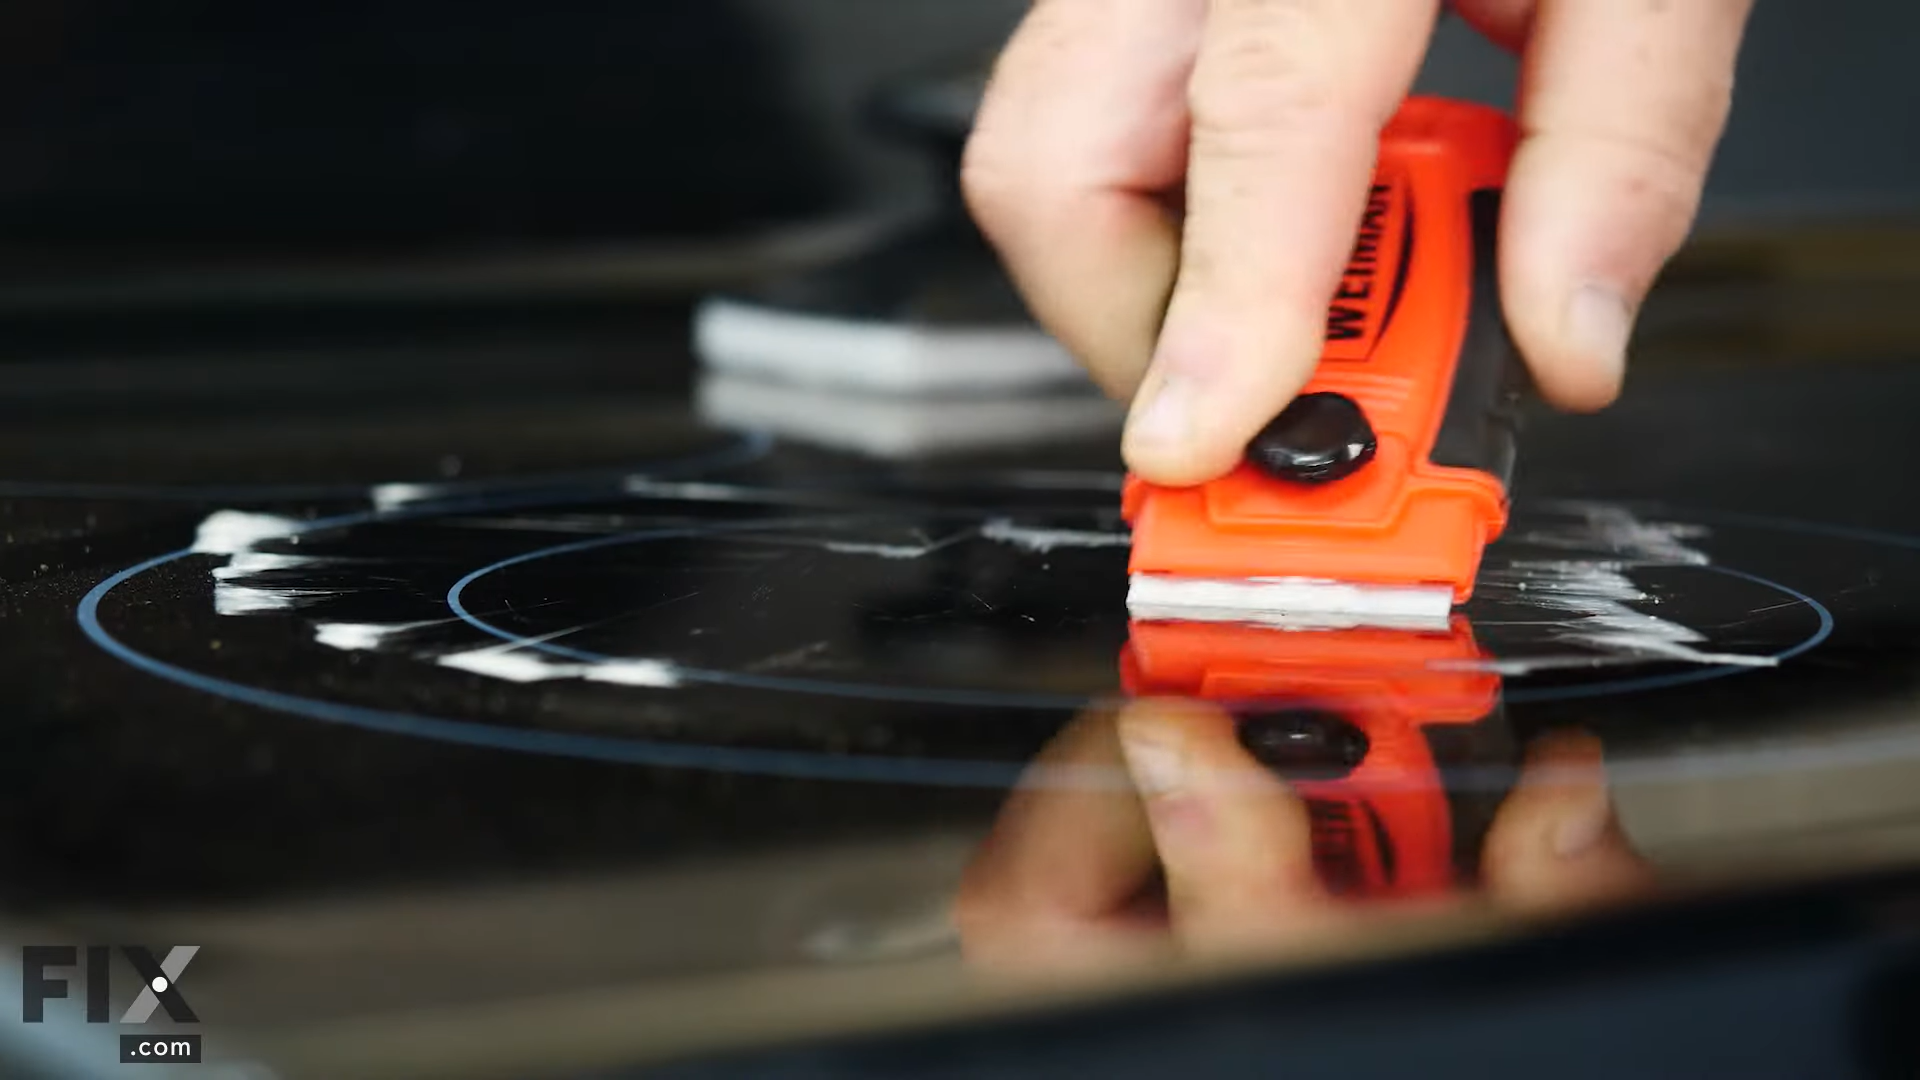
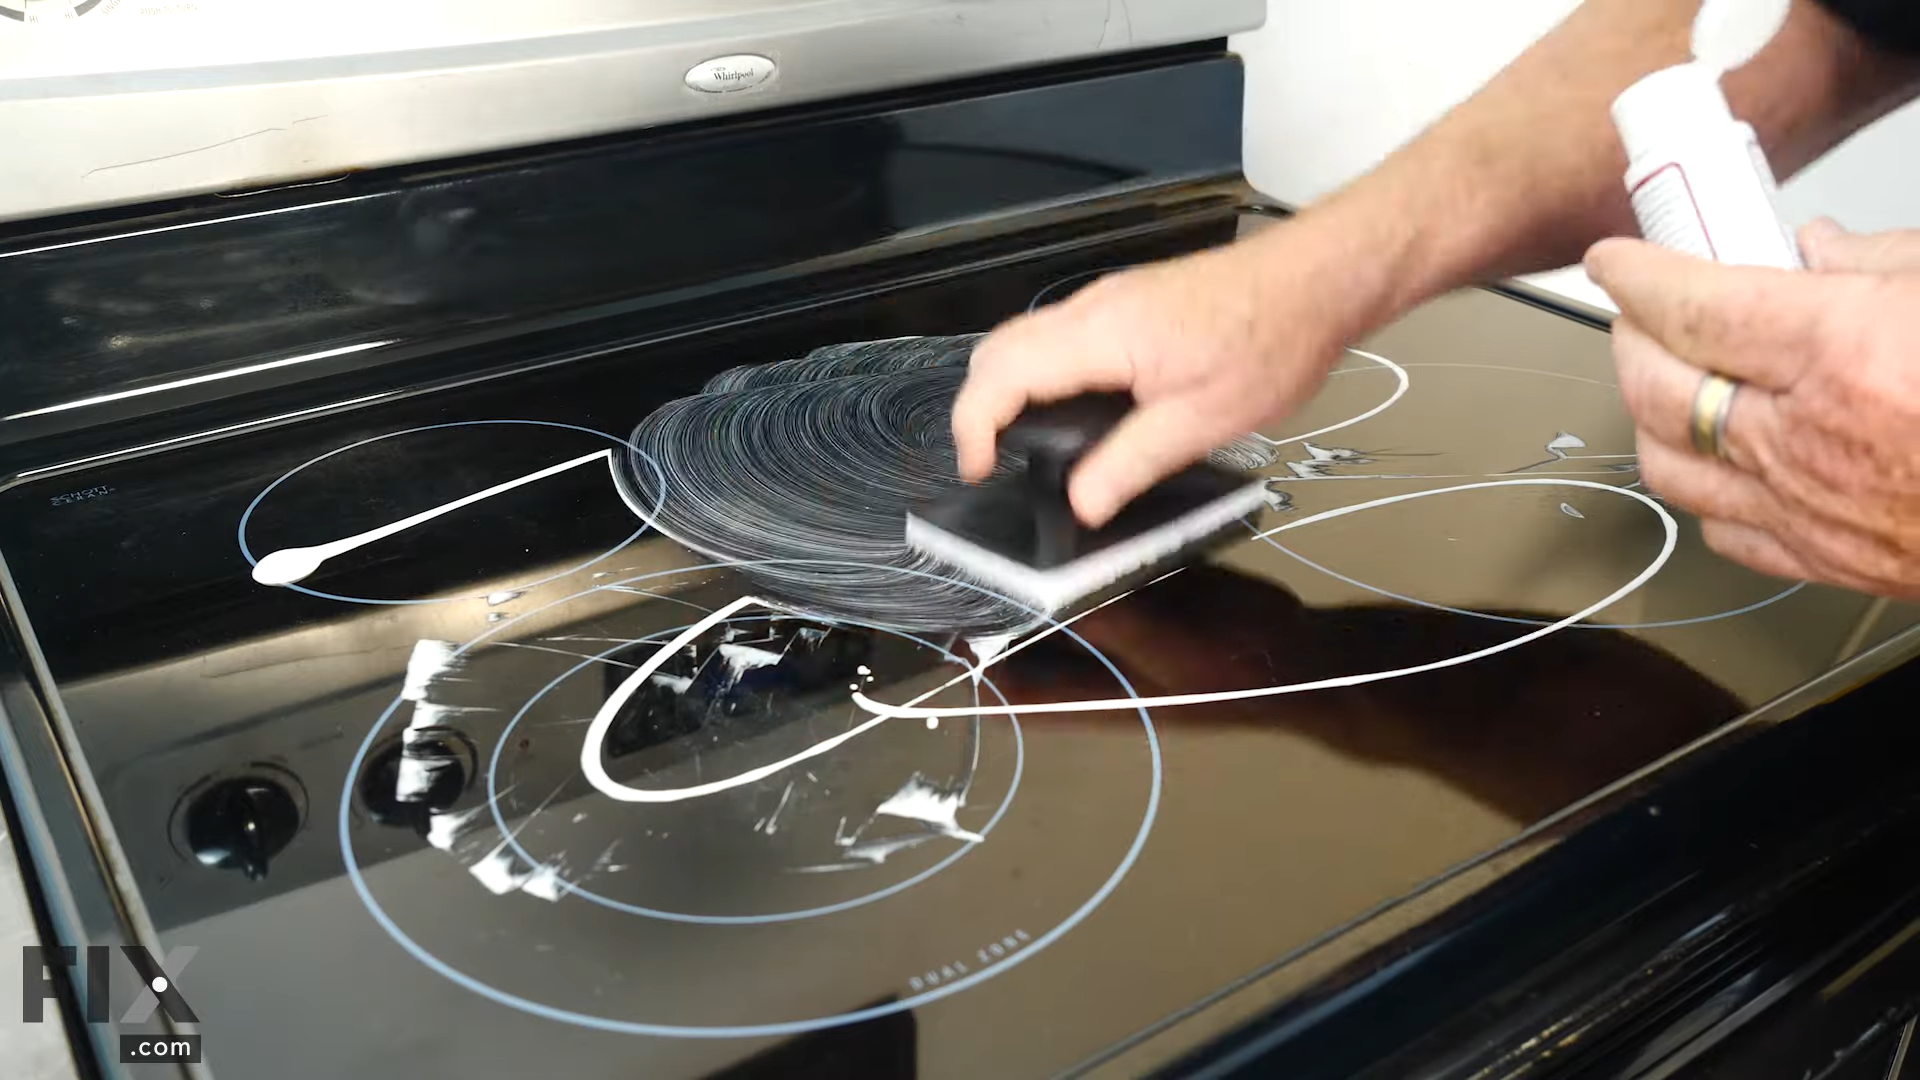
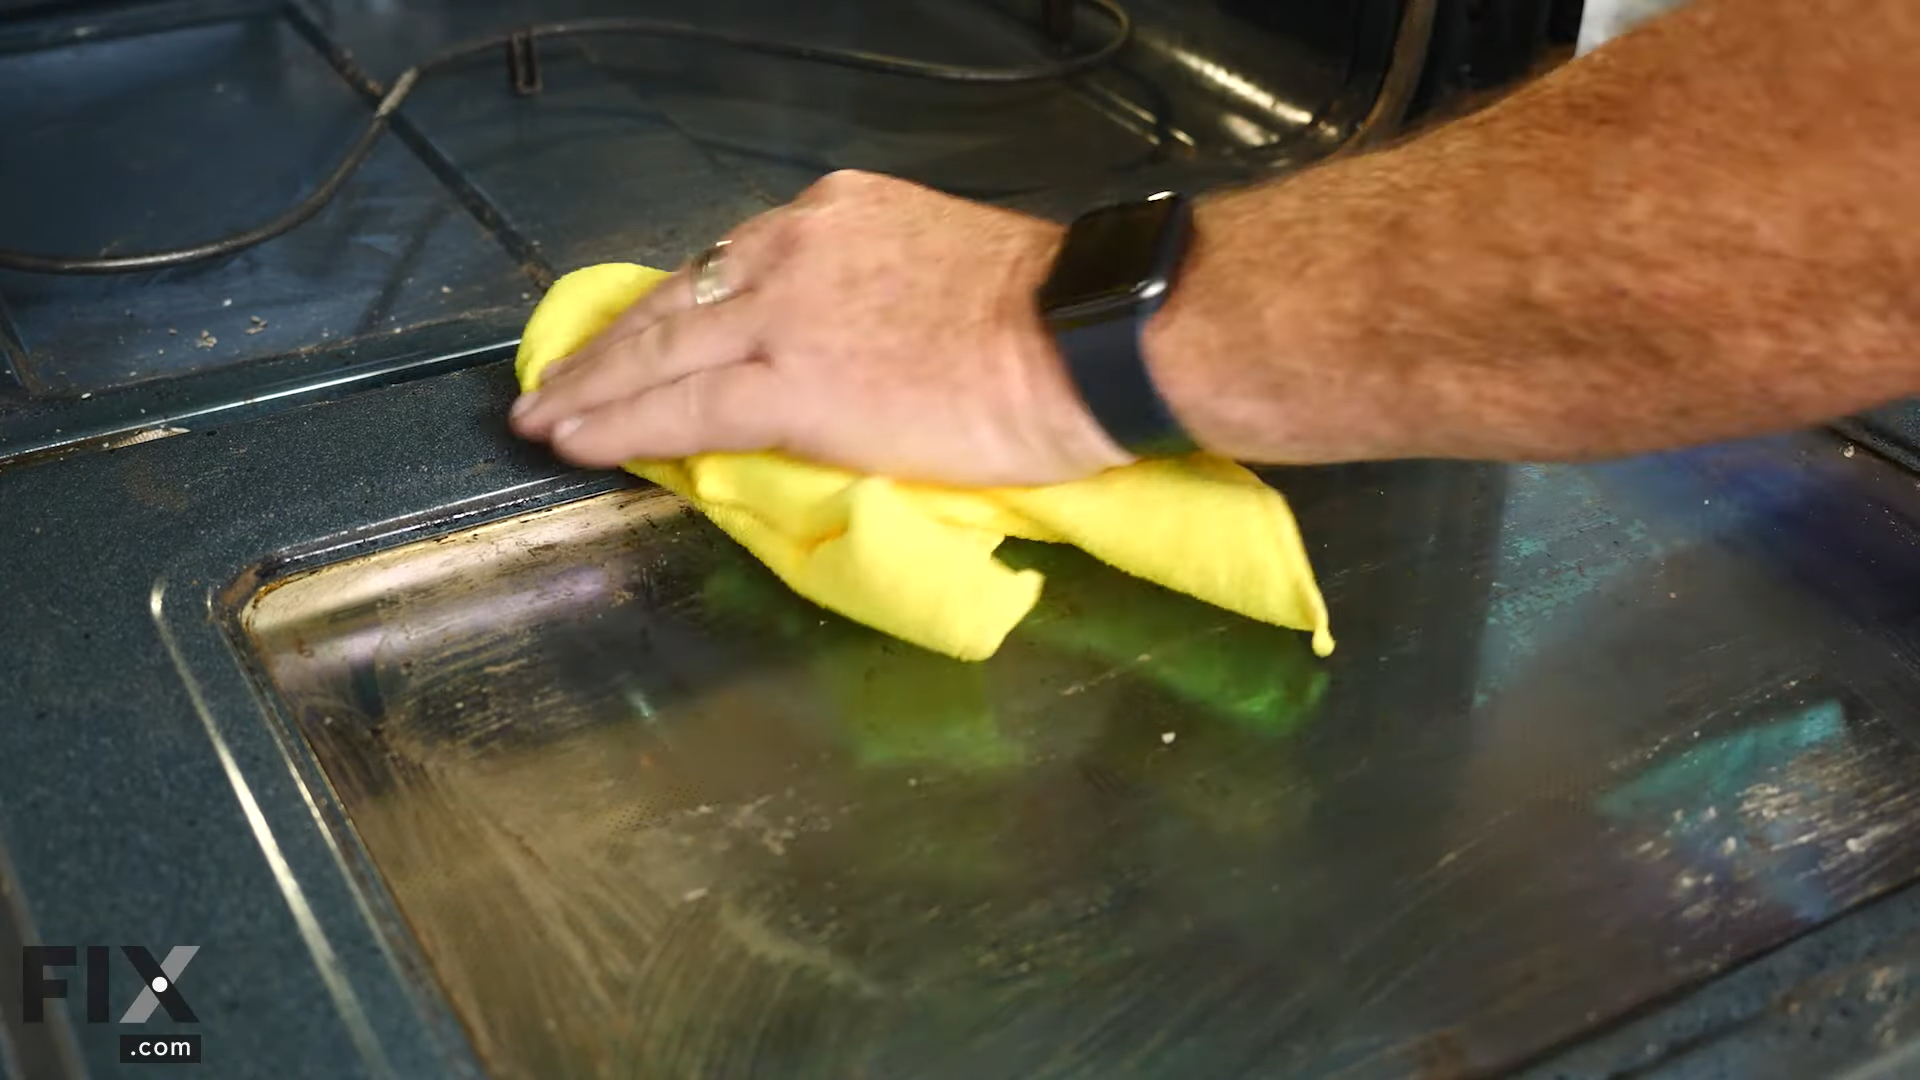
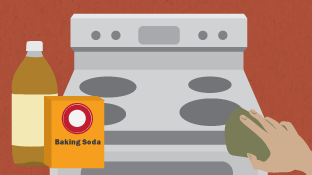
Homemade cleaners are cost-effective as they are made with ingredients that are most likely already inhabiting your pantry: baking soda and white vinegar. These cleaners are also free from allergens and irritants. However, cleaning your oven this way would require more than an hour of your time so be prepared to clear out your schedule accordingly.

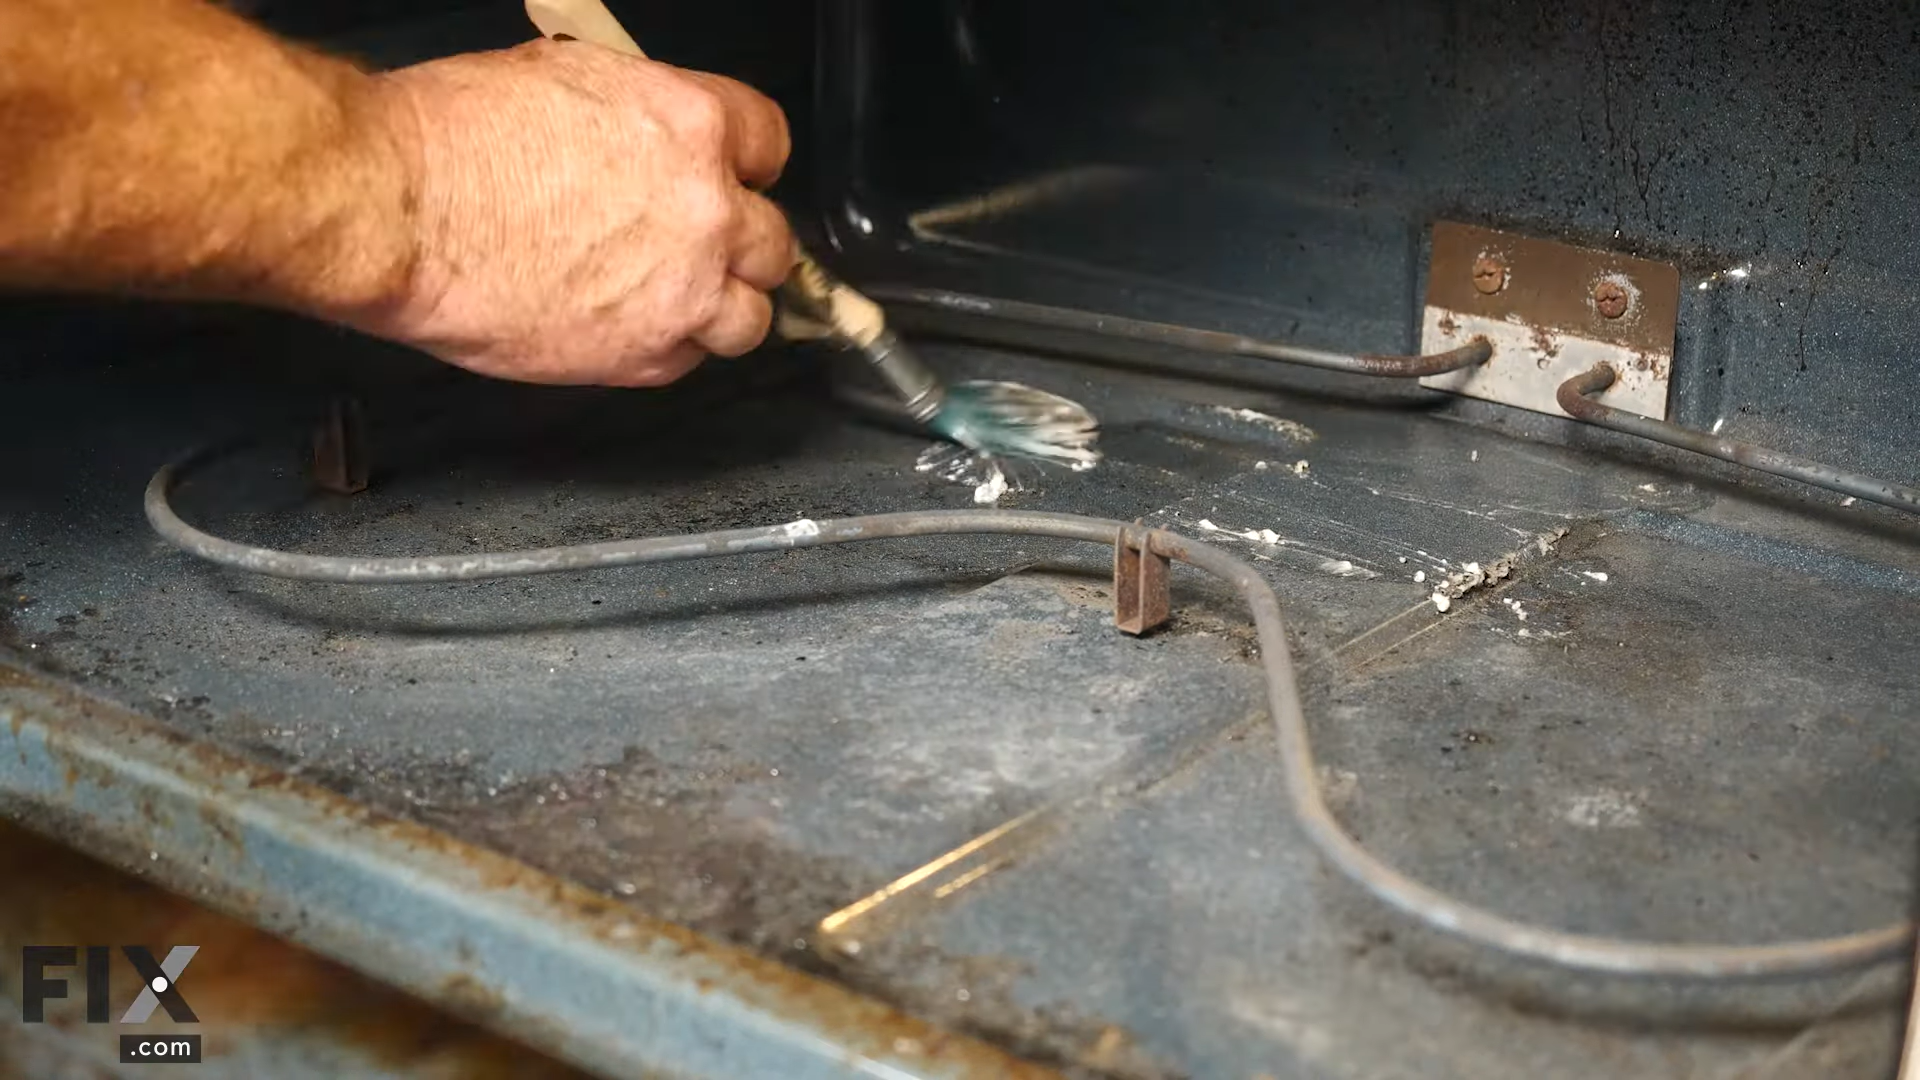
If you are planning to clean out your oven naturally, you would need to make a paste by combining a ¾ cup of baking soda with a ¼ cup of warm water.


Homemade Cleaner Made from Baking Soda
Homemade Cleaner Made from Water

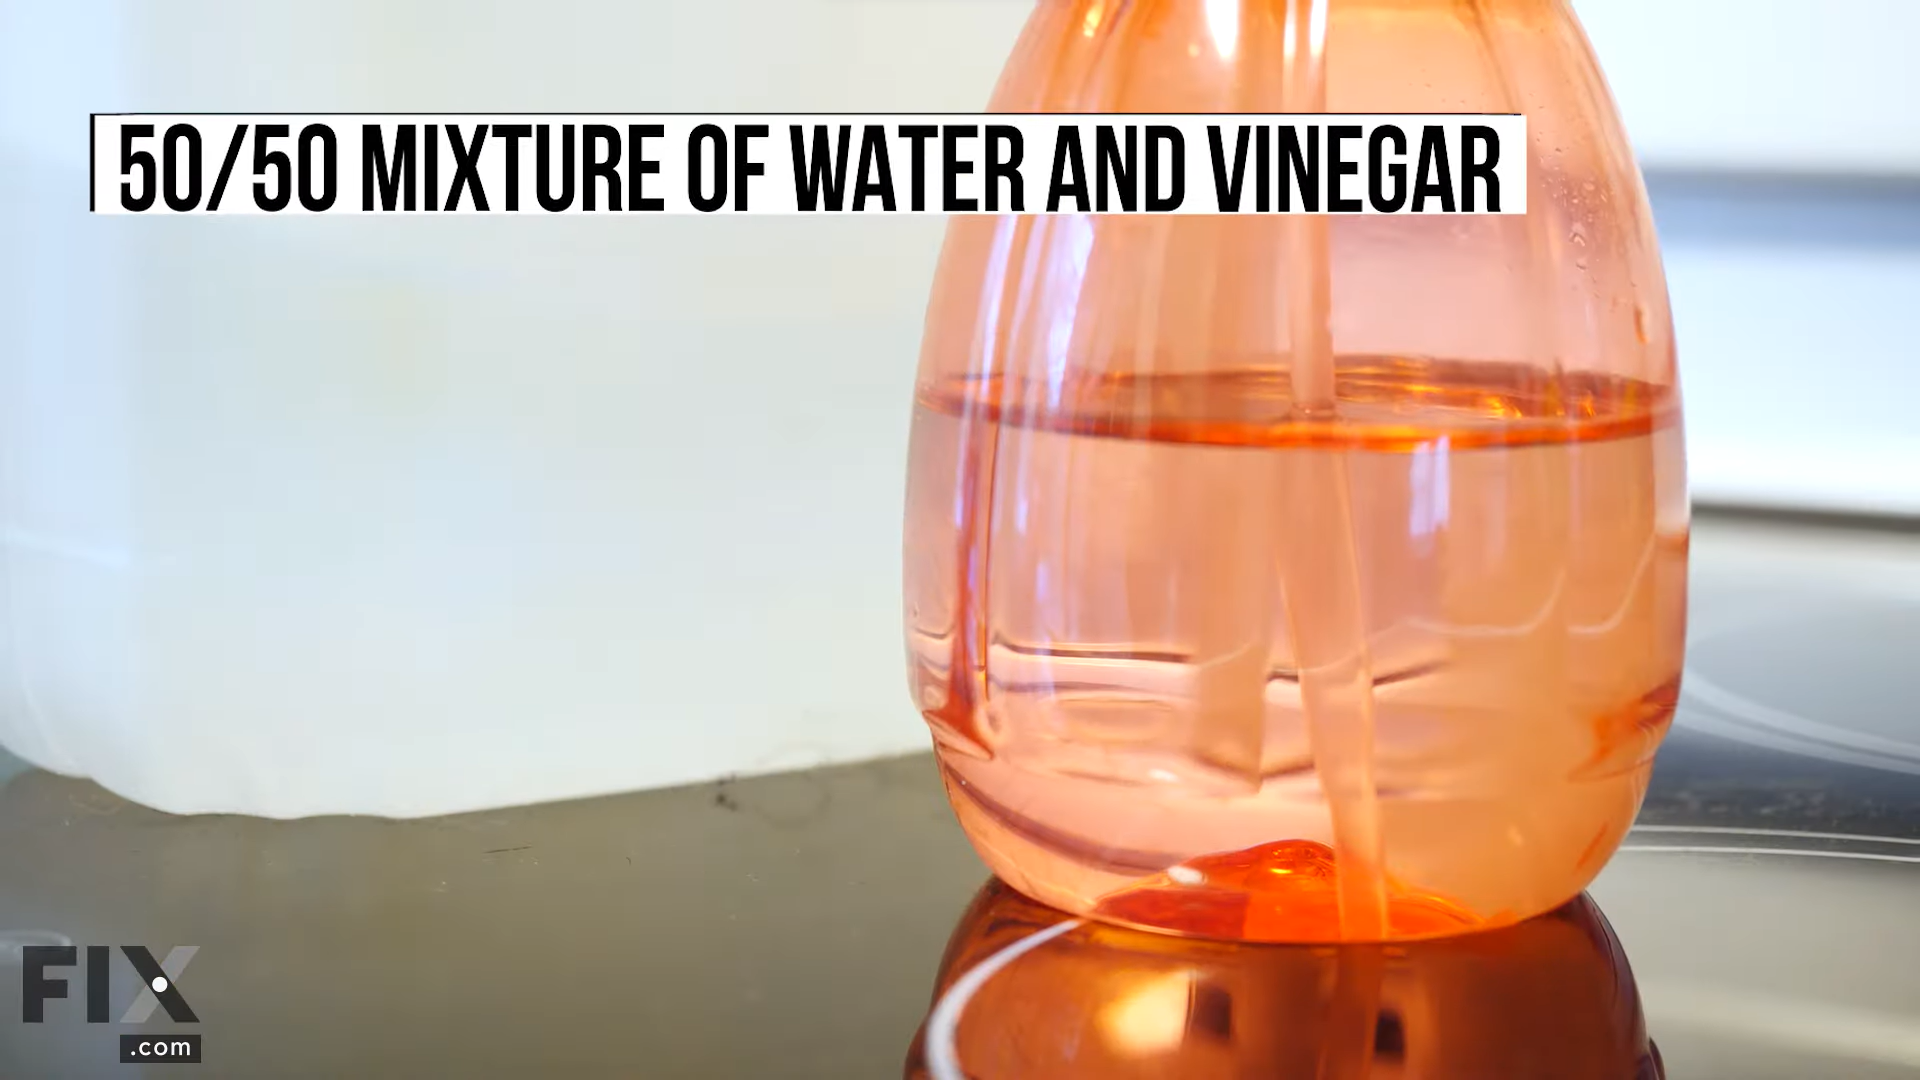
Additionally, you would need to have ready a spray bottle that has a 1:1 ratio of vinegar and water (So 1 cup of vinegar would call for 1 cup of water).


Homemade Cleaner Made from Vinegar

What Do I Need to Clean My Oven?

  • Store-bought cleaners and/or homemade cleaners
  • Dish detergent
  • Rubber cleaning gloves
  • Microfiber cloth rags
  • Non-abrasive sponge
  • Large plastic garbage bag (if using chemical-based cleaners for your oven racks)

Cleaning the Cooktop

  • Step One: Put your gloves and safety glasses on.
  • Step Two: Lift the grates and burner caps from the stovetop and soak them in hot, soapy water for 10 minutes.
  • Step Three: After 10 minutes, remove the grates from the water and apply the baking soda paste or a chemical-based cleaner on them, particularly on the tough stains. Let the racks sit for at least 30 minutes.
  • Step Four: Meanwhile, apply drops of cooktop cleaning cream on any spots found on your stovetop. Alternatively, you could also sprinkle baking soda on it, spray it with vinegar, and let that sit for 15 minutes.

  • Cleaning the Tough Stains on a Stovetop
  • Step Five: Apply your store-bought cleaner of choice or the baking soda paste all over your stovetop with a sponge and scrub the whole top down. Leave this for a few minutes, or with respect to the instructions found on your cleaner's packaging.

  • Cleaning a Stovetop with a Sponge
  • Step Six: Buff the stovetop using a damp cloth rag. Polish it down once more by wiping it down with a dry rag.

  • Cleaning a Stovetop by Wiping it Down
  • Step Seven: Rinse your oven racks thoroughly with water. Let them dry completely before putting them back into the oven.

Cleaning the Interior

  • Step One: Remove any accessories found in your oven (e.g. racks, trays)
  • Step Two: Apply your preferred oven cleaner around the inside of your oven. Avoid putting anything directly on your oven’s heating elements. Let the cleaner sit for the time listed on its packaging. If you had used the baking soda paste, let your oven be for at least 12 hours.

  • Cleaning an Oven's Interior with Baking Soda
  • Step Three: Wipe off the gunk using a damp cloth and wipe the oven down again using a dry cloth thereafter.

  • Cleaning an Oven's Interior by Wiping it Down

Cleaning the Oven Racks

  • Step One: When cleaning your oven racks with commercial cleaners, take your oven racks outside, spray them with a cleaner and secure them in a large plastic bag. Once the allotted time on the cleaner's packaging has passed, scrub the racks with a damp rag or a sponge. Rinse the racks with hot, soapy water.
  • Step Two: Otherwise, sprinkle the oven racks with baking soda and then spray it with white vinegar. When the baking soda stops foaming, place the racks in hot water overnight. Afterward, remove the racks and scrub them down with a damp rag or a sponge. Rinse the racks thoroughly.

Cleaning the Exterior

  • Step One: Spray the vinegar-water mixture or a store-bought cleaner on the exterior of the oven door.

  • Spraying a Oven's Door with Vinegar
  • Step Two: Wipe the oven door down with a damp cloth before going back at it again with a dry cloth.

  • Cleaning an Oven's Door by Wiping it Down

You did it!

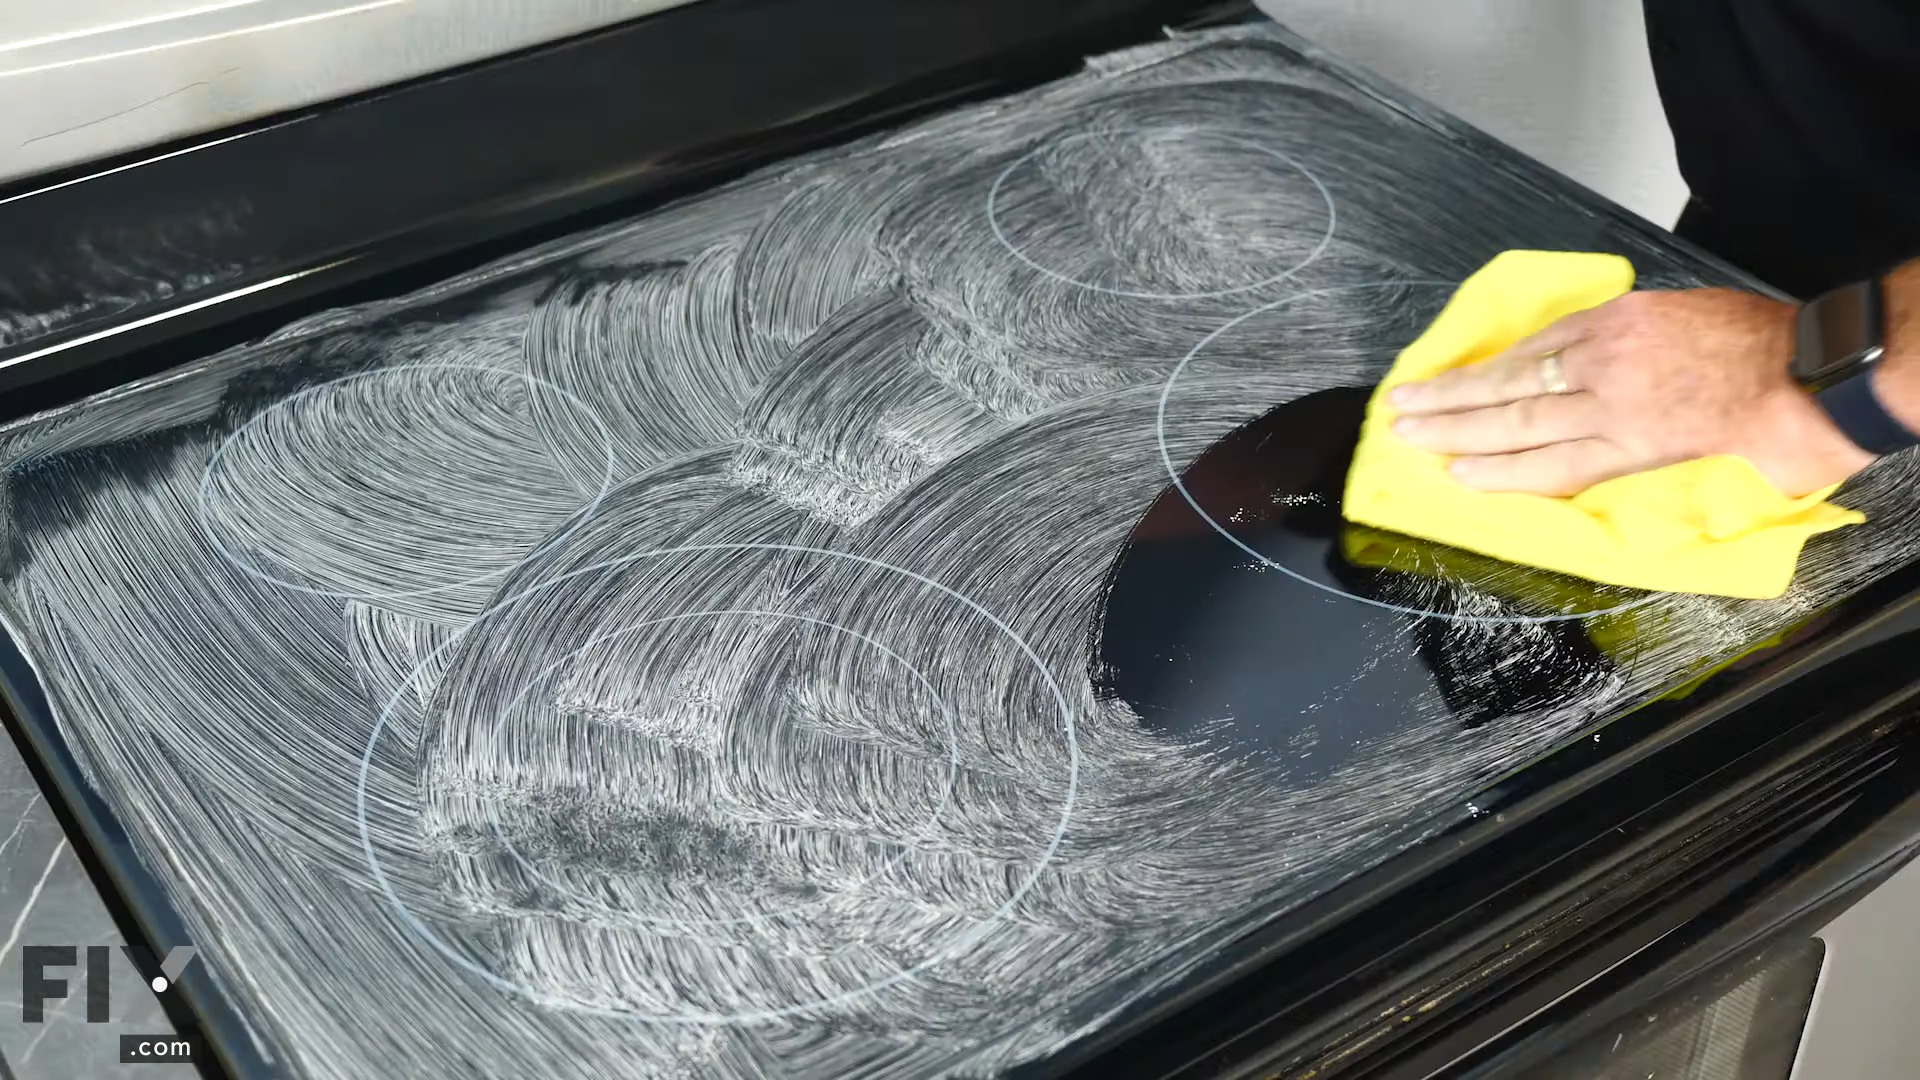
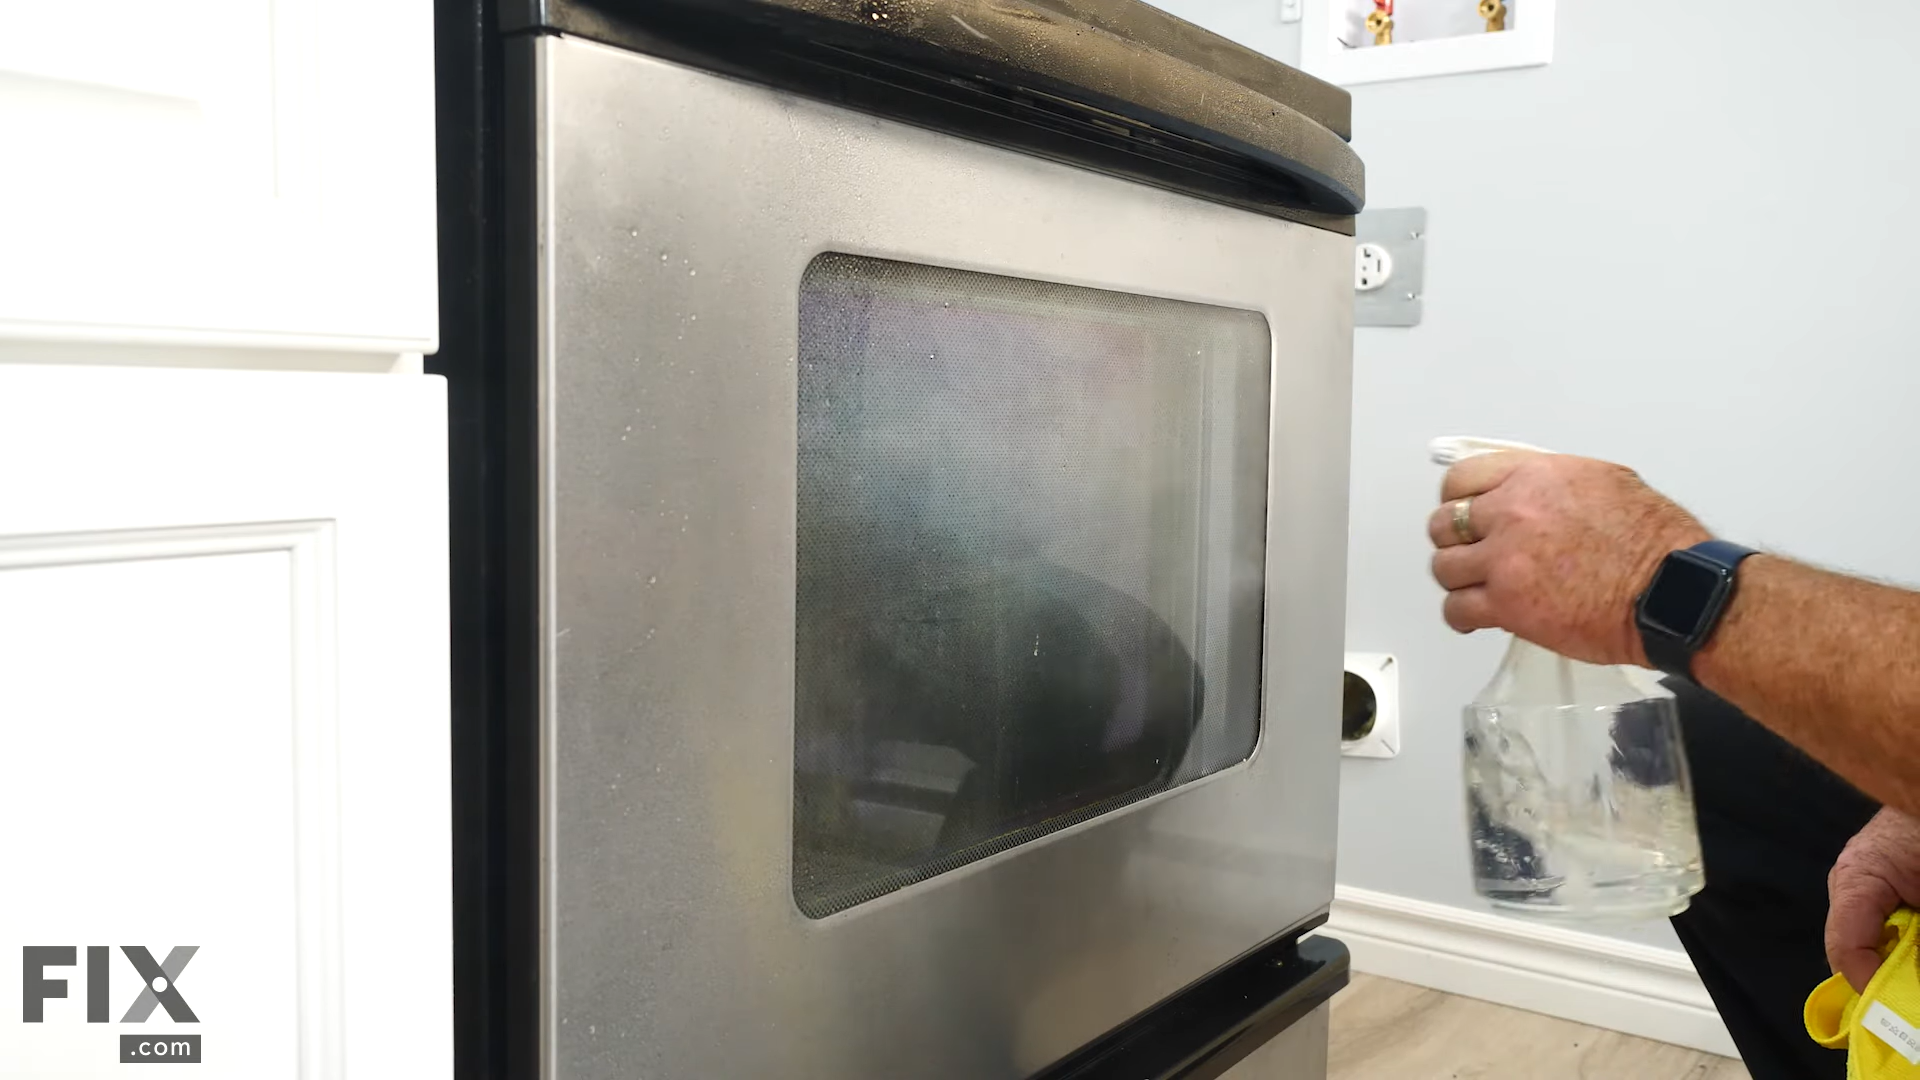
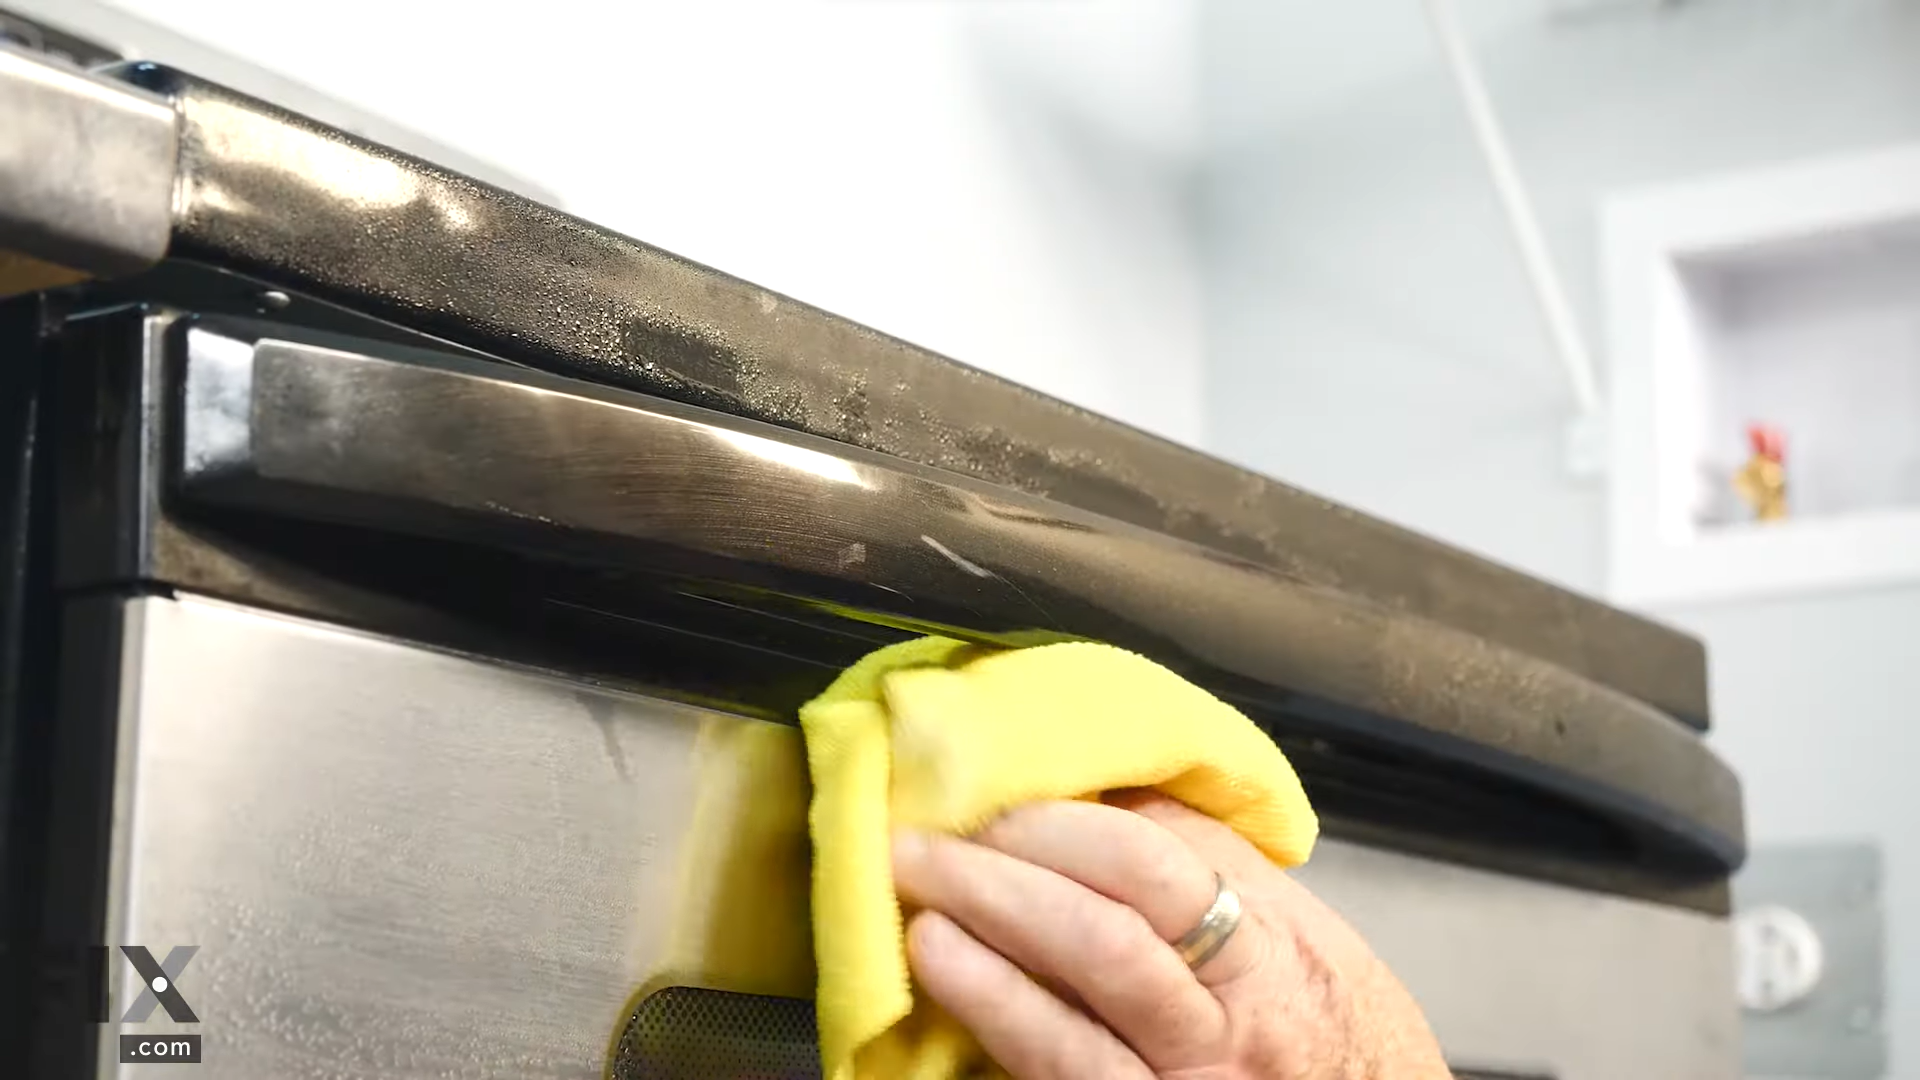
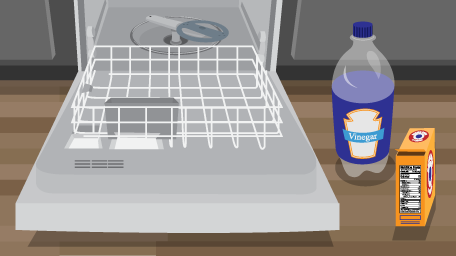
Give yourself a pat on the back while you admire your squeaky-clean oven. If you’re on a roll and are thinking about cleaning other appliances in your kitchen, check out our handy dandy guides on cleaning your dishwasher and your countertop appliances! If ever you run into other issues with your oven, you’re more than welcome to check out our diverse library of range parts.