

Like what you're reading?
Get your fix of expert articles delivered straight to your inbox!
Oops! Please double check your email address.
No Thanks - I don't like cool stuff


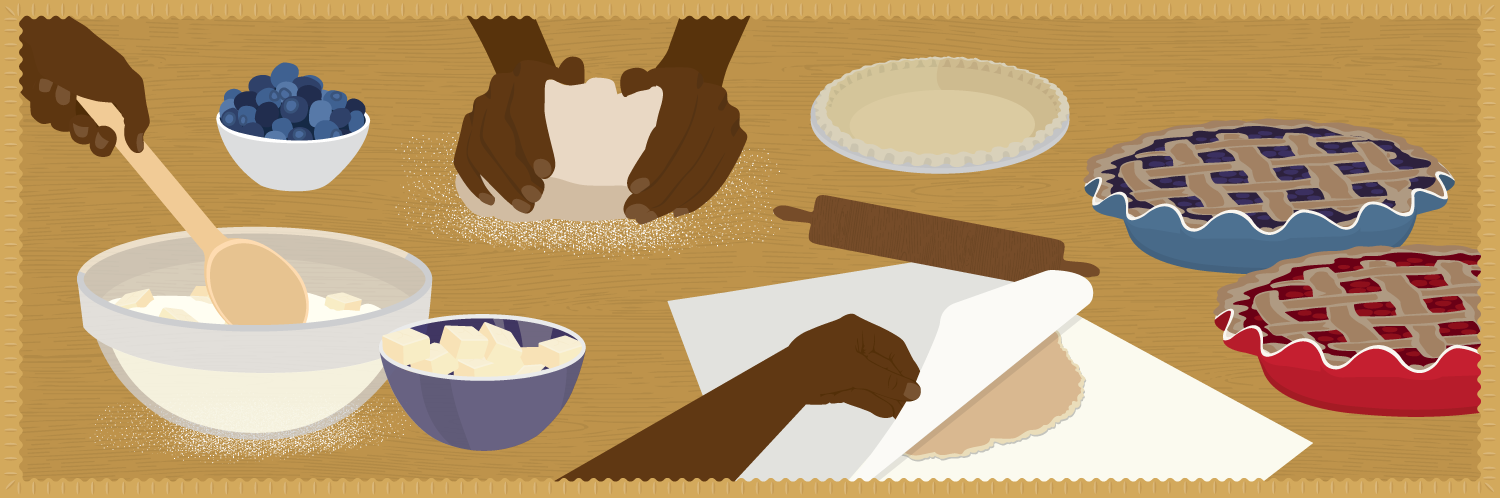
There is something so comforting about homemade pie during the holidays – and the rest of the year, too. This traditional treat can be made with seasonal ingredients such as pumpkin, butternut squash, or apples. Multiple fillings can even be used to create flavorful combinations. It all begins with the perfect crust. This year, ditch the store-bought dough and master a homemade version. It’s an awesome way to prep yourself for potlucks, dinner parties, and gift giving.
Like many classic recipes, the perfect piecrust doesn’t need fancy ingredients. It consists of three basics: fat, liquid, and flour. There’s more to it than simply mixing everything together, though. Specific preparation techniques are crucial for making the best crust possible.
Fat is responsible for the distinctive flakiness of piecrust. For optimal richness, butter is the best choice.http://www.finecooking.com/articles/how-to-make-perfect-pie-crust-dough.aspx Lard or shortening can be used as replacements. Skip the margarine, which is extremely chemically processed. It also has high water content, posing the risk of a soggy crust with undesirable flavor.http://www.designmom.com/2012/09/6-secrets-to-the-perfect-pie-crust/
Liquid helps the fat and flour stick together. It is also necessary for maintaining the tenderness of the crust.http://food-hacks.wonderhowto.com/how-to/food-hacks-explains-what-makes-breaks-perfect-pie-crust-why-0157359/ Traditionally, water is used. Alternatives include milk, buttermilk, vinegar, and vodka. For best results, the liquid must be ice-cold and added slowly.
Flour provides structure in baked goods. In piecrust, low-protein flour promotes sufficient tenderness. Options include cake, pastry, or unbleached all-purpose flour.https://whatscookingamerica.net/piecrsthint.htm If you can, weigh the flour instead of measuring it. Factors such as humidity and sea level can impact how much flour you are actually measuring. Weighing is more accurate and precise.
Salt and sugar can be added for extra flavor. Salt is thought to counteract bitterness, creating the illusion of a sweeter crust. Sugar is used for flavor enhancement and browning. While these ingredients are not necessary, feel free to use them according to your taste and preference. To incorporate them into the flour, use a sifter. This ensures a uniform distribution of ingredients and proper aeration of the flour. If you are not using salt and sugar, simply whisk the flour a few times. Whisking aerates the flour just as well as sifting.http://joythebaker.com/2013/09/baking-101-must-we-sift-this-flour/

As with most baked goods, the temperature of your ingredients can make or break your finished product. Keep them as cold as possible. Cool down the liquid and flour by storing them in the refrigerator or freezer. Watch the liquid closely to make sure it does not freeze. As for the fat? Try this clever hack: cut the butter into small pieces and freeze. Cold fat is much easier to handle and won’t be absorbed too quickly by the flour. Cooling is still important after the dough is made. Keep it on the pie plate and place in the refrigerator for 15 minutes. This will prevent the piecrust from becoming too soggy.
When it comes to making piecrust, patience is key. The liquid should be added gradually until a clay-like consistency is achieved. This will let you monitor the dough and lessen the chances of a soggy crust. Your best bet is to slowly add the liquid, mix, and add more if necessary. Remember, humidity varies each day and can impact your crust. The exact amount of water needed will be different each time, emphasizing just how crucial it is to take it easy. Ultimately, you want to use as little liquid as possible.

While electric mixers are useful and convenient, nothing is better than mixing dough with your own two hands. This classic technique enables you to keep a close eye on the dough’s consistency. It also lets you monitor the size of the butter pieces; aim for ¼-inch butter flakes instead of chunky lumps. In flake form, the butter is exposed to as much flour as possible. The flakes then create steam pockets that result in a delightfully flaky texture. Do not mix the dough vigorously, however. This promotes excessive gluten development, which will yield a tougher crust.
Interestingly enough, fat inhibits gluten development. This is exactly why exposing enough butter to the flour makes a difference. If using your hands is out of the question, use two butter knives instead. Once the ingredients are combined, perform a “pinch test” to check the dough’s status. You can do this by squeezing a small clump of dough in between your fingers. If it sticks together with tiny cracks, it is ready to go. The butter should be marbled throughout the dough and clearly visible.
Letting your dough (literally) chill out is a crucial step. By placing it in the fridge, you will limit the edges from cracking as you roll it. Start by wrapping the dough in plastic wrap to retain moisture. Chill in the refrigerator for at least 45 minutes; do not leave for more than two days. During this time, the ingredients will fully combine as the butter re-chills and redistributes throughout the dough.http://joythebaker.com/2014/11/five-tips-best-butter-pie-crust-scratch/ The gluten will also relax, preventing shrinkage when baked.http://www.gimmesomeoven.com/how-to-keep-pie-crust-from-shrinking/ The temperature of the dough should be lower than 60 degrees F. Once removed from the refrigerator, let the dough sit for another 20-30 minutes. Let it rest for a few minutes after rolling it out, too.

Being mindful of the way you roll out the dough will determine the evenness of your crust. For ease and efficiency, place the dough in between two sheets of parchment paper.http://www.foodnetwork.com/recipes/photos/6-tips-for-perfect-pies-and-tarts.html Bring in some flour to avoid stickiness. If you don’t have parchment paper, add flour to a flat surface and your wooden rolling pin . Start from the center and rotate the crust a quarter turn after each roll, trying your best to use as few passes as possible.
With so many pie plate options out there, it is easy to get overwhelmed. The ideal plate for your pie depends on your level of experience and what factors are most important to you. Ovenproof glass and ceramic pie plates are helpful for making your first few pies, as you can easily slip them out and check the bottom for browning. They also heat at a slower rate, promoting even browning and bakinghttp://www.marthastewart.com/1074953/decisions-decisions-choosing-right-pie-plate. Metal aluminum pans, however, heat and cool quickly. This is useful when you need to bake the crust prior to filling, a technique known as blind-baking. Older and duller metal pans work best for a smoother crust. Avoid shiny new pans, as they are not recommended for proper browning.http://www.pillsburybaking.com/bakers-corner/baking-tips/all-about-pie-crusts/step-by-step-pastry-instructions When possible, double up on metal pants to promote more uniform baking.
Embed the article on your site

Written by:

Whether you eat cheese curds alone or with fries and gravy in a poutine, th...
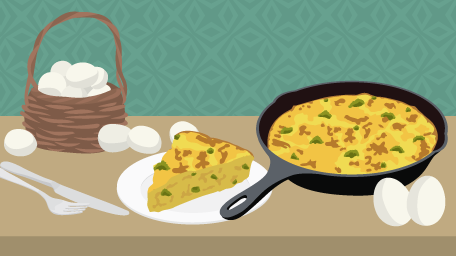
Quiche isn't the only egg pie on the menu! Read our recipes for breakfast s...
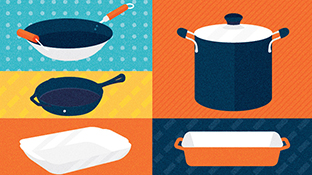
Be a better cook by learning about the small differences in modern cookware...
Get your fix of expert articles delivered straight to your inbox!
No Thanks - I don't like cool stuff