

Like what you're reading?
Get your fix of expert articles delivered straight to your inbox!
Oops! Please double check your email address.
No Thanks - I don't like cool stuff


Cheese curds, for anyone who hasn’t heard of them, are deliciously tangy, salty chunks of fresh cheese. Popular in the Midwest, where large cheese factories are plentiful, these addictive snacks can be eaten plain, dusted with herbs and spices, sprinkled over French fries and gravy (the popular Canadian dish poutine), or even breaded and deep-fried. What many people don’t know is that they are a byproduct of the cheddar-making process, and are best eaten super-fresh. Genuine, fresh curds will “squeak” as you chew them!
To get to the history of cheese curds, we have to get into the history of where they originated: Wisconsin, America’s Dairyland. Cheese-making in Wisconsin began around 1840, when settlers from the Eastern United States and other countries (including Switzerland, Germany, and the Netherlands) heard about the rich and bountiful farmland and made the trek West. Many of these farmers began raising dairy cows, and because of the intensely rich nature of the farmland, the area was soon awash in milk. Drawing from the rich cheese-making traditions in Europe, some of these dairy farmers began making cheese with their milk.
However, both raising cows and making cheese on the same farm is quite a tall order for one family. Before long, a distinctly American practice began to take shape: full-time dairy farmers formed co-ops where they worked together to provide large amounts of milk for local cheesemakers, who could devote 100 percent of their time to making cheese. Dairy farmers had a steady income stream, and cheesemakers had a steady supply of milk. By 1899, Wisconsin alone had 1,500 cheese factories being supplied by hundreds of small dairy farms, and thousands of cows. By 1910, Wisconsin surpassed the previous “big cheese” of the United States, New York, to become number one, and has been ever since.
By the early 20th century, it was common practice in Midwestern states for dairy farmers to sell most or all of their bountiful milk supply to their local cheese factory, where cheeses of all kinds were made in huge quantities and shipped nationally. One of the best cheeses to make in such large volumes? Cheddar. At some point, cheesemakers realized that the salted curds that were cheddar’s trademark, before being pressed into large wheels that would be aged for months or years, were also delicious eaten fresh. Nowadays, most cheddar factories also sell fresh curds, which are simply taken off the cheddar assembly line and packed into bags for immediate consumption.
Cheddar-making is unique from other cheese-making processes because it involves an extra step in the process called – you guessed it! – “cheddaring.” This step, unique to cheddar and some other British-style cheeses, involves pressing cooked curd into blocks, and continuing to press and flip those blocks until most of the moisture is squeezed out. This process takes some time, and when they reach the right acidity and texture, those slabs are then recut and salted: now they are what we know as edible cheddar curds.
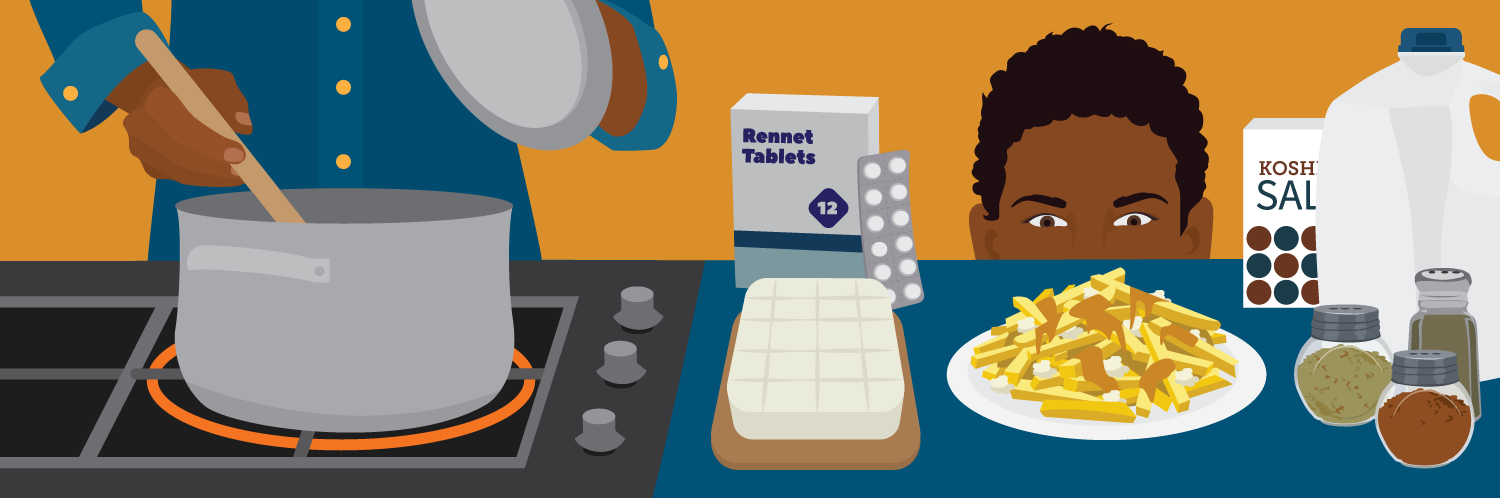
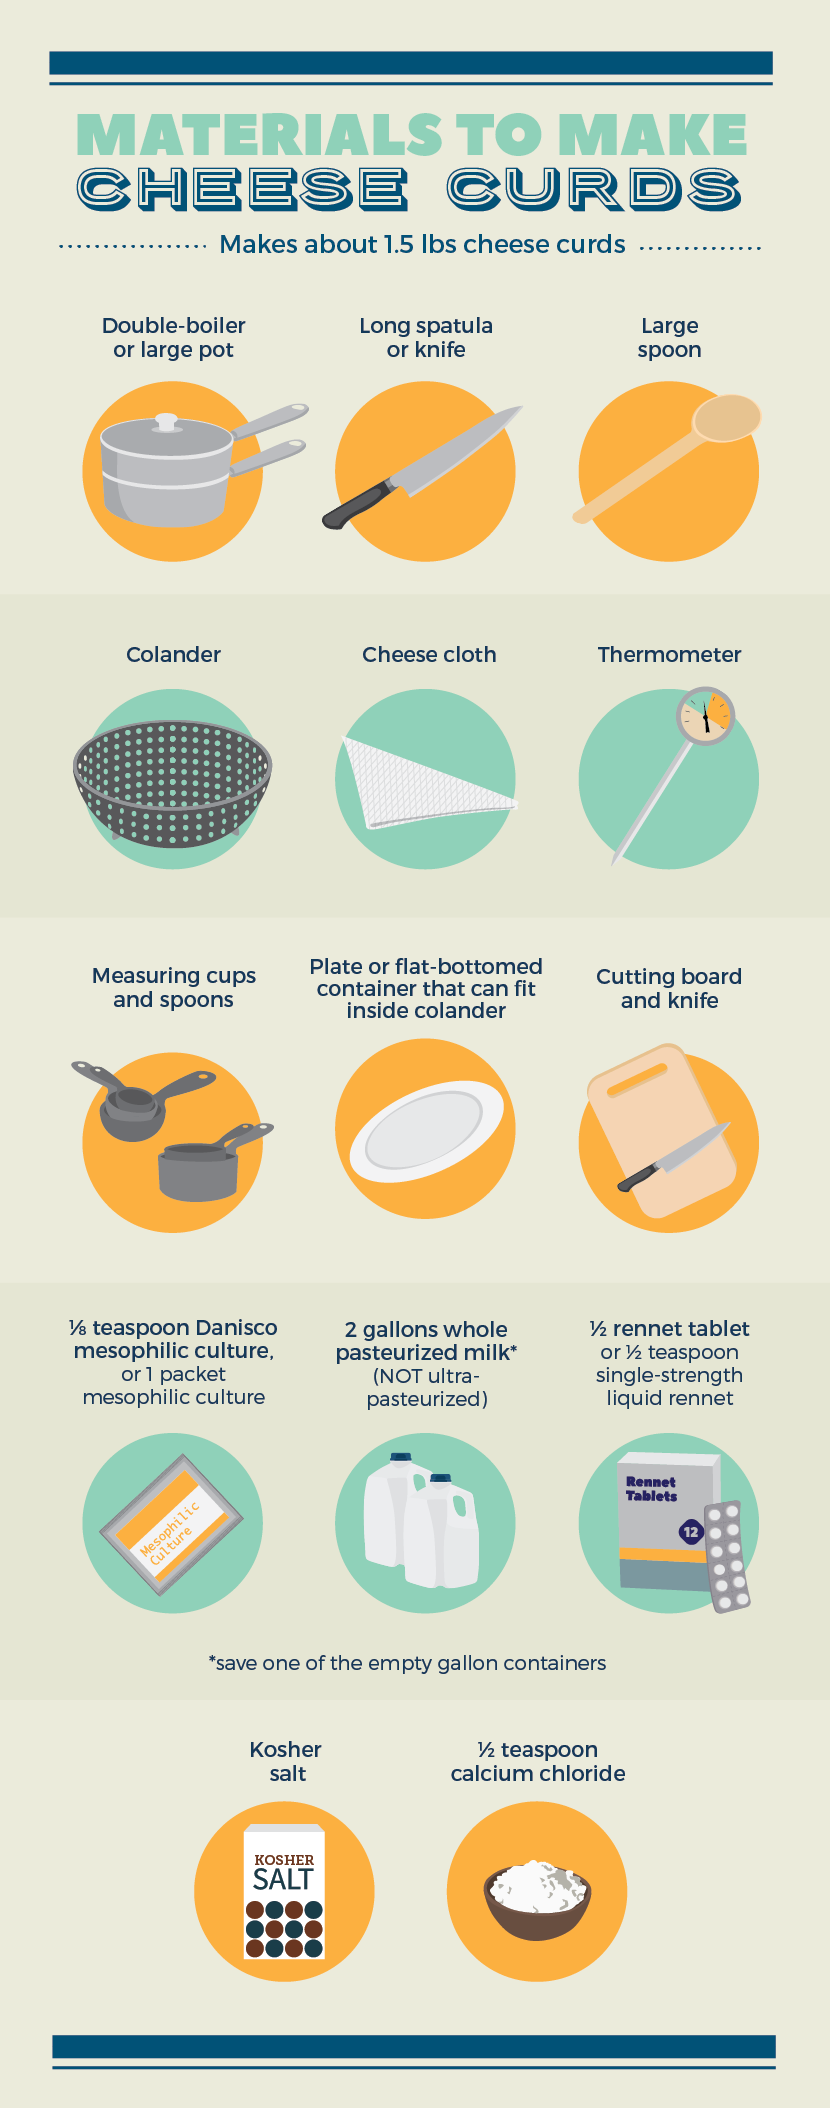
Cheese curds are fun to make at home; only a few extra supplies are needed and these curds will taste extra delicious because YOU made them yourself! Cheese-making supplies can be easily ordered online through a big retailer such as Amazon or smaller shops such as New England Cheesemaking Supply. Once you have all the equipment you need, you can make cheese curds anytime you like!
Time needed: 6 hours from milk to finished curd. Make it a day project!
Make sure your work area is clean and sanitized; the easiest way to sanitize at home is to pour boiling water into the pot and on all equipment before starting. Chlorinated water also works, though both calcium chloride and rennet are sensitive to bleach, so keep them away from each other.
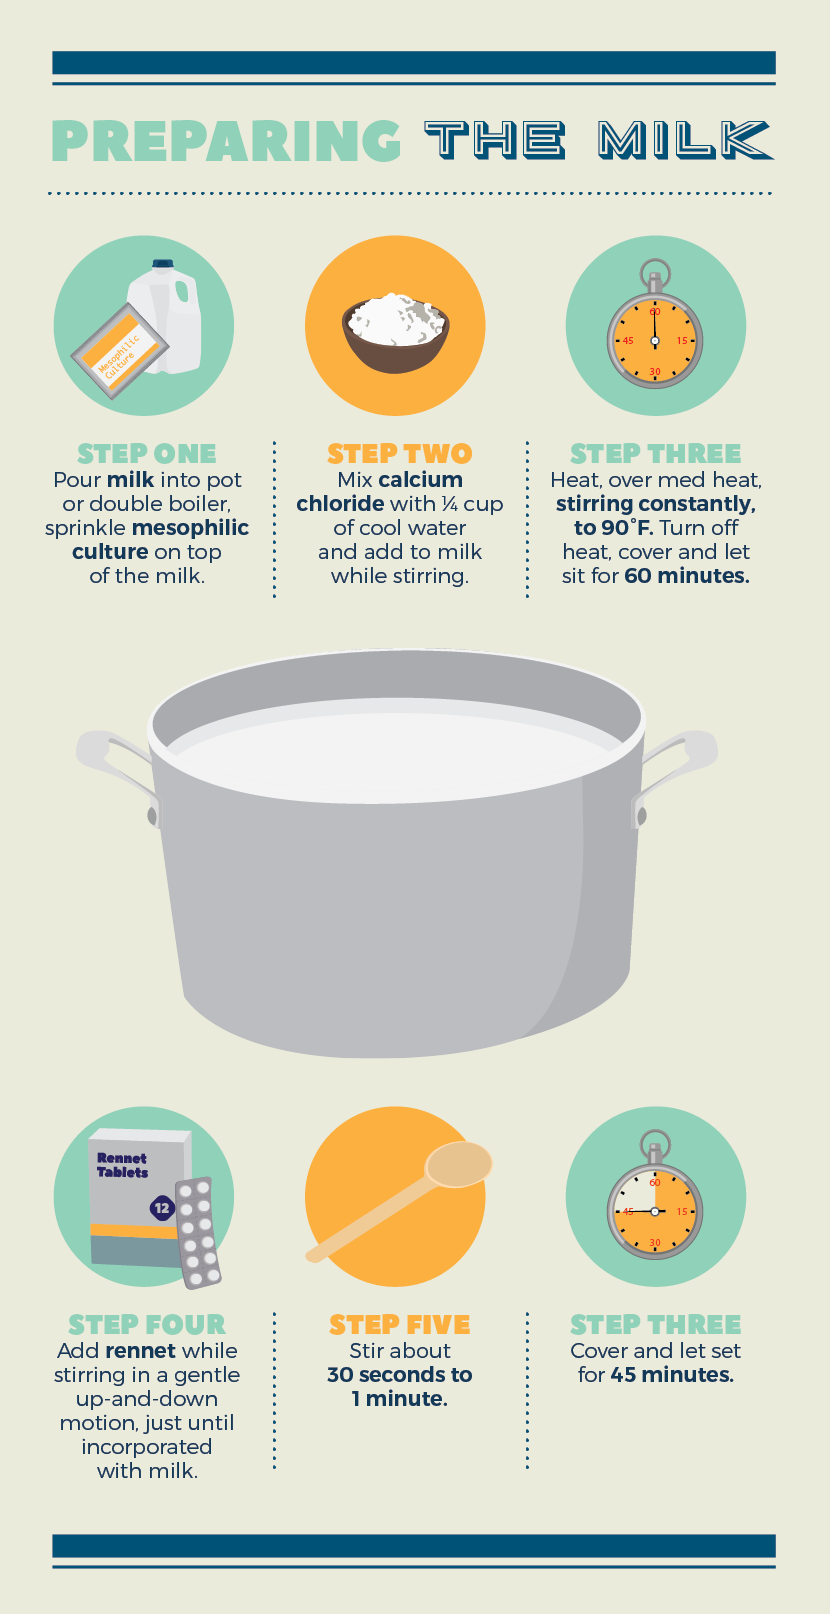
Pour milk into pot or double boiler; sprinkle mesophilic culture on top of the milk. Mix calcium chloride with ¼ cup of cool water and add to milk while stirring. Heat over medium heat, stirring constantly, to 90°F. Turn off heat, cover, and let sit for 60 minutes.
Mix rennet with ¼ cup cool water. Add rennet while stirring in a gentle up-and-down motion, only to incorporate rennet into milk; stir about 30 seconds to 1 minute. Cover and let set for 45 minutes. It is important that the milk not be disturbed during this time! Once set, the milk (now curd!) will be solid and have the consistency of Jell-O.

Check for a “clean break” – i.e., insert your knife or spatula at a 45-degree angle and gently lift the curd. If the the semisolid curd “breaks” into a clean line, then it is ready to cut. Cut curd horizontally into sheets ½ inch wide. Cut vertically to make ½-inch squares, then tilt your curd knife 45 degrees to approximate a cubed cut. Curds should be about ½ inch square, but they will be different sizes. Let the curds sit for 5 minutes, then stir very gently for 5 minutes, breaking up larger curds as you stir.
After 5 minutes, curds should be mostly settled at the bottom of the pot. Begin taking the whey off the top with a cup or ladle and pouring it through the cheesecloth to catch any extra curds. Continue ladling curds and whey until all the curd is in the cheesecloth. You may pour the curds sitting at the bottom of the pot directly into the cheesecloth at the end.

Fill half of one of your empty milk containers with hot water, and place it on top of the folded cheesecloth. This will act as a weight to press more moisture out of the curds. If the container doesn’t cover the entire curd, place a plate or flat-bottomed container in between the curds and weight to evenly distribute it. Press for 20-30 minutes, unwrapping, flipping, and rewrapping the curd once or twice. During this time, clean the original pot; you will need it again!
Remove curd from weight and cheesecloth, and place on a cutting board. Plug sink and fill ¼ full with hot water. Place original pot (now empty) into the sink.
Cut curd into two pieces and layer both into the pot, one on top of the other. Drain some of the water from the gallon jug, place on top of both curds, and let sit for 15 minutes. Once again, a small plate or container may help balance the weight on top of the curds. After 15 minutes, remove weight, switch the positions of the curd pieces, and place weight back on top. If curds are pressing unevenly, feel free to cut the curd into the shape of the weight and put the extra pieces at the bottom of the curd pile. If pieces are sticking together, you can use a knife to separate the curds for flipping and then use less weight when pressing. As the curd acidifies they will hold together better. You may increase the weight after about an hour.
Continue the cheddaring process, rotating the position of curd pieces every 15 minutes for about 2 hours or until curd pieces are shiny and smooth, resemble the texture of raw chicken breast when torn, and are about one inch thick. Refill hot water as needed; curds should be kept warm during this time to encourage acid development.

Once the curd has been “cheddared” and is ready, cut the pieces into bite-size cubes about ½ inch wide and 1 inch long. Put curds into the colander in the sink and toss with 1-2 tablespoons of salt. Let sit until curds absorb salt, 5-10 minutes. Then add 1 more tablespoon of salt, or to taste. Let sit another 5 minutes to absorb the rest of the salt, and enjoy! Now is the time to add any flavorings: garlic powder, herbs, seasonings, the list is endless. You can flavor curds or incorporate them into a dish, but they are also delicious plain! Curds will be “squeaky” for about 24 hours after they are made.
Embed the article on your site

Written by:
Get your fix of expert articles delivered straight to your inbox!
No Thanks - I don't like cool stuff