Homemade Ice Cream
Delicious, Easy, and Fun!
Who doesn’t love ice cream? There is nothing like a delicious scoop of ice cream to
treat yourself. It is my personal favorite dessert. These days, there are so many different
flavors and options to enjoy, and a new ice cream or frozen yogurt shop has probably popped
up near you, no matter where you live.
With so many mass-produced options in grocery stores and ice cream shops galore, why would you ever want to make your own ice cream?
Like so many other do-it-yourself projects, making homemade ice cream provides a sense of
pleasure beyond purchasing the item yourself, and you get to control
what goes into the end product.
In addition, you can experiment with really fun ingredients and flavor combinations that may not be
available in the grocery store. And let’s not forget the joy in serving your loved ones a bowl of ice cream made with love!
Getting Started: Buy an Ice Cream Maker
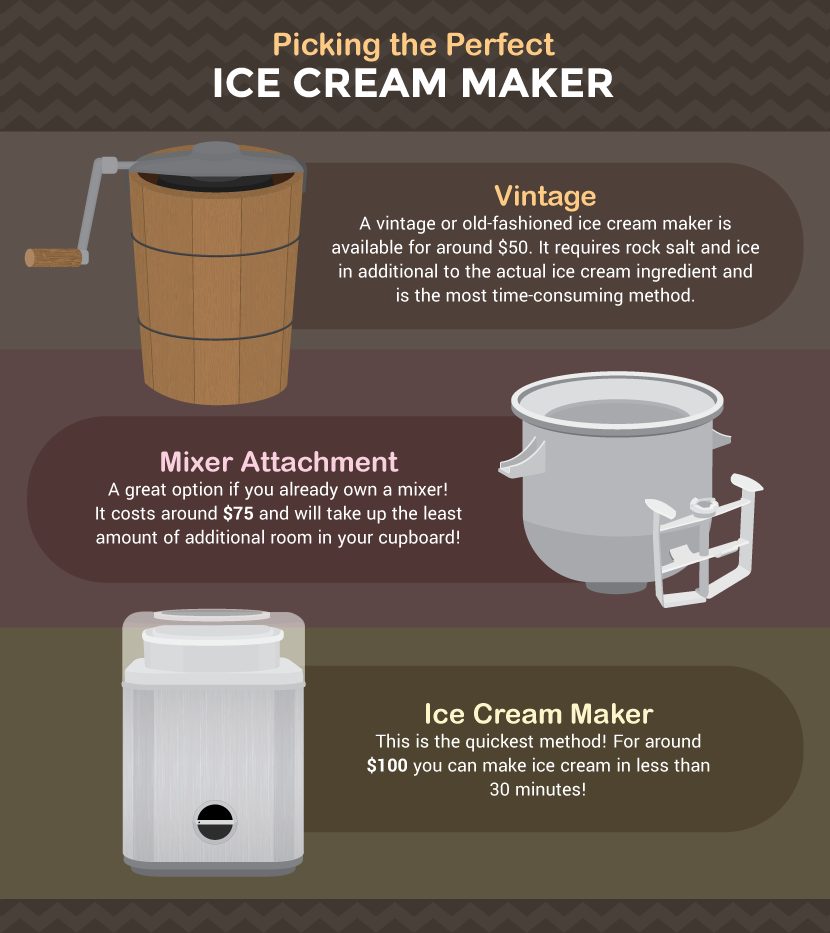
First and foremost, you need to buy an ice cream maker. There are several options available so you will need to decide which one is best for you and your needs.
If you are looking for the traditional/vintage approach, there are “old-fashioned” models available for around $50. Keep in mind that
old-fashioned ice cream makers require rock salt and ice in addition to the actual ice cream ingredients, so you will need to buy extra
supplies. This is also the most time-consuming method (but it’s oh so worth it). If you already have a Kitchen Aid mixer, you can purchase the ice cream attachment. It will cost around $75, but you
won’t have to buy another machine and figure out where to store it.
If you want to whip up some ice cream in less than 30 minutes, you can purchase a Cuisinart Electronic Ice
Cream Maker. These can be a bit pricey, but you can find one for under $100 if you do your research. Other
brands are also available that make ice cream quickly. You can also make frozen yogurt or sorbet if you wish!

Recipes
Once you purchase your ice cream maker, it’s time to experiment! For ice cream, you will need heavy cream, sugar,
spices (depending on the recipe), vanilla extract or almond extract, rock salt (if you choose an old-fashioned ice cream maker),
and your imagination! I find that adding spices such as nutmeg and cayenne pepper really gives the ice cream a delicious kick!
Here are a few recipes to get you started on your homemade ice cream journey. Most manufacturers provide an instruction manual
with recipes, so please read all the manufacturer’s instructions to make sure you use the proper churn and chill time.
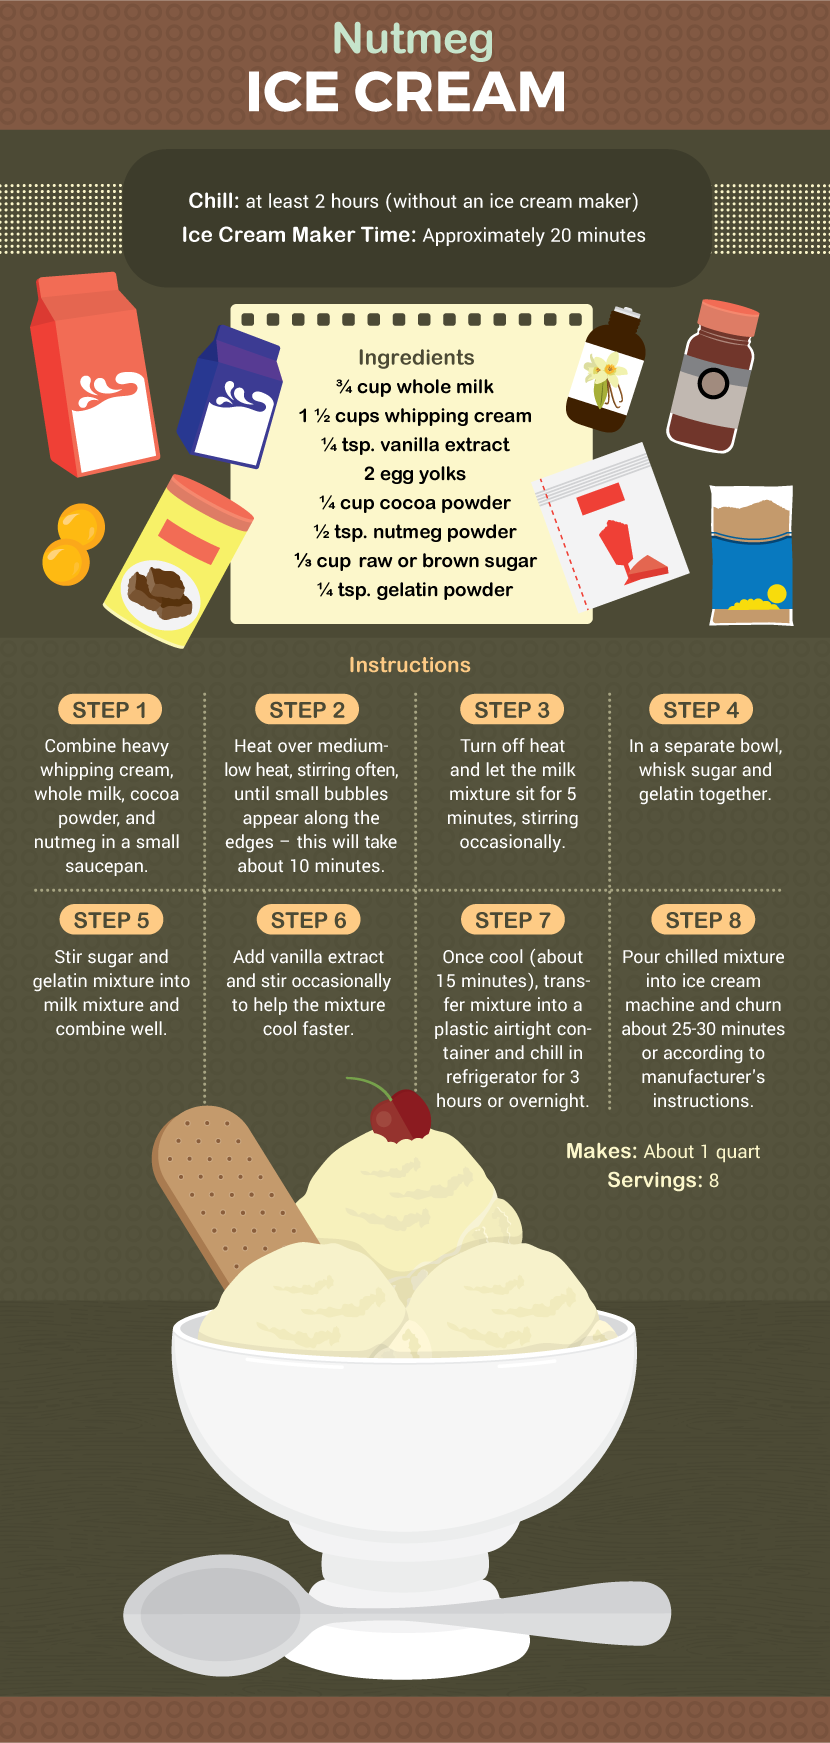
Nutmeg Ice Cream
Chill Time: at least 2 hours without an ice cream maker
Ice Cream Maker Time: Approximately 20 minutes
Makes: about 1 quart
Servings (1/2 cup): 8
Ingredients
- 1 1/2 cups whipping cream
- 3/4 cup whole milk
- 1/4 cup cocoa powder
- 1/2 teaspoon nutmeg powder
- 1/3 cup raw or brown sugar
- 2 egg yolks
- 1/4 teaspoon vanilla extract
- 1/4 teaspoon gelatin powder or something similar for thickening
Instructions
1. Combine the heavy whipping cream, whole milk, cocoa powder, and nutmeg in a small saucepan.
2. Heat over medium-low heat, stirring often, until small bubbles appear along the edges. This will take about 10 min. Be careful not to let it boil.
3. Turn off the heat and let it sit for 5 minutes, stirring occasionally.
4. In a separate bowl, whisk the sugar and gelatin together.
5. Stir the sugar and gelatin mixture into the milk mixture and combine well.
6. Add the vanilla extract and stir occasionally to help the mixture cool faster.
7. Once cool (about 15 minutes), transfer the mixture into a plastic airtight container and chill it in the refrigerator for 3 hours or overnight.
8. Pour the chilled mixture into the ice cream machine and churn it for about 25–30 minutes or according to the manufacturer's instructions.
Not a dairy person? Not a problem! You can also enjoy delicious homemade ice cream using a variety of different cow milk alternatives!

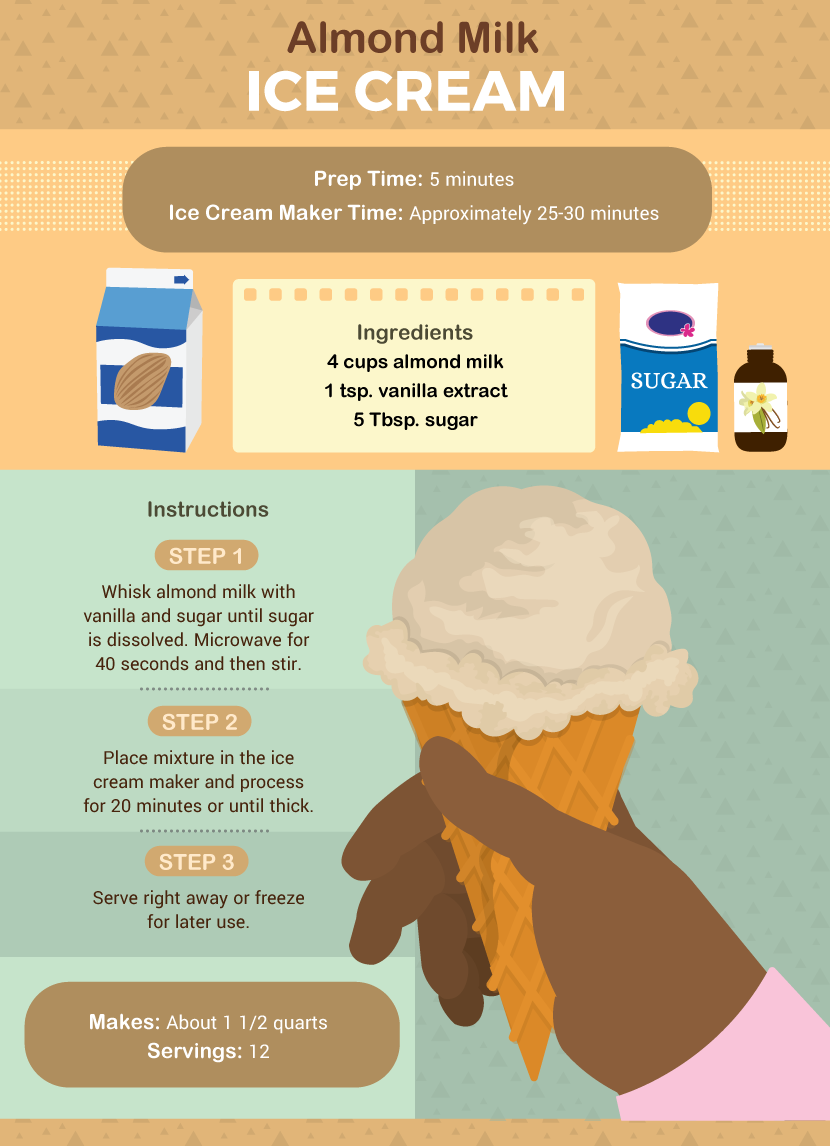
Almond Milk Ice Cream
Prep Time: 5 minutes
Ice Cream Maker Time: Approximately 25–30 minutes
Makes: 1 1/2 quarts
Servings (1/2 cup): 12
Ingredients
- 4 cups almond milk
- 1 teaspoon vanilla extract
- 5 tablespoons sugar
Instructions
1. Whisk the almond milk with the vanilla and sugar until the sugar is dissolved. Microwave for 40 seconds and then stir.
2. Place the mixture in the ice cream maker and process it for 20 minutes or until thick.
3. Serve right away or freeze for later use.

Pistachio Ice Cream
Prep Time: 15 minutes
Chill Time: 2 hours
Ice Cream Maker Time: Approximately 20–25 minutes
Makes: 1 1/2 quarts
Servings (1/2 cup):12
Ingredients
- 1 cup shelled pistachios (salted or unsalted)
- 3/4 cup sugar
- 1 cup milk
- 2 cups heavy whipping cream
- 1 teaspoon vanilla
- 3/4 cup chopped pistachios (toasted, if desired)
Instructions
1. Place 1 cup of pistachios and the sugar in your food processor. Process until finely ground.
You may have to stir the mixture to make sure that all the nuts have been ground.
2. In a medium saucepan over medium heat, heat the ground pistachios and milk, stirring often, until the mixture begins to boil.
3. Remove the mixture from heat and cool.
4. Place the mixture in the refrigerator and chill it for about 2 hours until it is completely cool.
5. Stir in the whipping cream and vanilla.
6. Pour the mixture into the ice cream maker.
7. Mix for about 20–25 minutes or according to the manufacturer's instructions.
8. Add the chopped pistachios to the churning ice cream.
9. Churn for 5 more minutes, and enjoy!
There are also many recipes online, and as long as you follow the instructions for your ice cream maker, any recipe should work!
Note that if your churned ice cream does not “look” like ice cream (sometimes it can appear very creamy), you can place the container
in the freezer for an hour and then check on it to make sure it looks the way you want!
Why not try making your own ice cream at your next gathering and wow all your friends? They will be impressed as they enjoy your delicious homemade treat!
Embed the article on your site

