


Like what you're reading?
Get your fix of expert articles delivered straight to your inbox!
Oops! Please double check your email address.
No Thanks - I don't like cool stuff


Just because it’s getting a little colder doesn’t mean you have to say goodbye to your beautiful garden. In a few easy steps, we can show you how to build your own hoop house right in your backyard and keep the growing season going. And if you're in need of some replacement parts for your garden equipment before you get started, we've got you covered with that as well!
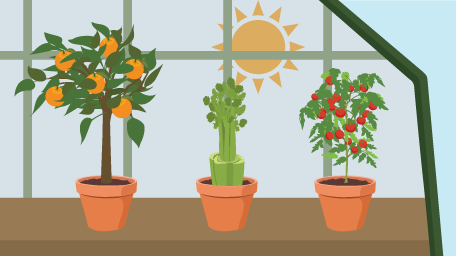
If you’re new to gardening, a hoop house is simply a greenhouse-like structure built out of a series of plastic hoops covered in UV light-resistant plastic. You can open it during the day, let your plants enjoy some fun in the sun, and then close it at night to keep them warm. It’s handy for extending the growing season of certain crops, such as spinach, kale, bok choy, tulips, squash, and melon. The hoop house will protect them from frost, and depending on the size of your hoop house, you can even install a small heater to keep them warm.
You can build your own hoop house on an existing raised garden bed before you need it so that it is ready to protect your plants when necessary. If you need some assistance with preparing your raised garden bed, we've got all the resources you need! Hoop houses come in many different sizes. Some hoop houses are large enough to stand inside and work with the plants. While most are built on an existing garden bed, which you can easily set up in one day with a small budget. It all depends on your tastes and needs.
You may wonder what the difference is between a greenhouse and a hoop house. While they both serve the purpose of protecting your plants, they are quite different in several respects. A hoop house tends to be a budget-friendly, temporary structure that can easily be disassembled and moved, while greenhouses are permanent structures that require a significant financial investment. Essentially, hoop houses are easy DIY projects for your backyard garden plants, while greenhouses are best suited for commercial purposes. They also require professional construction; we would not recommend trying to DIY a greenhouse.
Another difference is how they protect your plants. Hoop houses are generally built to grow plants at times that may be considered off-season. They do this by either extending the season or starting the season early by keeping your plants warm and frost-free. On the other hand, greenhouses are built for climate control throughout the year and feature much more advanced equipment and technology. So ultimately, unless you are looking to become a commercial farmer, supplying your local town with vegetables, you’ll be looking to build a hoop house if you want to protect your plants.
In this article, we’ll take you through the process of building your own hoop house without breaking a sweat or breaking the bank.
You will need:
Firstly, you’ll begin by laying the base frame around the garden box using the wolmanized wood. This is wood that has been treated to protect it against termites and decay. Cut it to the size you want and lay it around the perimeter of the bed corner to corner. You’ll want to screw these corners together to prevent the wood from splitting.
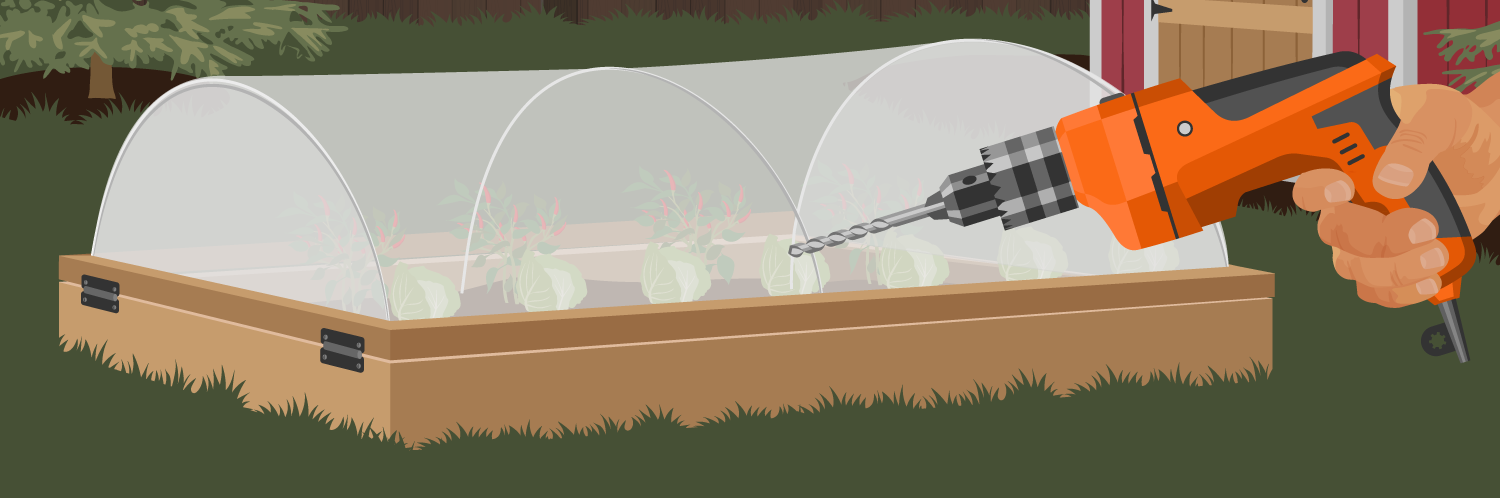
You can start by pre-drilling the holes in the corners where the screws will fit to hold the base together. Drill at an angle to connect the corners together. You will also need some long screws to ensure they fit securely. We’ve used a 3-1/2” screw here. Repeat this process at each corner of the frame. Once you are done, you can fit the screws in, and your base frame is complete!

Now that you have built a solid foundation for your hoop house, you can move on to creating the main structure, which will hold the plastic and create the dome over the base frame.
Take your end caps and drill a hole where you will place the screw in each of them. Next, place your end caps in the corners of the base frame and screw them in. Once you have placed them in the corners, you can place the last two end caps in the middle of the base on either side of the structure where the middle hoop will attach.

Once the end caps are all securely attached, you can now make the hoops! First, take your pipe and cut it into three pieces of equal size. The length will depend on the size of your garden bed. Next, slide three fittings onto two of three pipes. These fittings will support the cross rails once your hoops are up.
 Take the first pipe with fittings on it and push it into one of the end caps on one end of the frame. Bend it towards the opposite side and place it into the end cap. Ensure that it is tightly fitted in. Next, take the second pipe without fittings and repeat this. Finally, take the third piece with fittings on and connect it as well.

Once the hoops are all in place, you can attach the cross rails. Take your pipe and cut three more pieces that will fit the length of the base. Take one piece and fit it into one of the pipe fittings on your hoop and take the other end and push it into one of the pipe fittings on the other end of the garden bed. Repeat with the two other fittings until you have three cross rails on the hoops, one on either side and one in the middle. Use some tie straps to secure the center members.

The most challenging part is now complete. Now all you need to do is place the UV light-resistant plastic over the structure and secure it with some wood strips. Measure the length of how much plastic you need and cut it to size. Drape the plastic over the frame and check to make sure that it completely covers the garden bed. Next, place your wooden strips over the plastic on either side of the base. Screw these in to hold the plastic in place and cut off any excess plastic hanging under the wood strip.

Now it’s time to attach the hinges that will make your hoop house a hinged hoop house! Take two hinges and place them on either end of one side of your base frame. Screw these in, and this should allow you to lift the opposite side of your hoop house for easy access to the garden bed. You can also choose to install a spring and chain on the inner portion of your hoop hose to stop the top of the house from swinging back too far each time you open it.

Your hinged hoop house is complete! You can now start planting your seedlings a little earlier and keep the growing season going a little longer. If you're feeling confident and ready to get started on your garden, be sure to check out our guide for all your gardening tools and essentials.

Embed the article on your site

Written by:
Written by:
Want to enjoy all of the benefits of gardening without having to sacrifice ...
As the shortest days of winter become a distant memory, green thumbs start ...
Clear plastic can have an astounding effect on your plants. By trapping the...
Get your fix of expert articles delivered straight to your inbox!
No Thanks - I don't like cool stuff