How to Repaint Your Vinyl Shutters
Repaint, Wash, and Revitalize!

It's easier than you think!

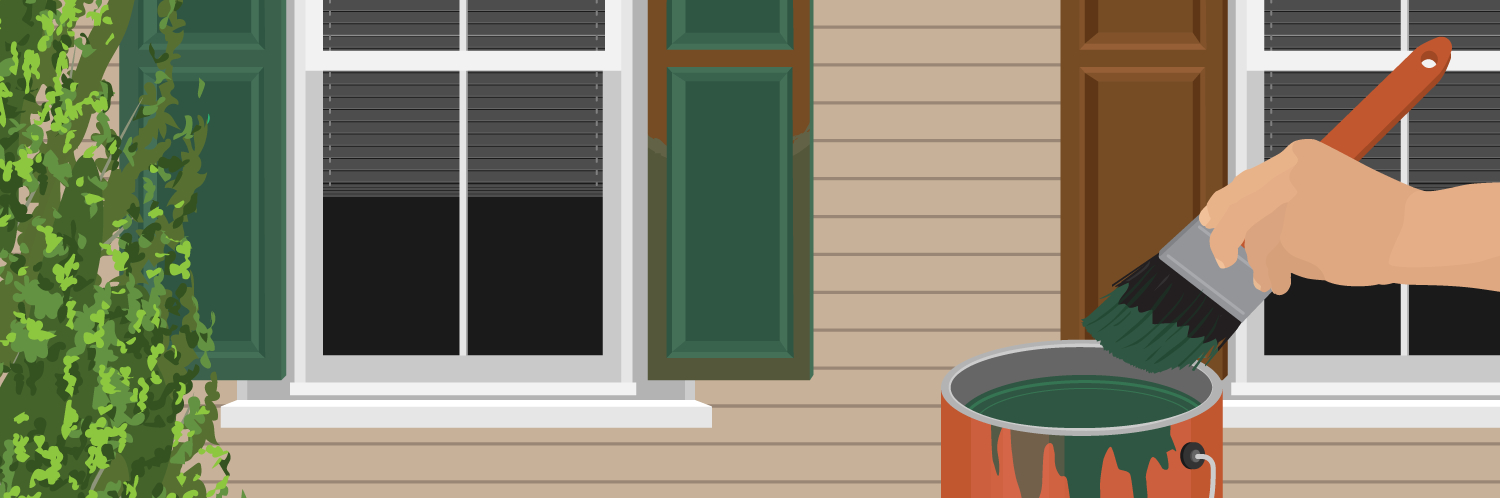
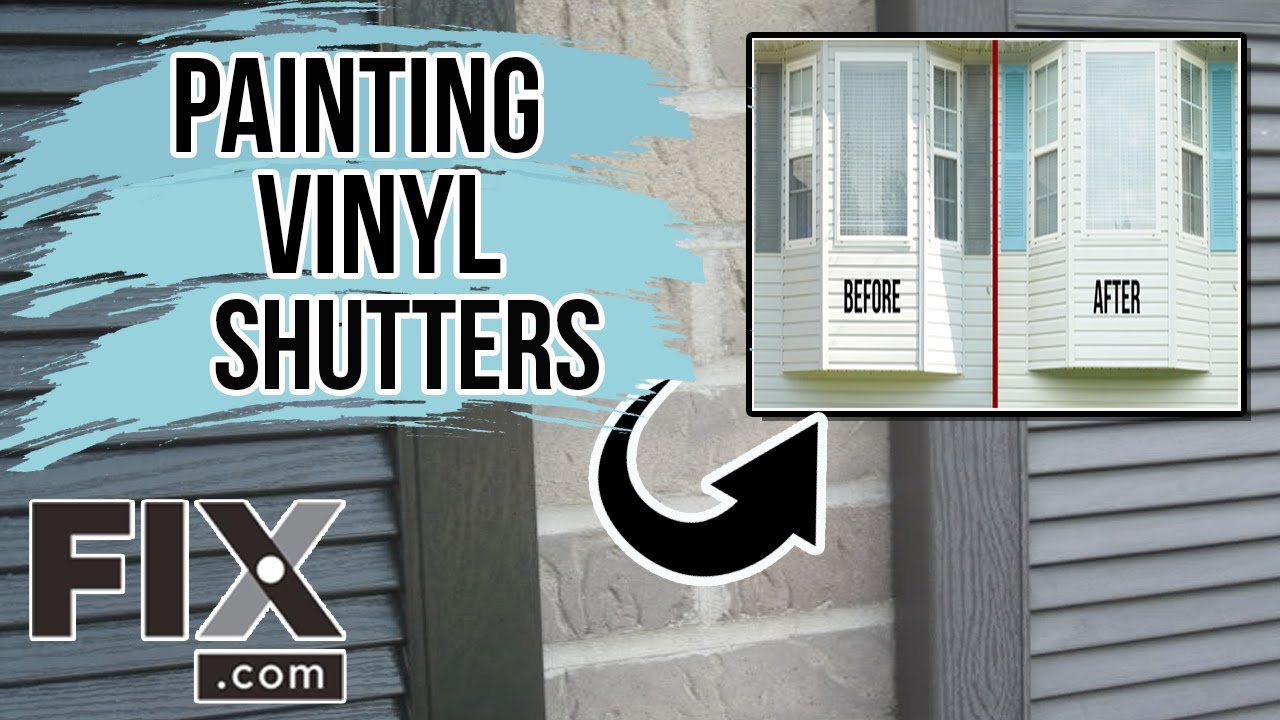
Getting that 'new paint look' for your vinyl shutters is actually much easier than you might think, and only requires a few basic tools that most people have around their house! Journey with us as we take you through a short guide on the the steps of repainting your vinyl shutters so you can get that beautiful, new-house look! For any sort of indication of the result you can hope to get, check out the image below!

Vinyl Shutters Before and After

What supplies do I need?

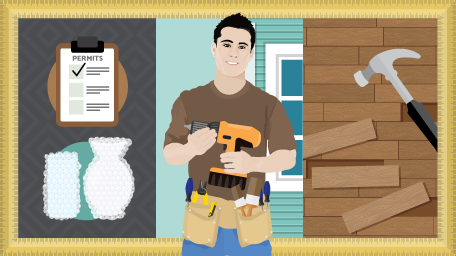
Great question! Detailed below are any and all tools you might need to repaint your vinyl shutters!

Tools

  • Screwdriver/Drill
  • Appropriate Drill Bit
  • Ladder

Cleaning

  • Soft bristle brush
  • Bucket
  • Soap
  • Microfiber cloth
  • Hose

Painting

  • Brush
  • Paint
  • Paint sprayer (optional)
  • Caulking

Important Tip: Make sure your paint is as close to exterior acrylic latex paint as possible - that paint type is the best for outdoor use, especially since it's not as affected by UV rays.

Paint Equipment used for Repainting Vinyl Shutters

Safety

  • Glasses
  • Hand protection (i.e. gloves)
  • Mask (for paint)

Safety Equipment for Repainting Vinyl Shutters

Step #1: Remove Vinyl Shutters

  1. First you will want to use your ladder to access the shutters. This may be different for your situation if you're only replacing shutters on lower floors.
  2. Using your screwdriver/drill, unfasten the corresponding fastener your shutters have keeping them up, and repeat this for each shutter.
  3. Once your shutters are removed, you can begin the cleaning process!

Step #2: Clean Your Vinyl Shutters

  1. With your soap and bucket in-hand, it's time to start a nice ol' bucket of soapy water! You can use any type of soap, but typically it's recommended that you use dish soap or whatever soap solution is most easily accessible to you.
  2. Using your soft bristle brush, scrub the shutters with the soapy water, and then rinse and repeat as many times as you see fit. This step is going to need to be repeated for each individual shutter.
  3. After each shutter is cleaned to your satisfaction, let them sit and dry for an hour or so, and afterwards you can dry any excess moisture with a microfiber cloth.

Step #3: Paint Your Vinyl Shutters

It's important to mention for this step that we recommend against using a paint roller, since it's less efficient than a brush or sprayer and will likely require copious amounts of drip sheets.

  1. Using your paint sprayer or brush, apply an even, thick coat of paint across your shutters. The back of the shutters doesn't necessarily need to be painted unless your shutters move.
  2. After they're done being painted, make sure to let them dry; we typically gauge around 1-2 days as a rule of thumb in terms of drying time, as to allow the paint to be well applied with no issue.

Step #4: Reinstall Vinyl Shutters

  • We will now essentially do our previous actions, but in reverse. So you can now re-screw the shutters back to the side of the property.
  • Tip: It's recommended that you insert caulk into the pre-existing hole as to seal it against moisture and to get the absolute best fit for the screw. This can be done whilst screwing the screw into the outside of your property - but we find the best results come from doing it before you begin the re-screwing process.

That's it!

Now that your vinyl shutters are clean, repainted and reinstalled, you can reap the benefits of a beautiful looking home! Be sure to check out our repair center for any repair-related issues you may have, and Fix.com for any appliance parts you may need! Beautiful Home With Vinyl Shutters