


Like what you're reading?
Get your fix of expert articles delivered straight to your inbox!
Oops! Please double check your email address.
No Thanks - I don't like cool stuff


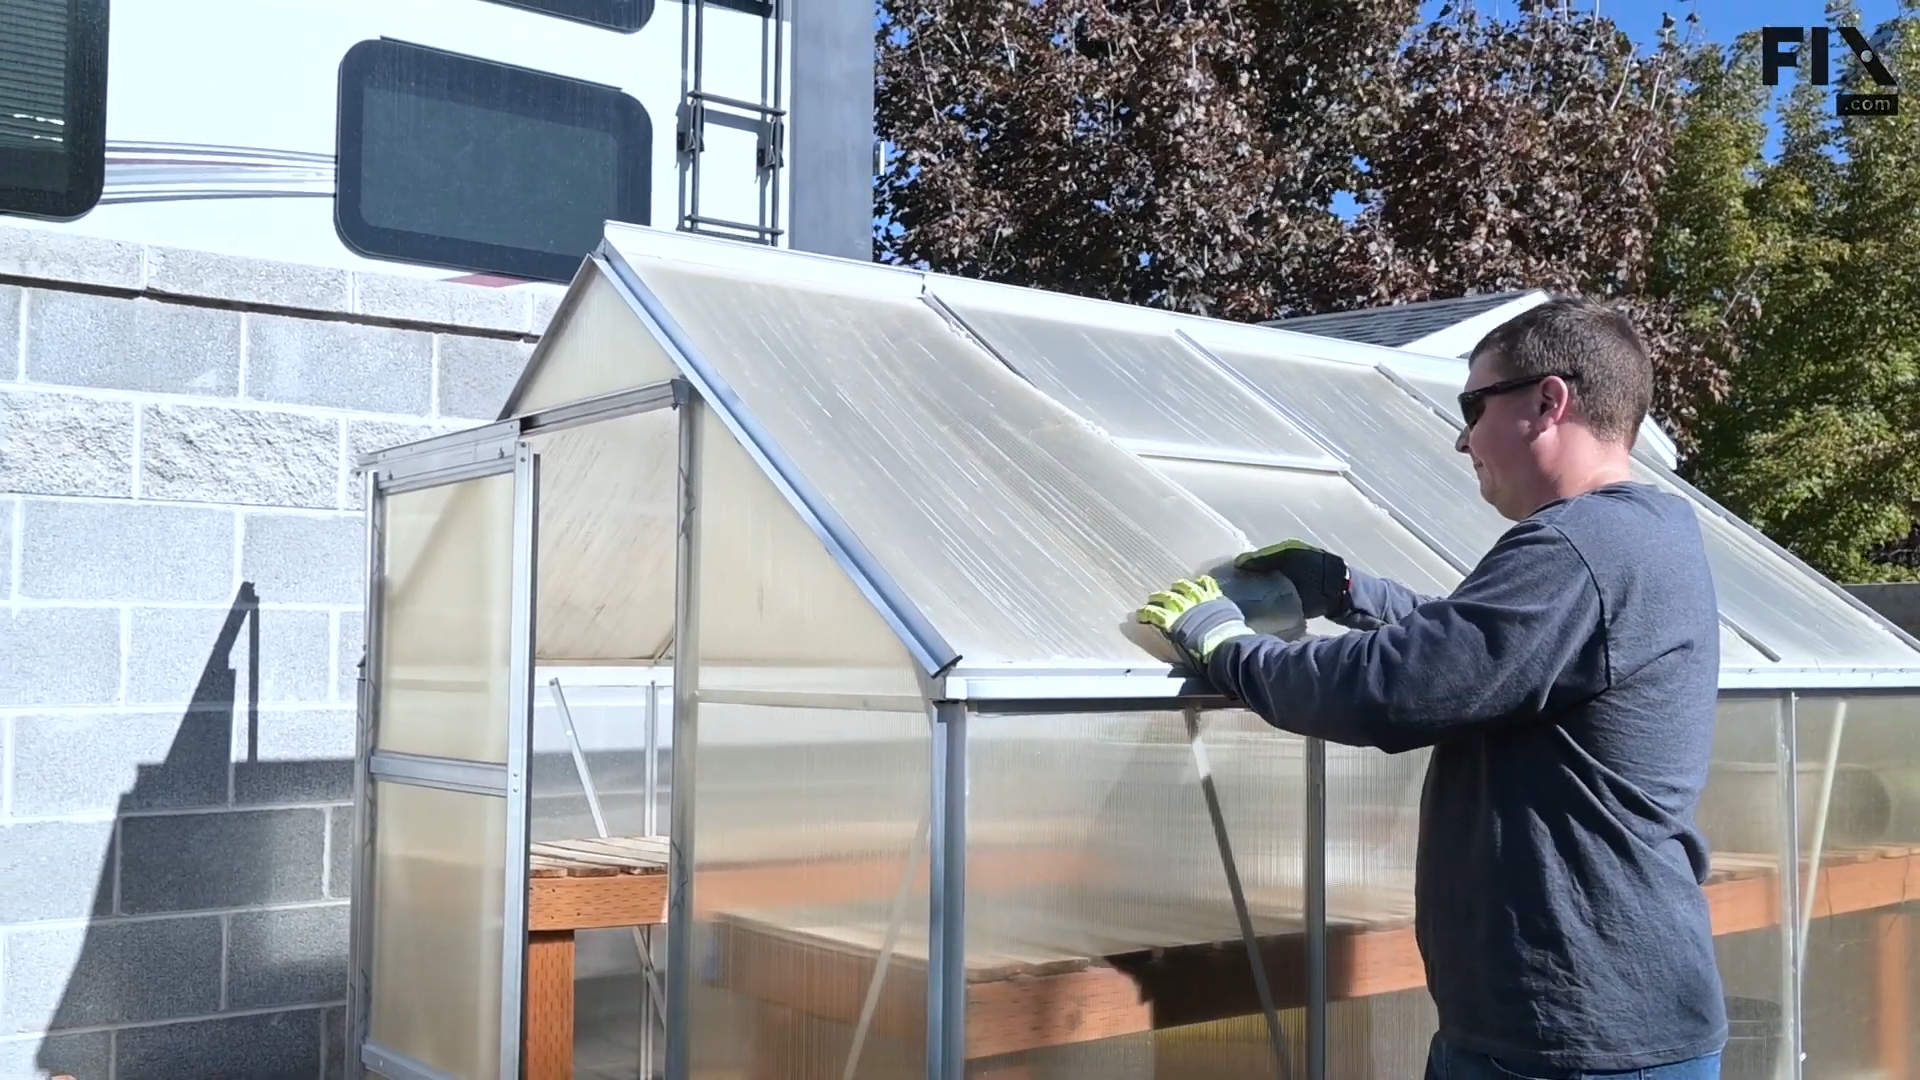
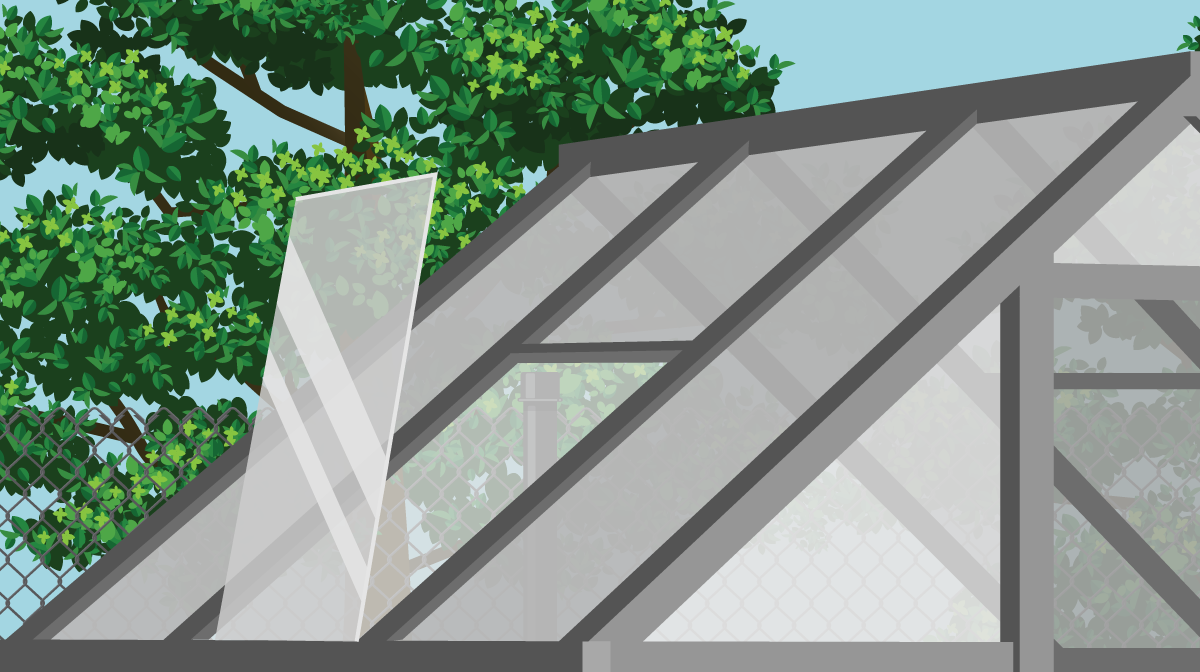
Is your greenhouse feeling like a real pane? This season, let's turn over a new leaf and replace those worn-out panels! Our expert in-house repair technician, Mark, will guide you through this process step-by-step on a 6ft x 8ft greenhouse.
Over time, your greenhouse panels may become discolored from wear and tear or UV radiation, or they could suffer damage from harsh weather conditions. Ignoring these issues can lead to a variety of problems:
Even if you have a green thumb that would make St. Patrick's Day jealous, your greenhouse may be working against you. Don't let all your hard work go to waste! Let us show you how to give your greenhouse a new lease on life.
Before starting, clear any items or plants from your greenhouse to create a workspace for yourself. It is also a good idea to wear protective gloves to keep your hands safe while working.
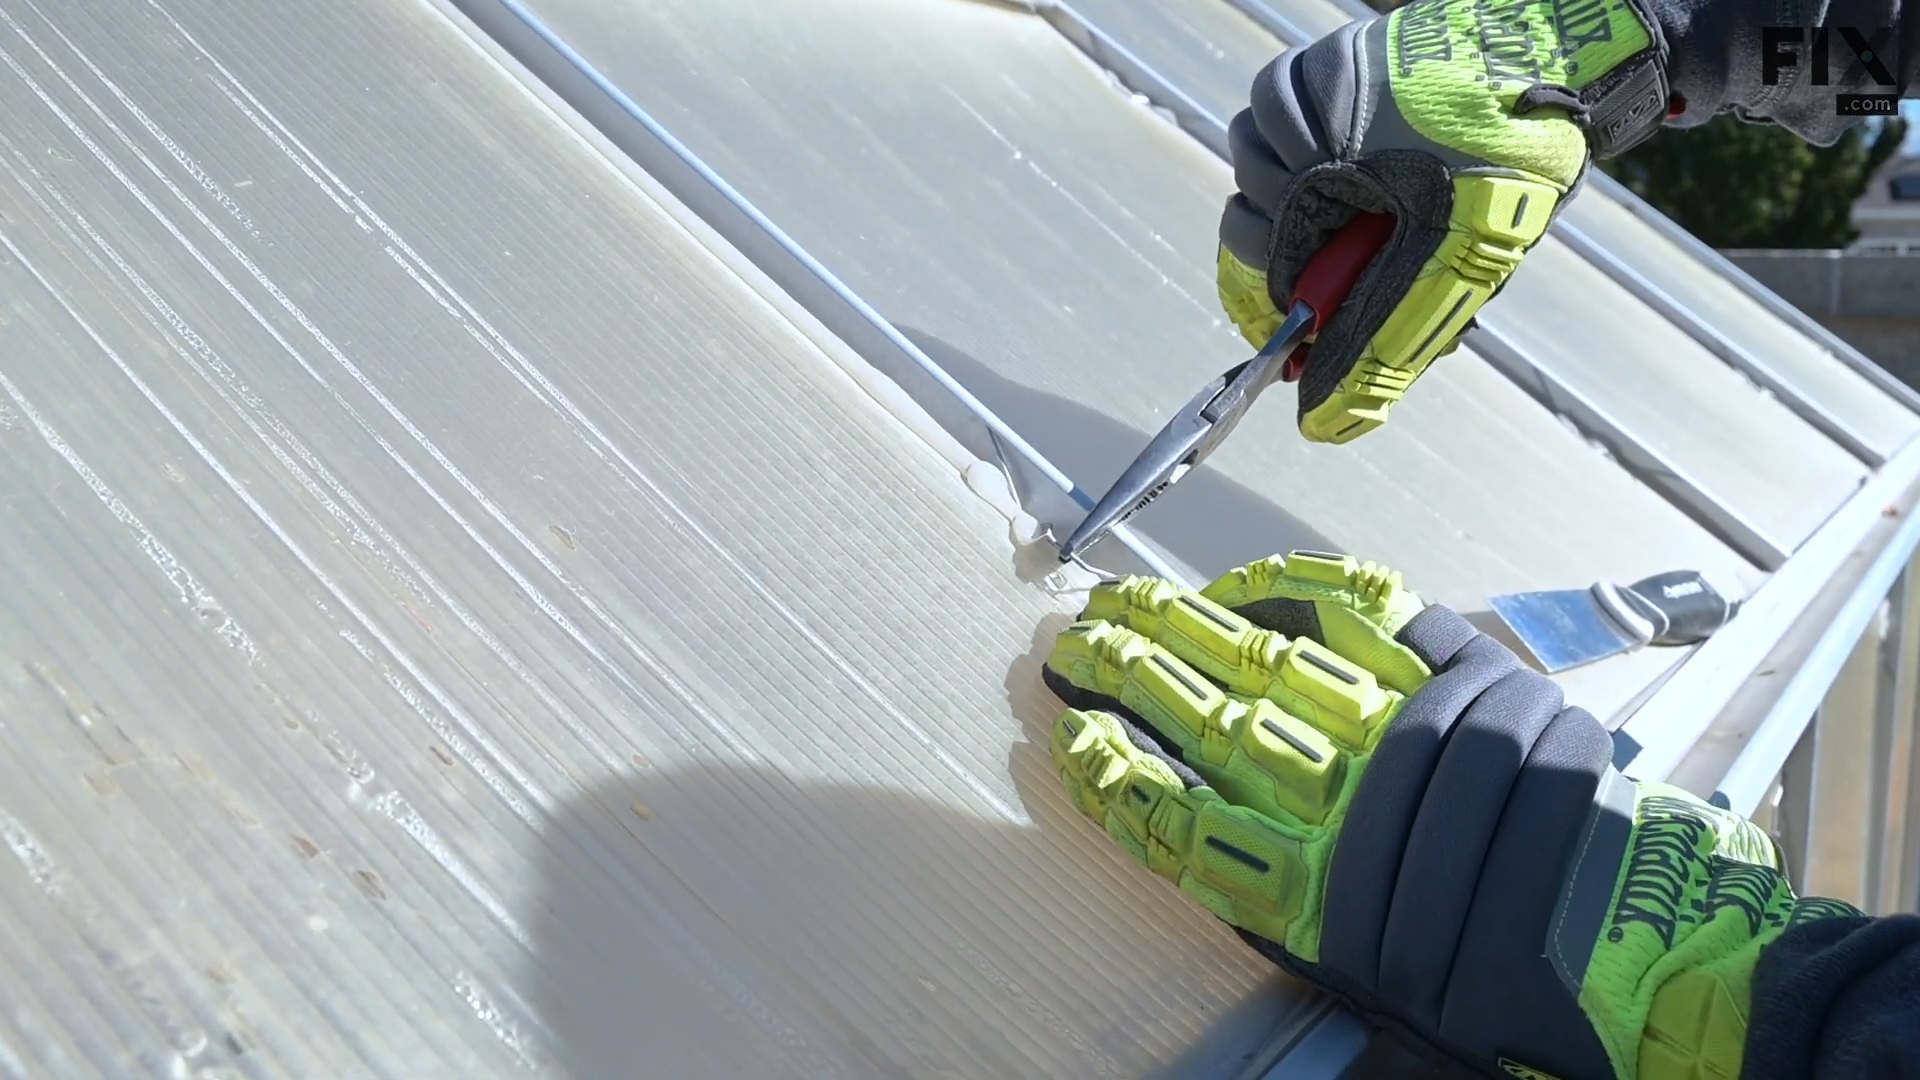
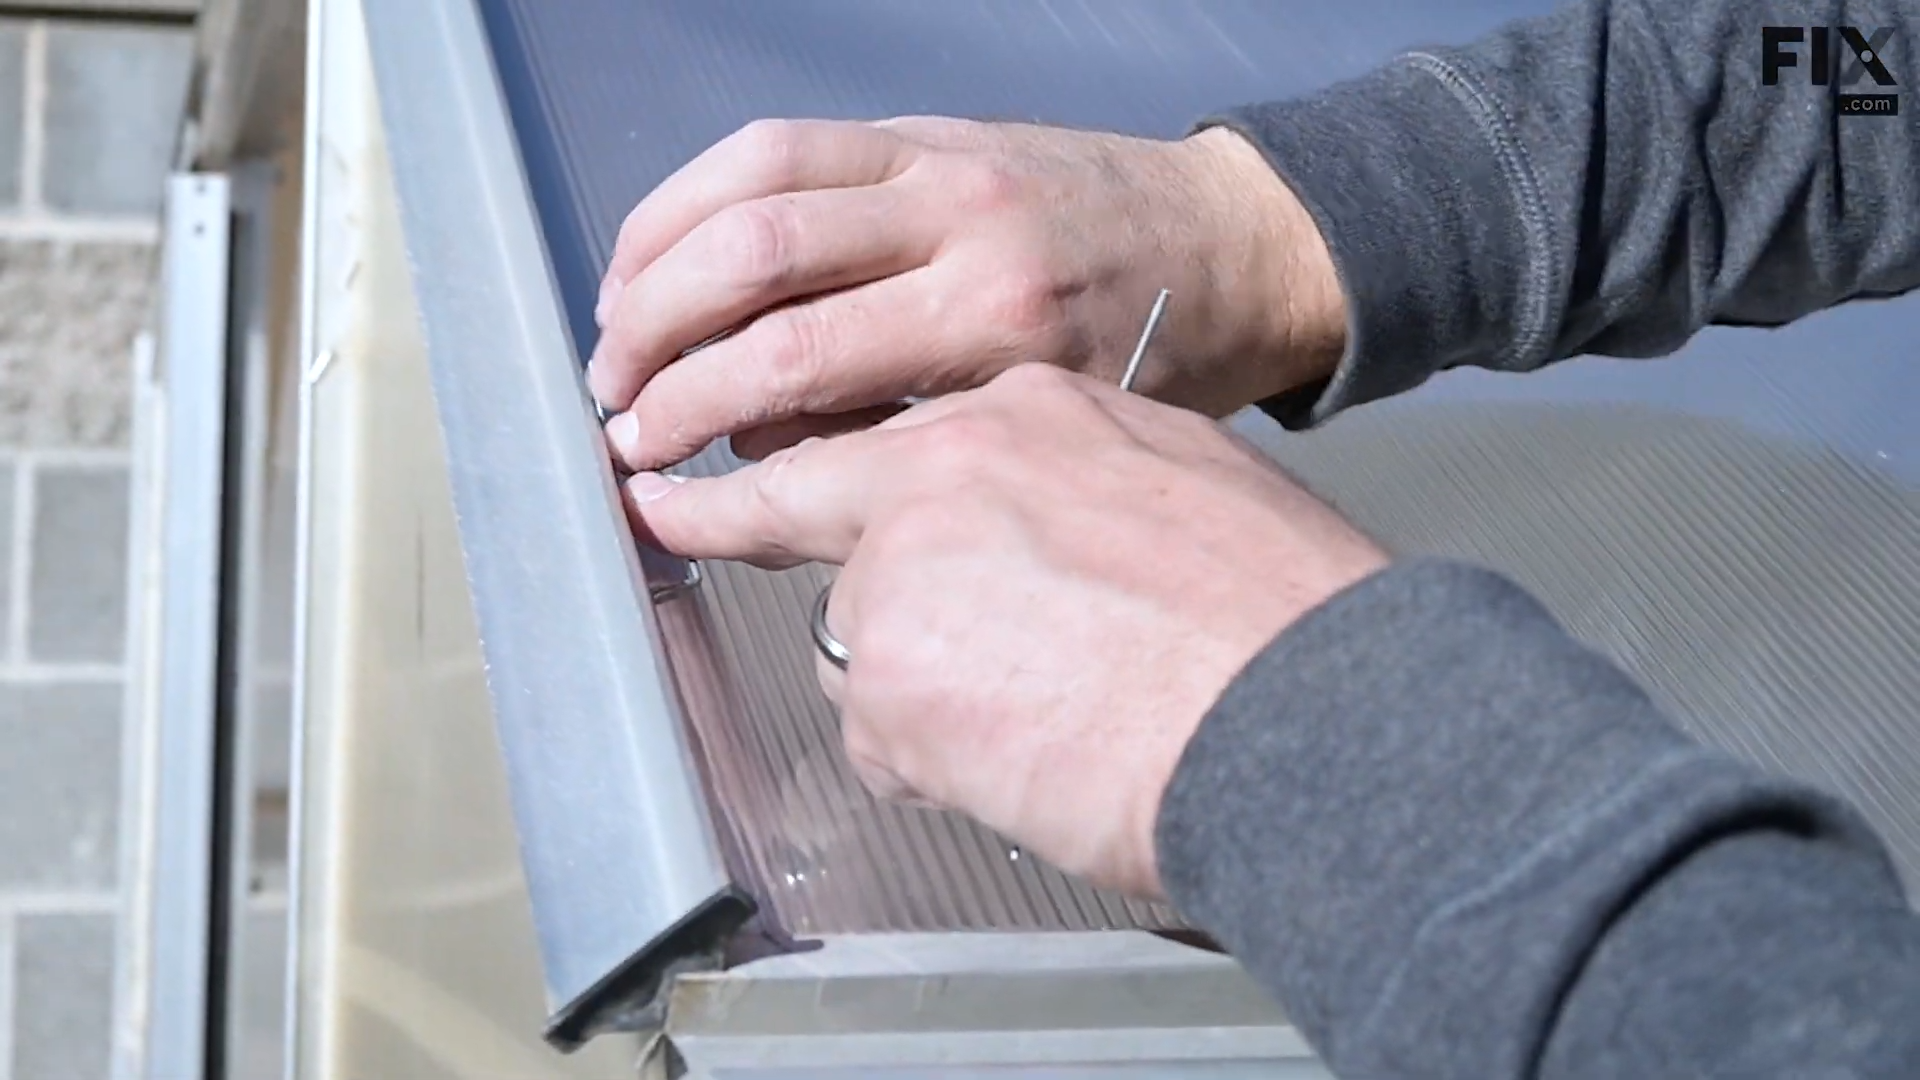
Next, focus on the steel fixing clips that are holding the panels in place. Use a pair of needle-nose pliers to loosen the clips and take them off. Be sure to set them aside so that you can reuse them later.
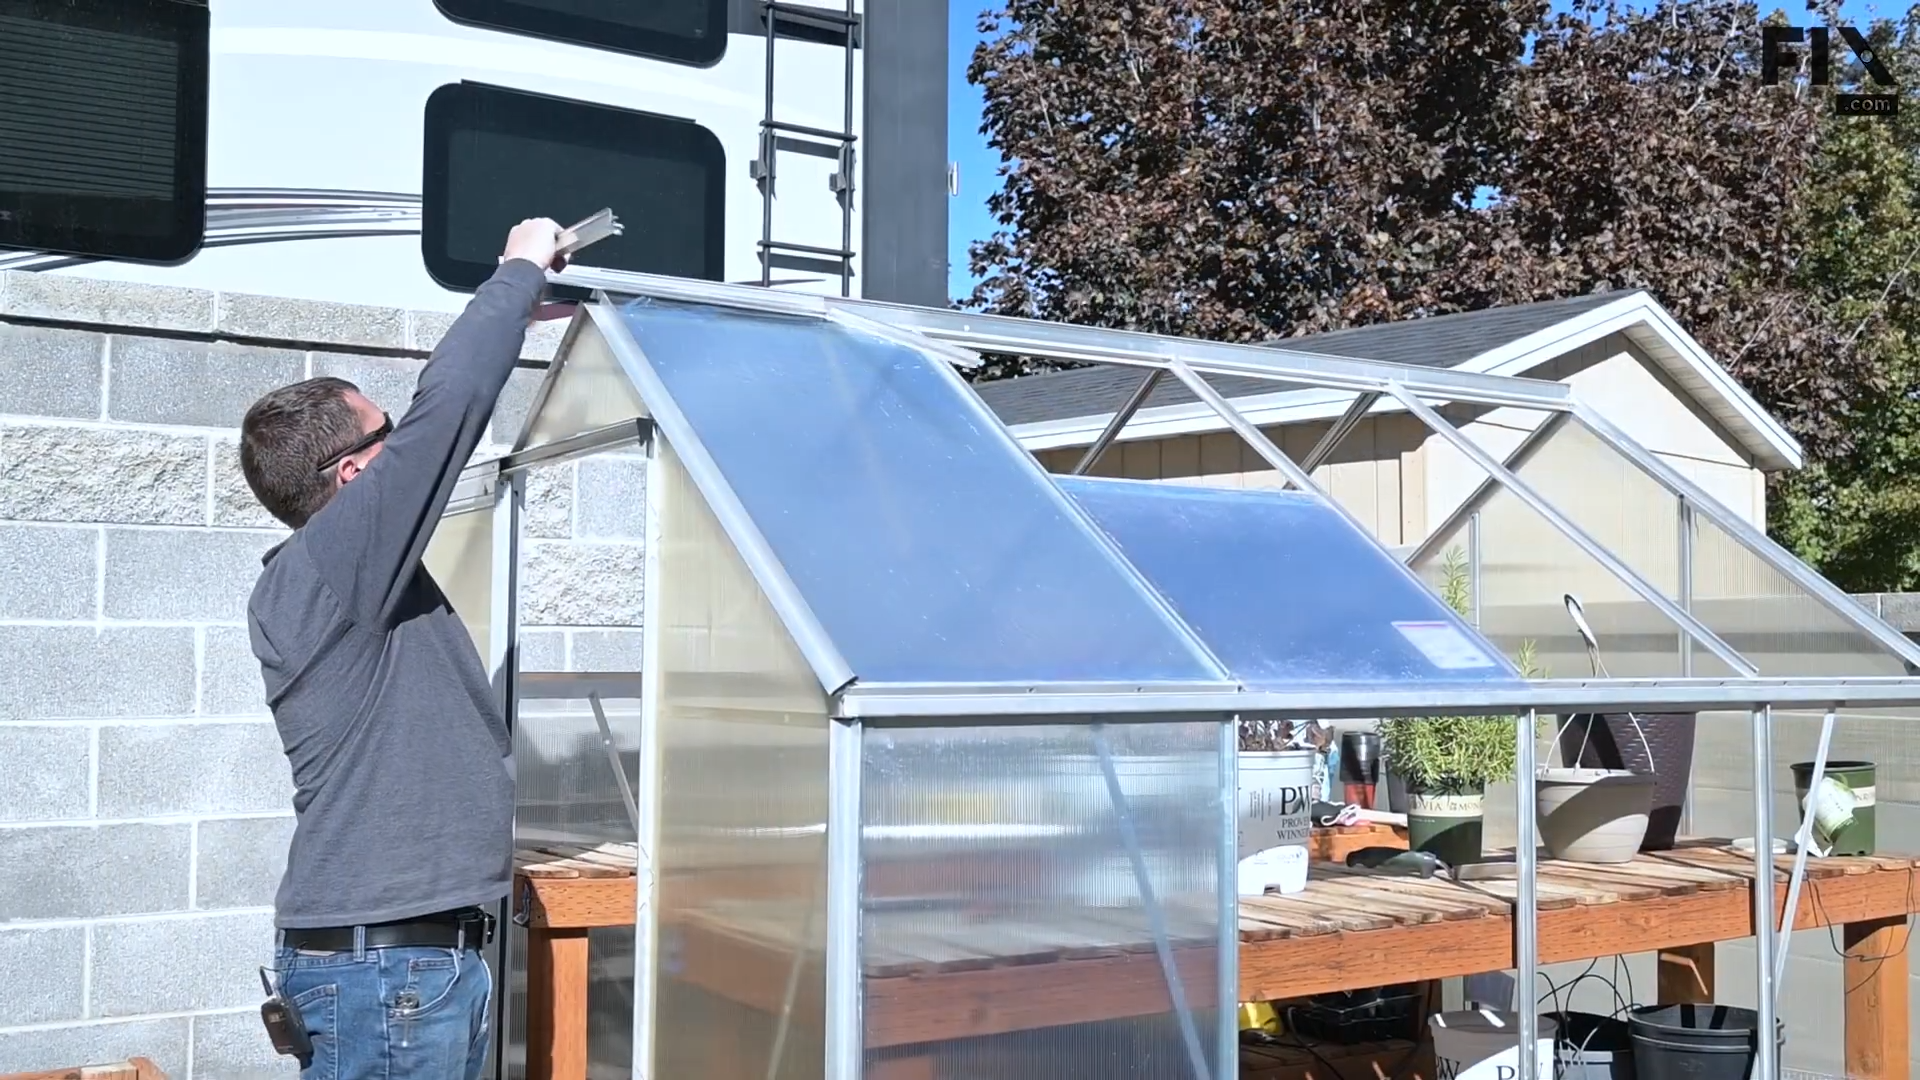
To remove a full panel, start by inserting a putty knife into the edges of the panel. Wiggle the knife in an up-and-down motion, being careful not to damage the greenhouse’s frame.
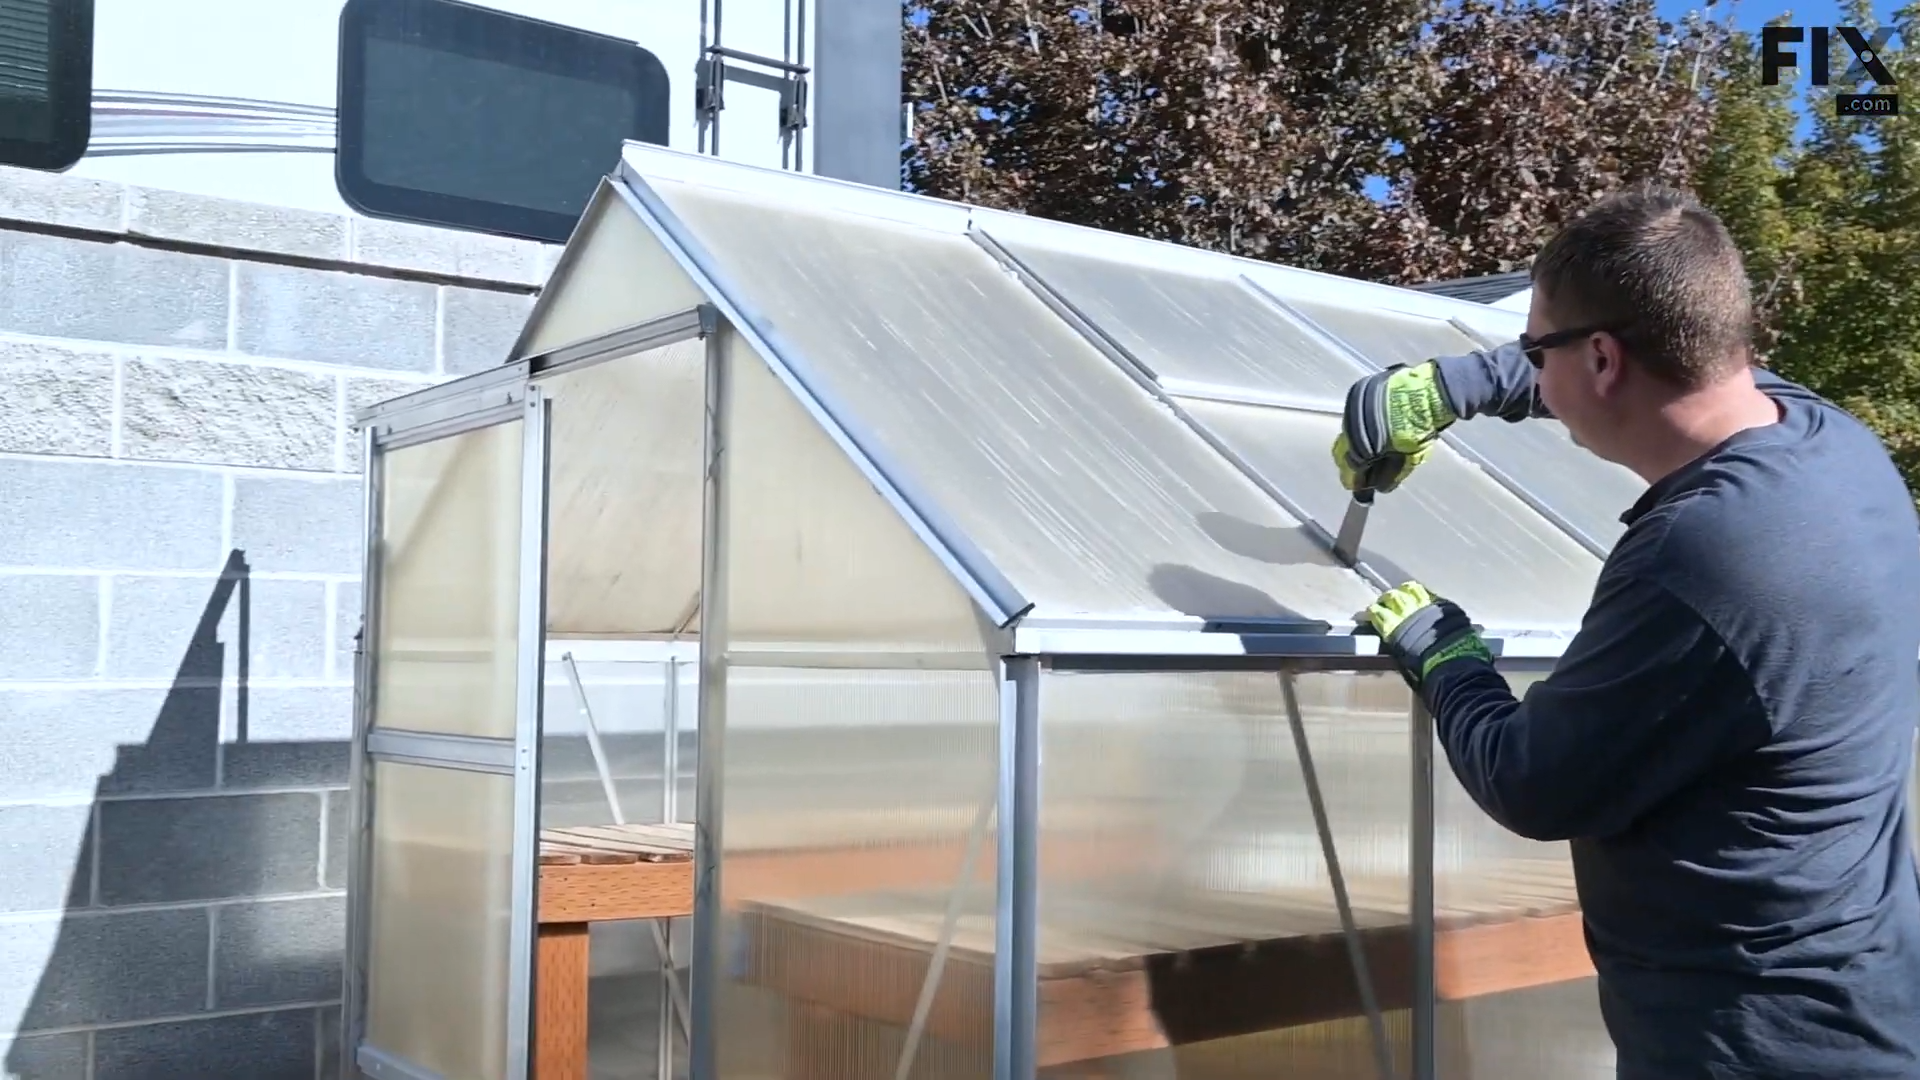
Once the panel has come loose, you can then remove it using your hands.
To remove the smaller panels, start by examining the vent opener. Look for a nut on each side of its partition.
Using a socket wrench, unthread these nuts and then pop the lower panel of the vent out.
Next, remove the partition completely so that you can take out the upper panel.
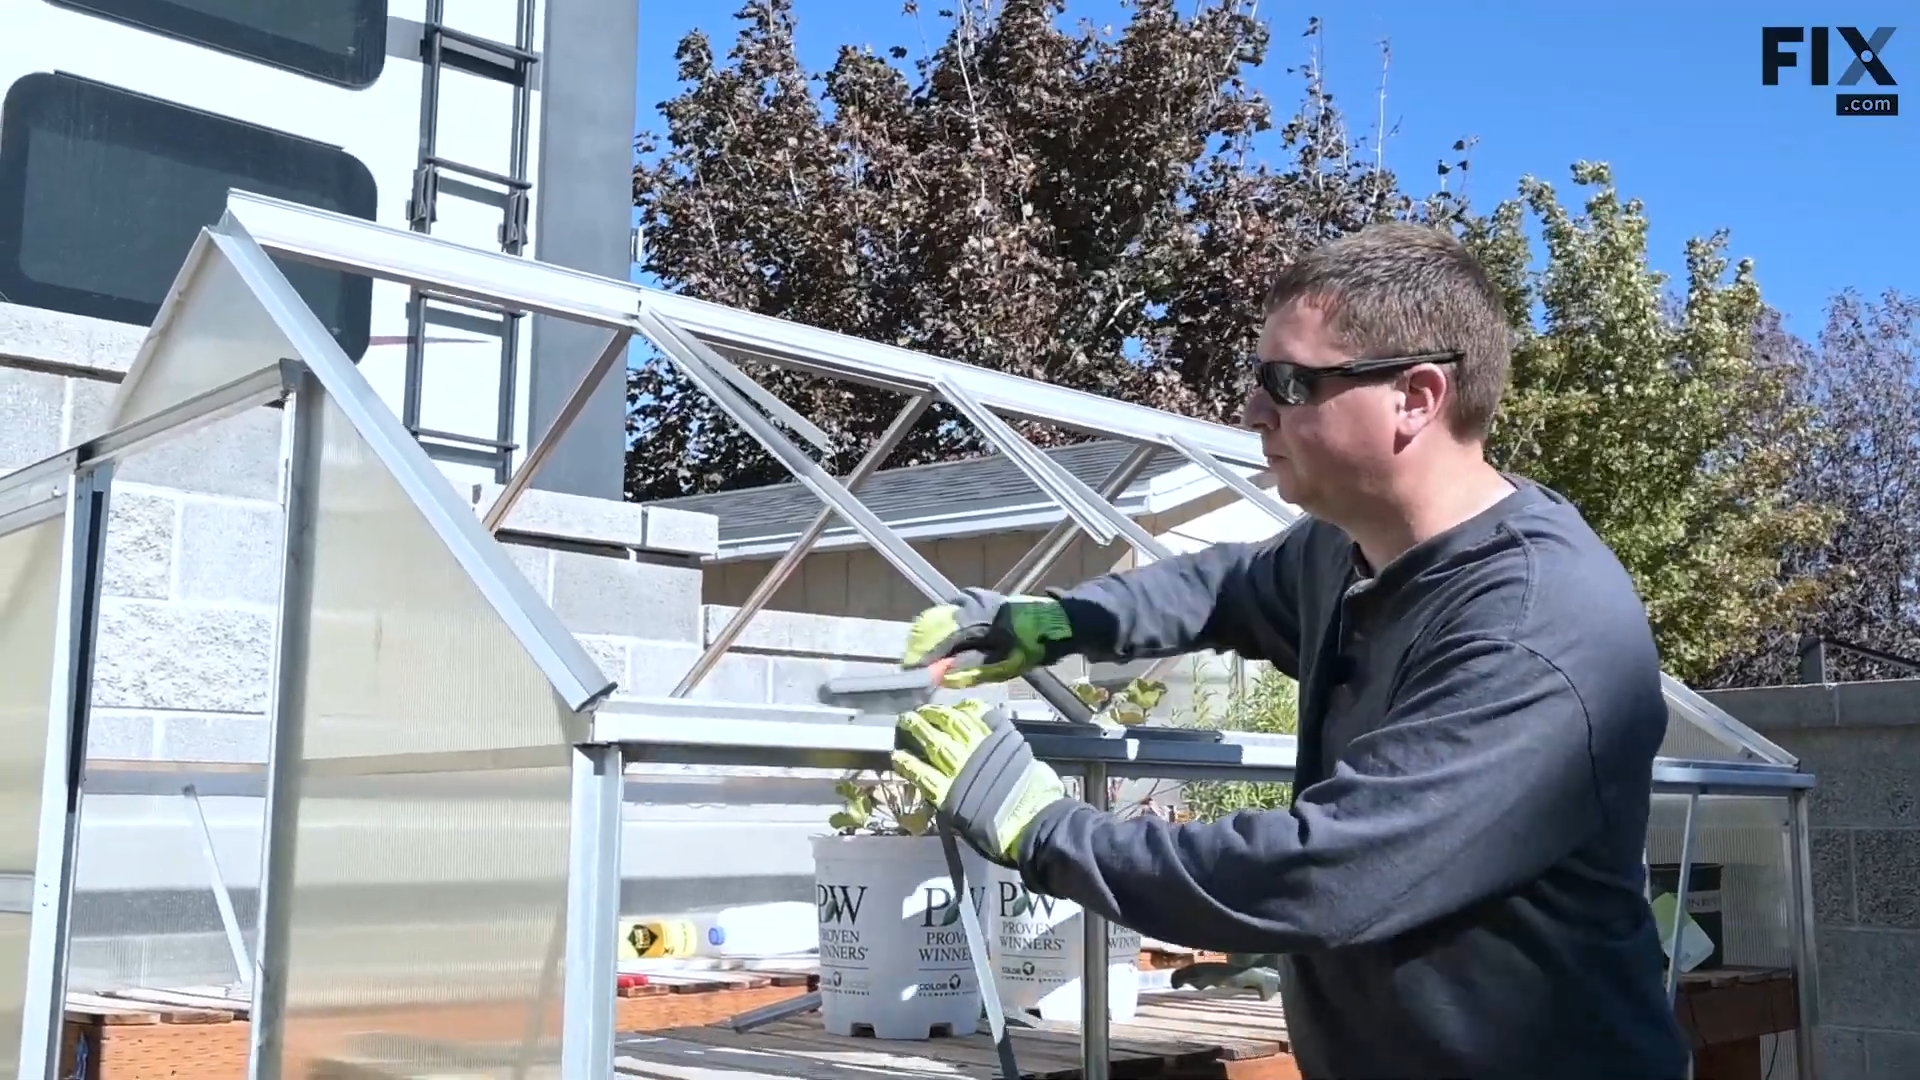
Now that the panels have been removed, it's time to clean the greenhouse's frame so that you can work with a smooth and clean surface when reinstalling the panels. Start by peeling away the caulk with your fingers. If it's too tough to remove, use a caulk softener to make it easier to work with.
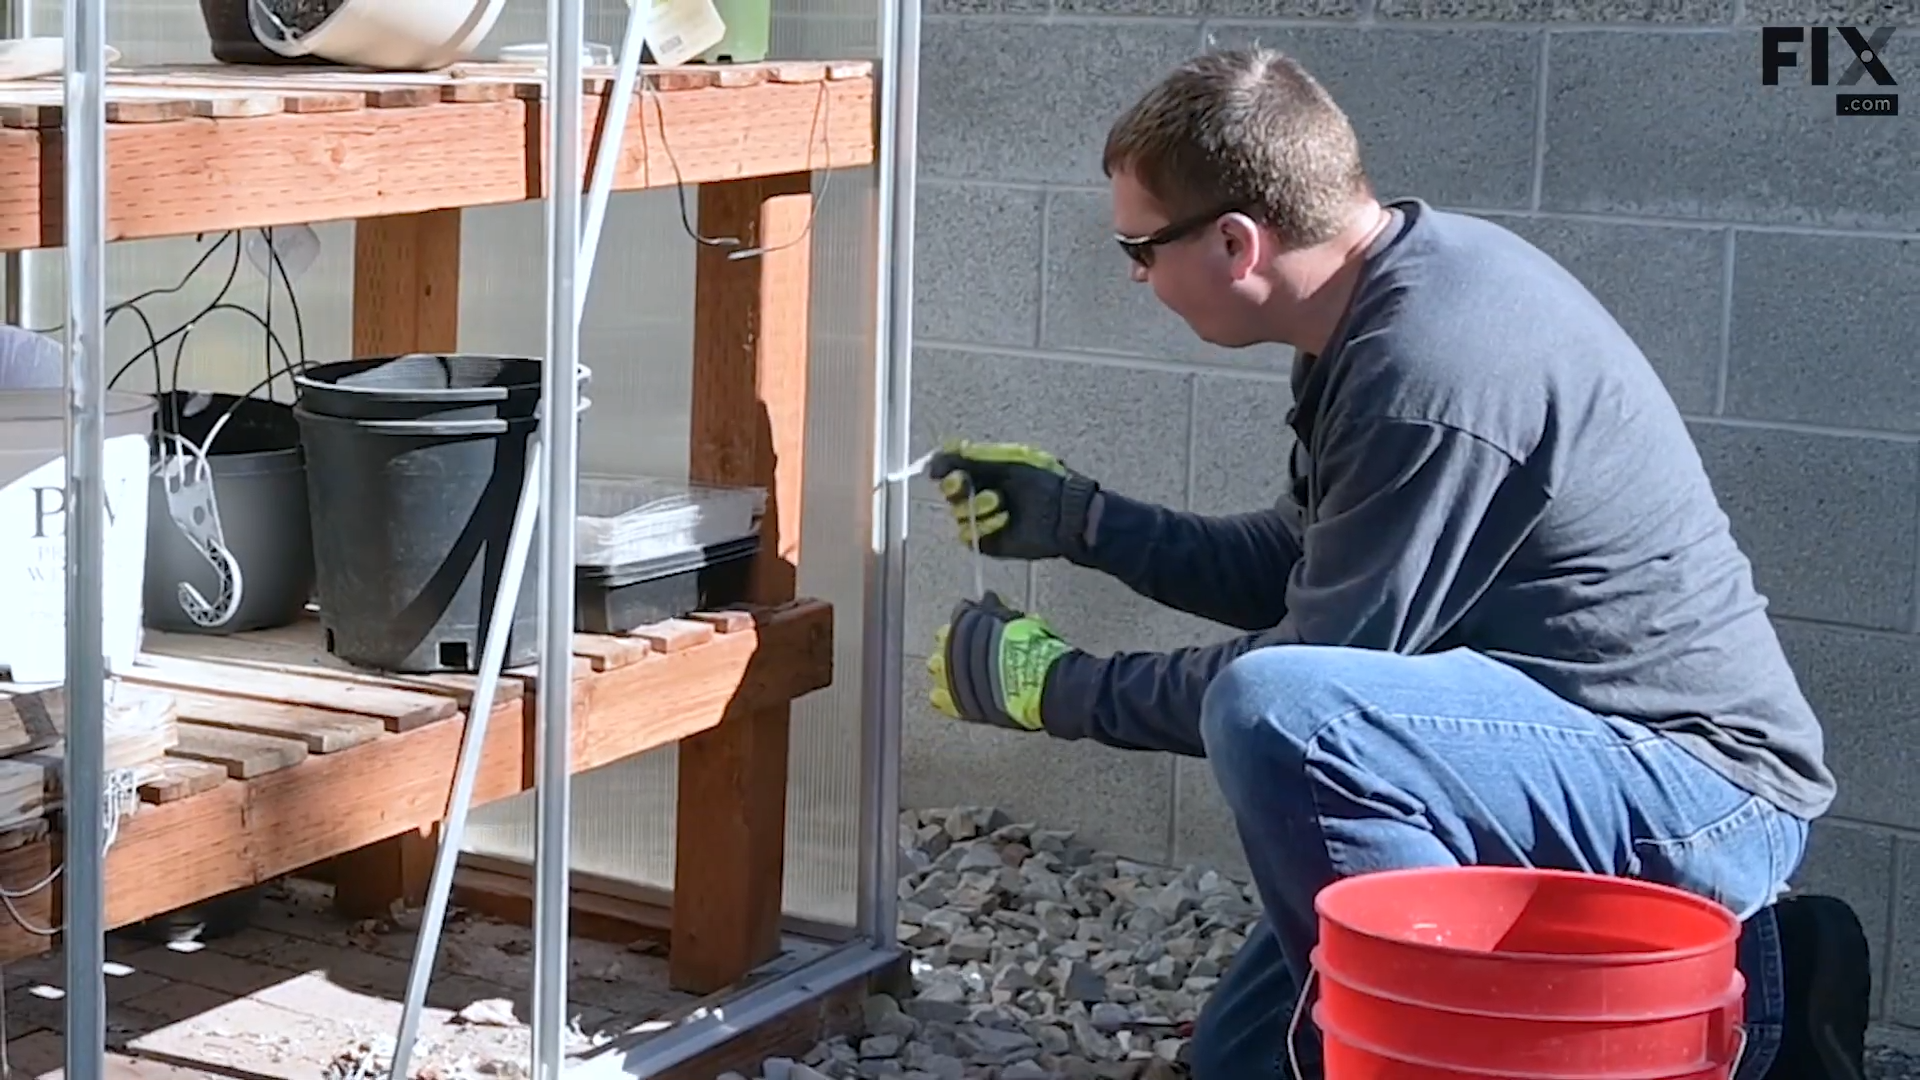
Next, use a wire brush to clean any caulk residue from the frame.
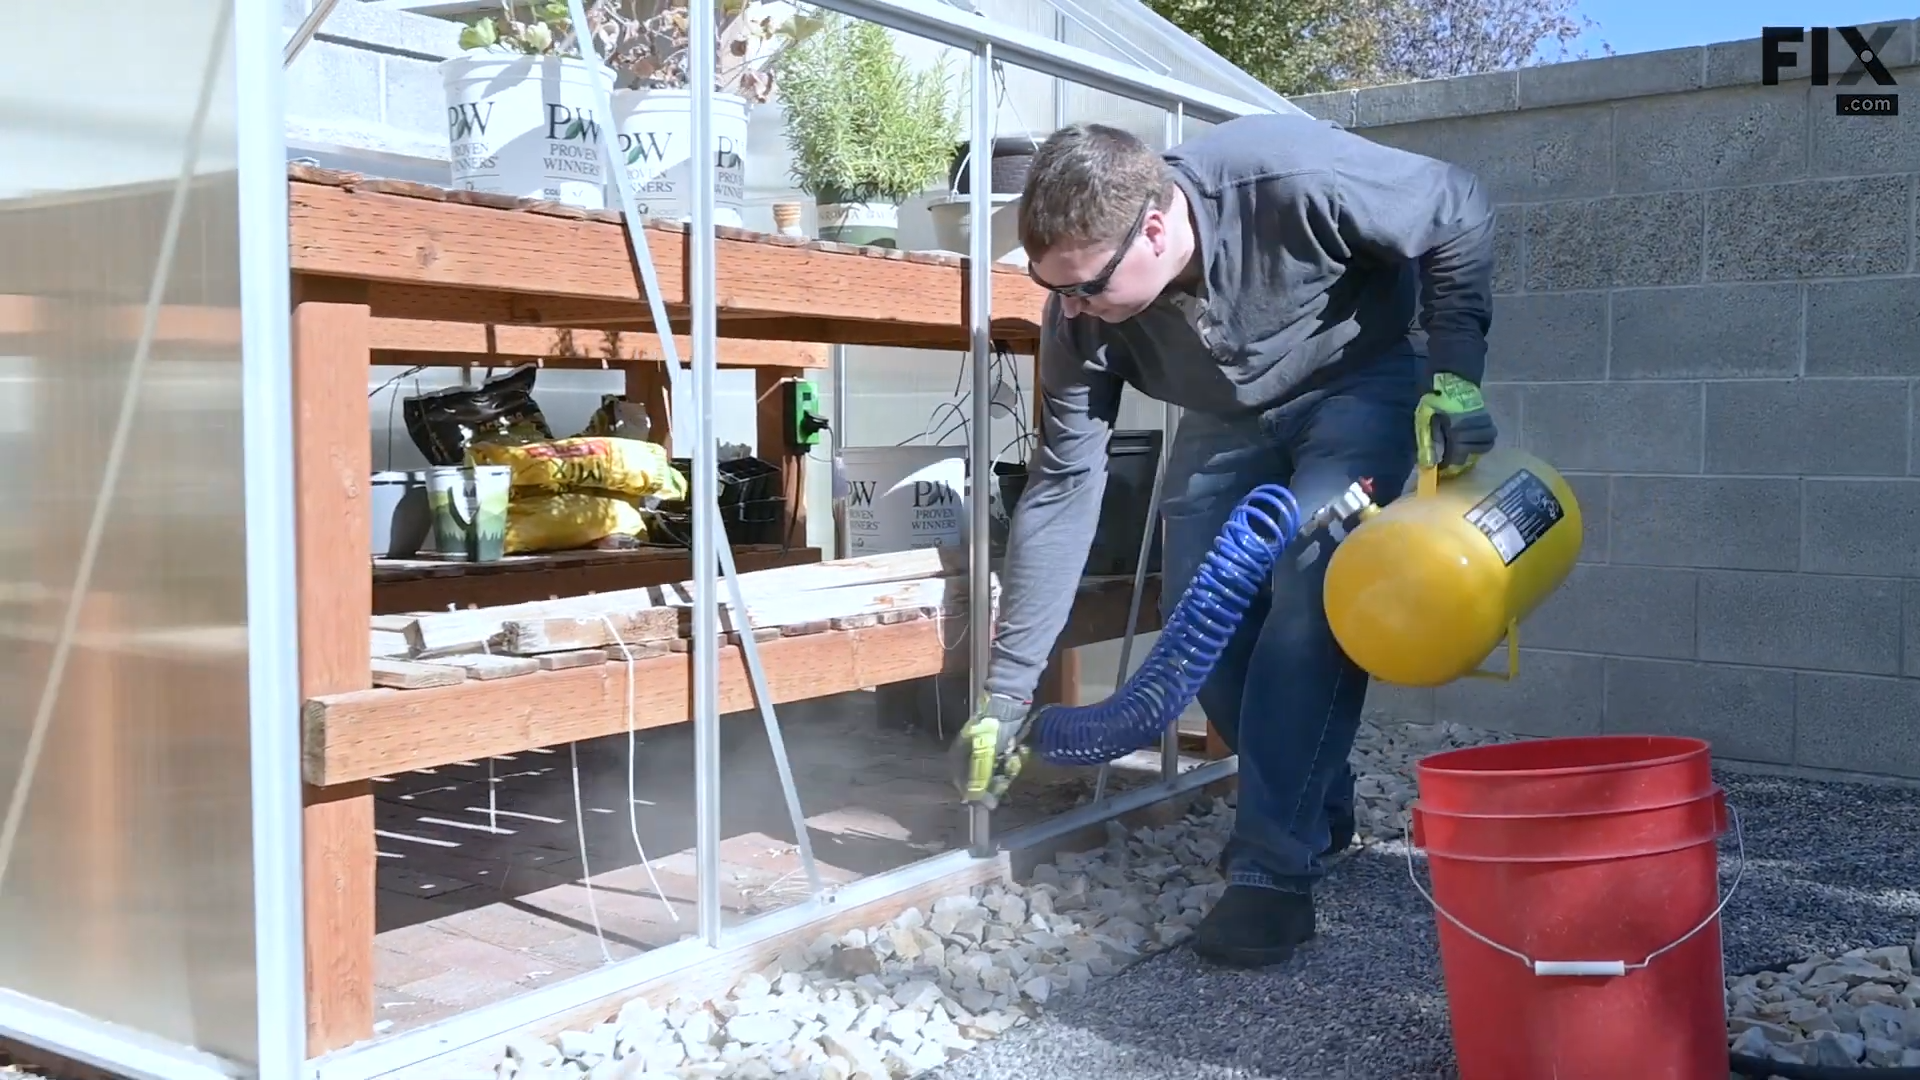
Once you've removed the caulk, finish off this step by blowing any dirt or debris from the frame's tracks with compressed air.
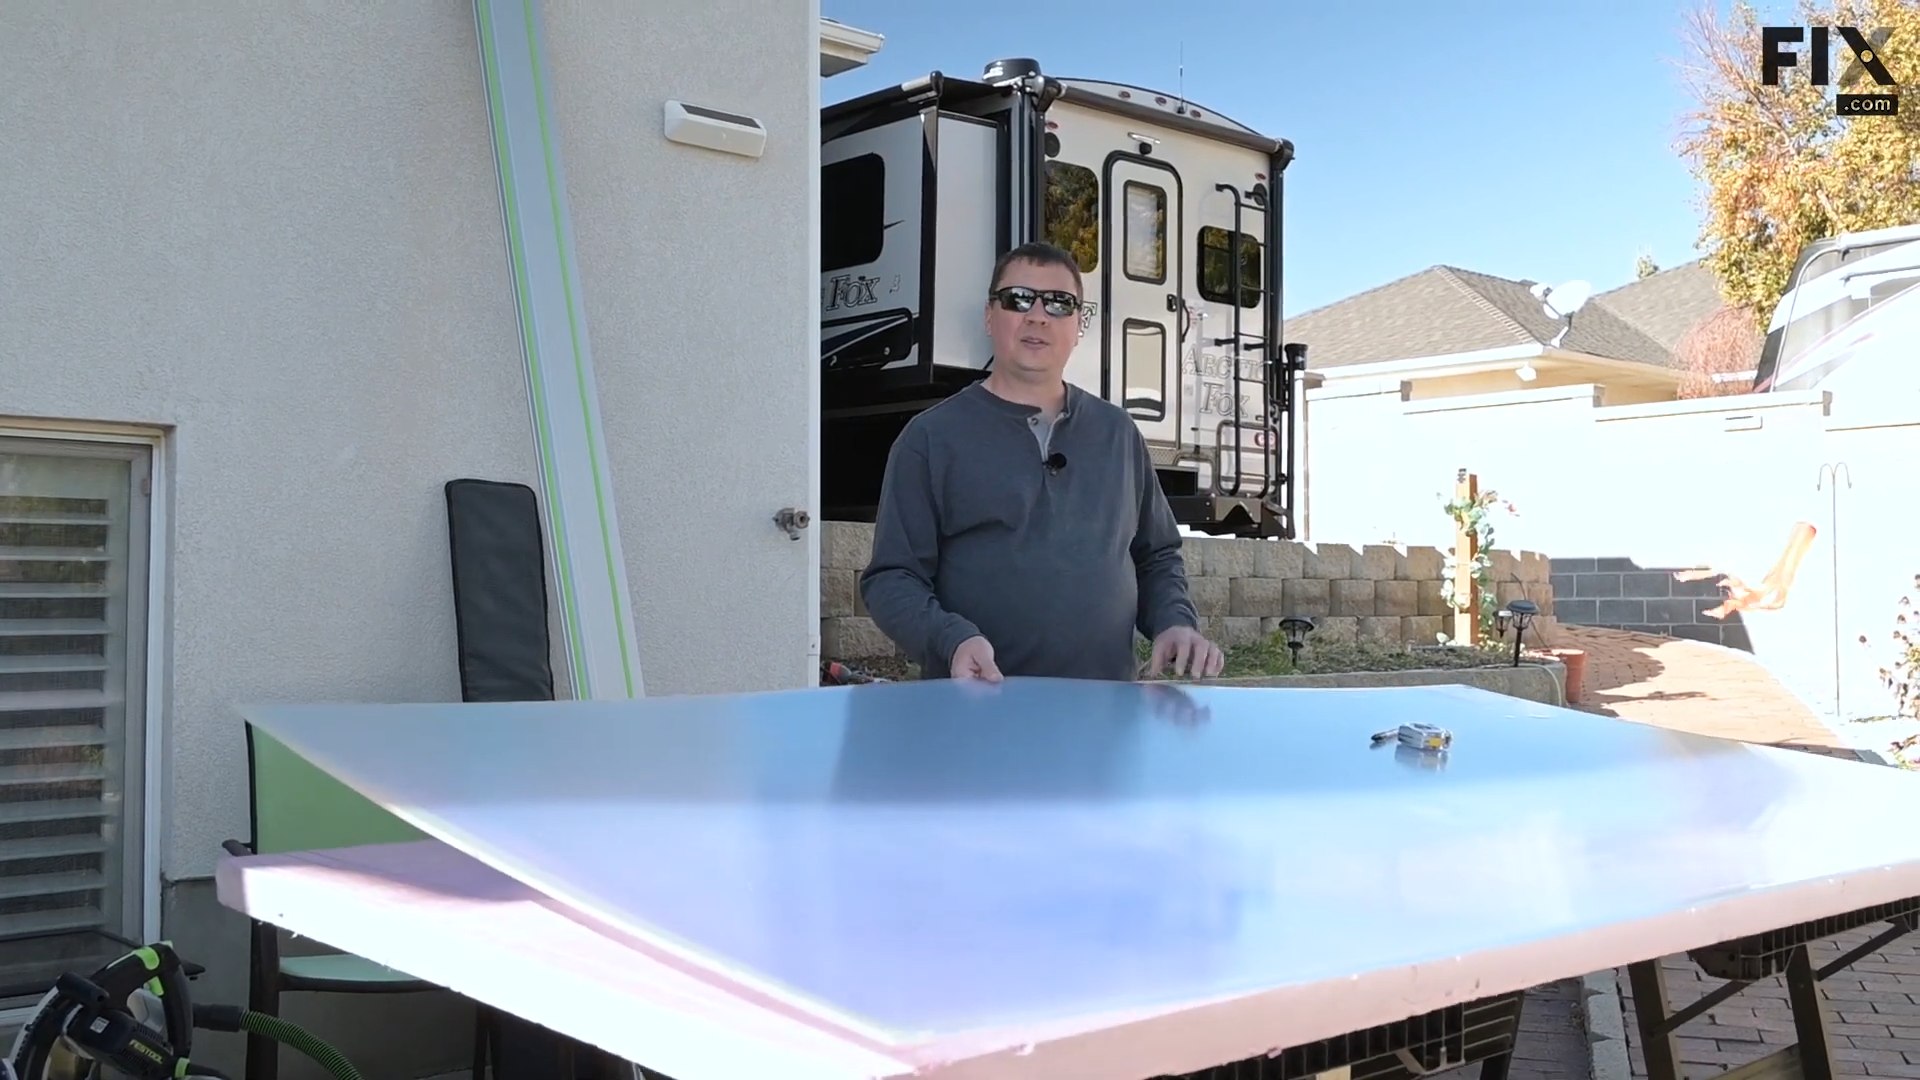
Mark will be cutting new panels from four-by-eight double-wall polycarbonate sheets that are a quarter of an inch thick. These sheets are covered with a protective film on both sides, with one side being clear and the other blue. Since the blue side has UV protection, he will install that side outward.
To cut the sheets to size, use any standard woodworking tools like a circular saw or table saw with a fine-toothed blade. In the video, Mark uses a track saw to make precise cuts.
First, Mark measures and marks the sheet to the correct size, 23 5/8 inches.
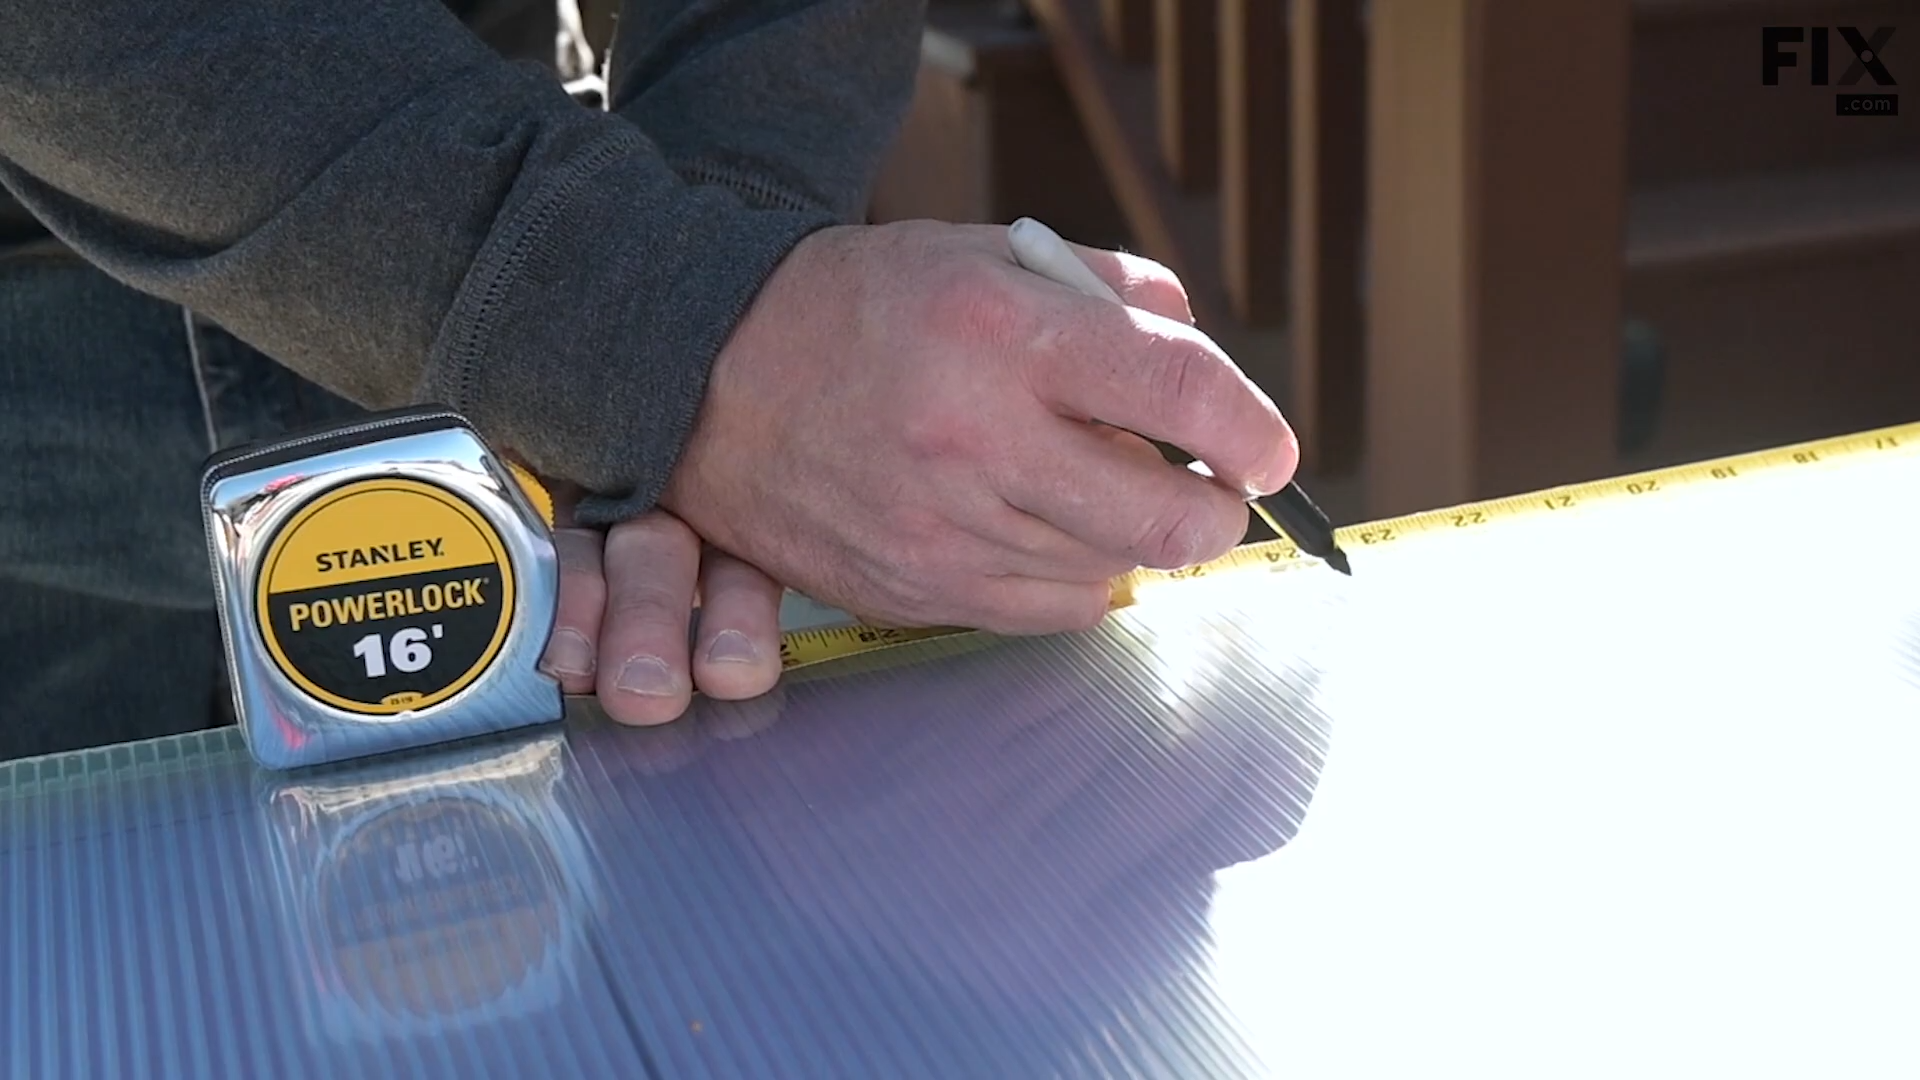
Then, he places the rail on top of the sheet, lining it up with the marks he made, and sets the saw to the proper depth.
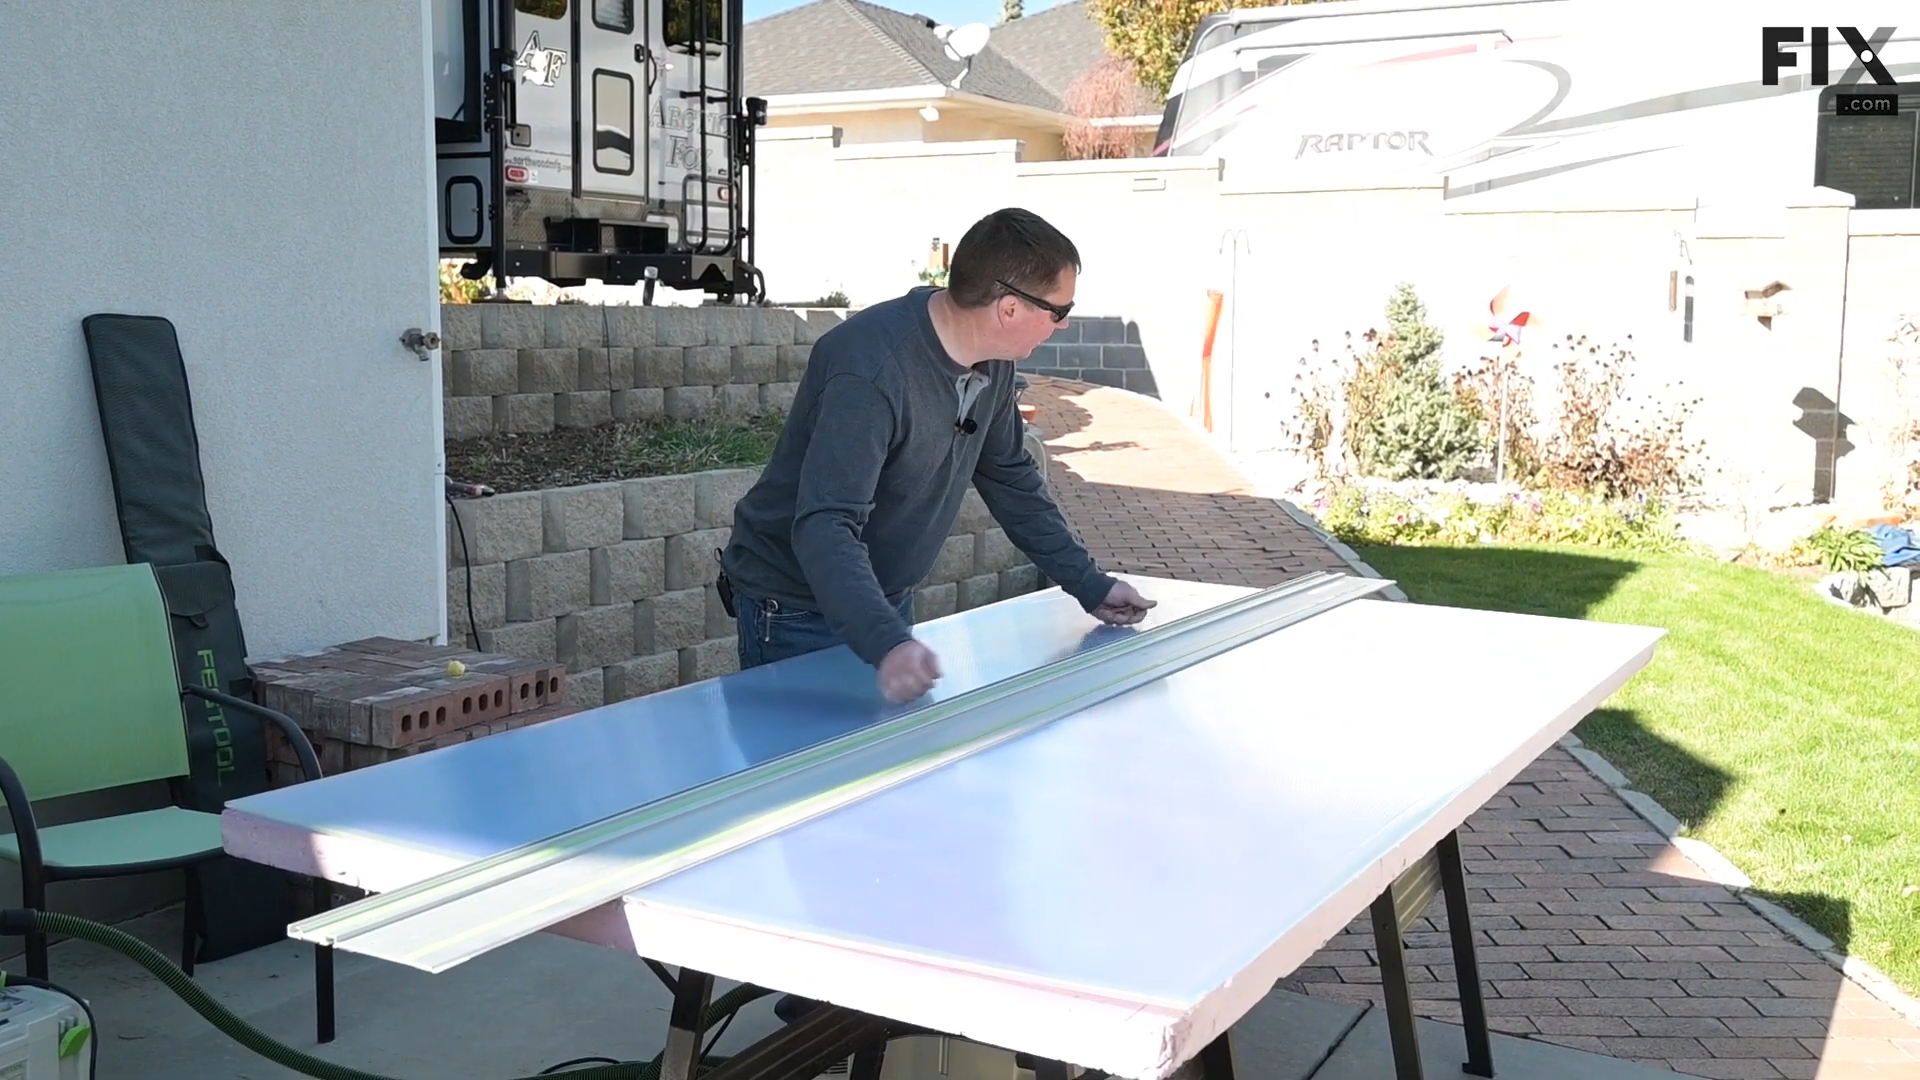
He places the saw on the track and makes the cut. To cut the sheets to length, Mark cuts each wall piece at 47 3/4 inches and each roof piece at 44 inches long. The vent panel size is determined by the metal frame it fits inside, so take note of those measurements for your greenhouse.

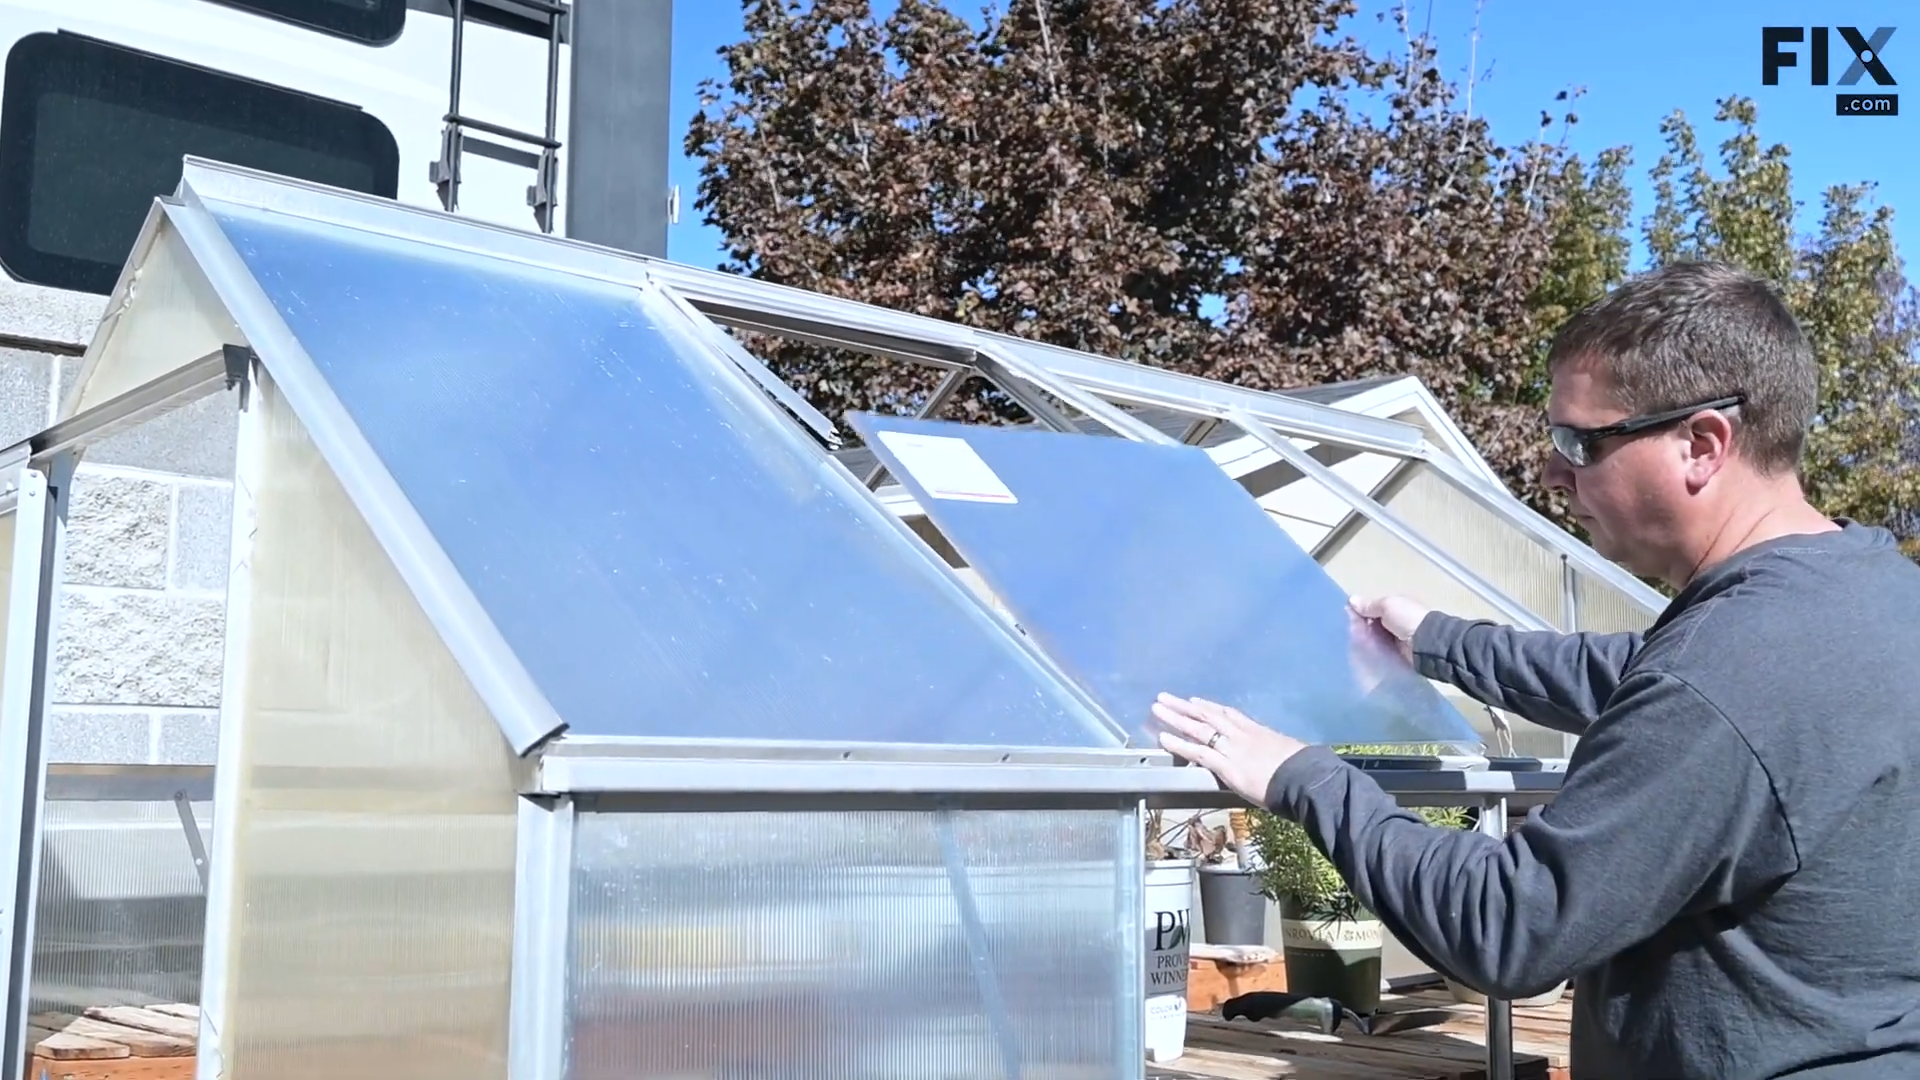
To install the new panels, begin by removing the clear protective coating from the back side of the sheet. Leave the protective coating on the UV-protected side for now.
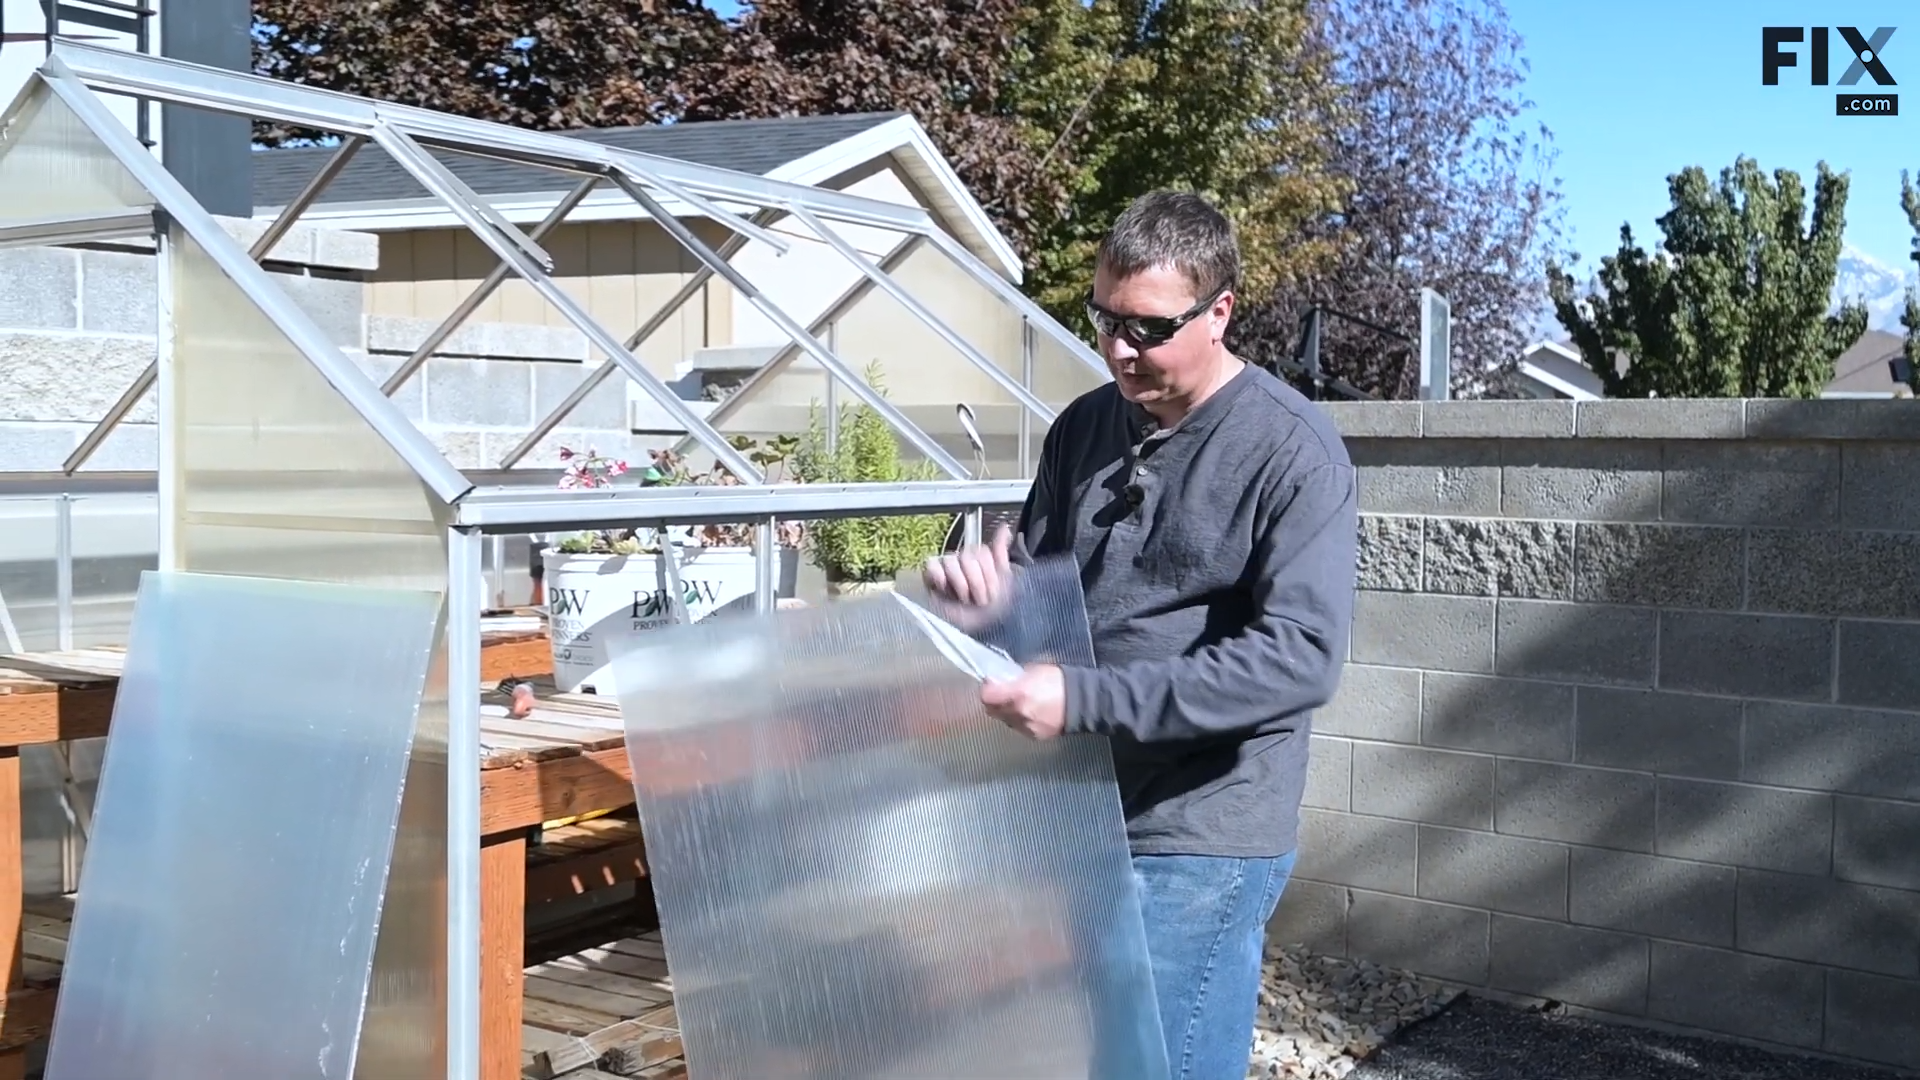
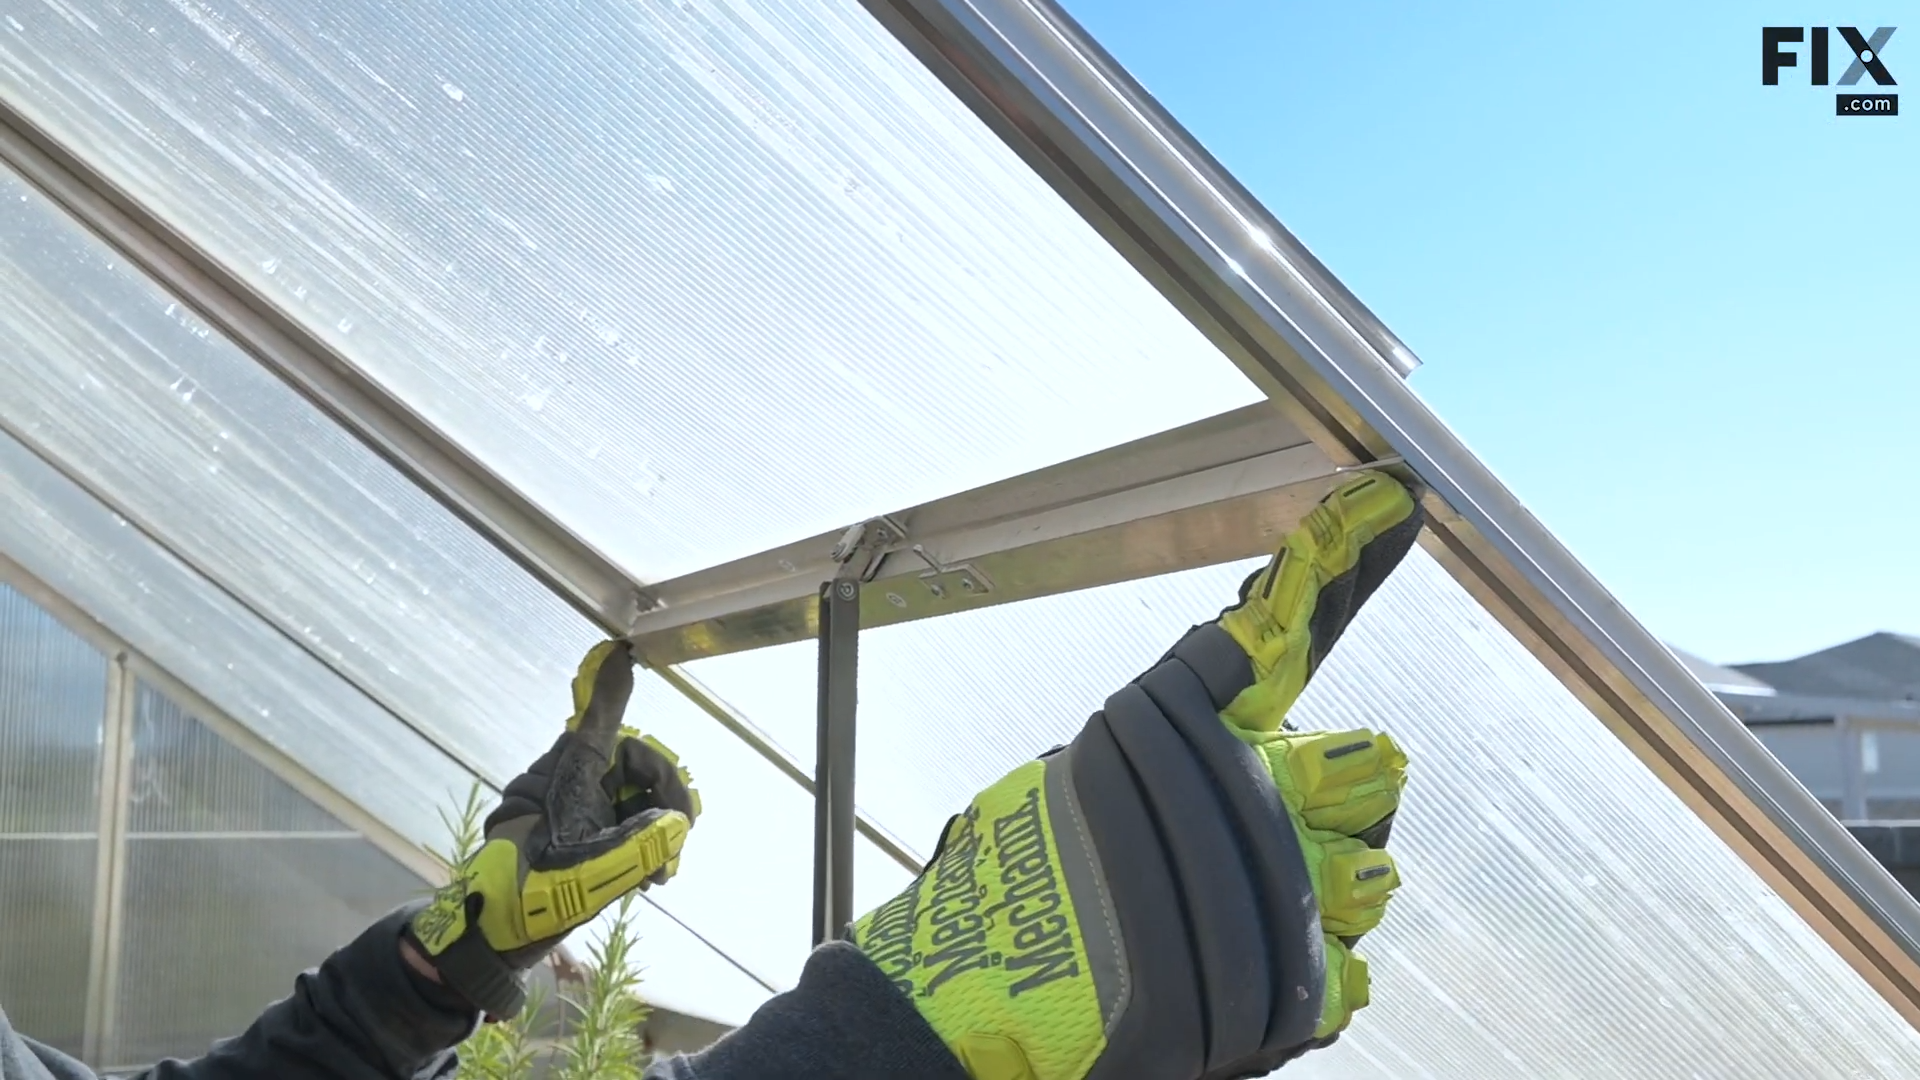
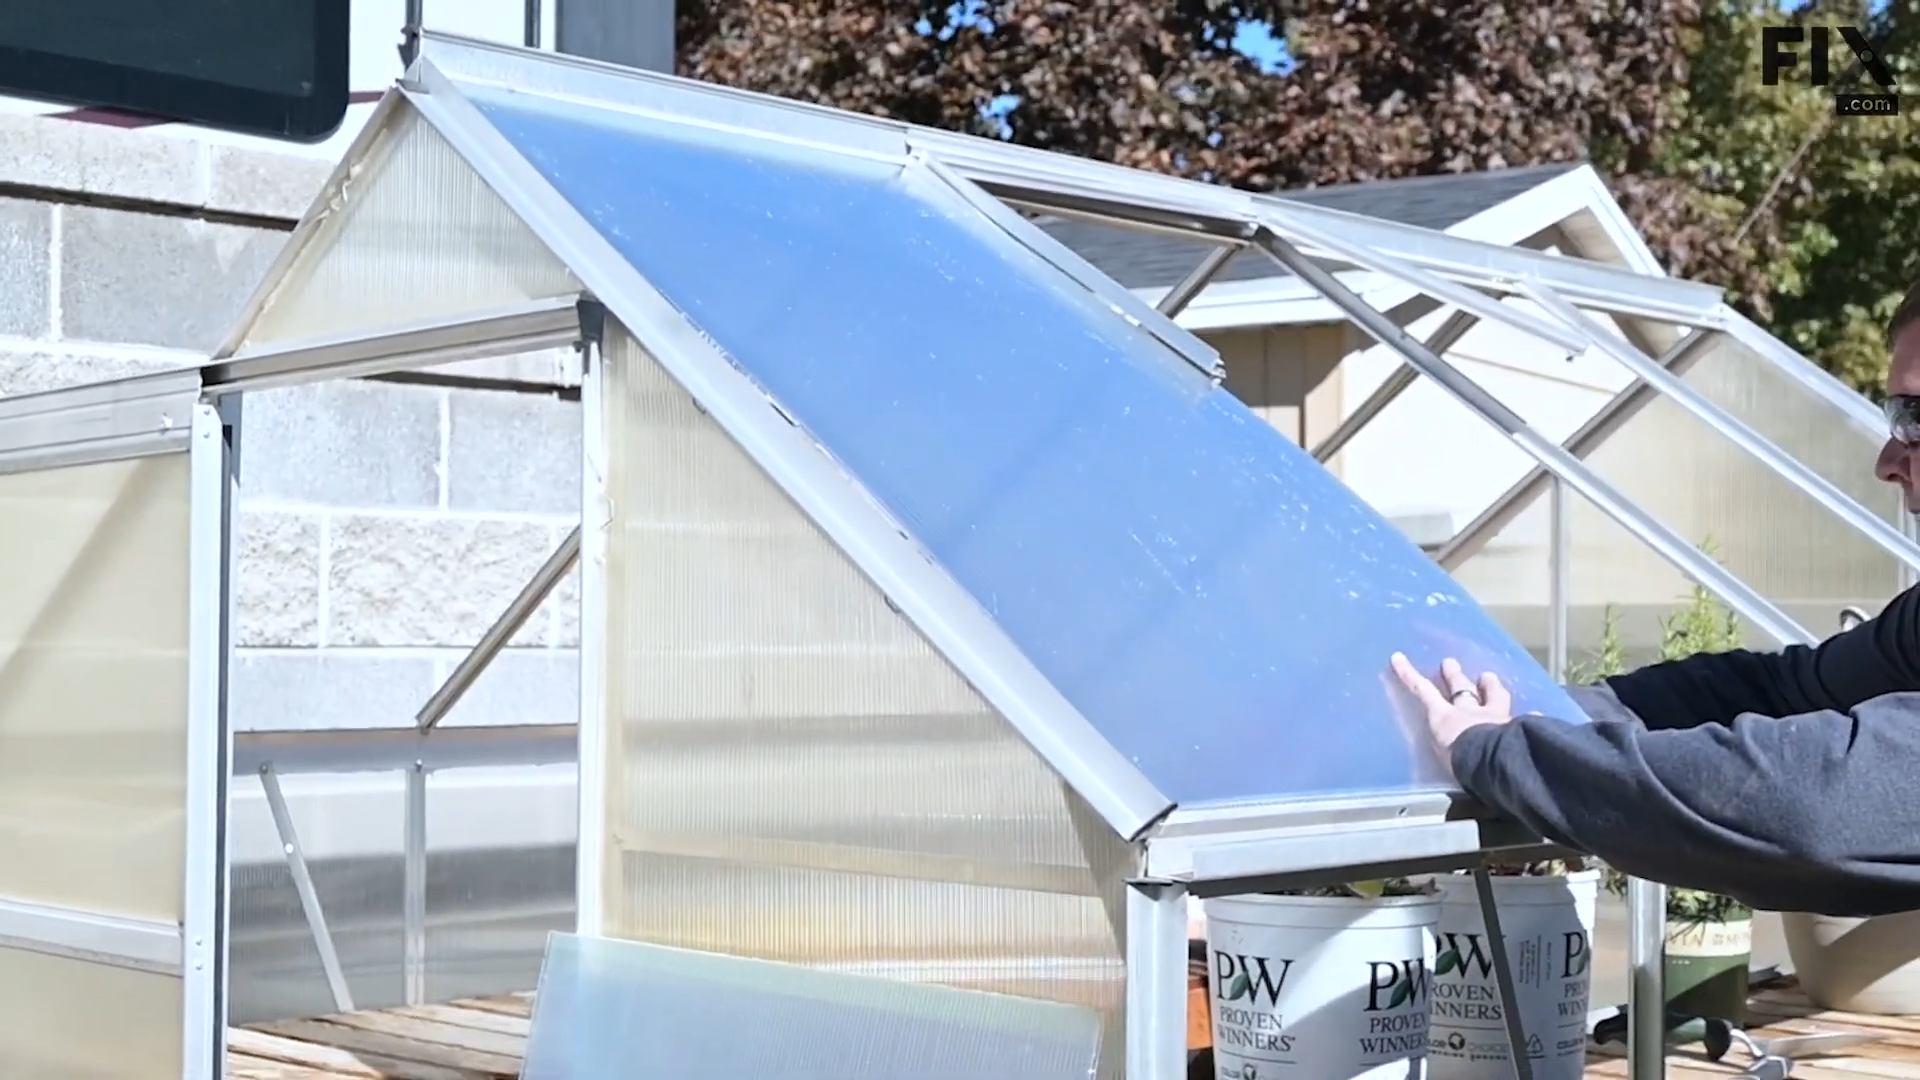
Next, align the sheet with the frame and slot it into place. Do this for all the large roof panels.
Slide the small panel below the vent into place and reinstall the partition.
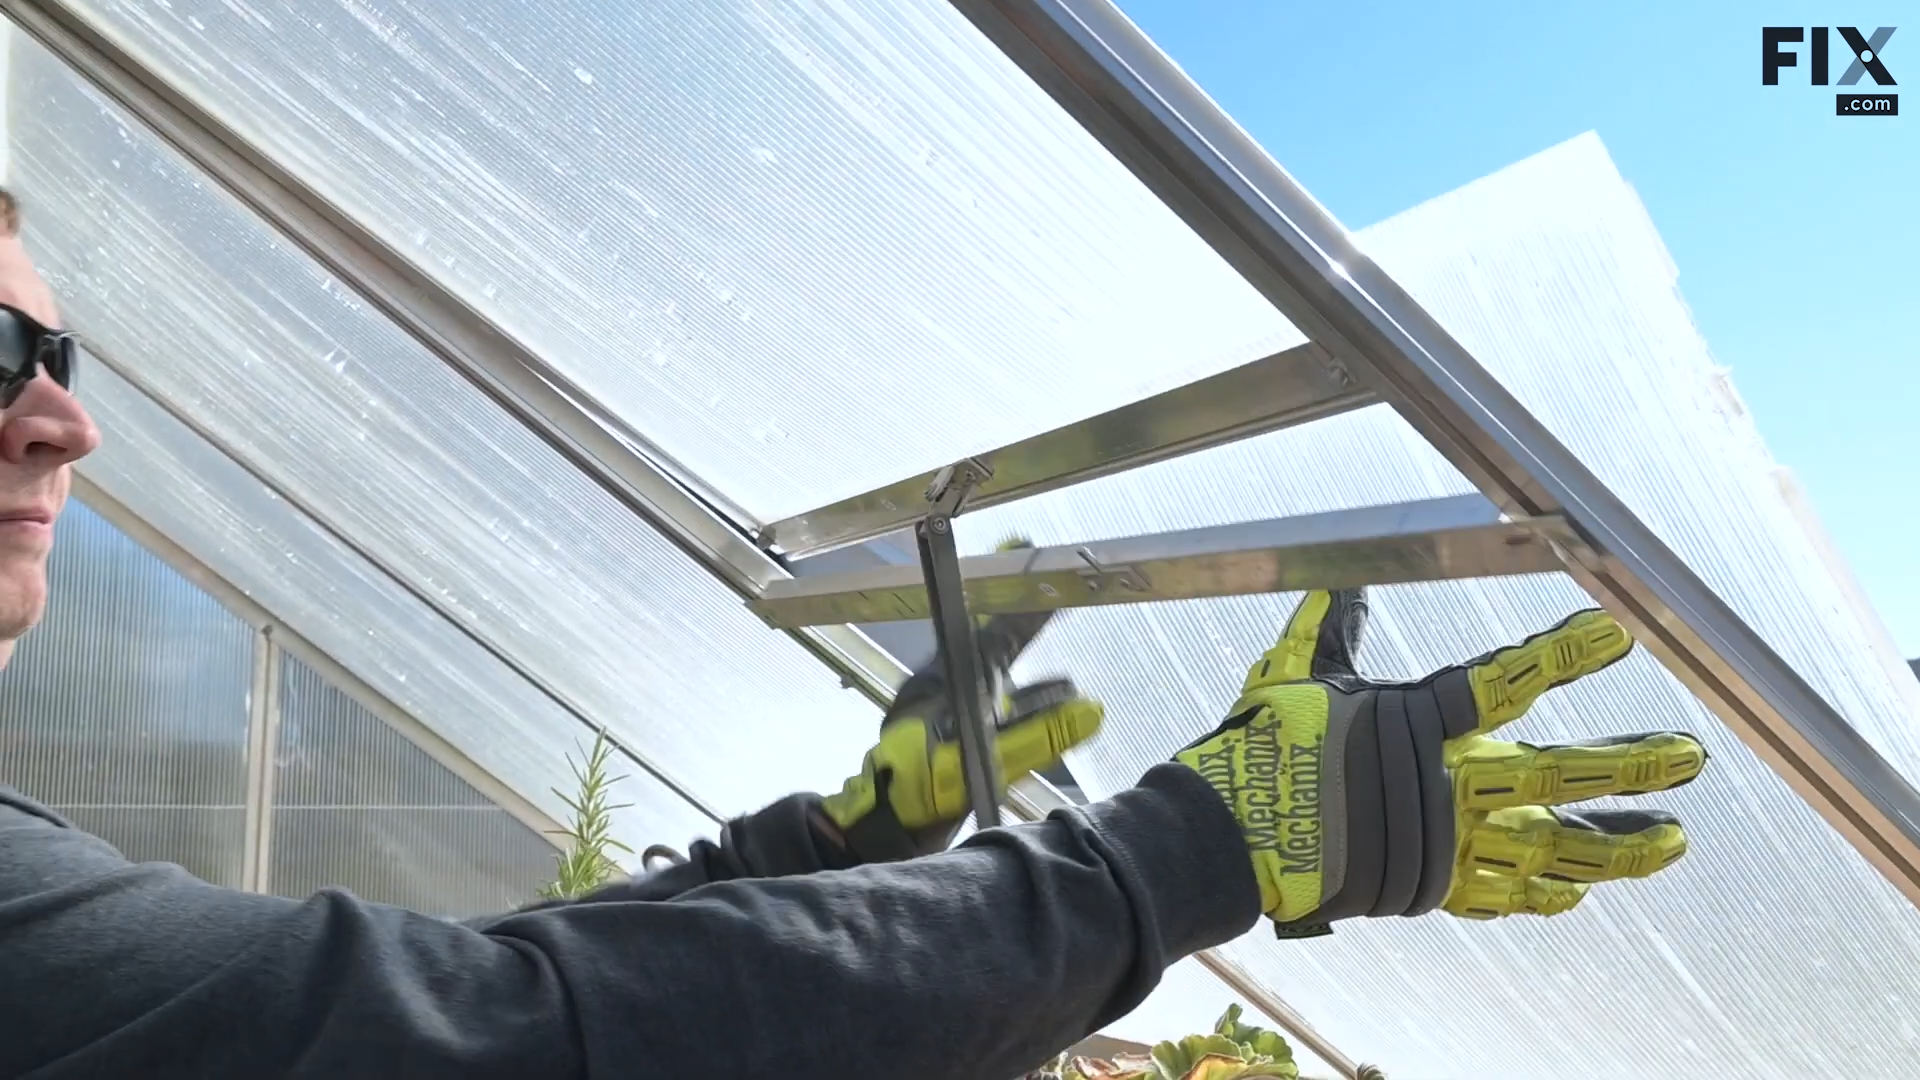
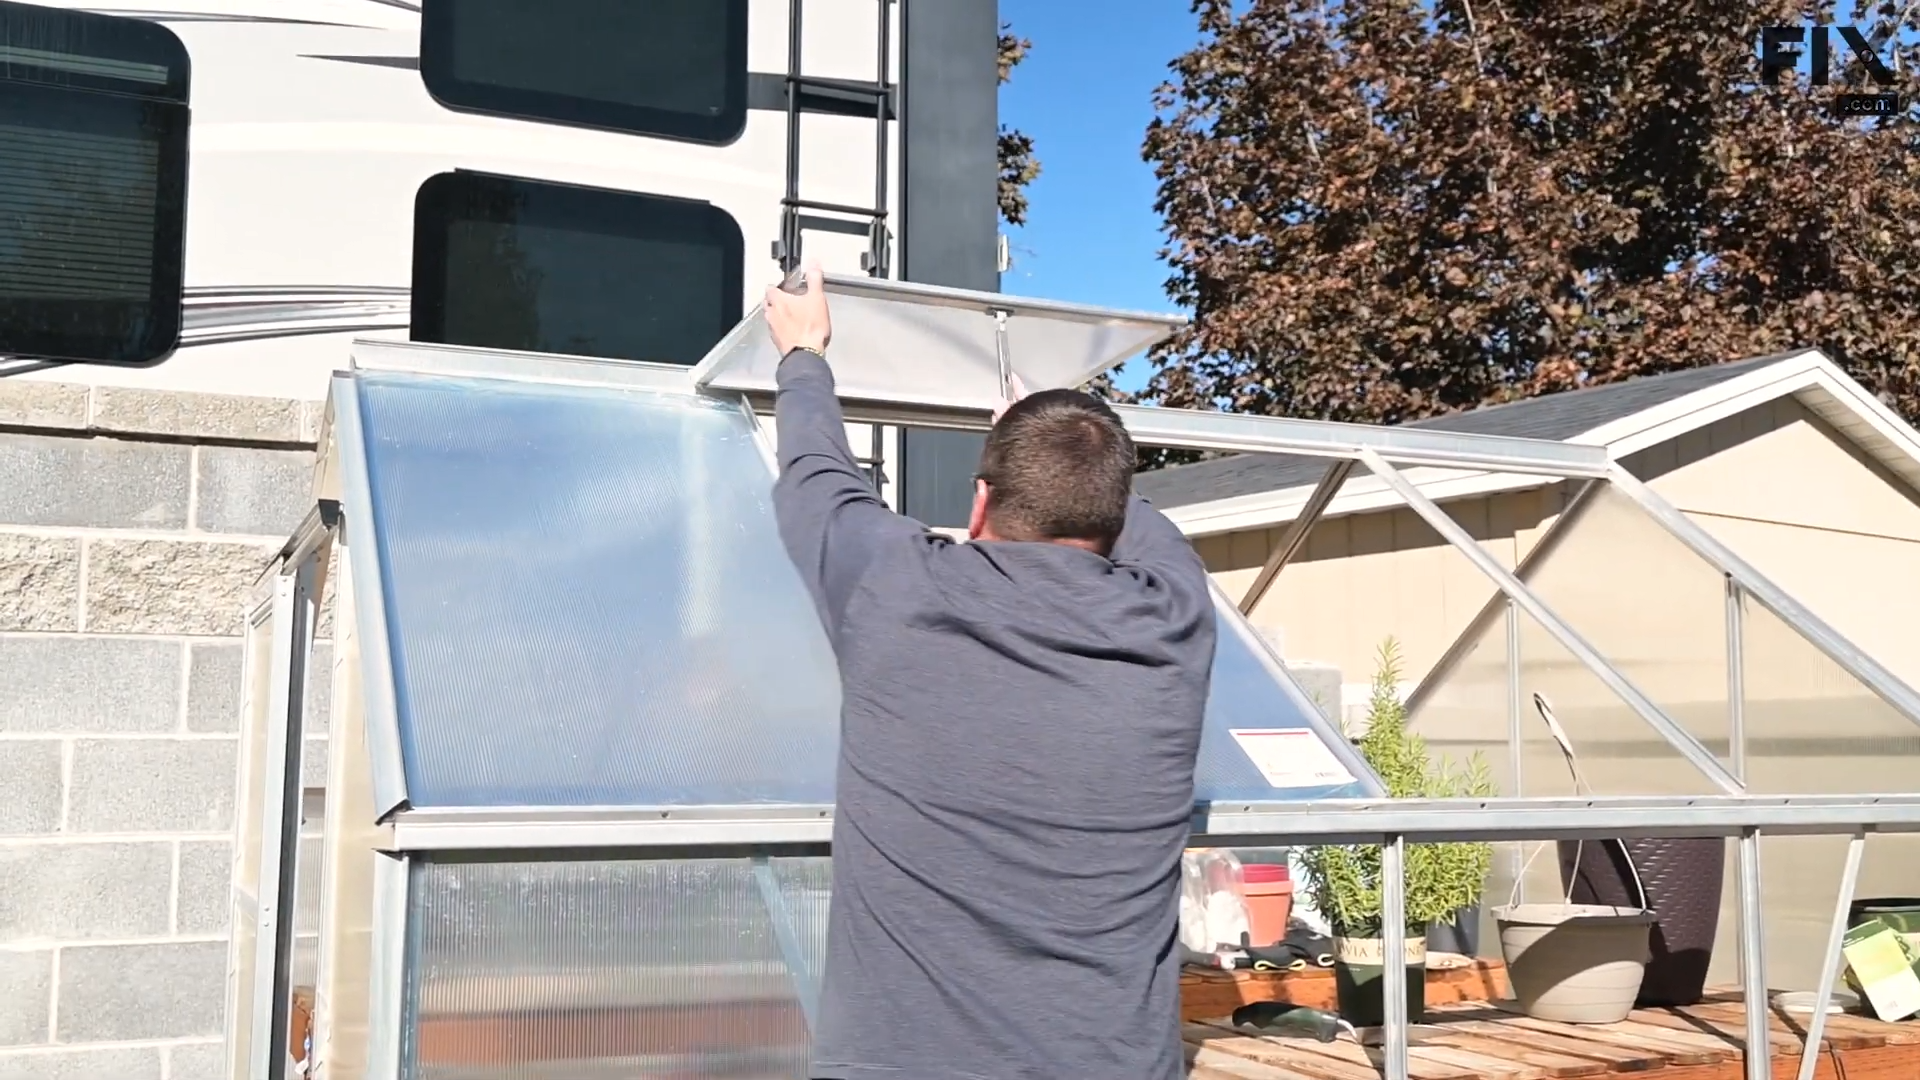
To install the vent panel, you'll need to remove the vent from the greenhouse first.
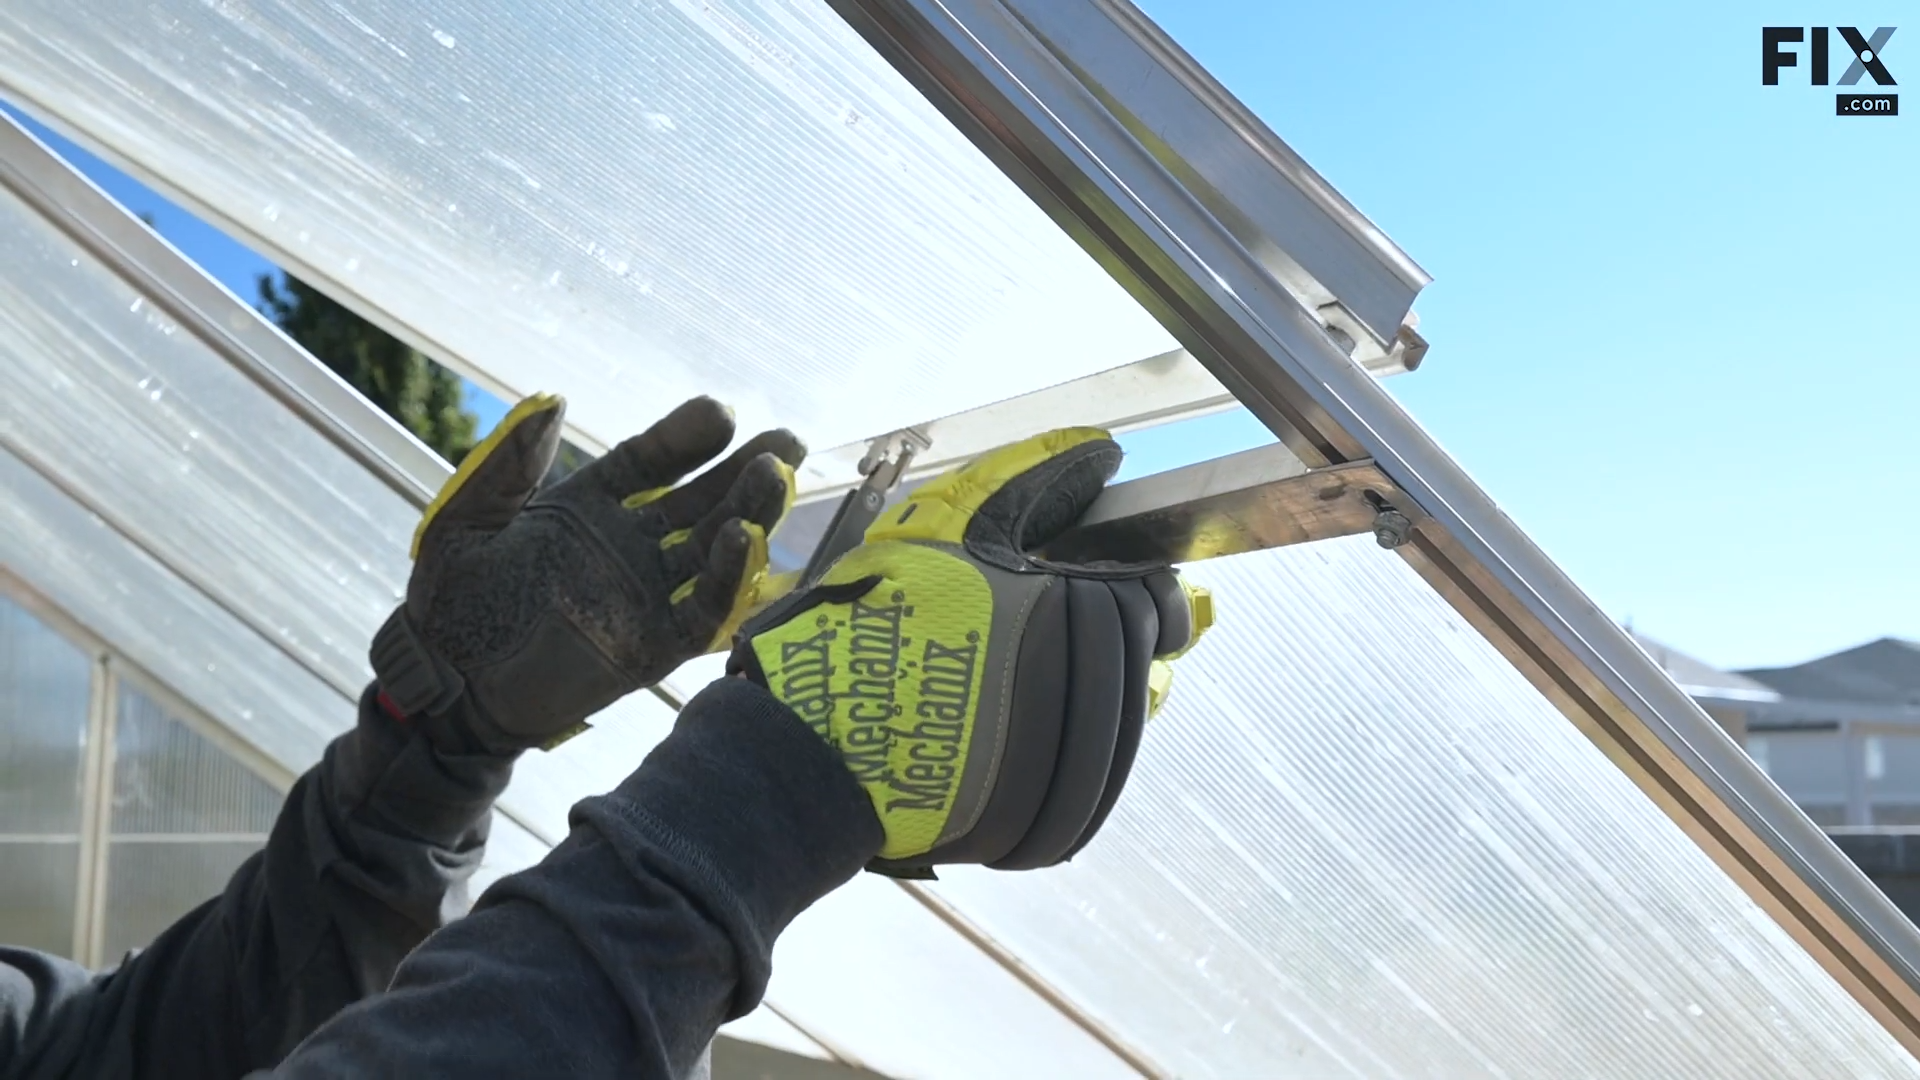
Once the vent is removed, slide the panel into the vent’s frame and work it into place. Make sure it engages inside each of the grooves using a putty knife.

Replace the vent and align it with the partition and the lower panel.
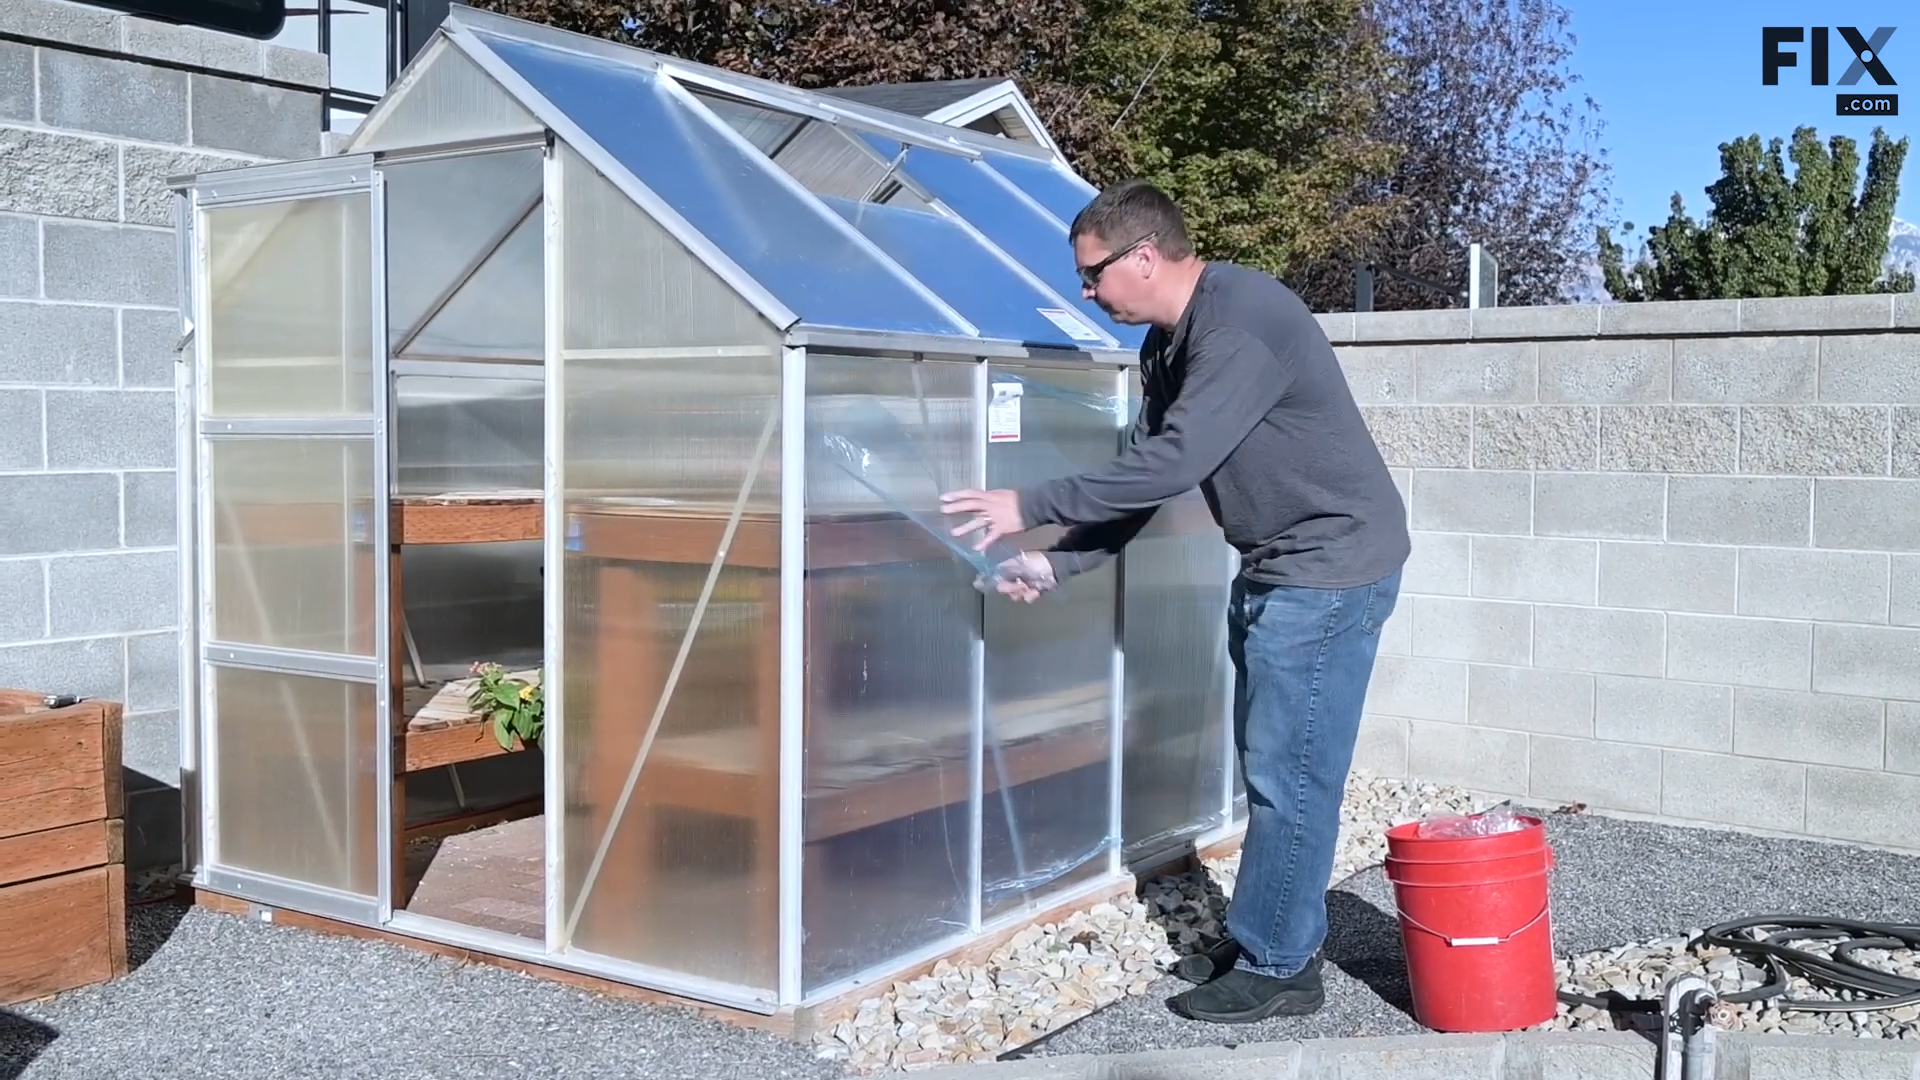
Continue installing the new panels until you have replaced all of the old ones. Afterwards, remove the UV-protective film from all the panels.
Reinstall the fixing clips.
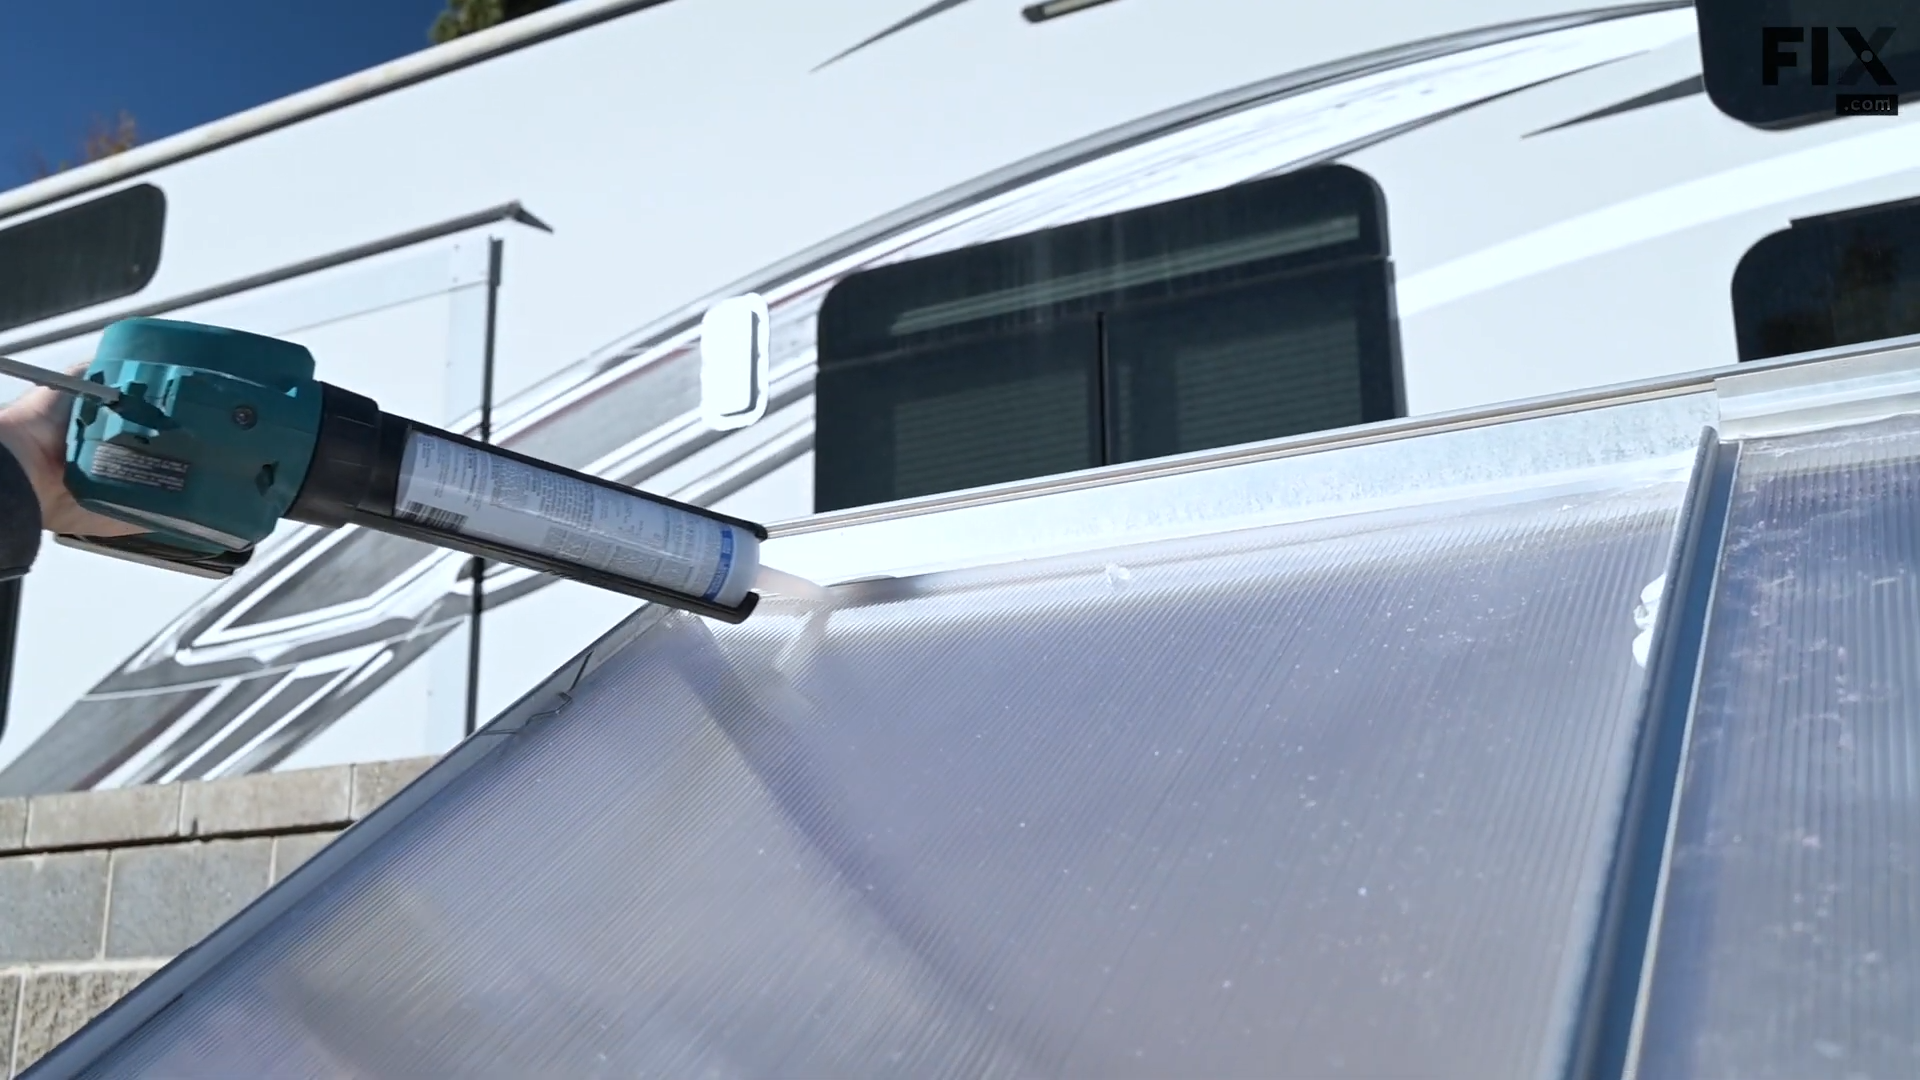
Finally, seal the panels with caulk to prevent any drafts or water leakage.
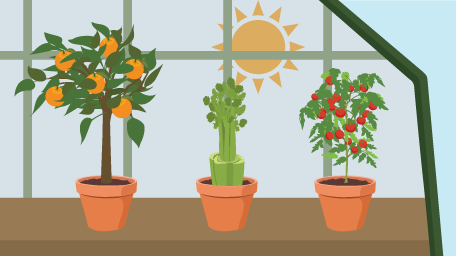
The result of this inexpensive renovation speaks for itself - you can now garden to your heart’s content!

If you’re looking for more related reads, we have plenty of gardening blog articles for you to check out. Interested in more DIY videos? Good news! Our YouTube channel is chock full of helpful content.
Embed the article on your site
Written by:
Written by:

You can never know too much about gardening, and as a beginner, it can be i...

As the shortest days of winter become a distant memory, green thumbs start ...
Clear plastic can have an astounding effect on your plants. By trapping the...
Get your fix of expert articles delivered straight to your inbox!
No Thanks - I don't like cool stuff