

Like what you're reading?
Get your fix of expert articles delivered straight to your inbox!
Oops! Please double check your email address.
No Thanks - I don't like cool stuff


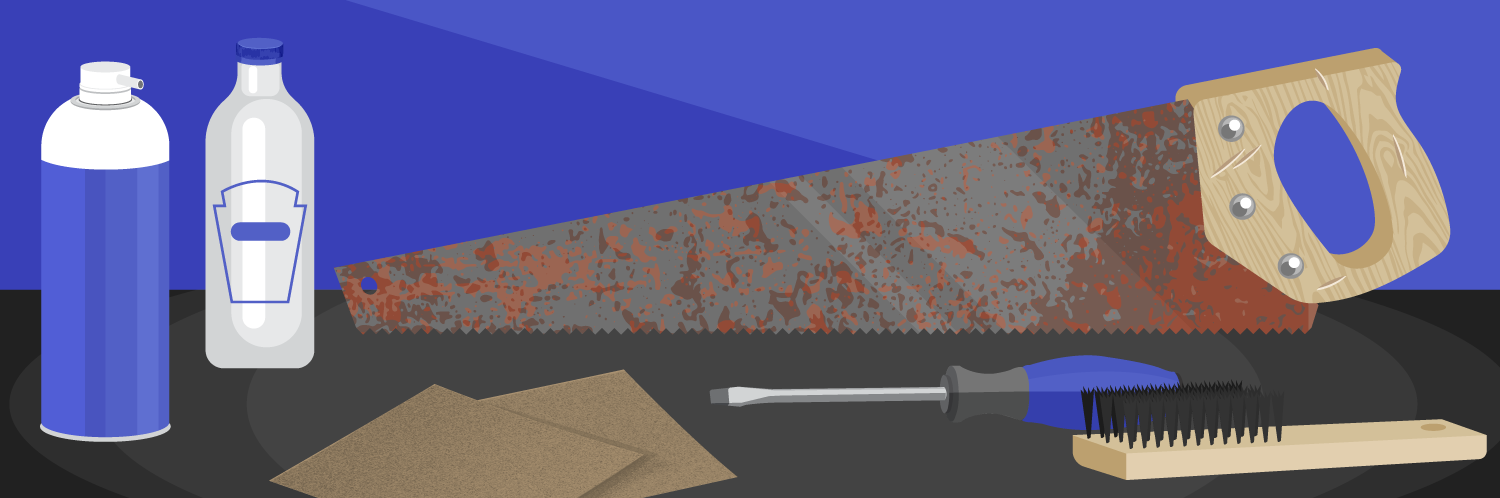
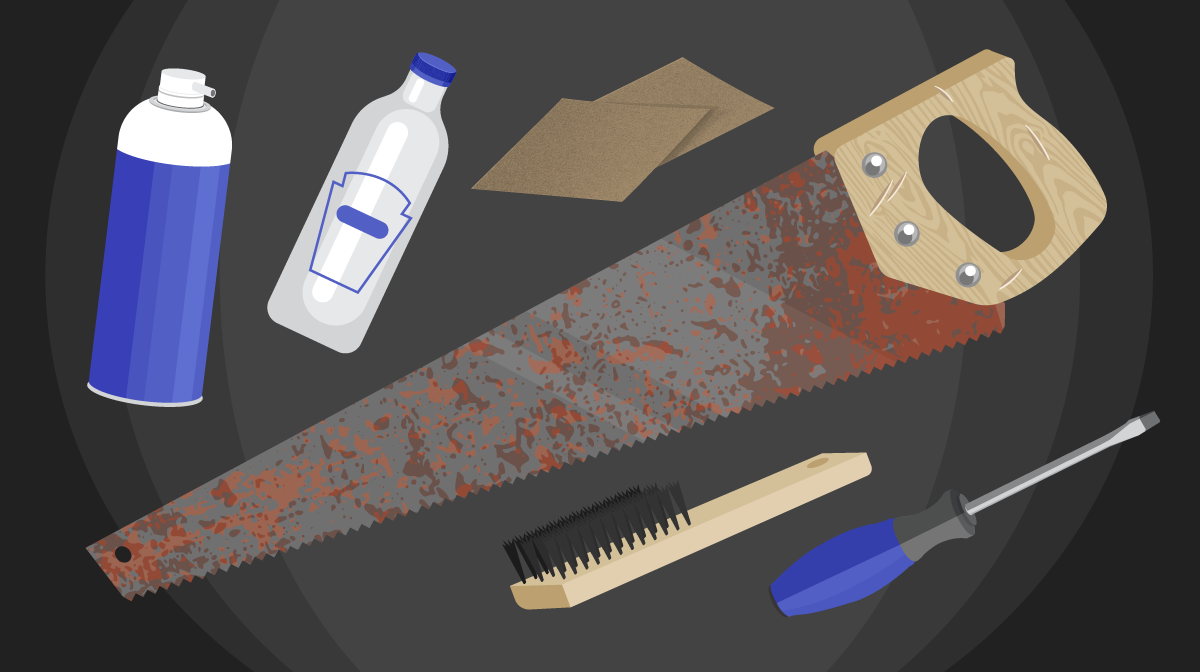
We all have tools laying around our shed or garage that still have a lot of life left in them, but they've seen better days. Whether it's rust, dirt, dust, or a combination of all these and more, it can be easy to assume that these hand tools are never going to be the same again, but that's not always the case. Today we have the perfect example to show you what can happen when you restore tools and extend their usefulness and get them looking almost as good as new with a few easy tips!
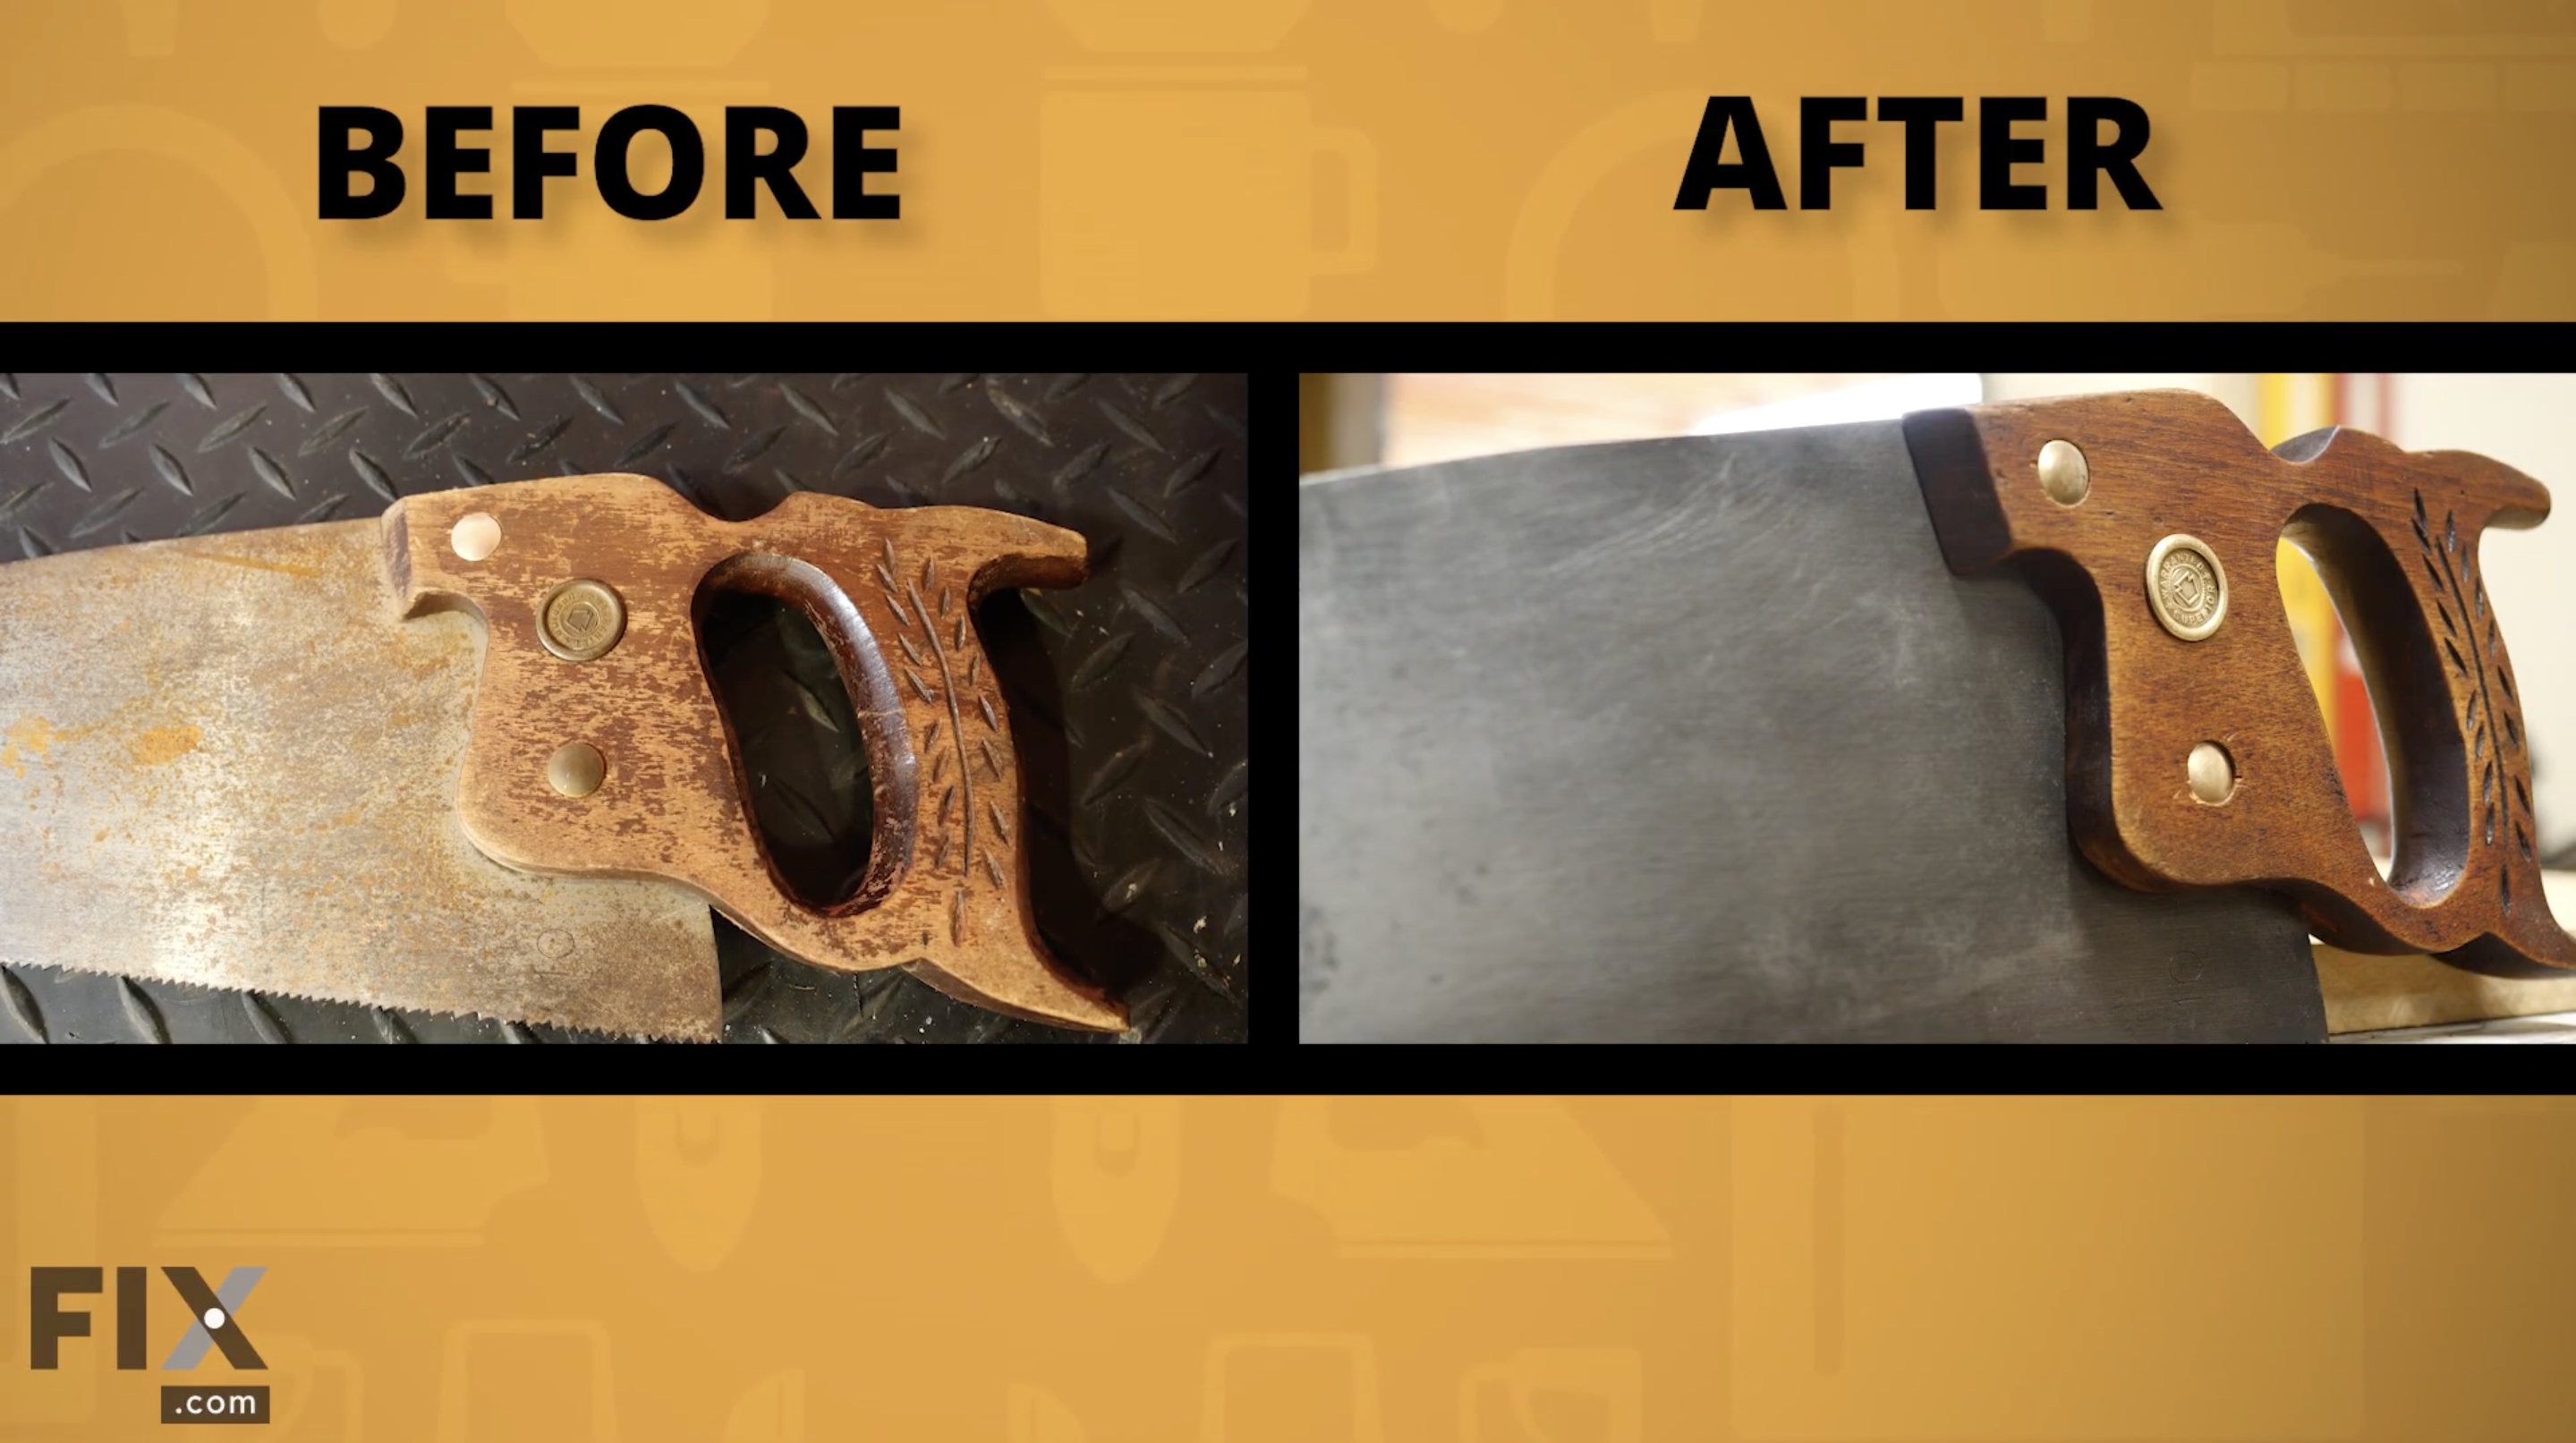
Most people have a rusty hand saw kicking around somewhere that they’ve forgotten about, and it’s probably covered in rust and scratches. But after this easy and simple restoration, your hand saw will go from looking like it belongs in the garbage, to looking like it rightfully belongs in your toolbox!
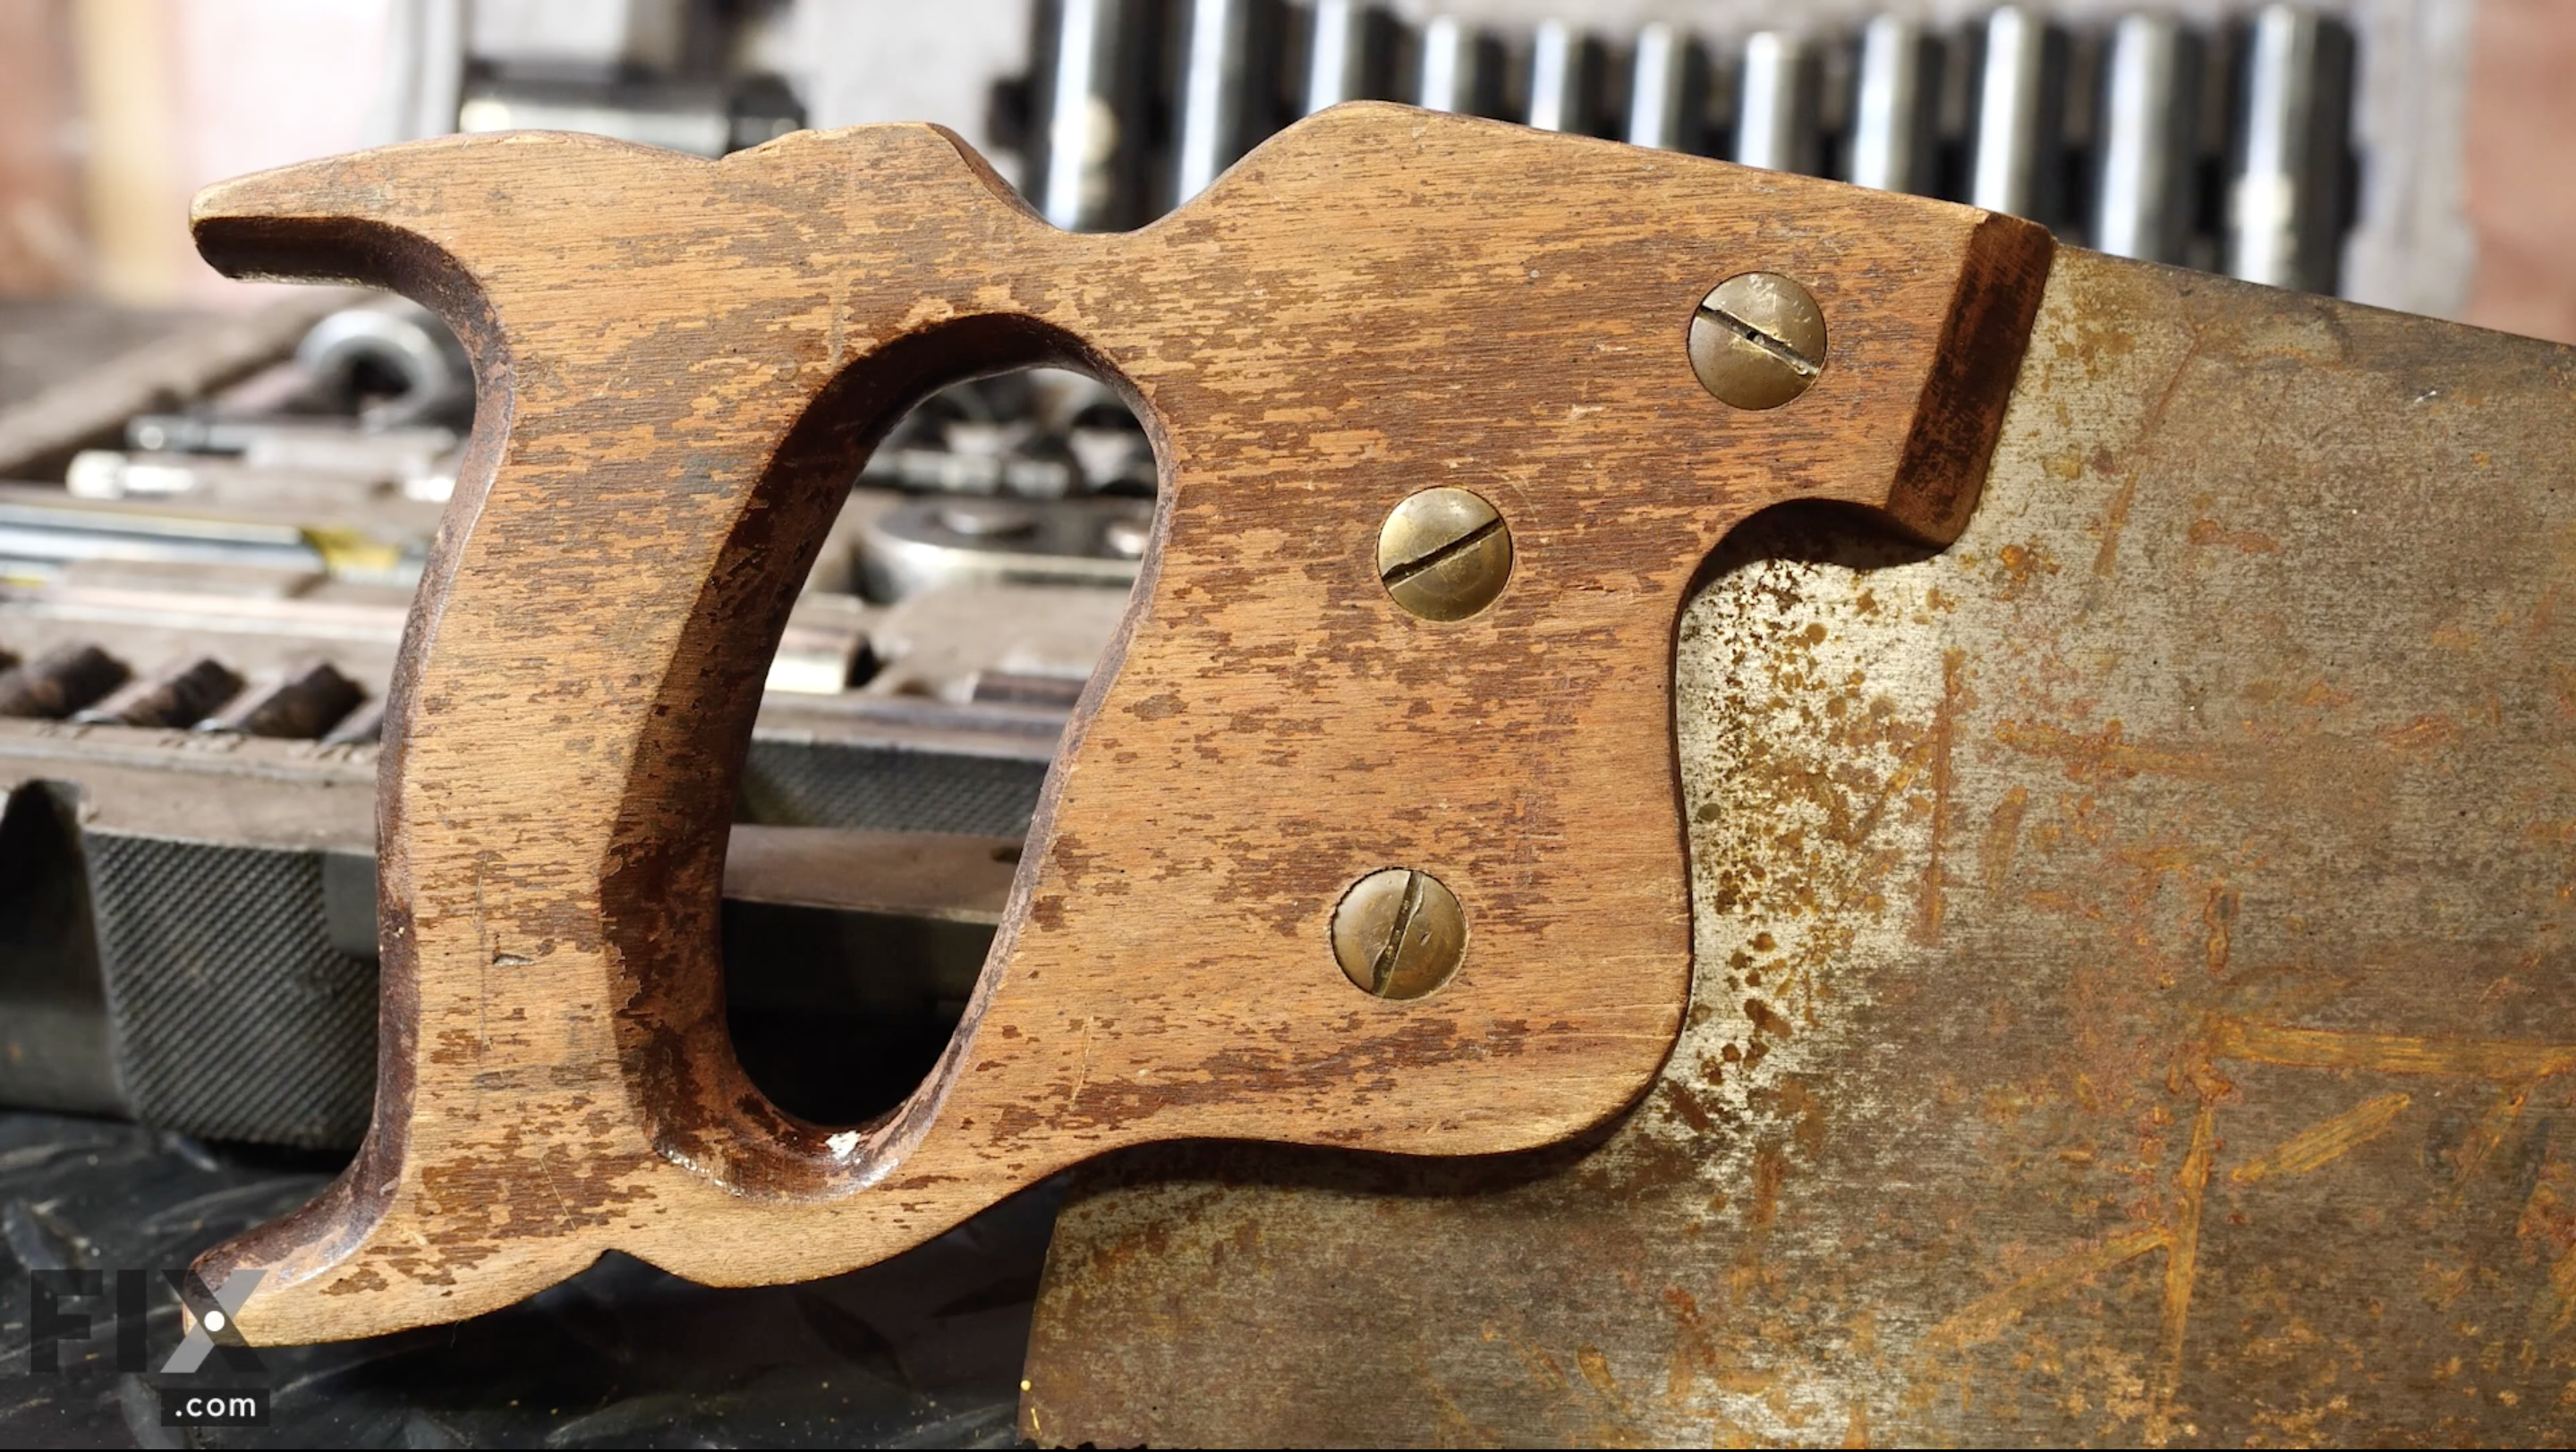
On some tools and hand saws in particular, a ‘medallion’ is present which can give you more information about the age and manufacturer of the hand saw, if you want to know more about it. For the restoration itself, it’s important to take things apart and work away at the smaller pieces that make a whole as opposed to seeing the restoration in its entirety.
In our case, we removed the handle from the hand saw blade by simply unscrewing and removing the nuts with a screwdriver. Once you do this, you can get a clearer picture of what the blade looks like without the rust and with a shine that probably hasn’t seen the light of day in a long time.
To get the most life back into the handle of your hand saw, it’s important to sand down the handle itself. Depending on the material of your hand saw’s handle, you may need a different type and level of abrasive material to sand it with. In our case, a simple abrasive pad works well to remove the old varnish, gunk and overall crud off the surface of the handle so we can spruce it up best afterwards! Depending on the handle you’re dealing with, you may also need a chisel or a sharp tool to truly clean up any deeper grooves or inlays on your handle.
Once you’re satisfied with the overall clean feel of the handle, you’ll want to give it a new coat of boiled linseed oil to give it its original shine! Once the linseed oil is applied, it’s important to leave it for a day or two to cure completely and dry.
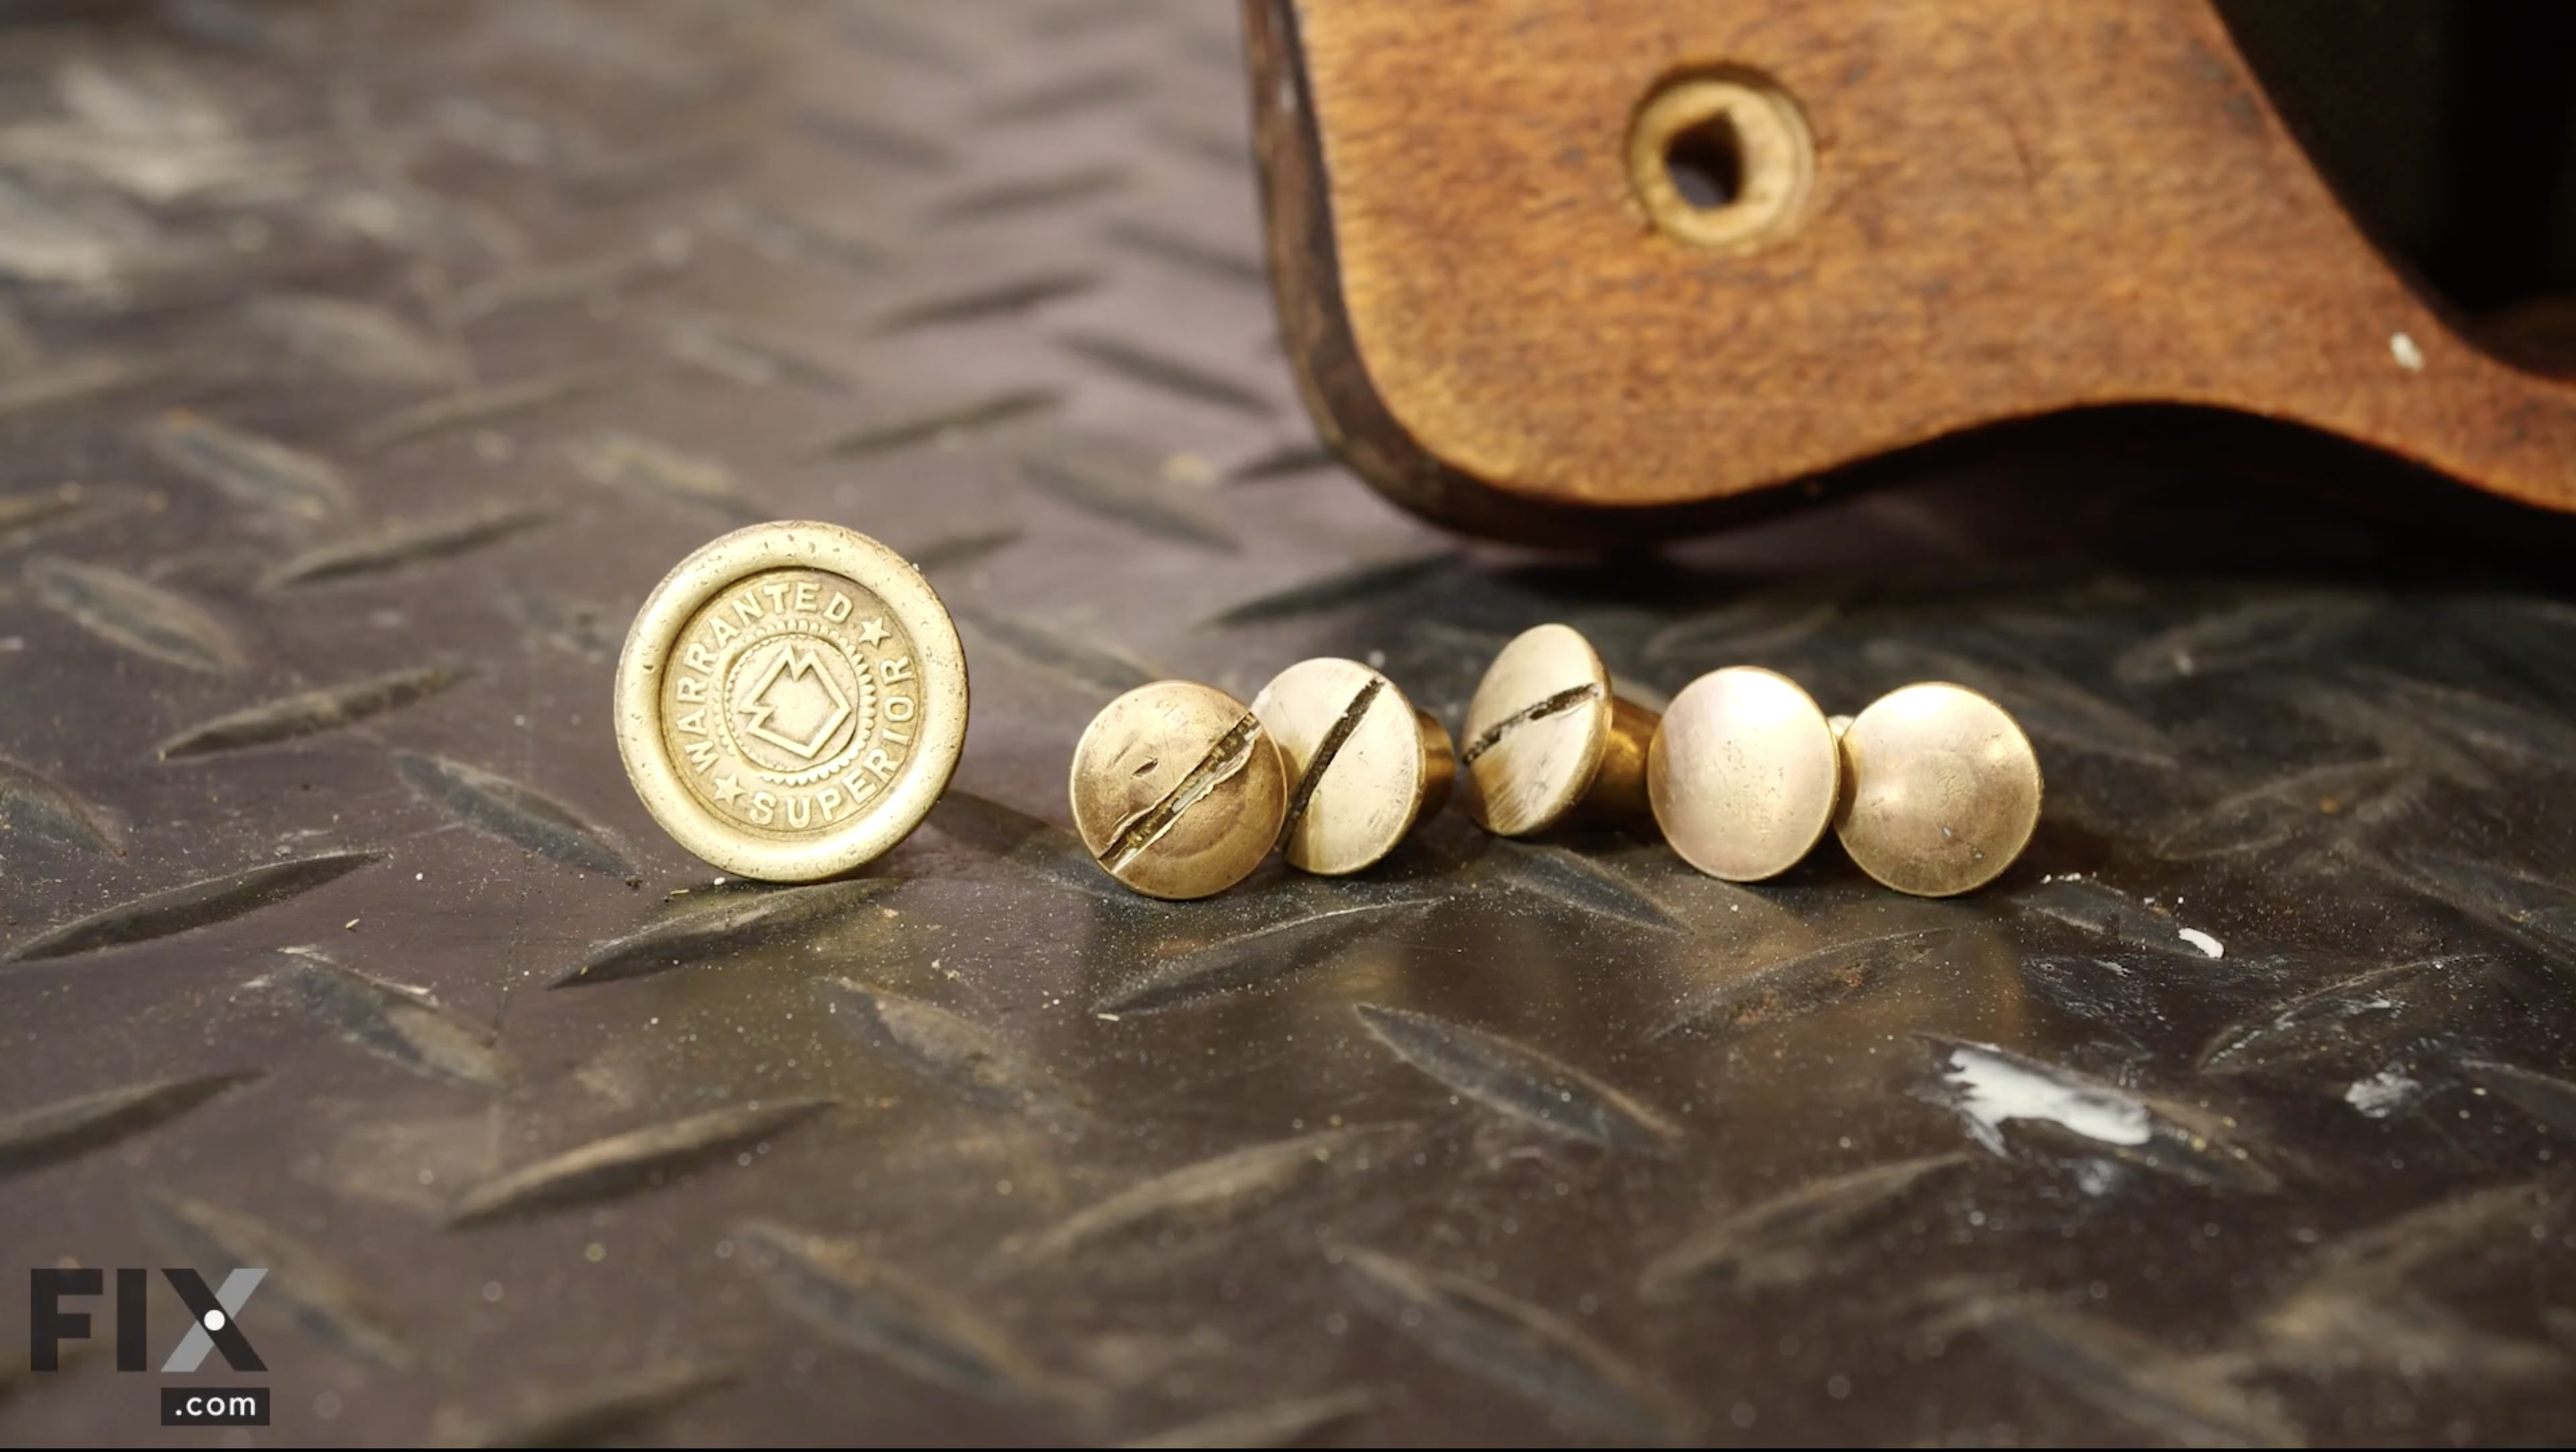
You can also clean and polish the hardware for your hand saw to get the absolute best shine everywhere. We used a copper cleaner, but depending on your hand saw's materials, you may need a different type of cleaner.
Now that your hand saw’s handle is removed and cleaned, we can move on to arguably the most important part of the hand saw – the blade!
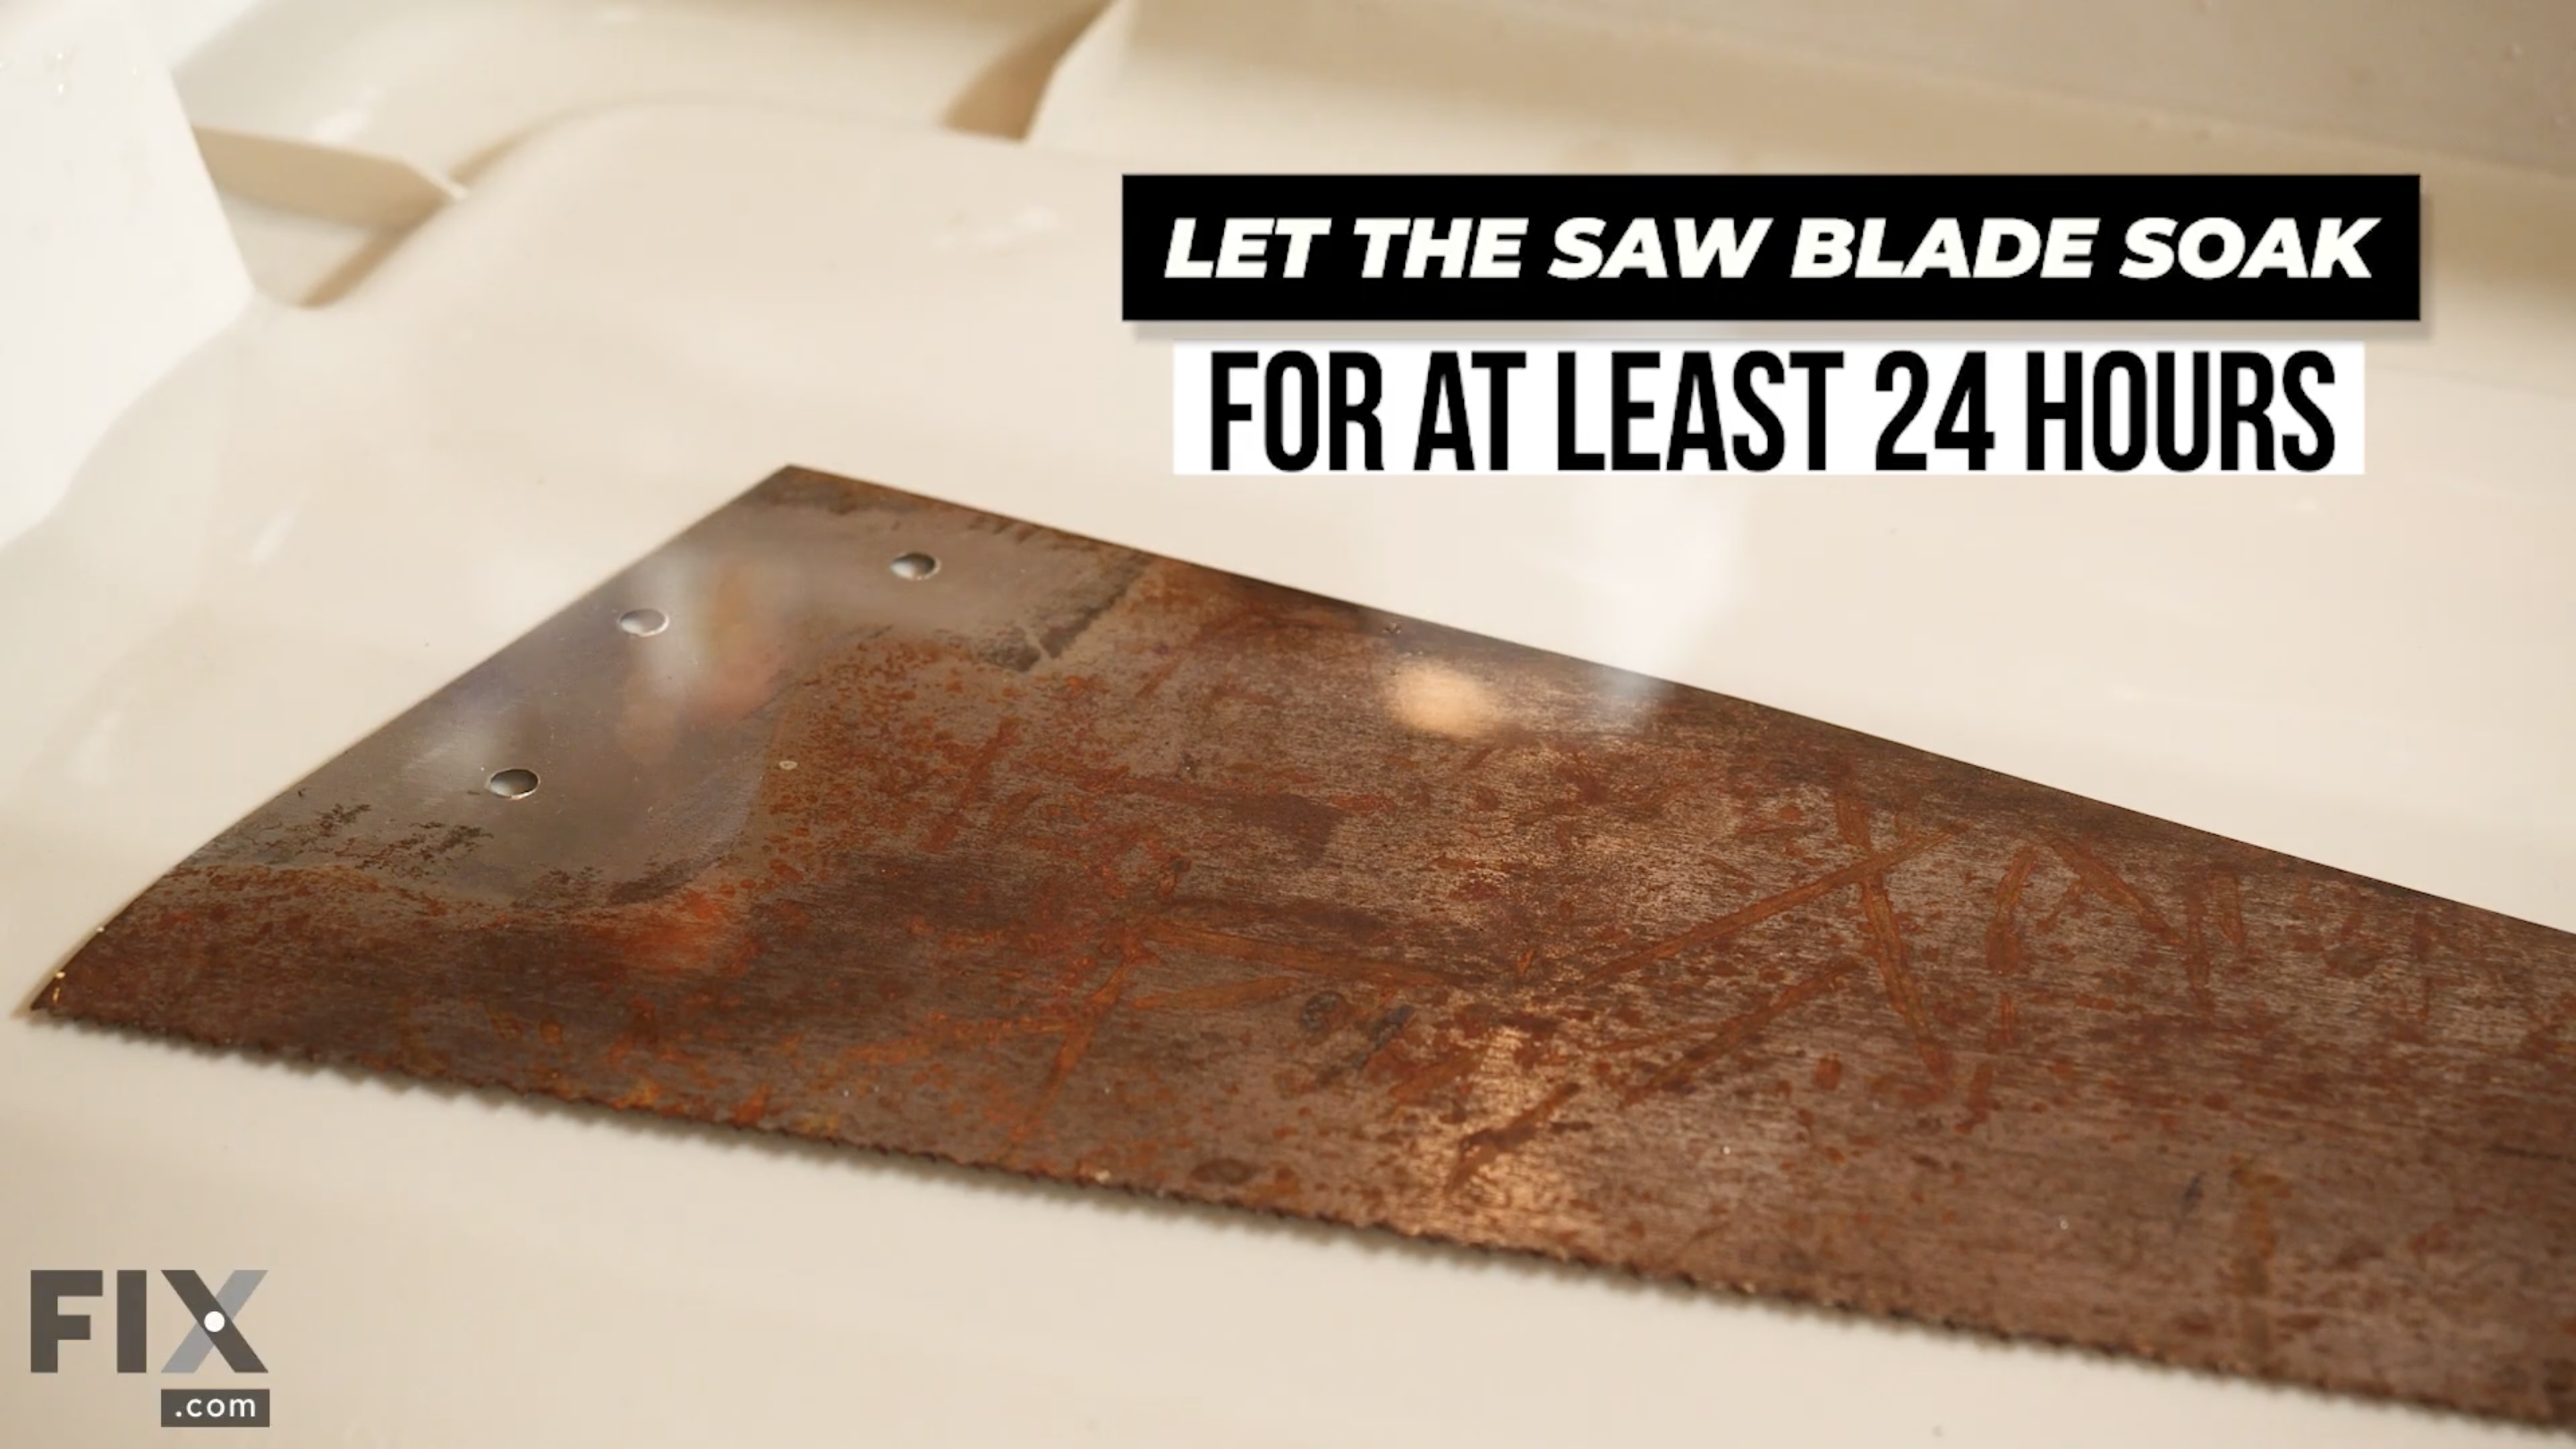
Once the blade and hardware have had time to bask in the vinegar-water solution, it’s time to take them out and give them a scrub with a wire brush. This will help to remove any excess rust and dirt and help clean the surfaces overall. You can also use a sanding block on the hardware to give it a cleaner and more polished look. It’s important to give the blade a healthy coat of WD-40 and rub it in with a dry rag or cloth to prevent future rusting and corrosion, and also remove any final grime and dirt.
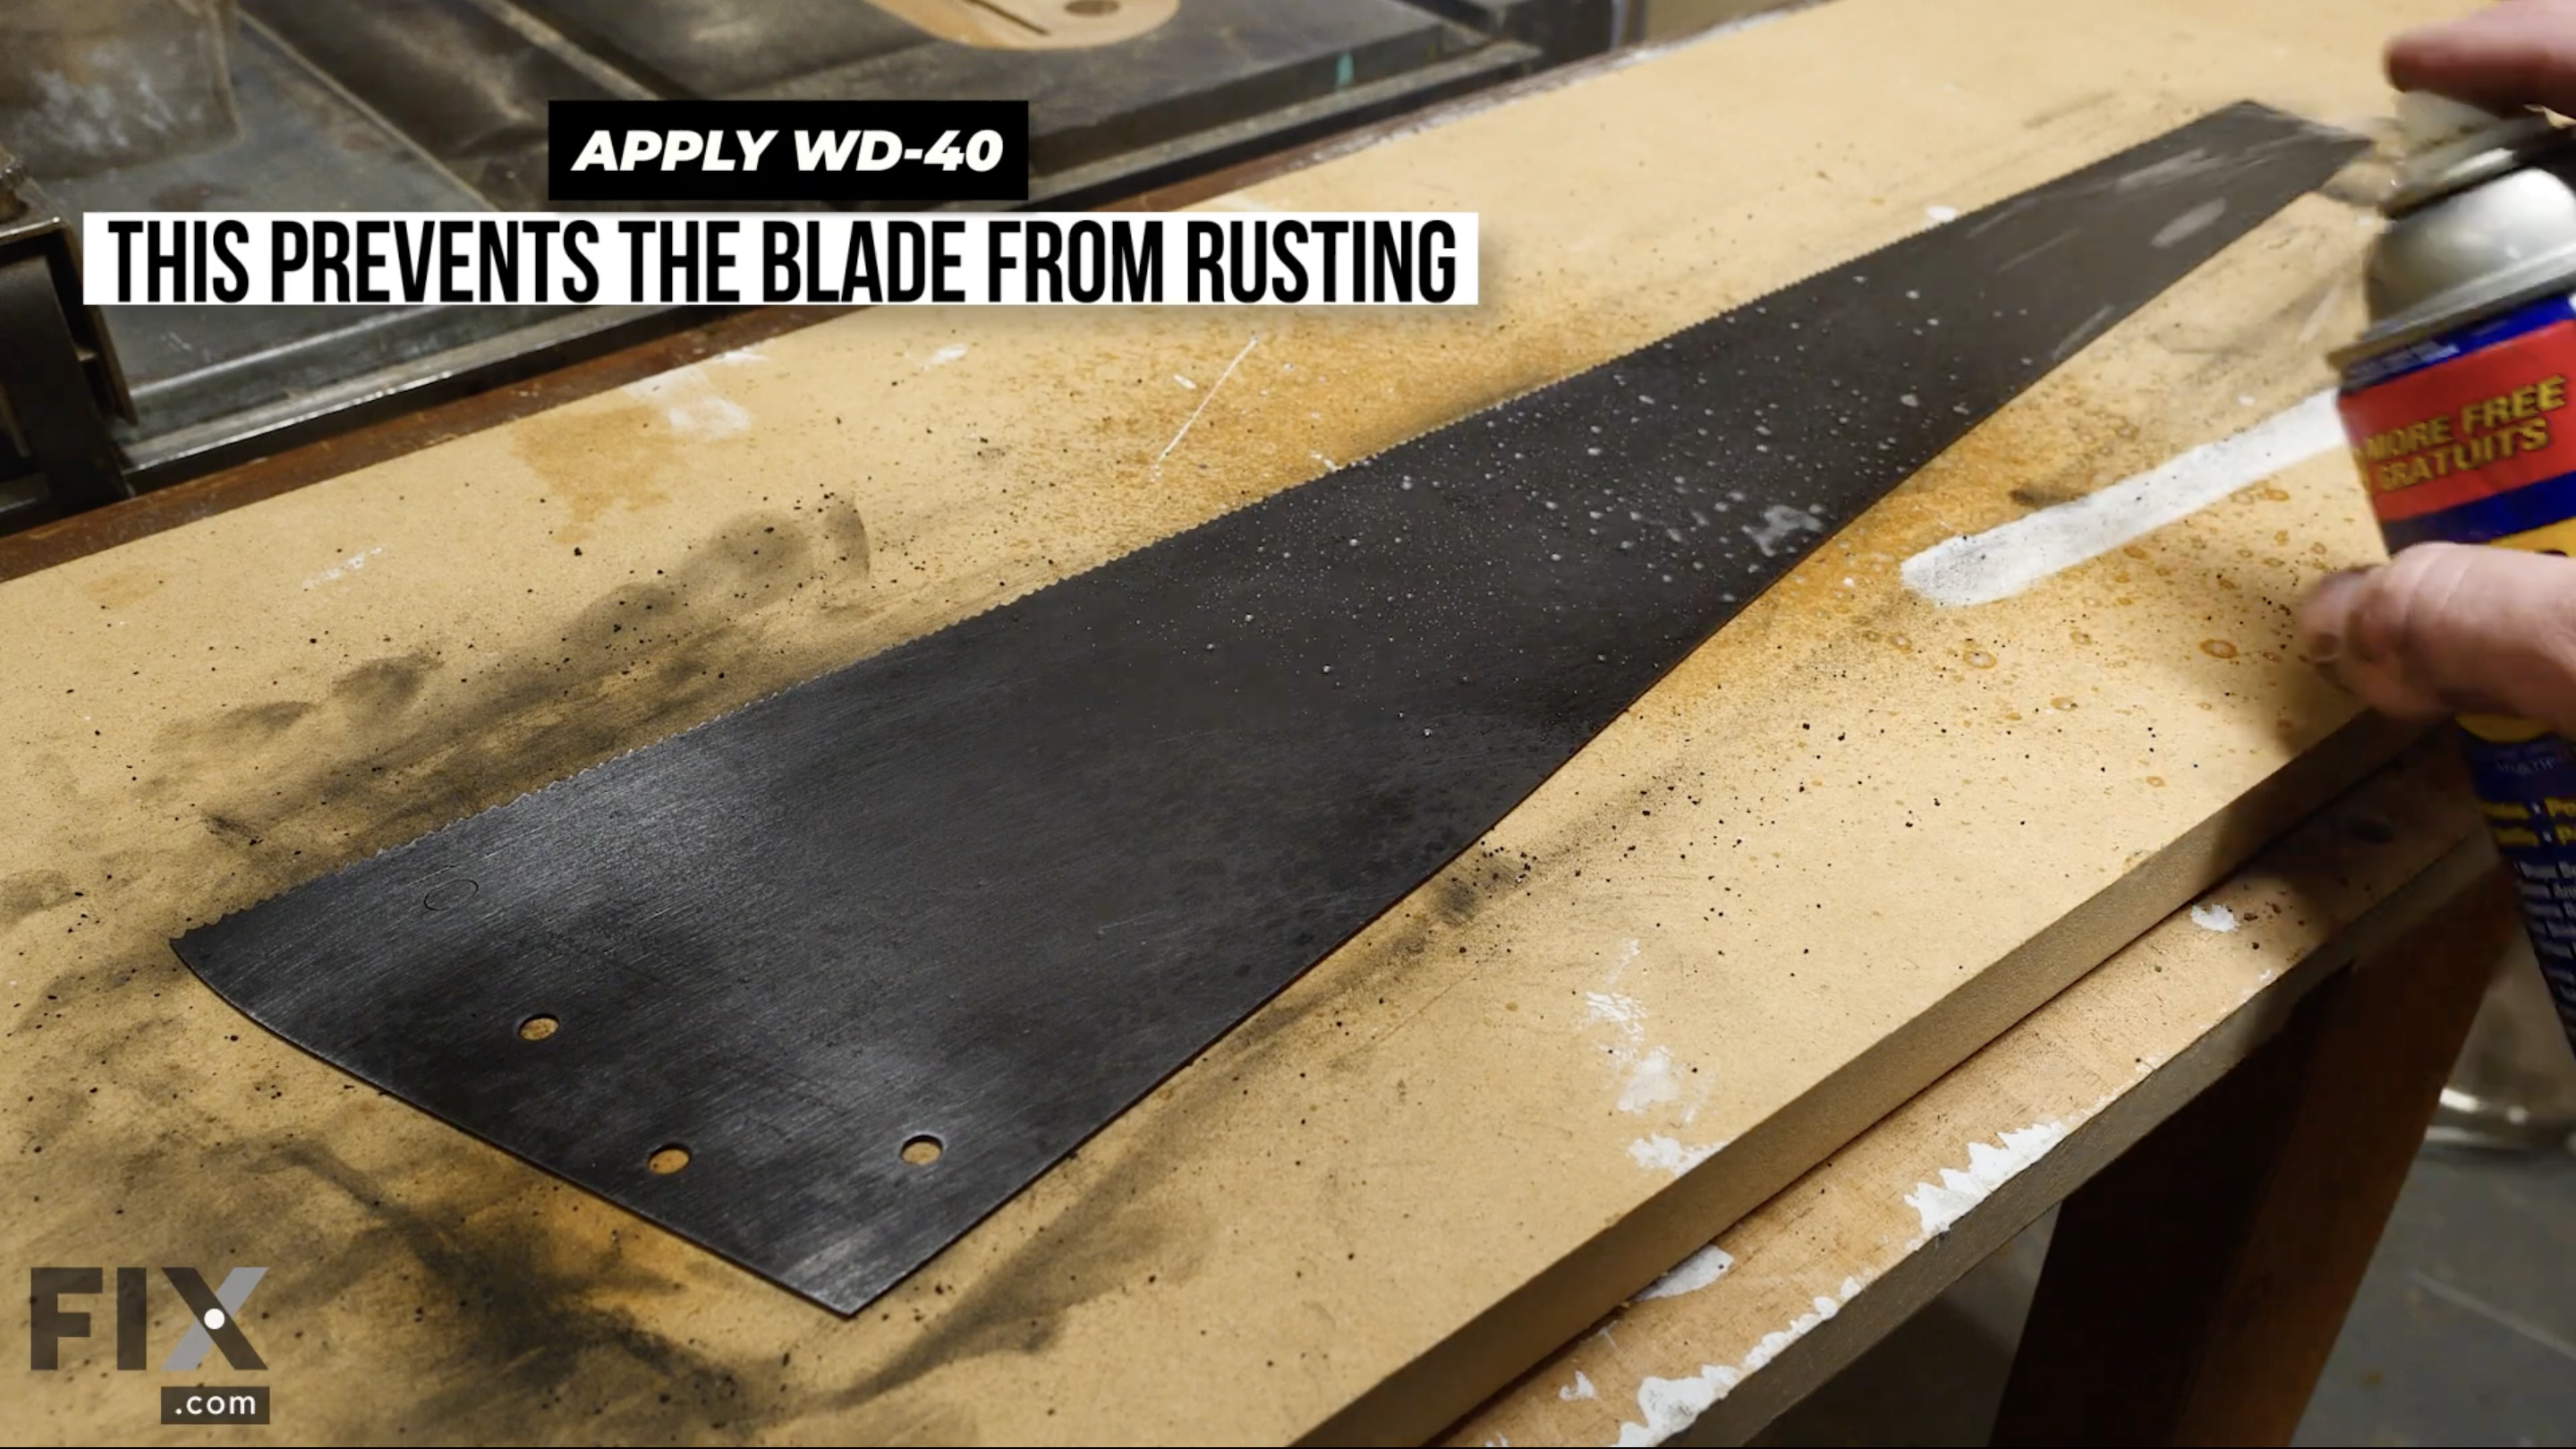
With the WD-40 applied, you can now do a final sanding on the hand saw blade; we started with 60-grit and progressively moved to 100 and then finally 150-grit. Hopeful you’ll notice, as we did, that due to the effects of the vinegar, the sanding experience will be nice and easy since it’s loosened the overall surface of the blade.
Once you’re satisfied with the condition of your hand saw’s blade and handle, it’s simply a task of putting it all together, nice and snug! We hope that this guide helped you to restore a hand saw that perhaps hadn’t seen a proper clean in a while, or any other tool that needs the proper care that it deserves!
If you enjoyed this guide, you’ll love our other blogs and Fix.com videos that help you with any DIY project you might have! And be sure to check out our repair center if you have an unruly appliance that also has a lot of life left and may just need a quick fix!
Embed the article on your site
Written by:
Keep the dust out of your vacuum filter and workshop, and save some cash wi...
Is your garage or basement in need of a storage solution? Read our step-by-...
Repurpose and upcycle your reclaimed wood with these easy home improvement ...
Get your fix of expert articles delivered straight to your inbox!
No Thanks - I don't like cool stuff