


Like what you're reading?
Get your fix of expert articles delivered straight to your inbox!
Oops! Please double check your email address.
No Thanks - I don't like cool stuff


Have you ever finished up a long workday, only to get to the parking lot and discover you have a flat? What about mid-road-trip and your tire pops? No matter what caused it to happen, getting a flat tire can really flatline your day. Thankfully, putting on a spare can be an easy job. Ensure that your car is stocked with the proper tools and safety equipment, and you’ll be back on the road in no time.
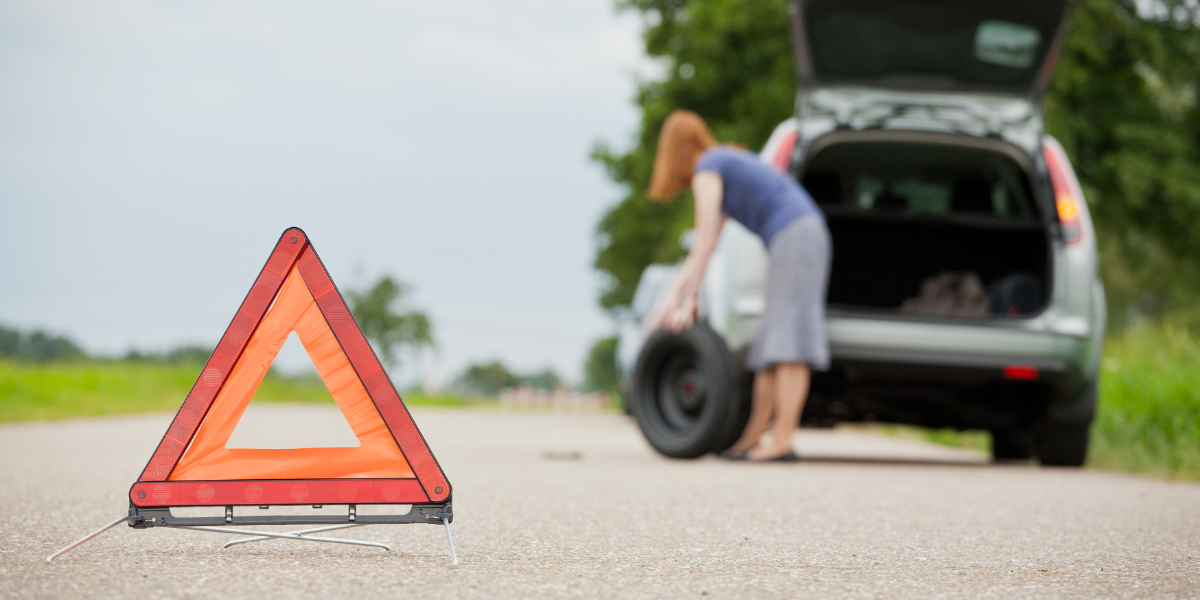
Flat tires don’t always happen in the comfort of your driveway or garage. Since it is likely you’ll be out and about when a flat occurs, it’s important to get to a safe location. Driving with a flat tire will damage your rims, which will be an even more expensive repair or replacement. You’ll be okay to go far or long enough to get yourself pulled over in a safe location, but don’t attempt to get home or to the garage with the flat. When you pull over, be sure to turn on your hazard lights, ensure the emergency brake is engaged, and place some reflective safety cones around the car. Most roadside emergency kits will have these reflective triangles or cones to help increase your visibility. If you have a reflective safety vest, put that on as well.
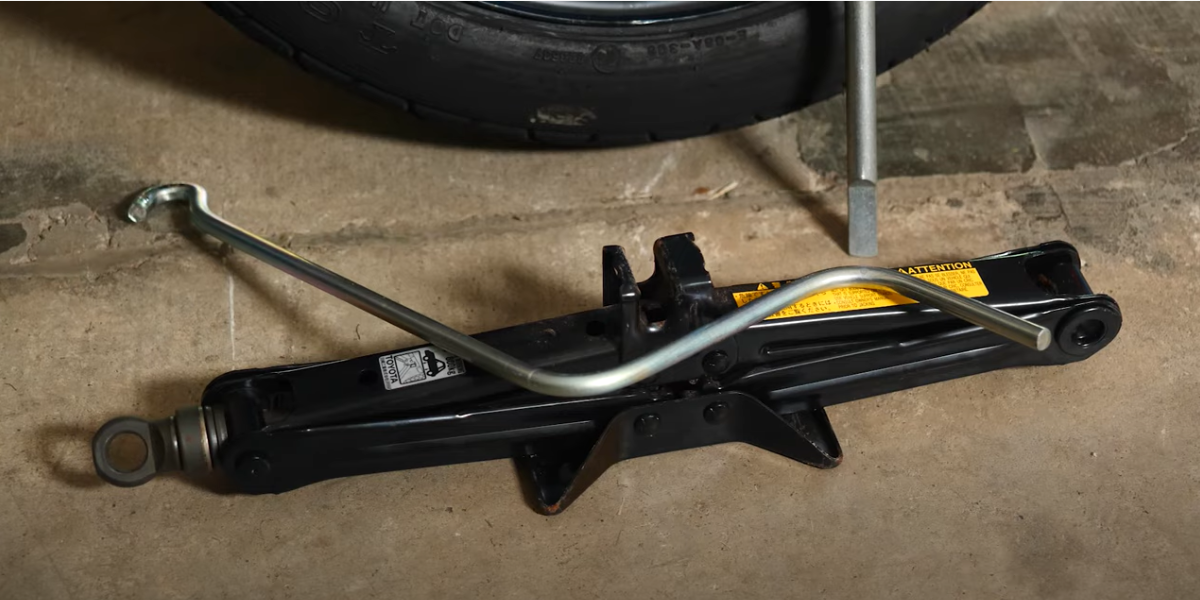
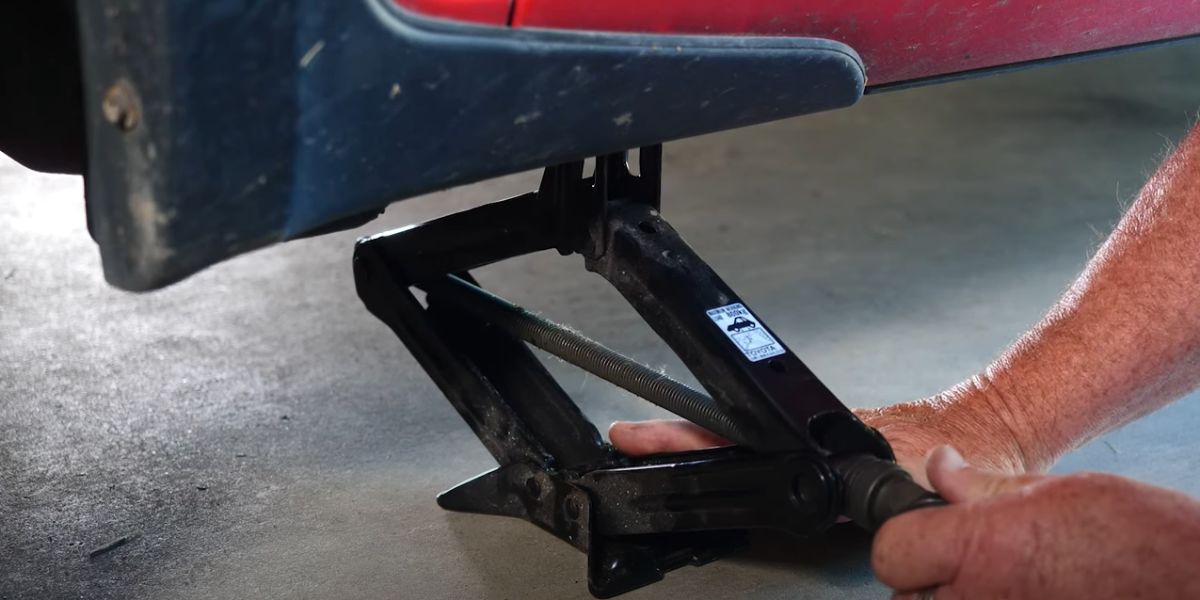
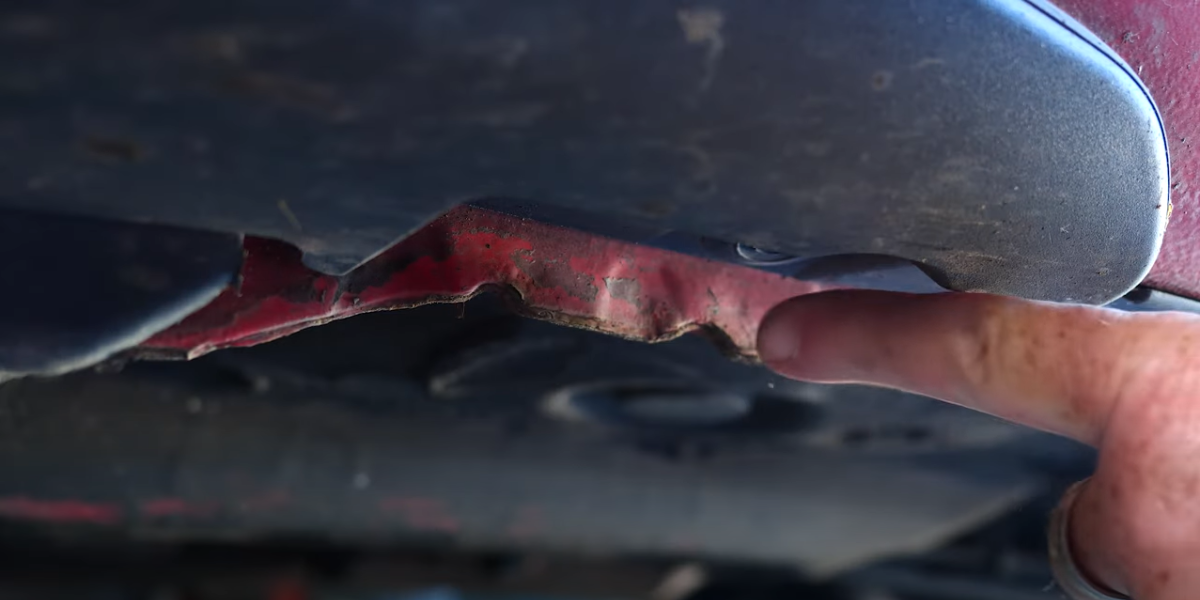
The next time you head out to your car, take a moment to familiarize yourself with the location of the spare tire and tools. Your car likely is equipped with a donut, a jack, and a tire iron. In your owner’s manual, you should be able to find exactly where these items are stored in your car. In some models, they may be in the trunk, a cargo area, or underneath the vehicle. It's important to know this information before the time comes when you need to use it. Some other items you may wish to keep in the car for this situation include tire wedges, a flashlight or headlamp, work gloves, and a small cut of 2x6 for your jack to rest on.
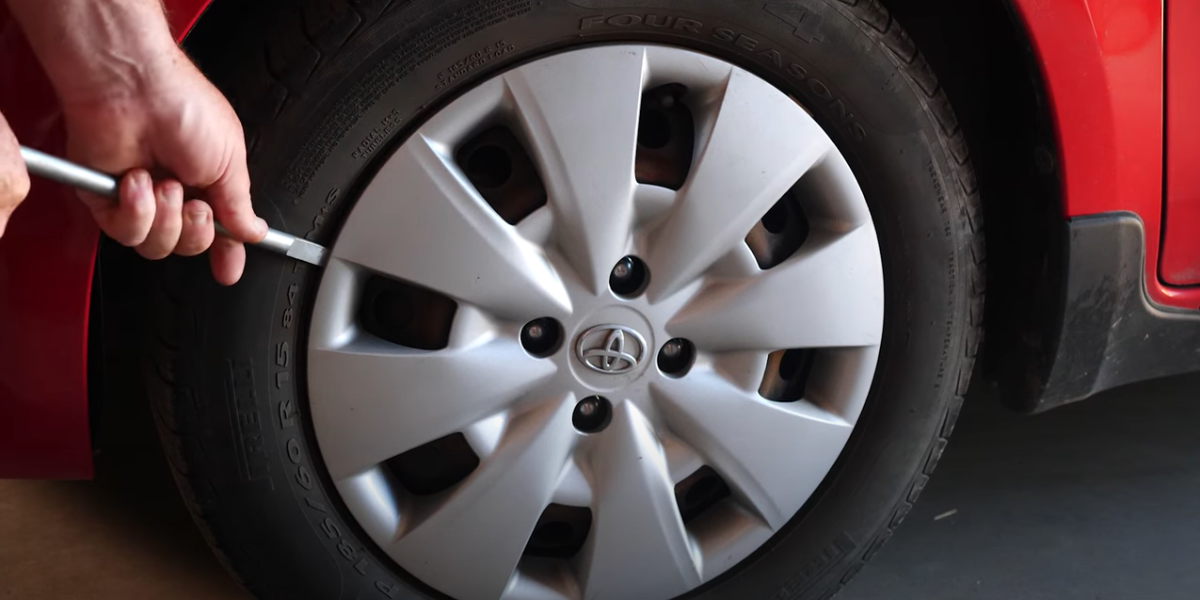
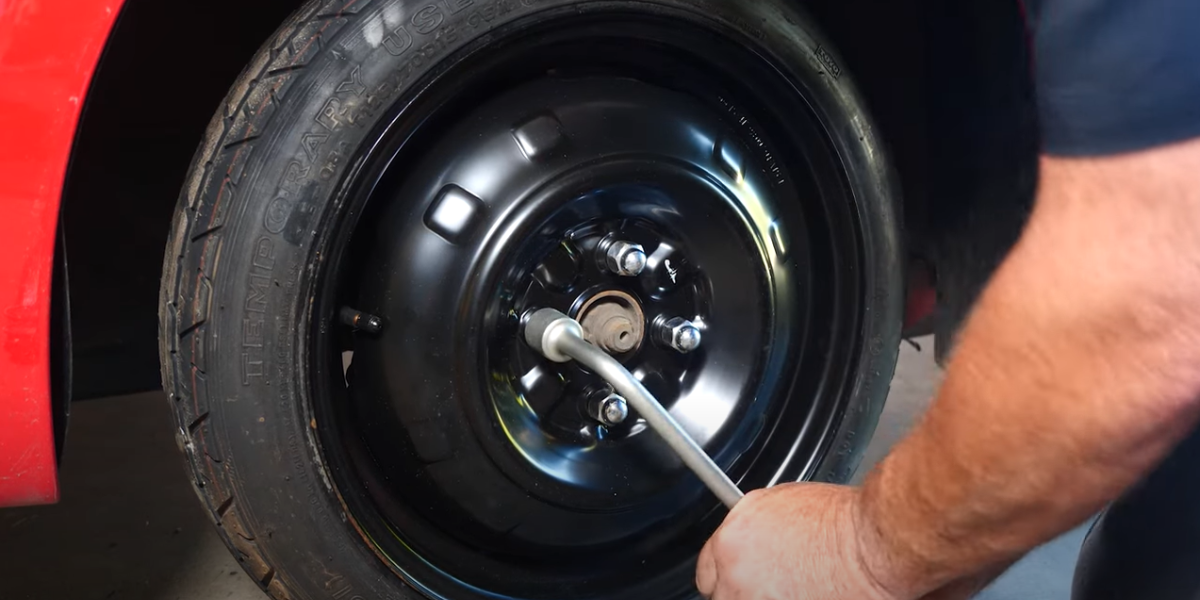
The spare tire in your car is not designed to be a permanent addition but is there to help get you out of trouble. These tires aren’t meant for high speeds or long distances, so make sure you pull into the nearest service station. Once there, you can get your flat tire taken care of – either plugged or replaced entirely. A flat tire can be a stressful situation, but with the proper preparation and a well-equipped emergency kit, you will be fully capable of making it through!
Written by:
Written by:

There's a lot to consider when embarking on a long, solo road trip. Once yo...
Your motorcycle tires are crucial to experiencing a solid ride. Learn what ...
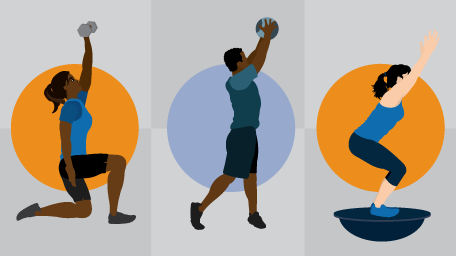
Functional exercising is a type of physical training a person can do based ...
Get your fix of expert articles delivered straight to your inbox!
No Thanks - I don't like cool stuff