Appliance Repair Safety Tips
Keeping you safe while tackling DIY repairs!
Here at Fix we're all about supporting homeowners as they DIY their repairs! If you’ve used one of our appliance repair guides or part installation pages before, you’ll see that the first step is always “disconnect the power before you begin.” That is a critically important safety step to take, but it’s not the only one you should be following! In this article, we’ve pulled together a comprehensive guide on DIY and appliance safety. By practicing these steps when you tackle a project, you’ll be keeping yourself and your home safe from any accidents.
Assess Your Work Area
Before you dive into a project, first take a look around your work area. Are there sharp or broken edges, low ceilings, slippery surfaces? Perhaps your dishwasher leaked and there’s water over the kitchen floor. Clean up any spills and remove any tripping hazards before you get started.
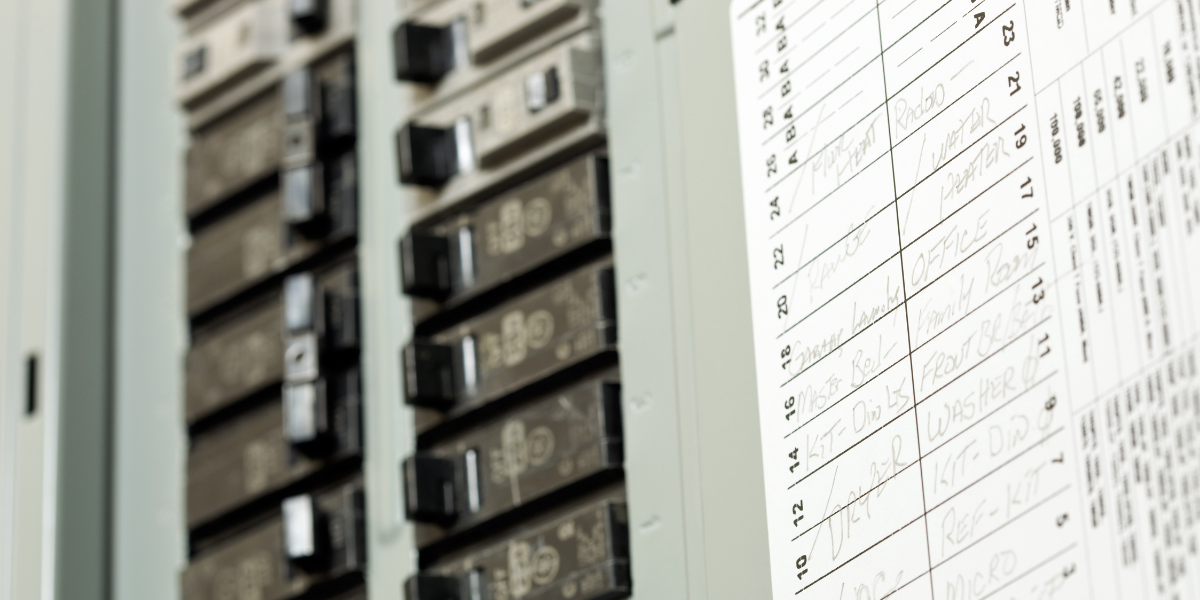
This is also a good time to ensure that your circuit breakers are properly labeled. This will be a team effort, as one person flips the breakers, and the other records which rooms and outlets are impacted by the power cut. Ensuring your breaker is properly labeled not only helps you during a repair but is crucial if there’s an emergency that needs a power cut.

Proper Safety Gear
You probably don’t need to kit out in full PPE to repair a broken burner knob, but there is some common gear you’ll want to have on hand. Items like nonslip and closed-toe footwear, safety glasses, work gloves, knee pads, and back support can all help keep you safe and injury free. If your project is outdoors or using power equipment, you may also want to have ear protection, a full-face shield, and sunscreen. While it's not safety gear, a good safety tip is to avoid wearing loose clothing, remove jewelry, and tie back long hair. Having a first aid kit and a fire extinguisher on hand will both be helpful in case of an accident or emergency.
Gas, Electricity, and Water Safety
As we always mention, before starting a repair you need to disconnect the power, gas, or water supply line. Some diagnosing, such as with a multimeter, may require power to the appliance, but always disconnect before starting the repair work.
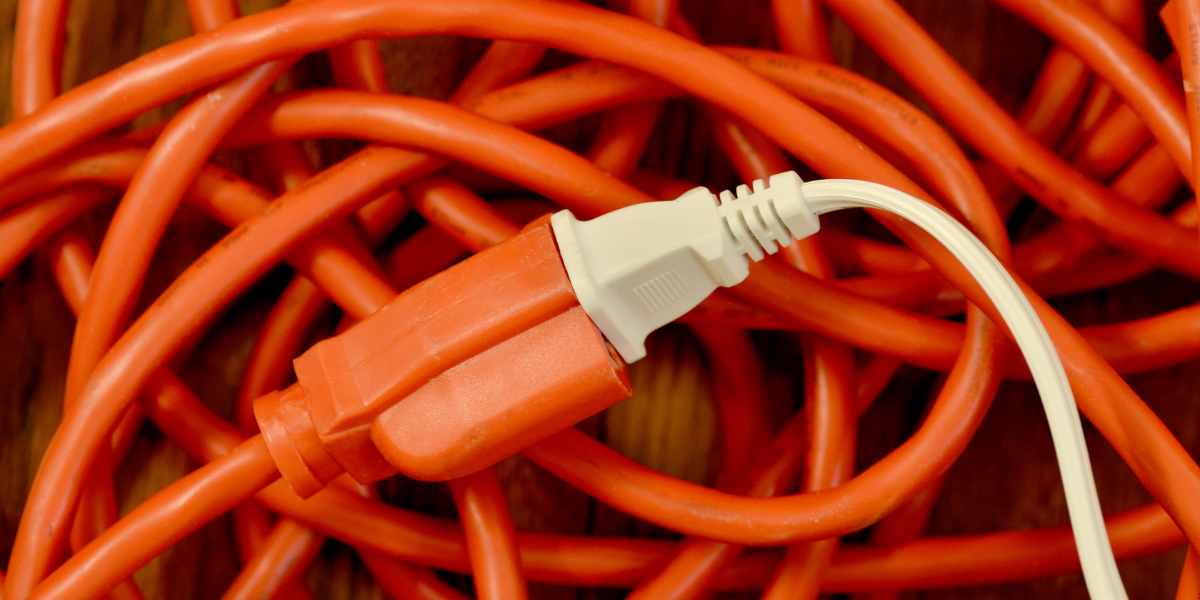
If you need to use an extension cord for your project, make sure it is rated for the environment you’ll be working in (indoor or outdoor, and the correct wattage). But never have your appliances plugged in and running from an extension cord, always have them plugged directly into an outlet. Items that will be in damp areas, such as kitchen counters, should have GFCI outlets. If your kitchen or bathroom lacks GFIC outlets, consider adding them to your project list!
Give your appliance and power tool electrical cords a regular inspection to ensure they aren’t cracked or damaged. When removing cords from an outlet, pull from the base never tug the cord itself. If your dryer or range uses gas, inspect the hoses, seals, and connections. Any cracks or leaks can be very dangerous and could cause carbon monoxide poisoning or an explosion.

Know Your Tools
Since appliance repairs are (hopefully) only an occasional job for you, it’s likely that you’re not an expert on the subject. Before you begin your repair, it’s important to understand the task and the tools required to complete it. Watch the installation videos over and over, read the user manual, label all the pieces – do whatever means necessary to make yourself comfortable with the task at hand.
If the repair in question has you using new tools, do your research and know how to properly use them. Something like a multimeter is a valuable piece of equipment, but if you don’t understand the readings, it doesn’t do you much good. There’s a time and place for trial and error but working on a major investment like your major appliances isn’t it. Familiarize yourself with all your tools and equipment ahead of time and consult videos and guides along the way!
Ladder Safety
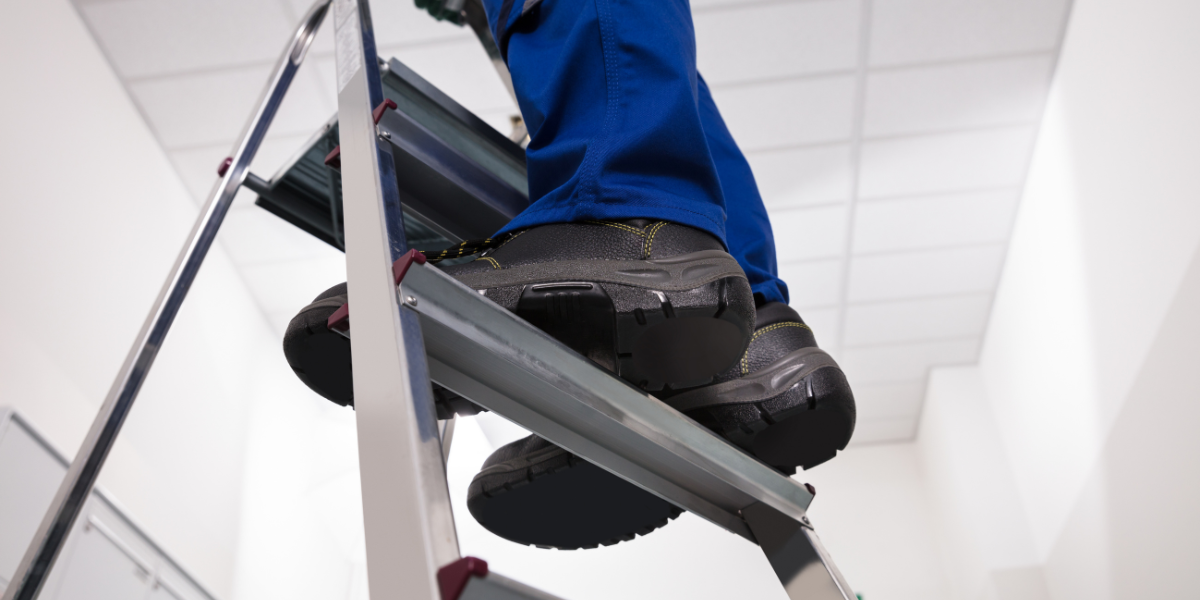
You probably don’t need a ladder for a major appliance repair, but many other tasks around the home will require one. From painting walls, to clearing out the gutters, it is important to pick the right ladder for the job. Inspect that it doesn’t have any damage or issues and be sure you’re comfortable working at the required height. Set up the ladder on a flat and stable surface and be sure to never reach or lean when up on the ladder. We did a full article about ladder safety earlier this year, so check that out for all the tips!

Know When to Call a Pro
There is absolutely no shame in knowing when a task is beyond your reach. We understand there are barriers to DIY repairs, such as access to tools, or fears of causing more damage to the appliance. Sometimes a repair is very intricate, or maybe you’re not comfortable dealing with wiring and electrical work. All of these are still learning opportunities, and putting your safety and sanity first is always a priority. If a repair is too complex to DIY, an appliance repair tech is there to get the job done!
If you’re feeling confident and ready to tackle your repair, we offer tons of resources for DIYers. From repair videos to the replacement parts themselves, we can help you through each step. Have a question for one of our repair pros? Send us a message on social media, and you may just receive a personalized video response to help you with your repair!
