


How to Fix the Relay Board for a Dryer That Will Not Start
When your dryer won’t start or won’t even turn on, there’s a chance it may be because of an issue with your dryer’s relay board. The relay board works alongside the control board to deliver power to different components within the washer at different times. A relay board malfunction normally implicates the motor and heating element, which can cause issues starting the dryer. With the help of our repair techs, we’ve put together this expert guide to help you be able to find and inspect your relay board, and show how to repair it if it’s the reason your dryer won’t start.
FIX TIP
What is a Relay Board?
The control board, also known as the circuit board, is the computer-like motherboard that regulates and controls all of the functions and the communications between parts of the dryer. Control boards vary in length, size, and complexity depending on the brand and model of your appliance.
Where is the Relay Board Located?
The relay board is normally located behind the user interface panel or within the dryer cabinet, near the top.
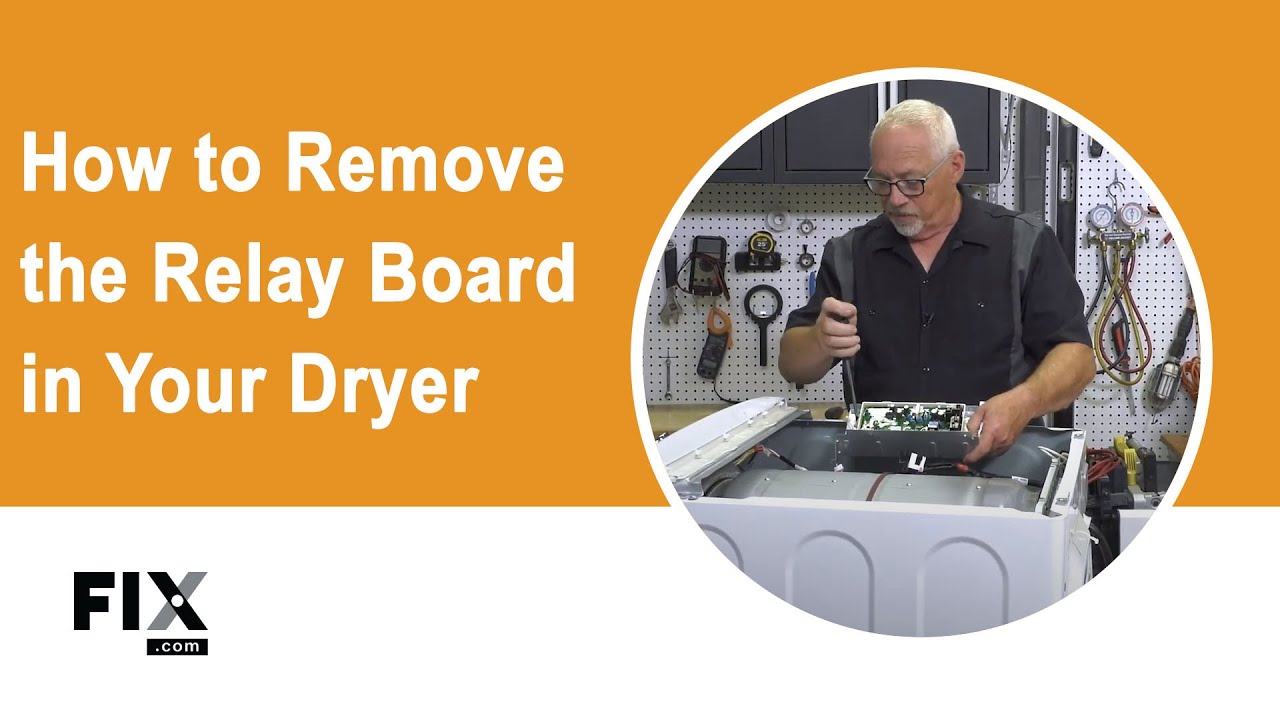
How to Access, Remove, and Inspect the Relay Board in a Dryer
- Depending on your model of dryer and where your console is, first remove any interfering components so that you can lift the top portion of the dryer cabinet.
- Locate your user interface panel and identify the appropriate screw heads and/or socket heads you need to disassemble in the cabinet to get to the interior of the panel. This step may also require a putty knife depending on your model.
- Remove or disconnect any wire harnesses connected within your dryer to gain access to the user interface.
- Like the control board, you can locate your relay board within the user interface panel or around the top edge of the dryer cabinet. Your relay board will likely also be in a plastic housing as well, and the easiest way to distinguish it from the control panel is by its larger size and longer cable length.
- Unhook any cables connected to your current relay board and, using the appropriate socket-set or screwdriver head, disconnect it from your dryer.
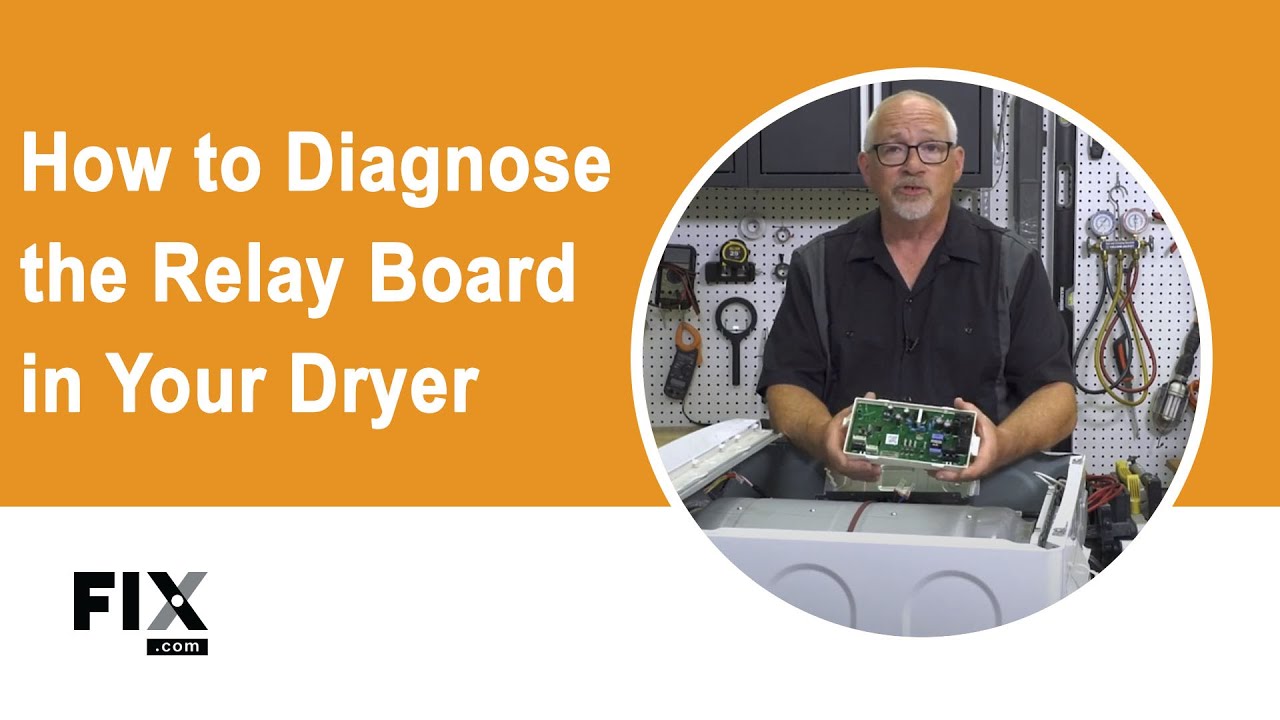
How to Test a Relay Board
Diagnosing a relay board is extremely hard to do on your own. You would need to contact a service technician to properly test it. Here's how to check if your relay board might be causing your dryer to not start instead:
- Look out for any error or fault codes on your dryer's display panel. Alternatively, your dryer may have indicator lights that flash in a certain pattern to tell you what problem it is encountering.
- Use your owner's manual to understand what those codes or light signals mean.
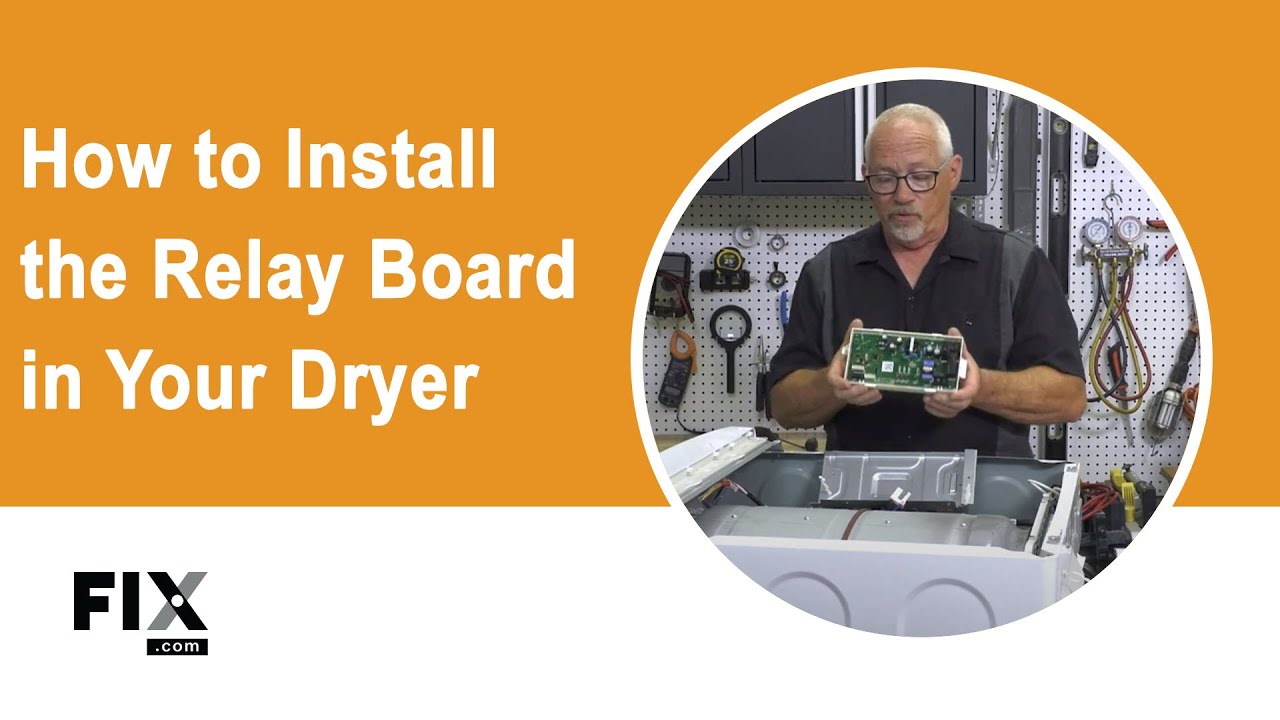
How to Install a New Relay Board
- Install your new relay board by connecting the appropriate cables to the correct terminals, using the proper wiring diagram for reference.
- Connect the necessary cables that you previously disconnected to reassemble your dryer.
- Refasten the dryer cabinet back together, ensuring that the proper wire harnesses, cables, and screws that were taken apart when removing the relay board are reconnected. Your repair is now complete!
Next: Troubleshooting the Drive Motor
Go To Main Page: Will Not Start