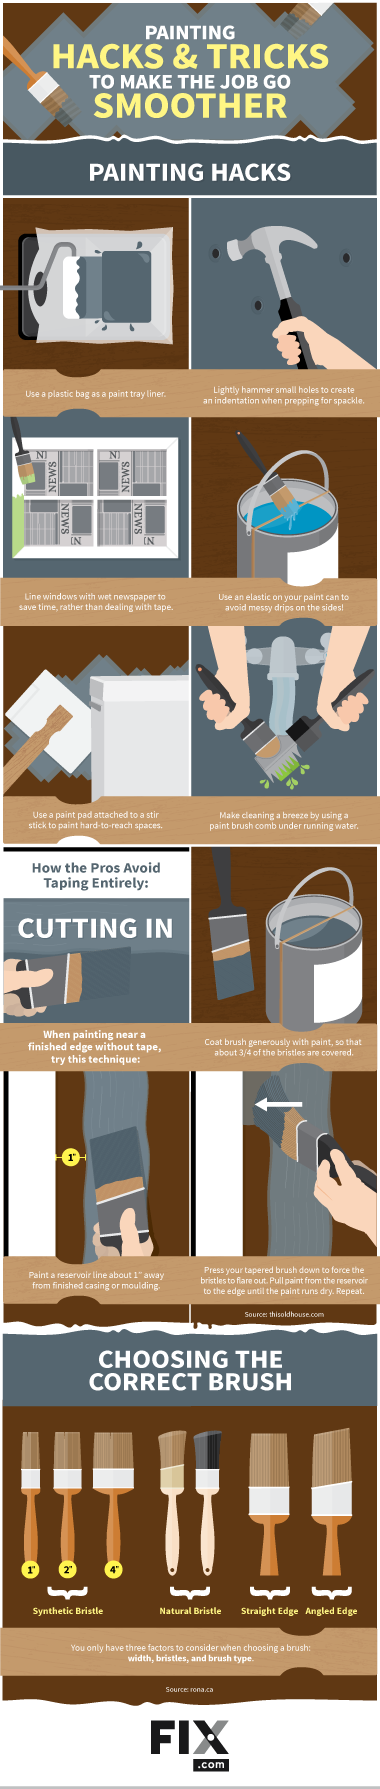
Painting Hacks and Tricks to Make the Job Go Smoother
For the price of paint and materials, you can make your humble abode sparkle like the true Pinterest-worthy showpiece it is. While the cost is minimal, the seemingly simple process of laying down paint is deceptively difficult. Consider the following advice to make the job faster, cleaner, and more efficient.
Painting Hacks from the Pros
1. Hate to Clean Brushes?
Avoid cleaning brushes by wrapping your brush tightly in plastic and placing in the freezer. Before using it again, let the brush thaw for a couple of hours.
2. Save Money on Paint Roller Covers
If you need a break but expect to get back to the job within the same day, wrap your roller cover in plastic and then place it in a Pringles can – there’s no need to remove it from the roller assembly. If you’re stopping more than one day, do the same thing and then place the can in the freezer.
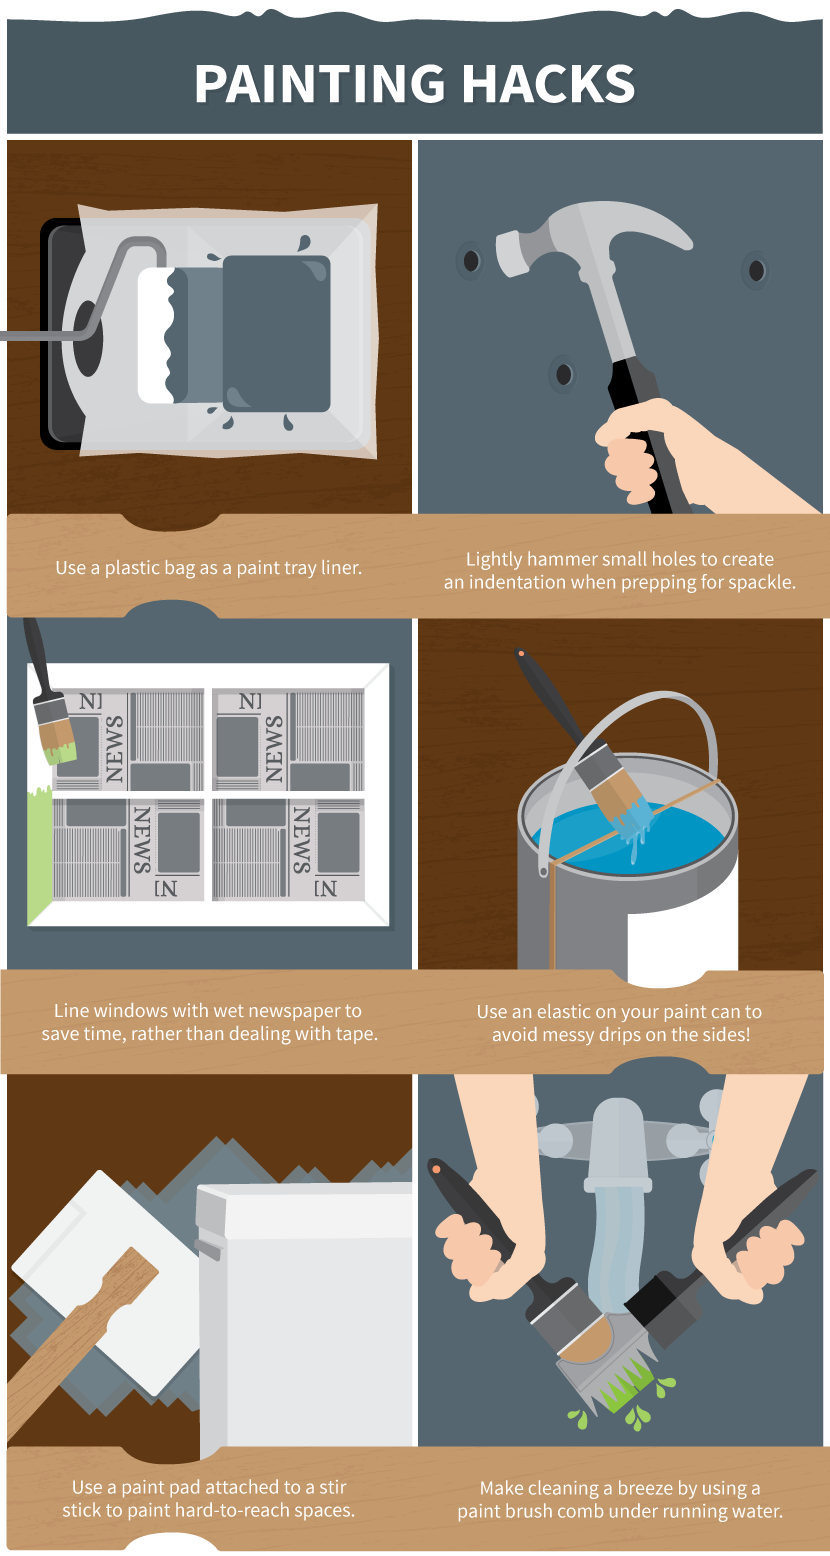
3. Stop Buying Paint Tray Liners
Place your paint tray in a plastic kitchen trash bag and push down to expel the air. Use the trash bag’s built-in drawstring to seal it shut.
4. Easily Clean Latex Paint that has Dripped on a Wood Floor
Don’t panic! As long as your floor has a glossy surface, let the drips dry. Once they’ve dried, you can easily pick them off with a fingernail.
5. Need To Paint in Tight Spaces, such as Behind a Toilet Tank?
Glue a paint edger pad onto one of those complimentary stirring sticks paint stores give away.
6. Why Pro Painters use Canvas Dropcloths
The pros don’t just use canvas dropcloths because they’re reusable. Plastic dropcloths are slippery to walk on; canvas ones are not. Invest in a canvas dropcloth early in your home remodeling process, and you’ll never regret it.
7. The Best Way to Clean Brushes
A $4 device called a paintbrush comb effectively pulls latex paint out of the brush when you hold it under running water. Water alone will not clean the brush well and will result in a brush lifespan of only three or four uses.
8. Ensure Color Consistency from Gallon to Gallon
Pro painters know that multiple-gallon projects require paint boxing, which is the process of combining all the paint you will be using into one large container. Buy a cheap five-gallon bucket and combine your paint in it.http://www.benjaminmoore.com/en-us/for-your-home/boxing-paint
9. Use Wet Newspapers as a Substitute for Masking Film or Tape
When painting around windows, carefully run water over a sheet of newspaper and stick the newspaper to the glass. Now you can paint around the window while keeping the glass free of paint.
10. Fill Holes by Hammering Them?
It sounds counter-intuitive, but if you need to fill small holes in your wall with Spackle, start by gently tapping a hammer one time on the hole. This creates a smooth indentation that allows the Spackle to better stick to that area.http://www.benjaminmoore.com/en-us/for-your-home/how-to-prepare-walls-for-painting-featuring-aura
11. Don’t Wipe Excess Paint on the Can Rim
The classic method of wiping excess paint from your brush onto the can rim will only add gunk to the can. Instead, loop a rubber band lengthwise over the can and wipe the brush against the bottom of the rubber band.http://blog.coldwellbanker.com/painting/
Masking and the Art of Non-Painting
Painting interior spaces is as much about avoiding areas as it is about laying down paint. Doors, door casings, crown molding, baseboards, window trim, light fixtures, and countertops are just a few examples of areas that you may not want to paint.
Learning how to precisely avoid these areas will make your paint job look crisper and cleaner. In order of effectiveness, here are the top five ways to mask off or avoid these areas:
1. Painter’s Tape
Forget the beige masking tape your dad used when he painted the house. The industry standard now is painter’s tape, a super-low-adhesive tape that never leaves residue behind and will never pull off paint. Popular painter’s tape brands include Frog Tape, ScotchBlue, and Duck Brand Clean Release.
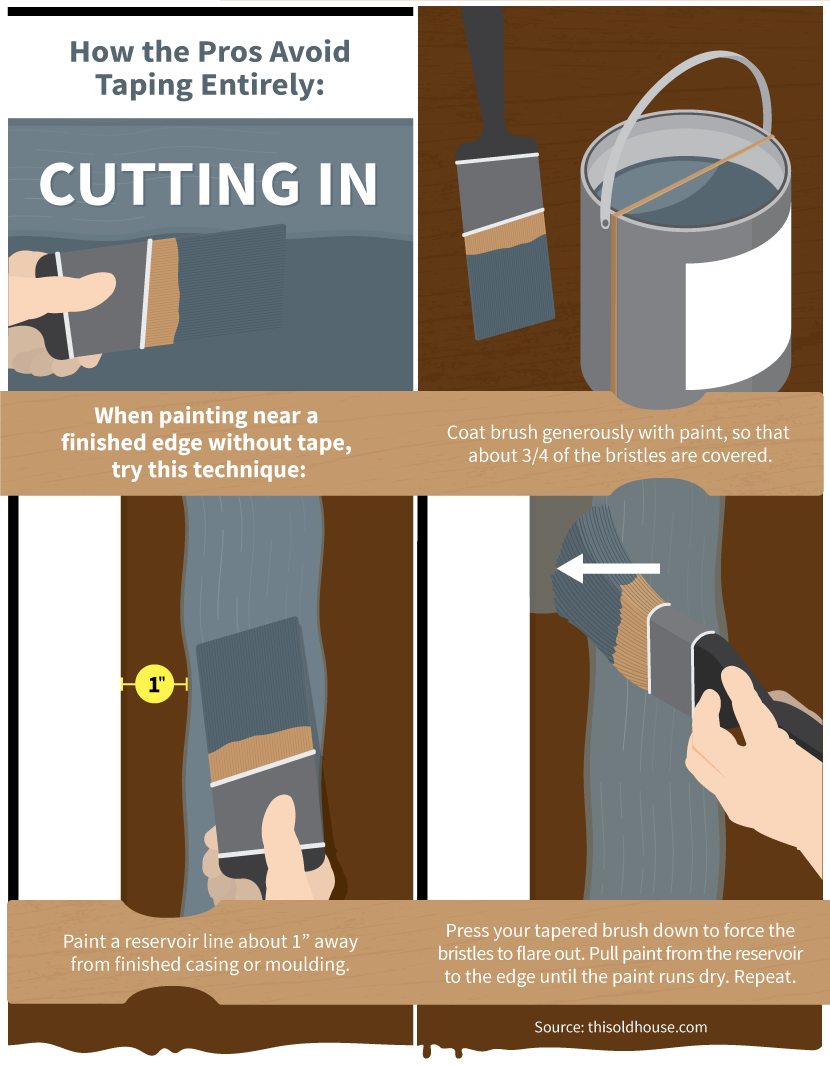
2. Cutting In
“Cutting in” is a painting term that means painting freehand along an edge, no masking tape required. Like a trapeze artist who performs without a net, this one takes a lot of practice.
How to Do It:
For your first attempt at cutting in, use an out-of-the-way location where errors will not be so noticeable. Use a tapered trim brush that you have pre-moistened with water. Shake the brush several times to force the water out. Thoroughly load up your brush with paint so about 3/4 of the bristles are covered in paint. Draw a thick line of paint, called a “reservoir,” about one inch from the edge. Then push the brush so the bristles flare out and draw a line exactly on the edge.
http://www.thisoldhouse.com/toh/video/0,,20803381,00.html
3. Masking Film
Rolls of masking film combine painter’s tape, sheet plastic, and static electricity, giving the ultimate cover-up for large windows, especially when using a paint sprayer. Painter’s tape allows you to mask precisely up to the edge of a window, while the pre-attached plastic film unfolds to cover the window. Static electricity helps the film stick to the window.
4. Paint Trim Guard
Simply put, you hold this 22-inch strip of metal against an unpainted area while painting against it with a brush. Though this seems like the perfect masking tool, drips and stains can result, no matter how vigilant you are.
5. Edging Tools
Many rollers and brushes have been designed to help you automatically maintain an edge. The only problem: they don’t work very well. You’re better off using painter’s tape, masking film, and/or the cutting-in technique rather than relying on a pricey, gimmicky tool that will just end up in the trashcan.
Roller Covers and Brushes: Choosing the Right Tool for the Job
In a world dominated by “As Seen on TV” miracle painting tools like the EZ-Twist Paint Stick, is there a place for the common paint roller and brush? Absolutely. Rollers and brushes are still the best way to apply paint to your home’s interior.
Roller Covers
Roller covers are the fluffy tubes that you insert on the roller mechanism. Covers with a thicker nap hold more paint and are best for pitted, textured areas. Covers with a thinner nap hold less paint and are best for smooth surfaces.
Avoid foam roller covers because they leave thousands of pits on your surface. Instead, use covers that have a fabric nap.http://paintgurus.typepad.com/blog/2011/05/choosing-the-right-roller.html
- 1/4” to 3/16” nap: A good nap for fine, mirror-smooth walls, ceilings, and doors
- 3/8” nap: Your standard, go-to roller cover for most interior surfaces
- 1/2” nap: For medium-rough interior surfaces, such as textured walls or ceilings
- 3/4” nap: Use for very rough surfaces, such as textured “cottage cheese” ceilings or concrete
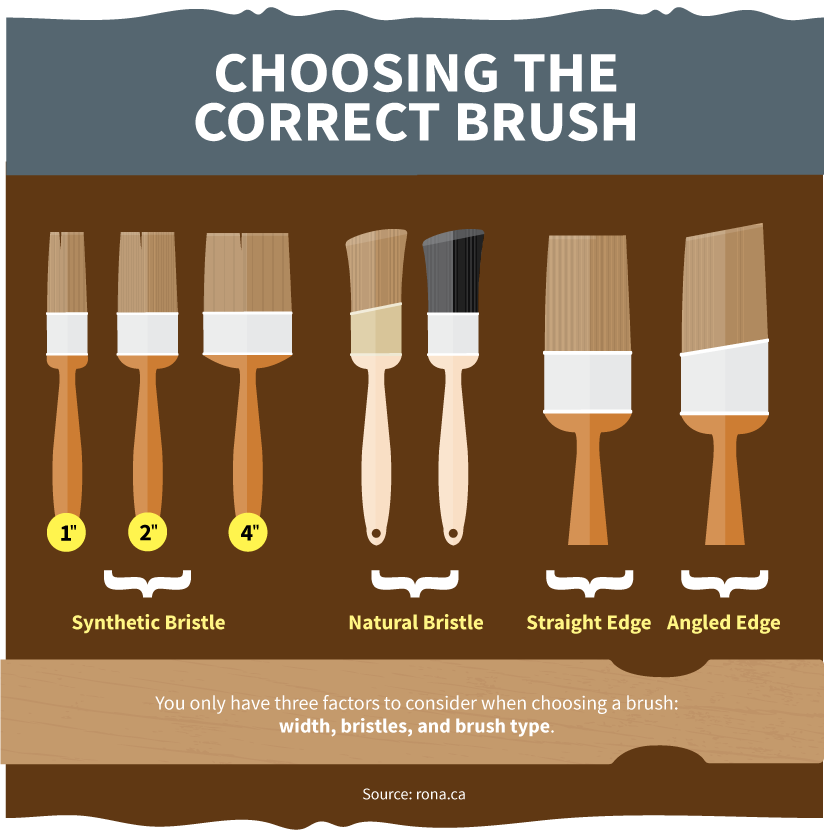
Brushes
Unfortunately, there is not a universal brush for all types of work. Pro painters may have eight to ten different kinds of brushes on hand; you can get by with two or three.
Use a flat-end brush for most applications. For cut-in work, choose a tapered or angled brush.
Bristles are either natural (derived from animals) or synthetic (polyester). For oil-based paint, you can use either type of bristle. For enamel paints, use natural bristles. For latex paint – the kind of paint most commonly used by homeowners – use only brushes with synthetic bristles because they hold their shape better and wash out cleaner.http://www.bobvila.com/articles/400-selecting-the-right-paint-tools/#.VUt0v45VhBc
Brush Width
- 4” wide: Use for large, textured surfaces. Few interior surfaces require such a large brush, but you may occasionally need it for brick or rough plaster.
- 2” wide: This width is suitable for close work next to casing and trim.
- 1” wide: Not commonly used by most homeowners, the 1” brush is suitable for precise detail work, such as deeply grooved door-casing rosettes.
Summary
There is no better feeling than seeing your home utterly transformed by the application of a new color. Painting is the simple miracle that makes this transformation happen. Learn how with these painting hacks and advice on how to mask off a room and select roller covers and brushes.
Embed the article on your site